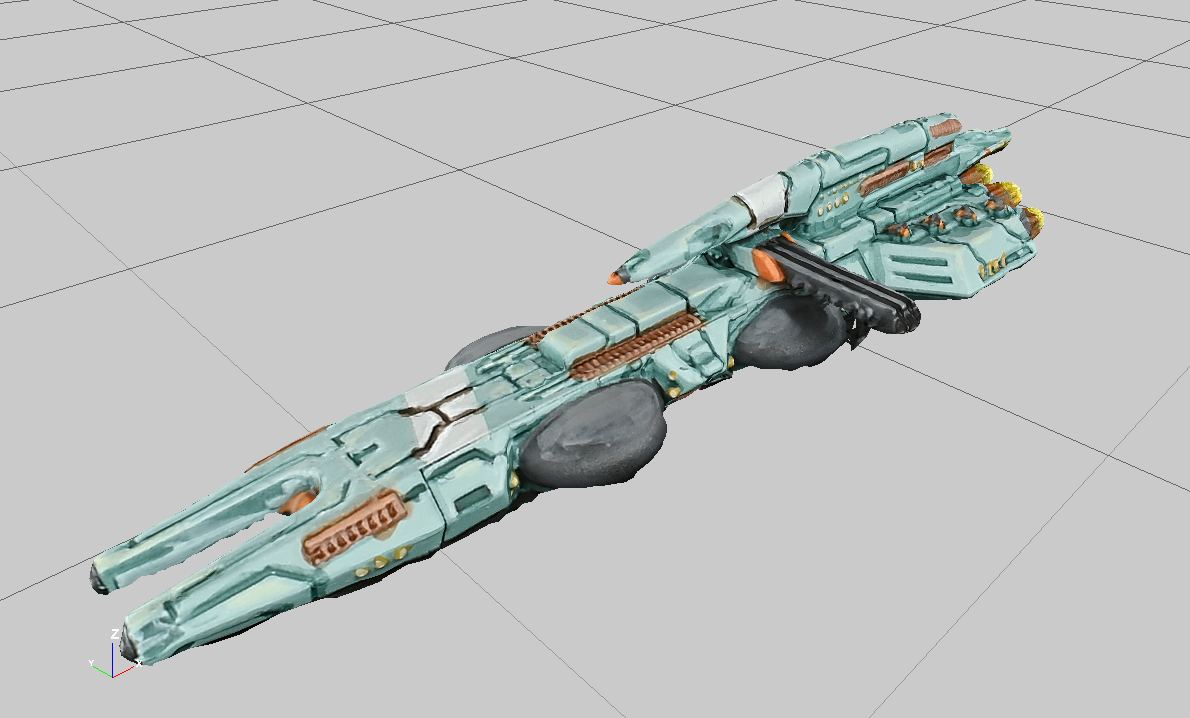
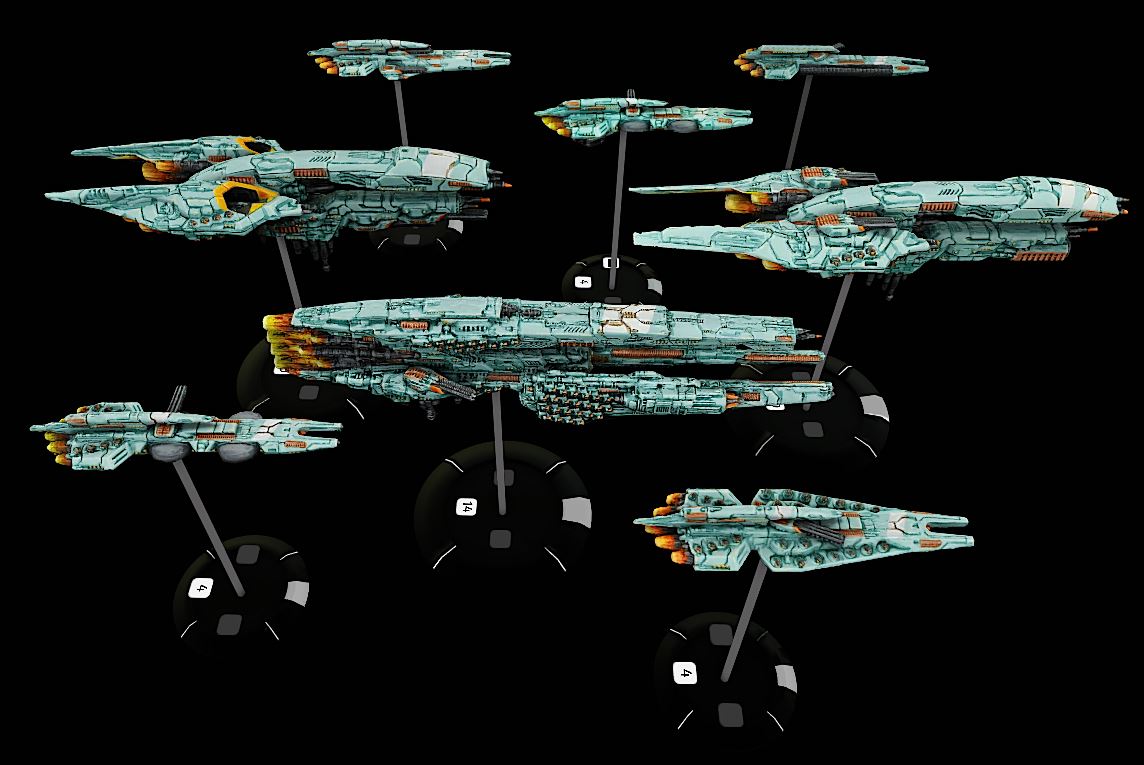
Turn your physical models into digital 3D models in this guide to photogrammetry, this time Rockfish is demonstrating you don’t need a expensive camera and fancy lighting for good results.
I know that people have wildly different hobbying spaces and budgets, so I wanted to see low budget I could go and still get reasonable looking results, as it turns out you can get away with quite a bit! As a example I did the same model in two ways, once with the set up I am gonna demonstrate in this article and once with my nice camera.
It turns out its pretty hard to tell at a glance and TTS helps to obscure further quality differences, now what spectacular arrangement am I doing this with you might ask? Behold!
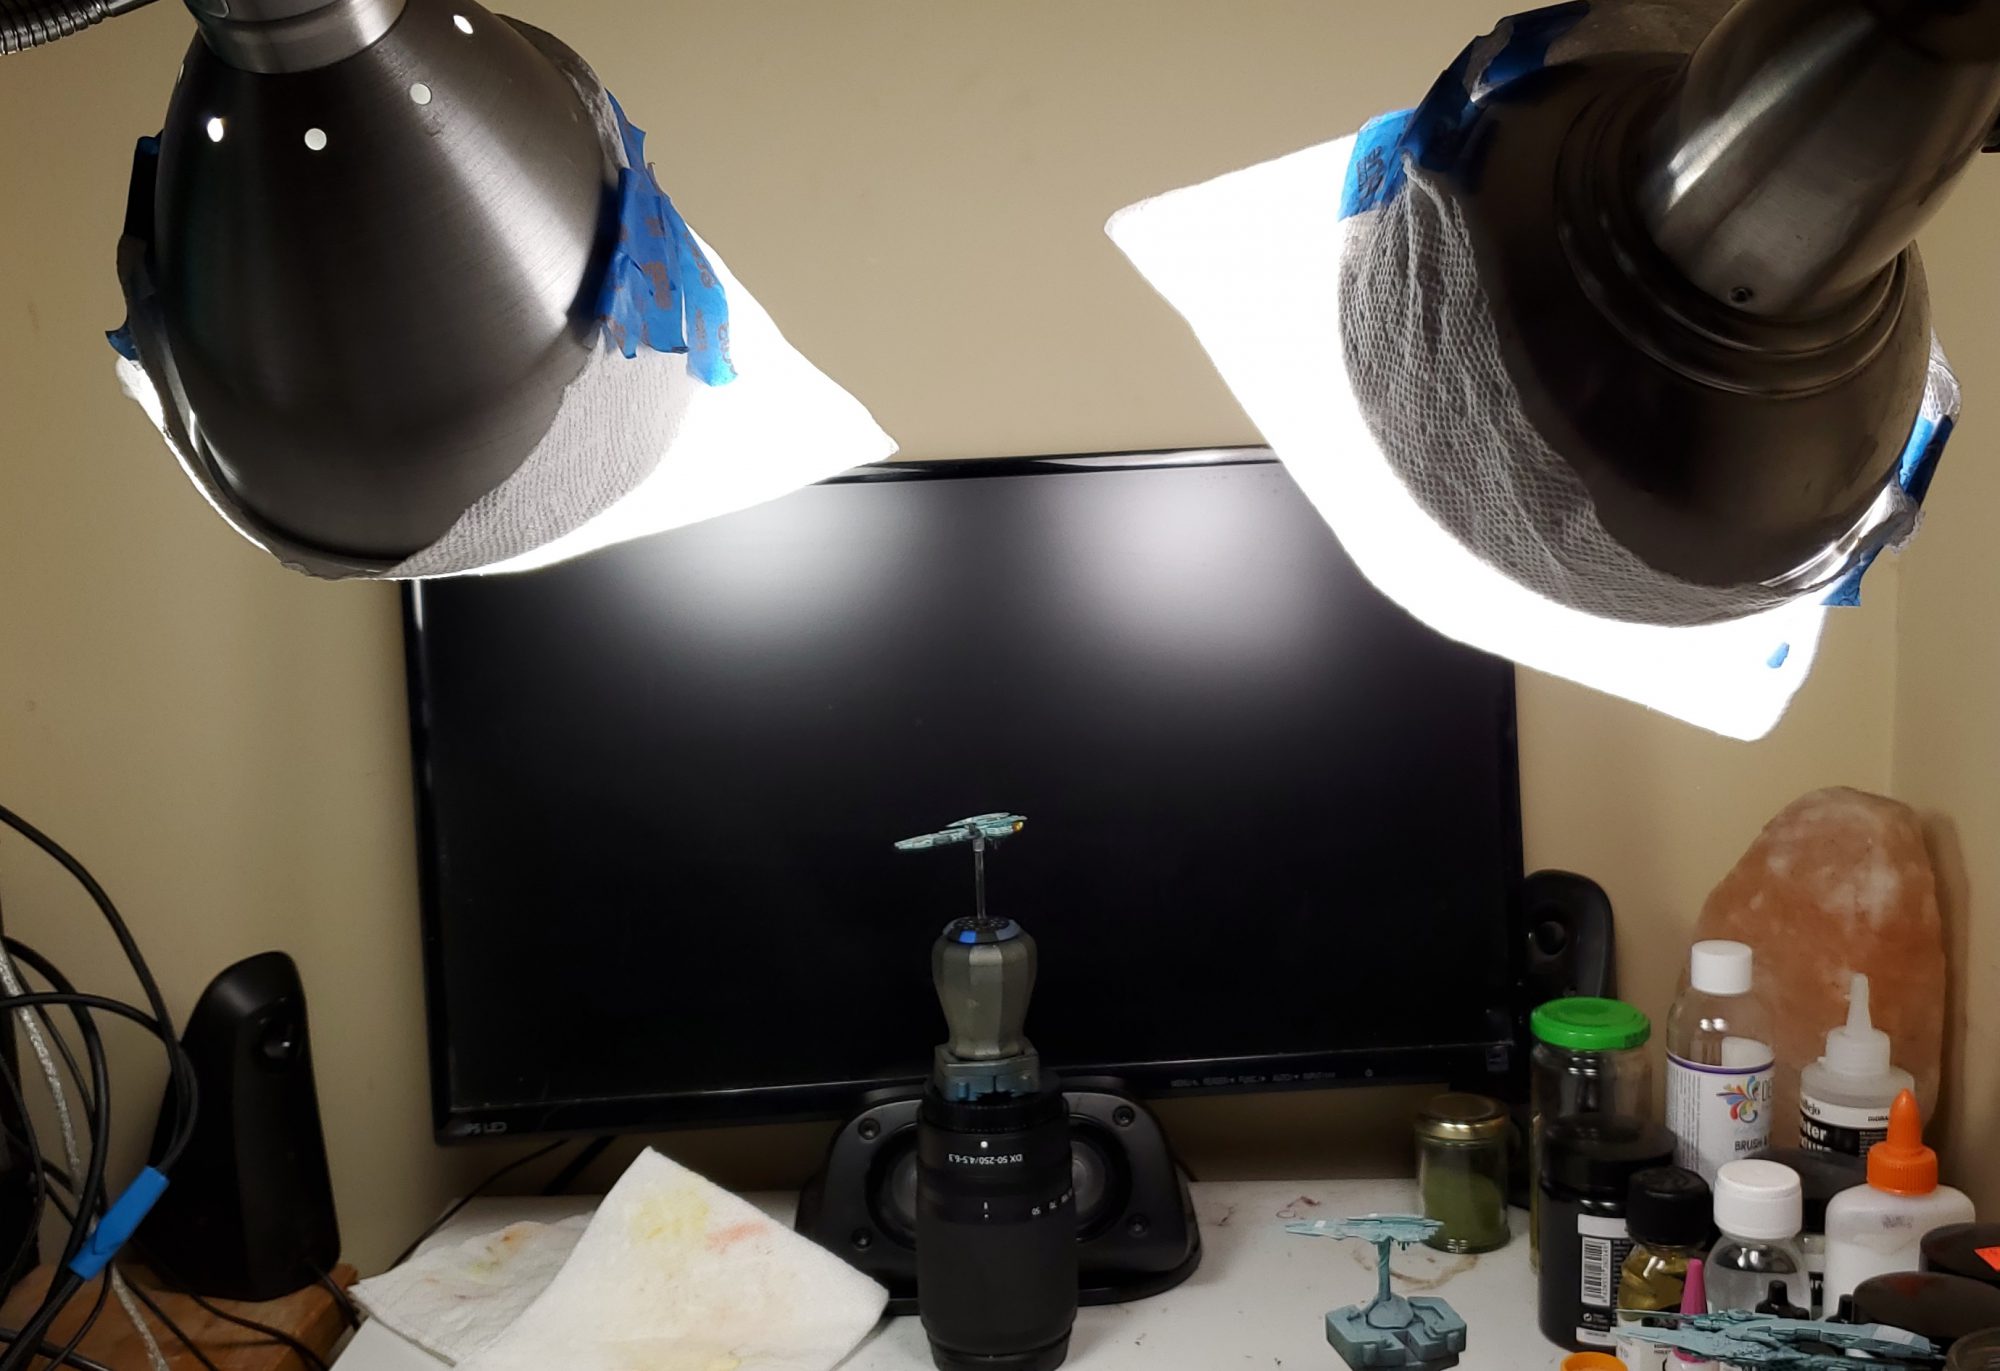
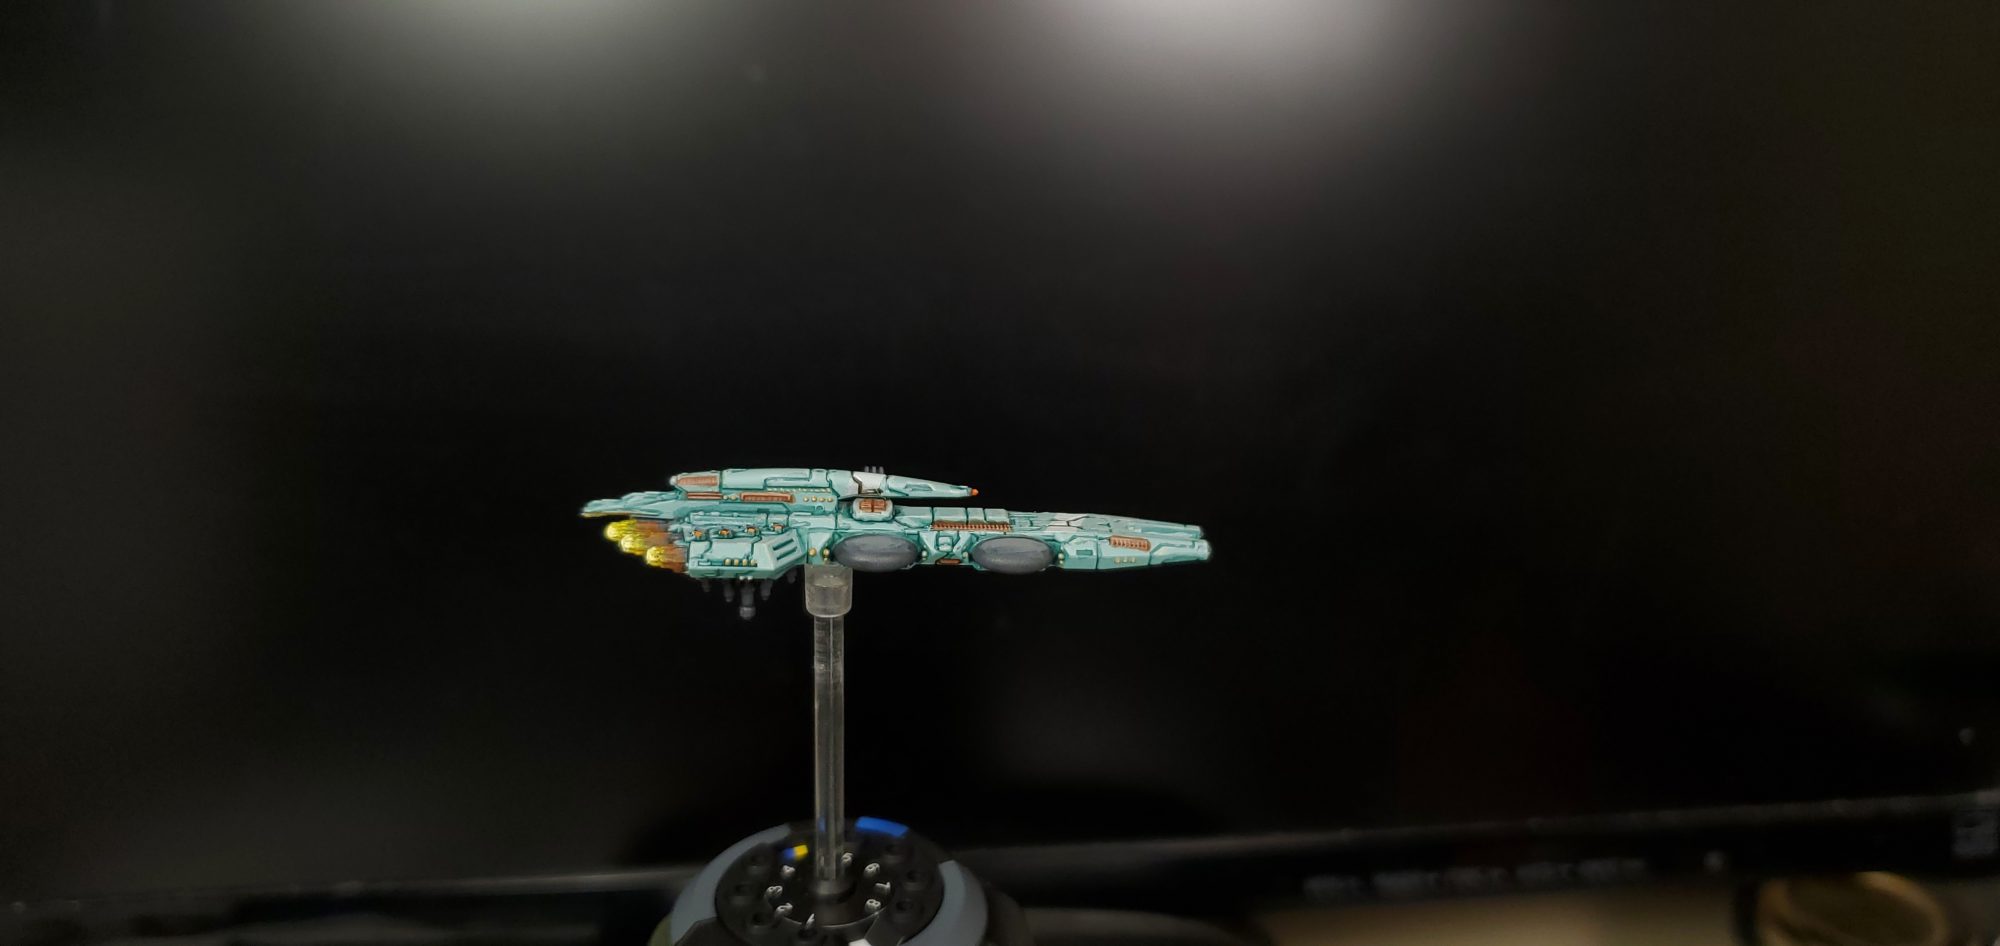
Its a turned off monitor as a backdrop, two lights with paper towel over them, my phone’s camera, and thats it! (Don’t mind me using the lens as a rather pricey stand, you could use a random box or stack of books.)
Essentially the idea is that the screen is dark enough and the lights defuse enough that it won’t look too bad in pictures, mind you this is only barely! I would strongly suggest against trying to free hand the model it makes stuff shake a bit too much, just propping it up on something you can easily spin is best.
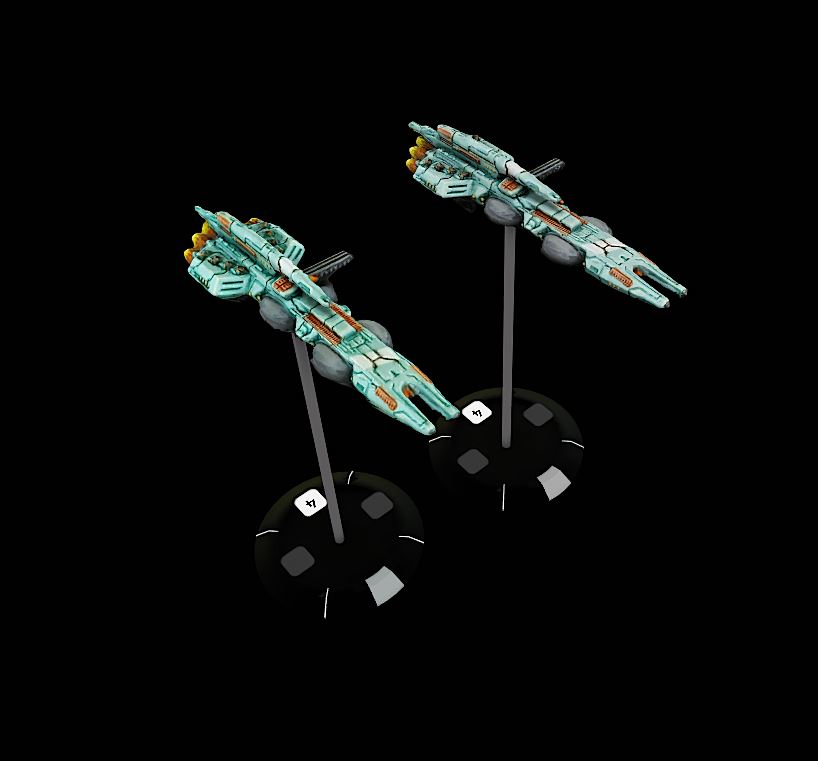
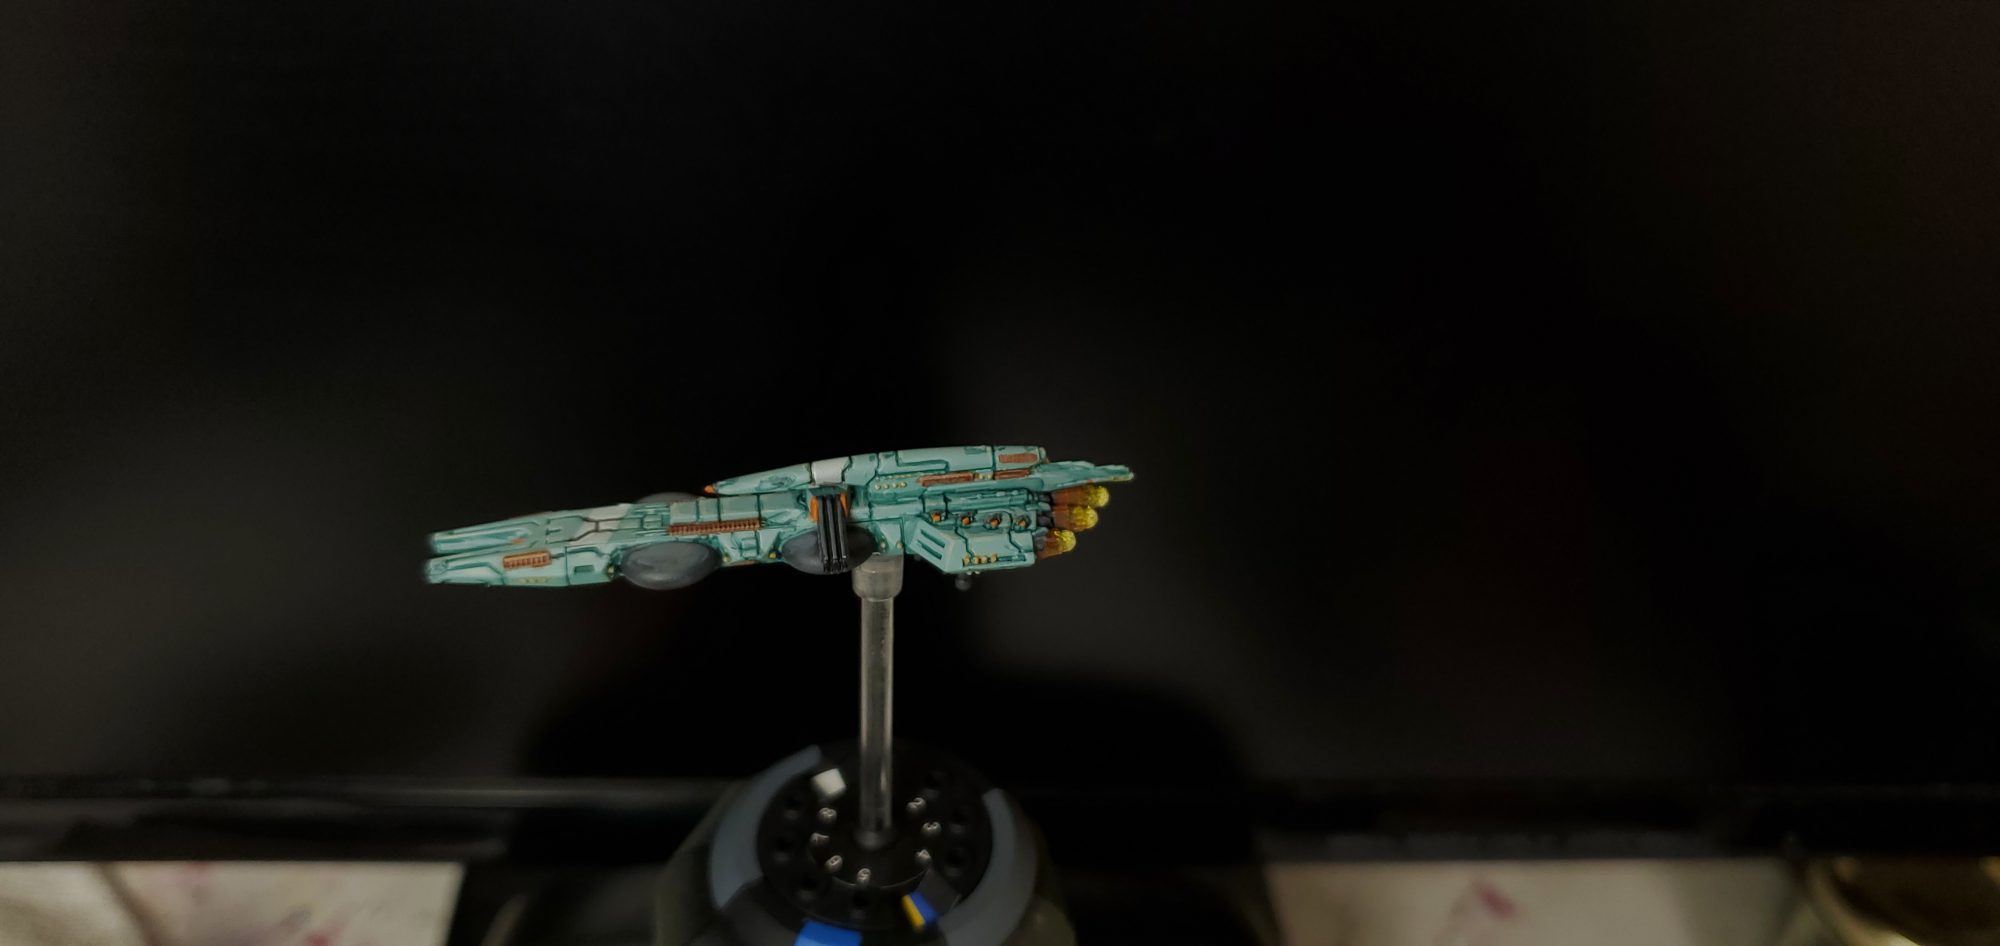
Given free Zephyr is limited to 50 pictures, I would suggest choosing a couple of angles and taking images with roughly 15 degrees between them. Here are a couple of examples I used, note that I used these straight out of the camera with no editing!
You could do a lot better then this, but it kinda shows what you can get away with. As for camera settings, this is what my phone was set to:
The exposure correction is just set to auto, I had the camera covered to get a solid black back drop to get a crisper screenshot.
However with these rather poor photos we probably have to do masking to separate out the background, fortunately this is pretty easy!
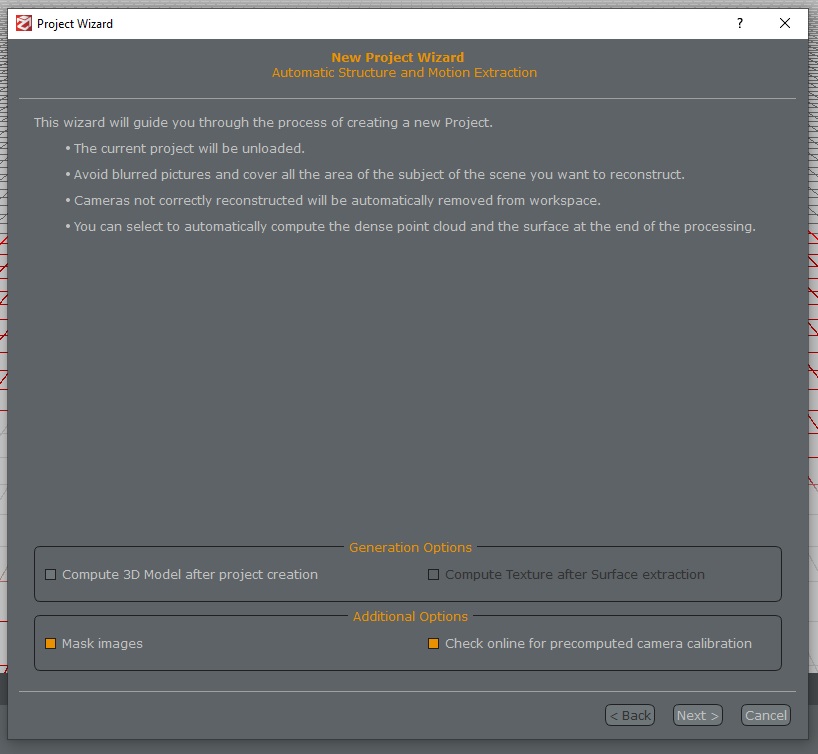
Start up Zephyr and start a project as usual other then selecting the “Mask images” option.
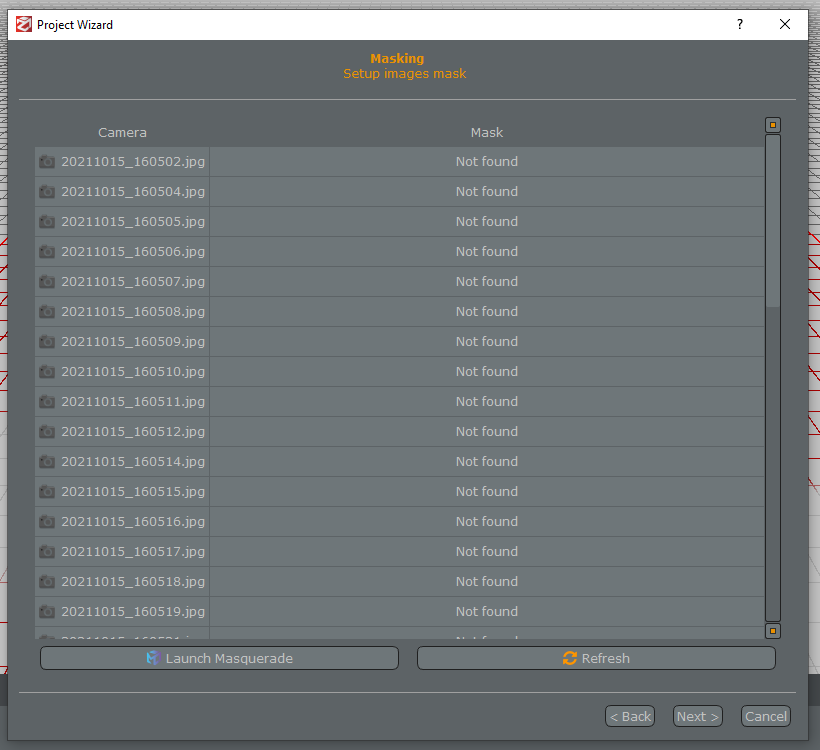
After the “Photo selection” screen you will be presented with the “Masking” screen, click “Launch Masquerade”.
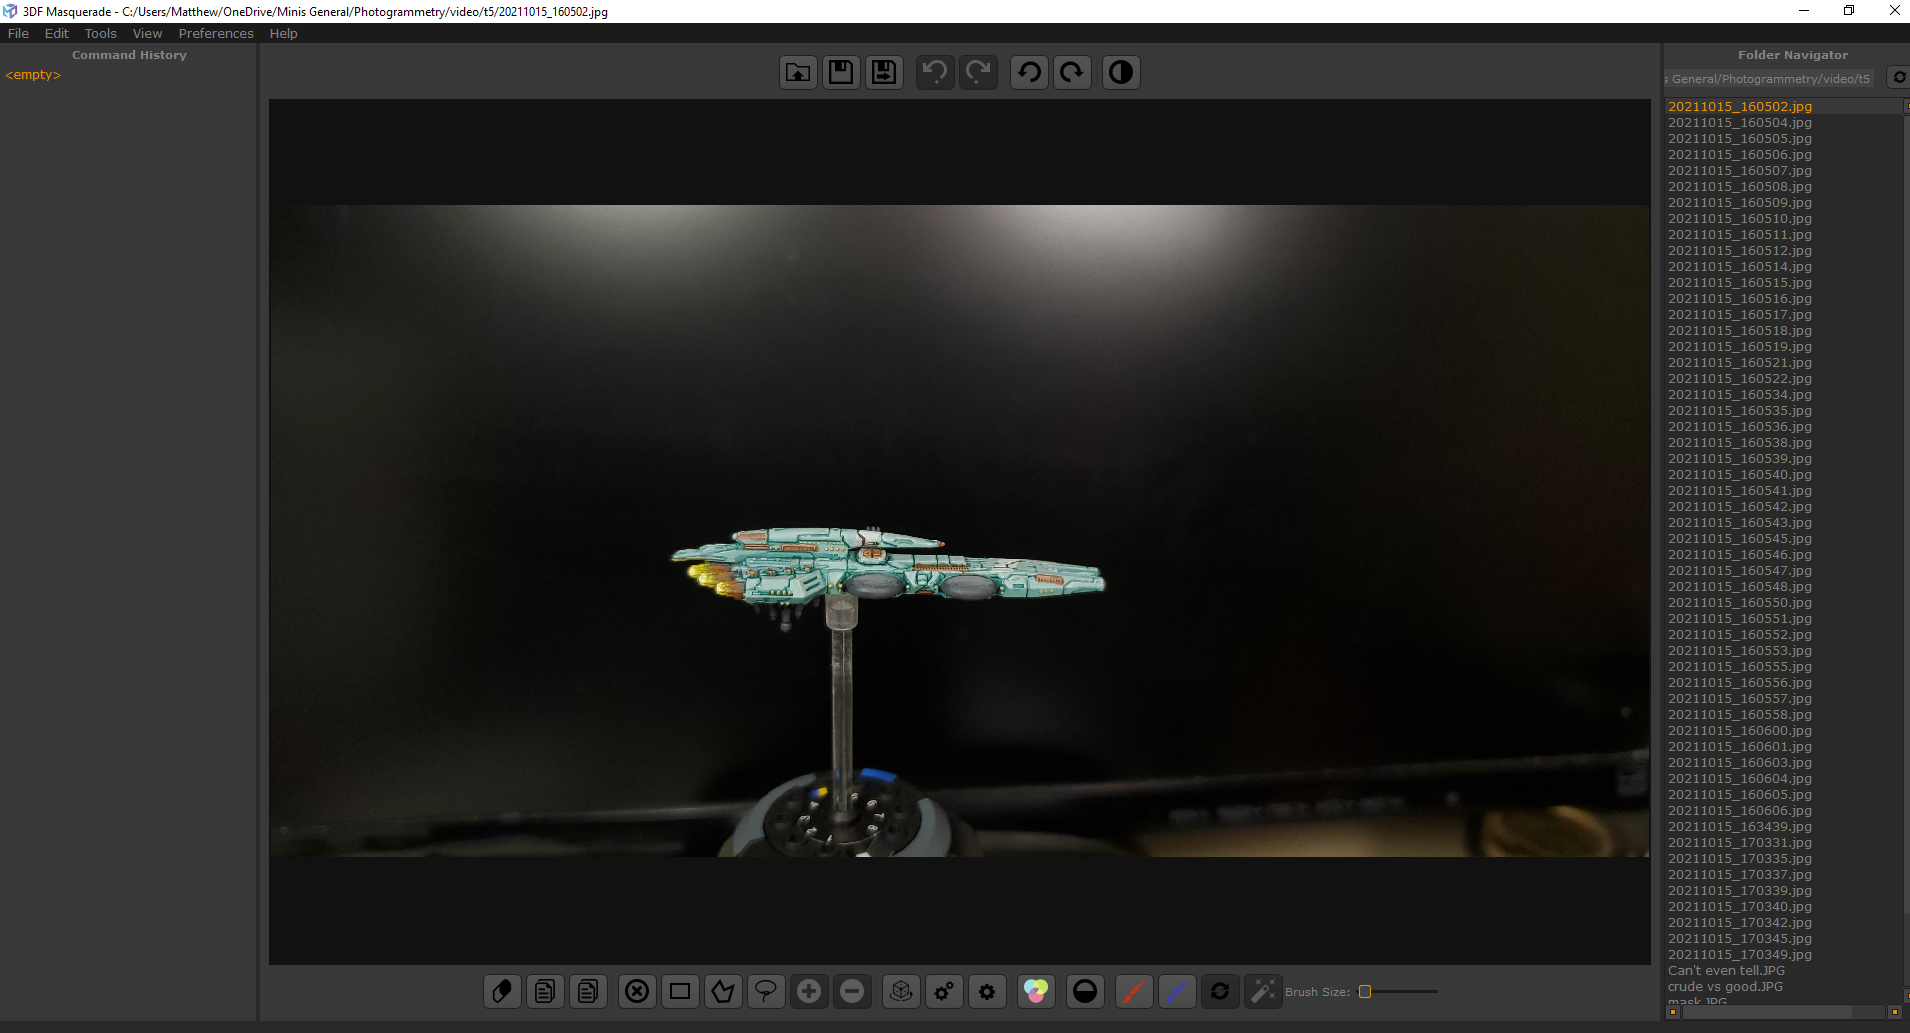
Which will spin up a different program with a bit of a odd interface, don’t worry though, this isn’t a big deal. All you need to do is use the red paint brush to roughly mark the thing that should be the foreground and use the blue to separate off the background.
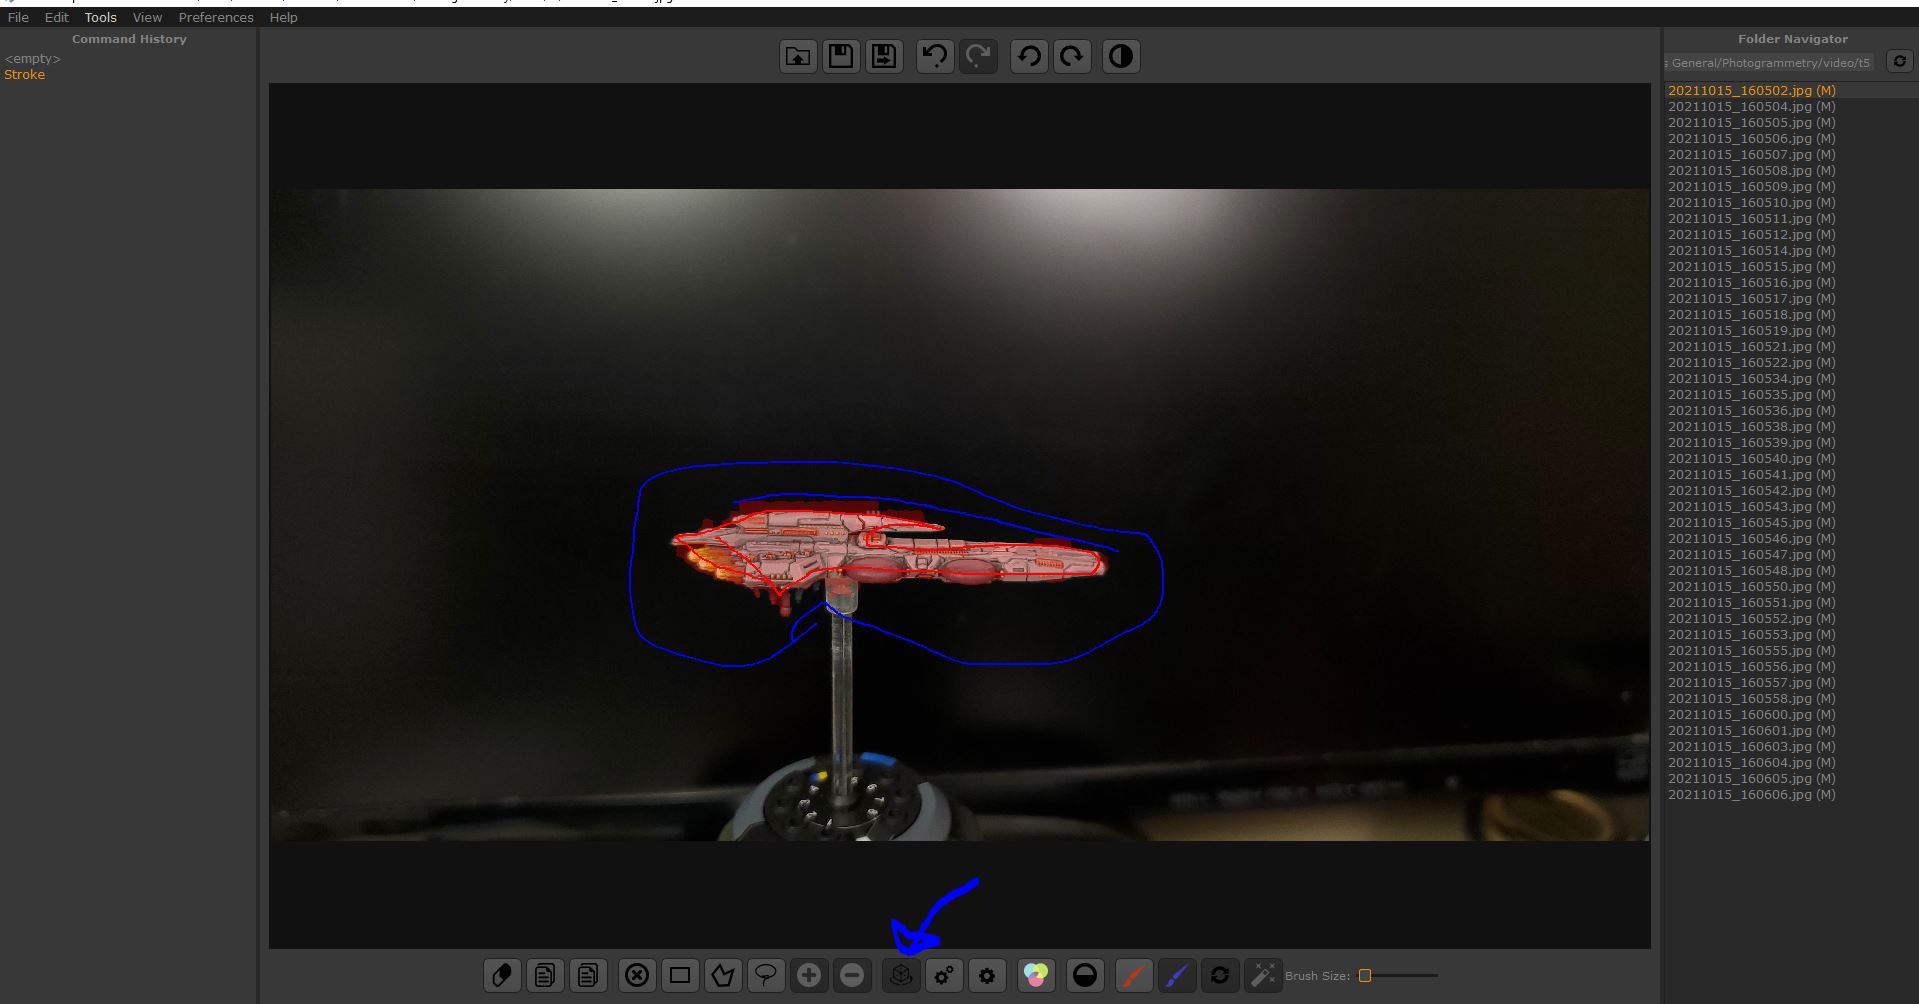
You will see that its actually pretty good at figuring out the foreground object, fortunately you don’t even need to do this for every picture as it can auto compute them. The gear button or “enter” saves, advances to the next picture, and begins to calculate a approximate mask. Its pretty crucial to hit the turntable mode button I have pointed to, as it optimizes the algorithm towards sequential images.
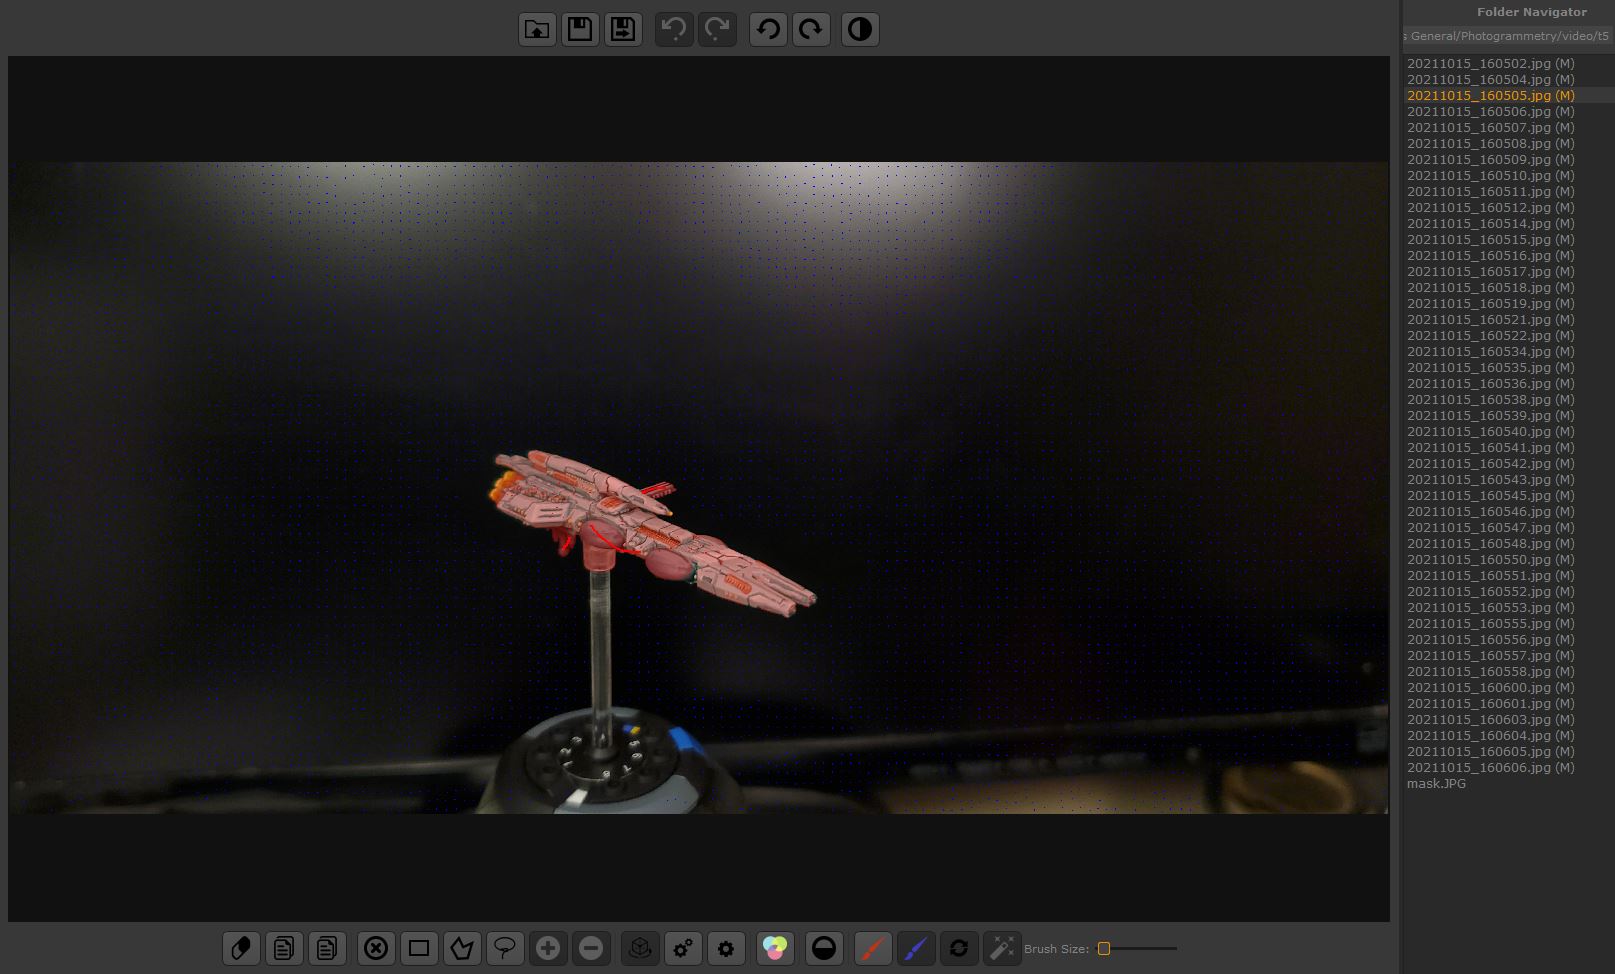
Most of the time it will guess what the object is pretty accurately, where it will cover most of the image in tiny blue dots and most or all of the object with red dots. if it misses anything just scribble over it in red, or if it covers too much cut it off with the blue.
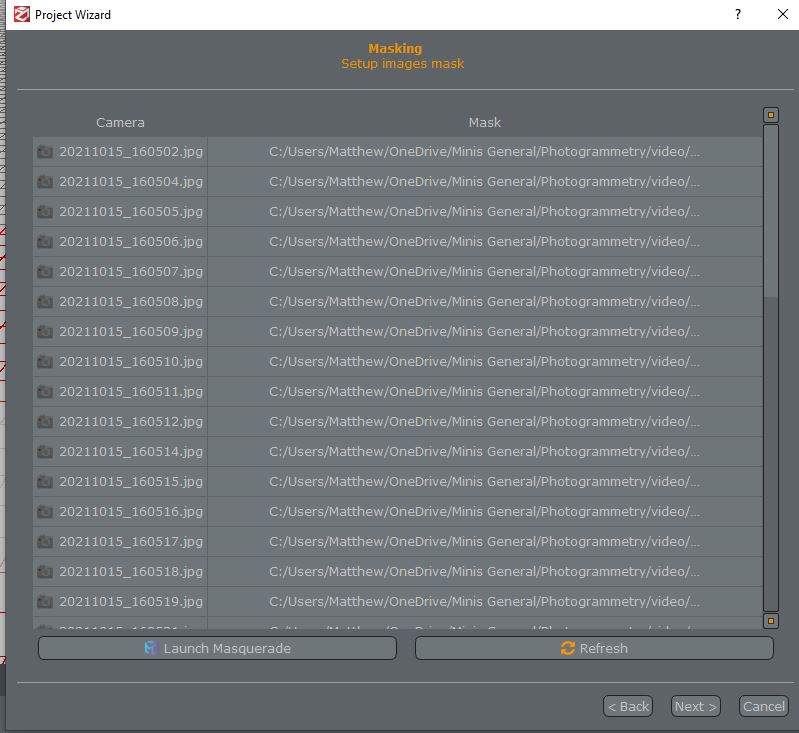
Once you are done with all the images go back to Zephyr and hit the refresh button, which will prompt you to direct it to a folder, it should already be on the images folder which Masquerade saves into by default. Accept it and you should have a screen like this:
After masking you should be able to just follow the rest of Andrew’s guide from this point.
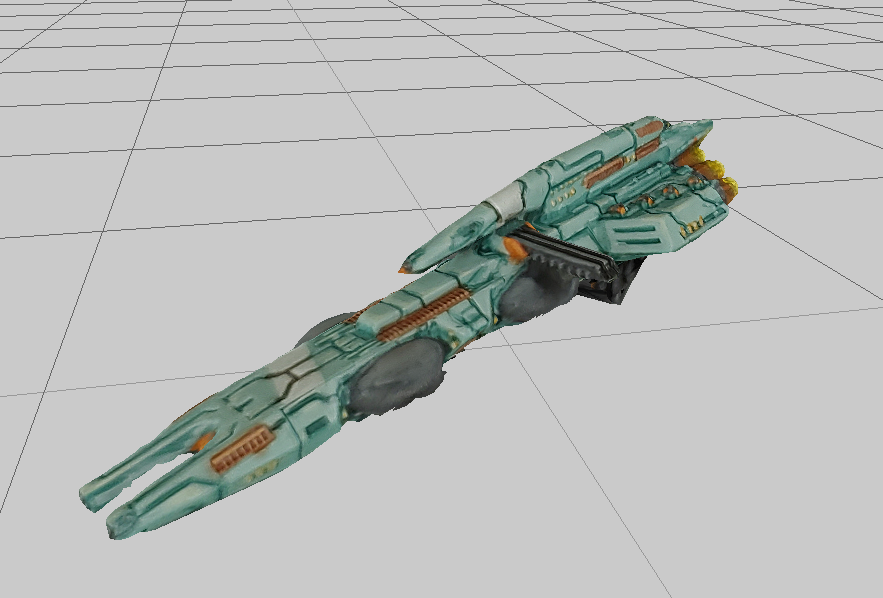
Its much more obvious the differences between the two method when looking at the models in Zephyr compared to TTS, but even then its not that bad.
I ended adjusting the curves on the outputted texture to get it a little lighter, but that’s unneeded.
In amongst the rest of ships you can barely tell the difference. While a fancier setup reduces the amount of work needed and makes for crisp results, there is no reason you can’t just get in there with what you have.
Have any questions or feedback? Drop us a note in the comments below or email us at contact@goonhammer.com.
