Conquest offers its players many different tools for grappling with an enemy, including abilities like Aura of Death or Lethal Demise which inflict hits in response to activating or attacking while in contact with a regiment with these rules. This makes them two of the game’s rare examples of out-of-sequence damage, which in turn makes dealing with them different to more normal types of attacks like clashes, volleys and impacts.
This article will look in depth at how Aura of Death and Lethal Demise work, how you can build army lists that deal with them, and how you can play around them regardless of the army you’re using.
How Do These Rules Work?
Aura of Death and Lethal Demise are both unique in that they inflict hits on your regiments outside the usual timing window of an enemy declaring an attack of some sort. Instead, Aura of Death inflicts a number of hits on your regiments based on how many enemy stands you are in contact with when you activate, and Lethal Demise inflicts a number of hits based on how many wounds you deal to an enemy you’re in contact with (before calculating any further damage from resolve).
In practice, Aura of Death is the harder of the two to deal with since it activates automatically when you activate and so can’t be avoided by choosing not to attack the enemy, and is also typically more dangerous thanks to the large number of hits it can inflict.
What’s very important to recognise about both these rules, however, is that they always trigger in response to your actions. This is occasionally misunderstood as “punishing you for playing the game,” but in practice rules like Aura of Death actually punish a player for mistiming their actions. We’ll discuss more how to take advantage of this below.
While quite a few units have access to these rules in small amounts, there are a few standout examples that are truly threatening and capable of doing extremely high damage. At time of writing, these are:
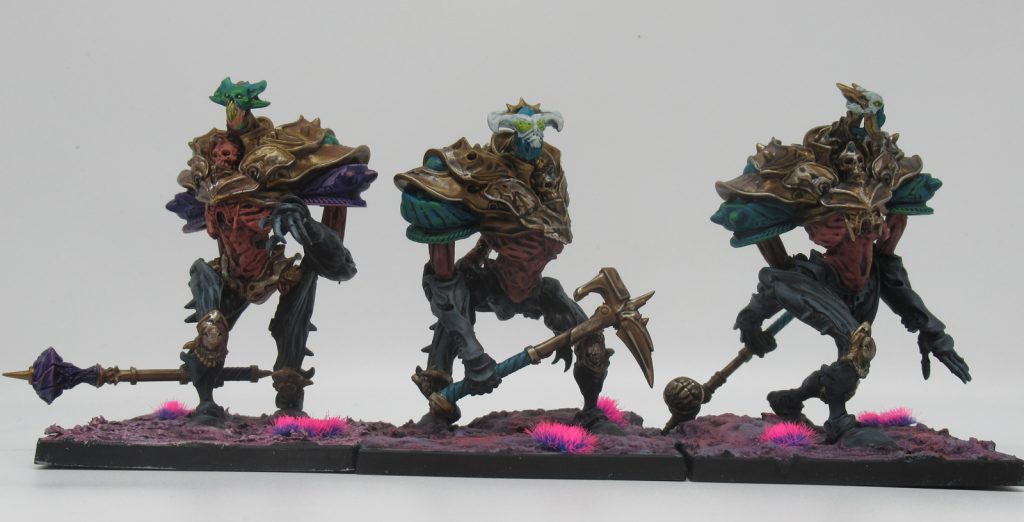
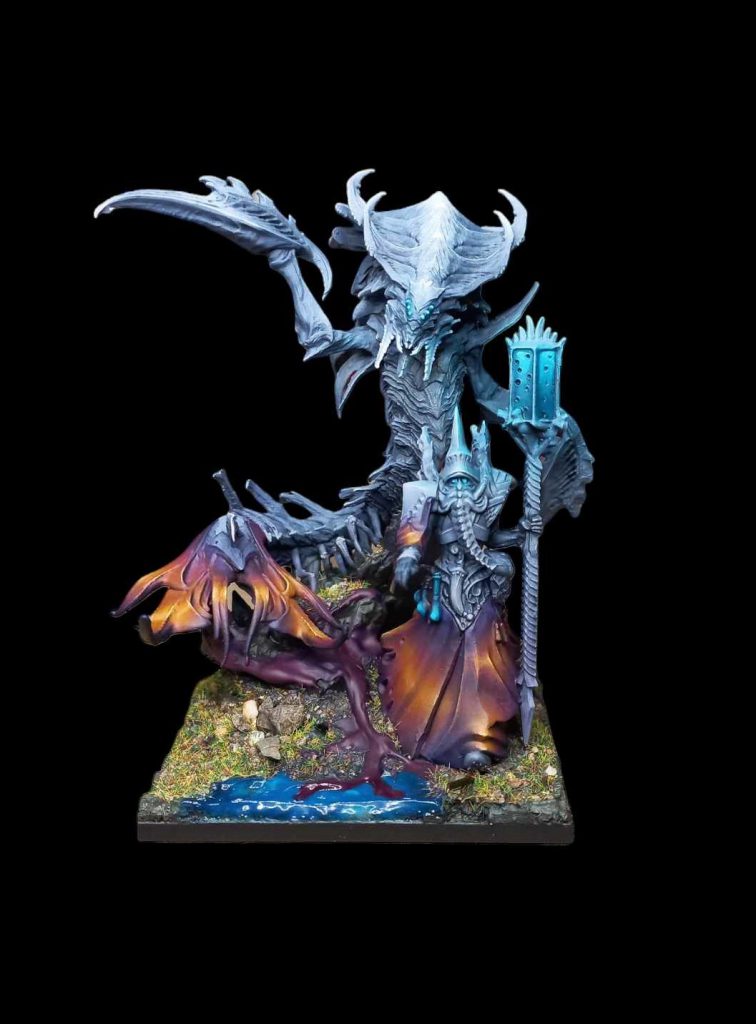
- Spires Force-Grown Drones led by either a High Clone Executor with Cascading Degeneration (granting the unit Aura of Death 4), or a Pheromancer with Cascading Degeneration or Degenerative Aura (granting the unit Lethal Demise). While individually weak and fragile, Force Grown Drones can be taken in massive numbers, often with ten or more stands in a unit just for added durability, meaning they’ll often try to play four or five stands wide to inflict 16 or 20 hits with Aura of Death on an enemy fully engaged by their front rank.
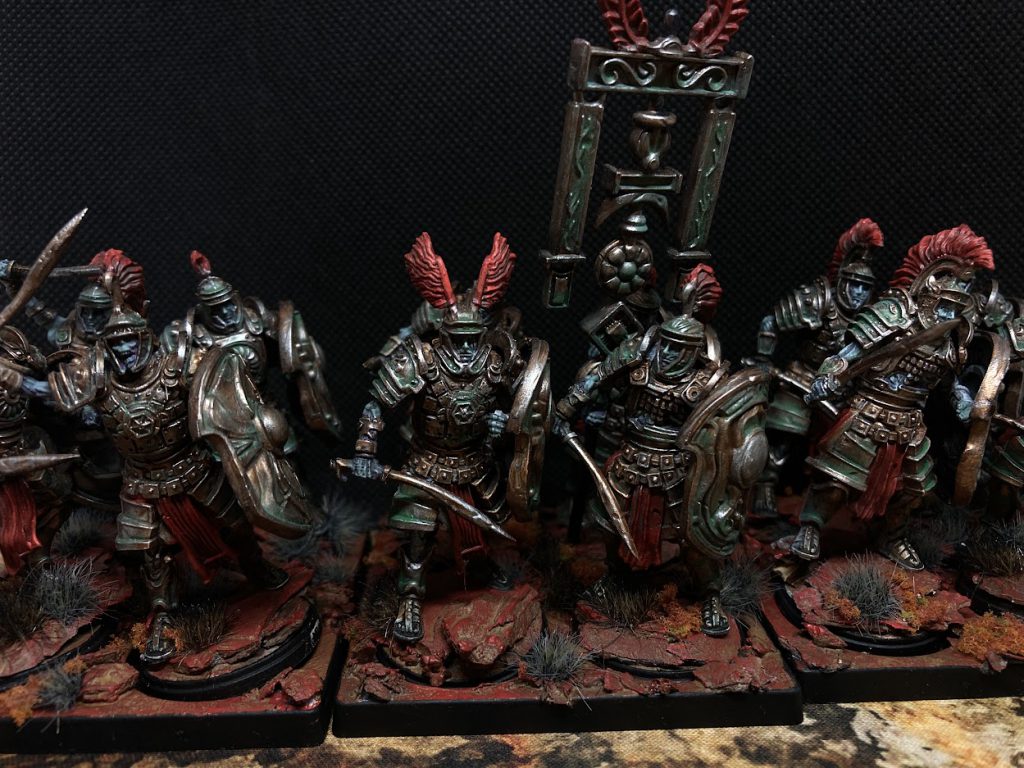
- Old Dominion Praetorian Guard with a Profane Reliquary (granting Aura of Death +2) led by a Strategos with the Legio ‘X’ Primigenia banner (granting a further Aura of Death +2, for 4 total) plus a selection of defensive artefacts. While not invulnerable, this unit is very tough point for point and will arrive early and attempt to play the grinding playstyle, relying on Aura of Death for damage over multiple turns.
- Flame Berserkers (natively Aura of Death 2) with an Ardent Kerewagh with Memory of Breath (granting the regiment Aura of Death +1). This regiment is fast, tough and can absolutely dish it out in melee especially compared to the other two regiments, but being Aura of Death 3 rather than 4 helps limit the passive damage it can do in comparison to Force Grown Drones and Praetorians, making this regiment the relatively least focused on Aura of Death (and more focused on a huge number of attacks from a dangerous, tough early-game regiment).
All three of these regiments will often play in a somewhat similar way, but the Drones and Praetorians especially will often attempt to march-charge into your regiments without actually attacking, instead opting to just get into melee as soon as possible so your units are forced to activate, take the full weight of Aura of Death hits, and make you sad.
Honourable mention also goes to a Spires brick of Incarnate Sentinels with the Cascading Degeneration mutation, and Old Dominion Bone Golems. Both these regiments are a huge heavy brawlers with cleave two attacks and a ton of durability, but they’re expensive and Heavy – Aura of Death is just part of what makes them powerful, not the sole focus of the regiment.
Mechanical Counters to Aura of Death and Lethal Demise
Before we talk about counter-play against Aura of Death and Lethal Demise, let’s look at a few things you can include in your lists to help against these rules.
The main limitation of both Aura of Death and Lethal Demise is that they don’t possess any armour piercing ability and will (almost) always allow the defending regiment full access to their basic defensive stats and rules. The notable exception is defensive draw events like Bastion, which Aura of Death will trigger before you can resolve.
This means it is possible to build units that can mostly ignore or partially mitigate Aura of Death and Lethal Demise during list construction by having tough units, or the ability to tune up your units’ defences before they activate. For example:
- In City States, Hoplites are already great anvils to hold off things like Aura of Death, but you can juice them up even further with the Aristarch’s battlefield orders or the Promethean’s spells letting them reroll Defence rolls of 6. Defence 4 rerolling 6s cuts the damage from Lethal Demise and Aura of Death down to near-negligible levels.
- In Wadhrun, the Cult of War lets you rally regiments and give a defensive boost to units about to activate in contact with an Aura of Death regiment, and unlike Bastion, the chant battlecry happens before Aura of Death triggers. Wadhrun don’t have natively high enough defence to thoroughly mitigate the hits, but this cult lets you apply the bonus to any eligible unit without having to invest specifically in tailored defences (other than making the warband choice).
- In Dweghom, the (admittedly rarely-used) Stone Sorcerer lets you massively increase the defence of an un-activated unit, which lets even basic warrior units handily no-sell the bulk of the damage from Aura of Death or Lethal Demise. Dweghom also have the option of just taking natively high defence units that can weather the worst of these attacks without specialised technology, thanks to multiple high quality Def 4 units.
- In Nords and Spires, while the draw event Bastion is no good at defending against Aura of Death, Regeneration is fully effective at mitigating the damage provided you keep your regiment from breaking to the AOD hits. A decently sized unit of trolls benefiting from a buff like a Shaman’s Reshape Destiny should be able to weather the worst of the storm and recover a lot of the wounds they do suffer and then crack back hard.
In addition to being able to tank through however many hits you take, you can also significantly reduce the number of hits you take from Aura of Death by limiting the frontage you are engaged by. Remember, you take hits based on how many enemy stands are engaging you, so if the enemy is only engaging you with a few stands, that potentially twenty or more hits is cut down to sixteen or even twelve. This makes monsters from all factions especially good at resisting aura of death hits as they are impossible to engage with more than three stands, and factions like Hundred Kingdoms with access to Support (3) regiments can fight in very narrow columns for almost no loss of offensive power.
Finally, if we look closely at every one of the Aura of Death examples in our first section, we see that they’re all dependent on characters to reach their maximum potential. This means that duels are scarier for these regiments than they might otherwise be, and if for example you’re able to cut the character out of a unit of Force Grown Drones, you cut their offensive power down to nothing at a scratch. However, connecting with duels is easier said than done and something more to consider as part of your overall approach to handling the enemy regiment than anything like a silver bullet.
Counterplay Against Aura of Death
Step One: Limiting the Damage
The most important realisation when playing against Aura of Death and Lethal Demise is that these rules only trigger in response to your regiments activating or taking actions. This means that, in theory and practice, we control when this damage to our units will trigger.
This means that, as with so many things in Conquest, the first step is recognising the threat and predicting when and where it will land. Once your opponent moves their big Aura of Death regiment onto the board, they’re telegraphing their intent to you, and you need to read that intent and structure your activations and deployment accordingly.
The first thing we want to do is protect the potential targets of the Aura of Death unit by putting them in a protected position in our activation stack. This generally means either very early in the order (so they can activate before the Aura of Death jumps in on them, keeping them safe from the damage for at least a turn) or very late in the order (so we can come to their rescue with other units before they’re forced to activate and take hits). If you’re fortunate and have multiple of the same regiment type in your army, always remember that you can put one card early and one card late and activate based on battlefield conditions at the time.
This sounds more complicated than it is, so let’s illustrate with an example:
Suppose we’re a Hundred Kingdoms player, and a massive Spires unit of Force Grown Drones with Aura of Death 4 is bearing down on our regiment of Men-At-Arms. As the turn begins, they’re currently standing 11” away and we expect the Spires player to march+charge into contact with our unit early in the turn. We have some units available to support, but we want to keep those Men-At-Arms alive if possible.
Fortunately, we do have one more regiment of Men-At-Arms arriving from reserves this turn. Accordingly, we’re going to put our two Men-At-Arms cards at the very start and very end of the turn order as we order our deck. If we go first, our plan is to activate the exposed unit of Men-At-Arms before the Force Grown Drones arrive, which means they won’t take Aura of Death this this turn. We’ll use their activation to reform them to only fight two wide so they’re a bit safer if they do take some hits down the line, and move them forward just a little an angle that puts the drones in a bad position if they charge us.
If the Men-At-Arms get jumped by the spires before we have a chance to activate them, we’ll instead use the first Man-At-Arms card we draw to bring the second unit on from reserves, and leave our engaged Men-At-Arms until the very end of the turn, and we’d use our other activations between the start and end of the turn to try to come to our engaged unit’s rescue.
Step Two: Removing the Threat
Provided you order your activations correctly, you should always have a window of opportunity before Aura of Death or Lethal Demise start dealing damage to your units (and in a pinch, you can ignore Lethal Demise entirely by just not attacking).
Using this window of opportunity is how we punish opponents attempting to trap us with Aura of Death damage and rescue units caught in that trap. In the example above, no matter what happens, we’ve bought ourselves some time to respond before our Men-At-Arms start crumpling, and we need to use that time to collapse on and punish the enemy regiment.
Particularly against Aura of Death, once the enemy is pinned in an engagement, you’re safely positioned to collapse in on and destroy that regiment with whatever combination of ranged attacks, magic, and melee assaults you have to take them out before any trapped units activate.
(Against Lethal Demise, limit yourself to ranged and magic attacks from outside combat as these totally nullify Lethal Demise, and no Lethal Demise units can safely weather these attacks.)
The best-case scenario is that you entirely destroy the enemy Aura of Death regiment before your trapped units activate, but even doing significant damage will set you up well and ultimately help you solve the problem. Counter-assaults into an ongoing melee also tend to limit the engagement width of the second and third units into the fray, which also helps make sure that you aren’t too exposed to Aura of Death in any subsequent examples.
Let’s expand the example we’ve started above and look at how we might save those Men-At-Arms:
Our unit of Men-At-Arms has managed to avoid getting blown out by Aura of Death for a turn, but now they’re in melee and are going to take sixteen aura of death hits from the four stands of drones of the big regiment they’re engaged by. This probably won’t kill them, but they’re also going to be attacked by the drones, which in addition to the Aura of Death hits will probably spell their doom.
The first thing we do is put the Men-At-Arms down the bottom of our command stack. That gives us the entire turn to try to come to their rescue. It’s still a little early in the game so we don’t have any of our big heavy hits in place to counter-assault, but we’re a good Hundred Kingdoms player so we do have a unit of mercenary crossbowmen hanging back in range to support, some Sealed Temple with a Priory Commander with Eccentric Fighting Style (my personal favourite Hundred Kingdoms unit) out on a flank, and that second unit of Men-At-Arms that arrived last turn.
Firstly, we’ll fire with those crossbows as best we can while we have unobstructed shots. Shots with armour piercing rounds in the flank will totally prevent saves, and while the Drones might have Loose Formation against ranged attacks, any damage we can do will help and we can expect to maybe remove a stand or so. Gotta start somewhere!
Next, while our first Man-At-Arms regiment is alive, we’ll go in with the second Man-At-Arms regiment. Because the Drones are engaged front to front with our first regiment, we’ll end up with our second unit engaged off-centre and not contacting too many Drone stands, which means that even if the worst happens this second unit will last a while as they’re only engaged by a small number of Aura of Death stands.
Then we’ll ride into the other flank with our Sealed Temple. We have quite a few aces up our sleeve, here. Firstly, Fluid Formation and generally good impact and offensive stats on the Sealed Temple make them able to respond to this threat easily even if they appear out of position. Secondly, by riding them into the flank of the Drones, even if we don’t crush the Drone regiment with this attack, their excellent Def 4 should easily weather the worst of the small number of Aura of Death hits they’ll take next turn from the few stands they’re engaged with. On top of that, them engaging in the flank will strip the Drones of their Support (2) rule and force some attacks to be directed away from the Men-At-Arms, increasing the chance they survive.
Finally, if we do enough damage to break the drones, we have the option of Duelling with the Priory Commander. This Commander has quicksilver strike, Clash 4 and is rolling a whopping eight attacks with rerolls to hit against the enemy High Clone Executor, which gives him a very good chance of decapitating the sole source of Aura of Death in the enemy regiment before he gets struck in return.
Now, obviously this sounds like a lot of force all directed at a single enemy unit, but bear in mind that the enemy drone regiment also represents upward of a fifth of the entire enemy army by itself, and setting yourself up to defeat the enemy in detail is one of the plays that wins games.
If you aren’t a Hundred Kingdoms player with access to probably the best Fluid Formation unit in the game, you can still make a lot of the same plays as above, setting up over multiple turns to pin and safely destroy the enemy Aura of Death regiment. Set up those flank and off-centre front engagements to keep it pinned in place, and then line up whatever good quality heavy you have available to hit it like the hammer of god.
The fundamental principle is the same in all cases: exploit the fact that you decide when the damage happens to set the enemy up for destruction.
As always if you want to get 10% off and support Goonhammer you can make your Conquest purchase by clicking here for US/Canada or here for EU/rest of world. You’ll also need to enter code “goonhammer” at checkout.
Have any questions or feedback? Drop us a note in the comments below or email us at contact@goonhammer.com.
