Special thanks to Para Bellum for providing a significant amount of review material. In addition, if you want to get 10% off and support Goonhammer, make your Conquest purchase by clicking here for US/Canada or here for EU/rest of world. You’ll also need to enter code “goonhammer” at checkout. Look, we don’t make the rules, that’s just how it works!
Today we’ll be taking a look at Para Bellum Games’s entry in to the world of 3D printing, with a host of buildings from the Hundred Kingdoms and Dweghom. Mike and Rich will be sharing some of their experiences with printing these kits to help you on your way to richer battlefield.
The Files
While there’s a myriad of 3D printable buildings available to adorn your battlefields and bring them to life, if you’re looking for something more specific to world of Eä, Parabellum are now offering a range of STL files for those with access to a printer. We’ll be covering files from their Hundred Kingdoms and Dweghom range in today’s article, however they’ve recently added terrain for Sorcerer Kings and The City States.
One very neat thing about the larger buildings is that each of the footprints is sized to be multiples of the standard base size. Some of the models also come with large flat bases which contain keywords for quick reference during game play.
Hundred Kingdoms
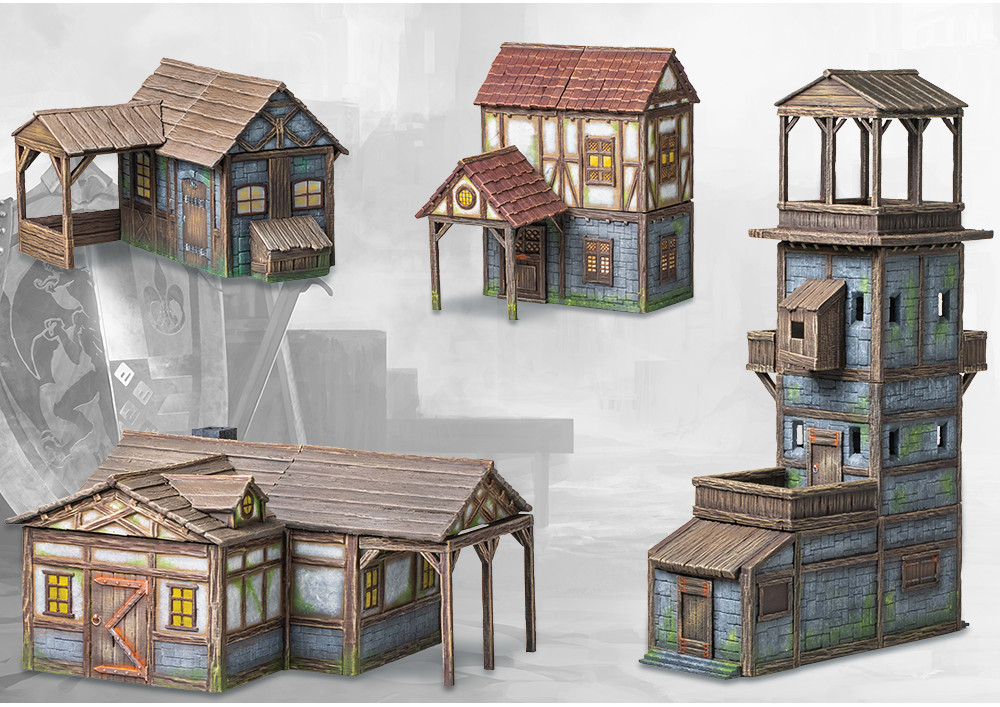
If you’re looking to create a small township for your board, then the Hundred Kingdoms file set offers a reasonable entry point. It has a selection of buildings with a few houses of varying footprints and a watch tower. This should all feel pretty familiar and the modular nature of the houses offers you a few options for your builds. The big advantage of Parabellum’s offering over other fantasy houses and guard towers is the sizing and conformance to their own terrain rules.
Dweghom
The Dweghom files are where things get more interesting with shrines and tombs leaning into the Dweghom aesthetic. The two shrines have multiple options, making it easy to add some variety to the smaller scatter pieces and the larger buildings come with optional adornments.
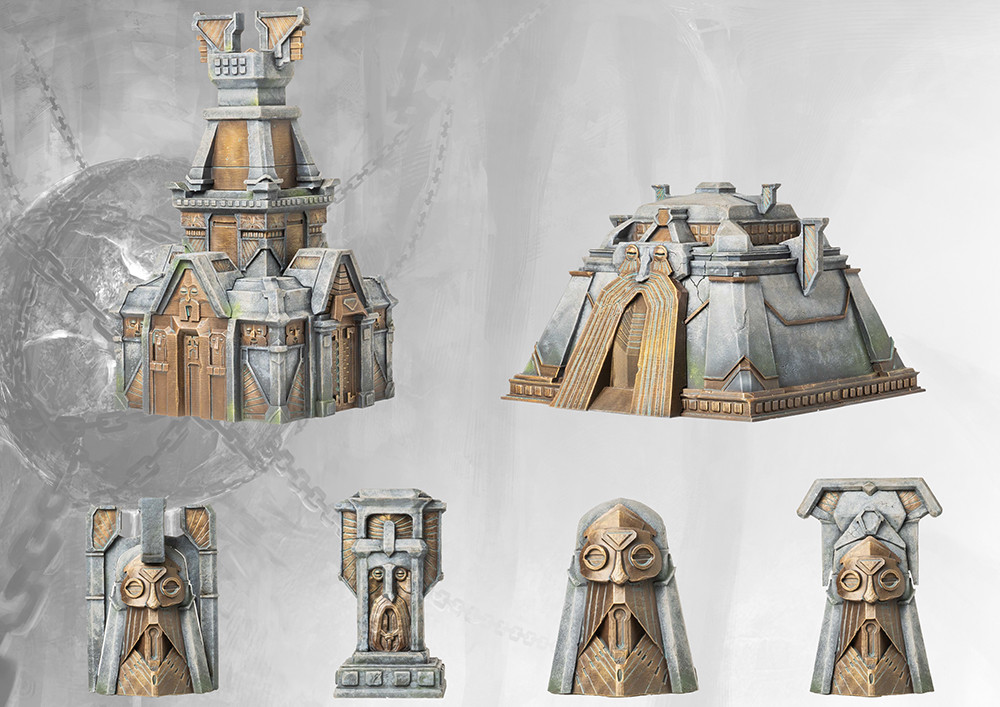
Some of these adornments might be a little challenging to print for less experienced users, especially in FDM, and you’re going to want to have well tuned support settings to make clean up easier.
Printer Setups
Mike’s Setup
I’m fortunate enough to have a couple of printers setup at home, and I’ve been 3D printing for around 8 years at this point. For larger prints, I have a Creality CR10 Pro V2, flashed to use Klipper firmware, with a Bondtech DDX V3 Extruder and a 06mm nozzle. More recently I’ve purchased a Bambu Lab P1S with an AMS, which has been great for smaller prints and it’s nice having a printer that offers a plug and play experience.
My usual filament of choice is eSun Matte PLA, it has a nice finish before being painted and has been working well for me.
When printing with the CR10 I use OrcaSlicer, and when printing with the P1S I use Bambu Studio. It helps keep the profiles distinct and reduces the risk of me doing something dumb like use the wrong settings between printers given how different they are.
Rich’s Setup
I’m a lot newer to FDM printing, which is what the majority of these files are best-suited to. I started out last year with an Ender 3 V3-SE, but after finding that it was still a little bit too much like hard work for me I upgraded to a BambuLabs A1. I am fully here for 3D printers as a tool, and less so as an all-encompassing hobby, so the combination of speed, repeatability and plug-and-play nature are a winner for me.
I slice everything in Bambu Studio, printing on the default 0.4mm nozzle. I use around an 8% gyroid infill density and 0.12mm layers, which I have found gives the right mix of sturdiness to weight and material consumption. I also tend to add a 5mm brim to my prints, which is easy to clean off at the end of the print but has saved me from a persistent warping problem I was experiencing in my slightly drafty flat.
Getting Them to the Table
While we won’t be covering every file supplied in these packs, the guidance is broadly applicable to all files. I’d personally recommend using OrcaSlicer, or BambuStudio if you’re using a Bambu Lab printer. The configuration images I’ll be sharing below are all taken from OrcaSlicer.
Hundred Kingdoms
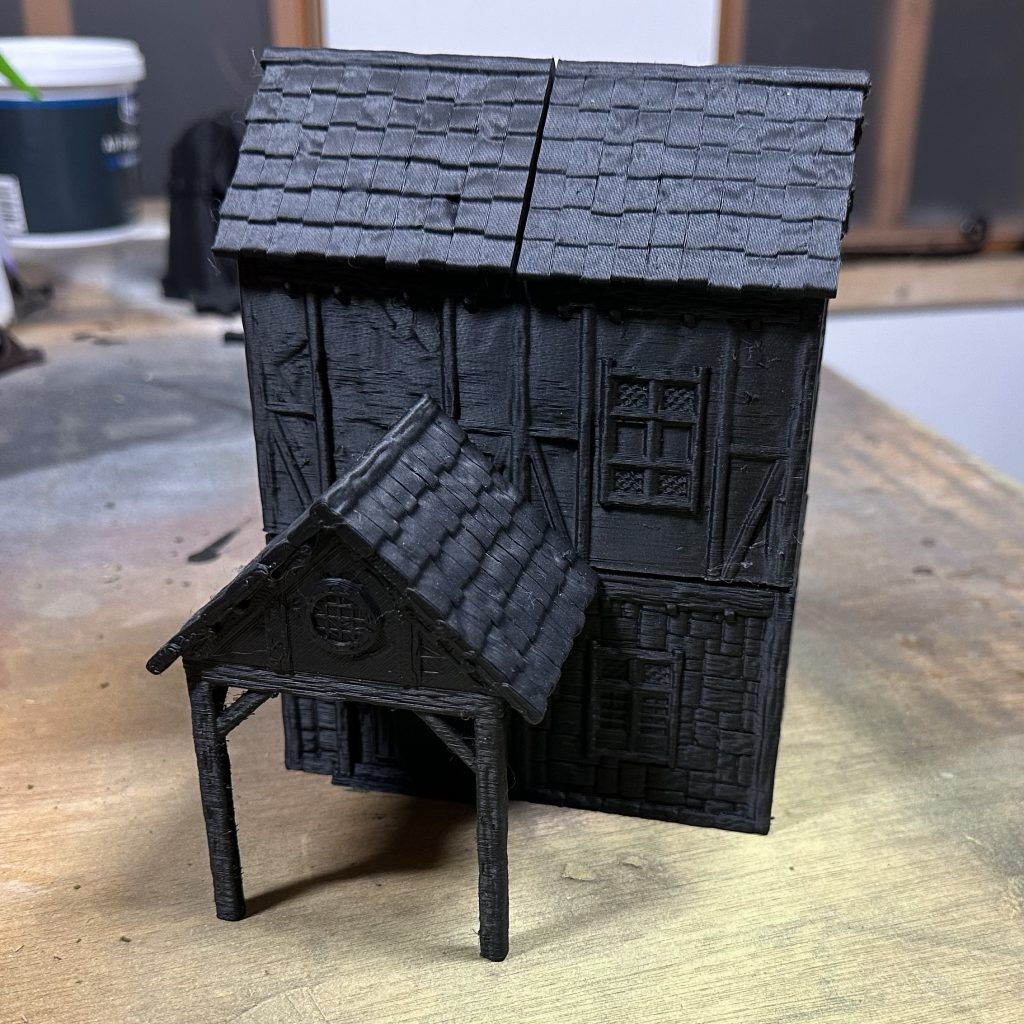
All of the Hundred Kingdoms cottages come with recessed sections to allow for location pins when stacking the models. These channels run all the way around the circumference of each building, and due to this you’ll need to print the building floors with supports enabled. For the building floors a classic grid pattern is most efficient as you’re not trying to cover lots of disparate overhangs at various heights. I would personally suggest enabling the “supports touching build plate only” option, and then if needed use support blockers to reduce excessive material usage. If you want to make the supports easier to remove, you can also add a two layer raft to your print configuration.
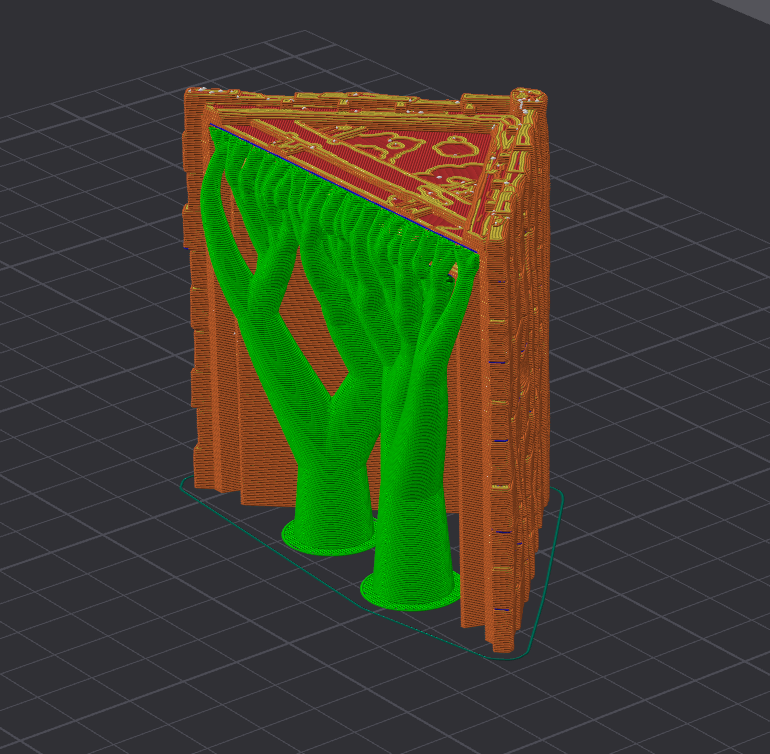
When it comes to the roof pieces, by default they load eaves down. While you could print them in this orientation with lots of support material, I found that rotating them 90 degrees so that the flat face touches the build plate, and then enabling supports gave better results. If you don’t mind a copy of slightly sloppy tiles, you can also add support blockers to the tiled surfaces to reduce material usage and overall print time.
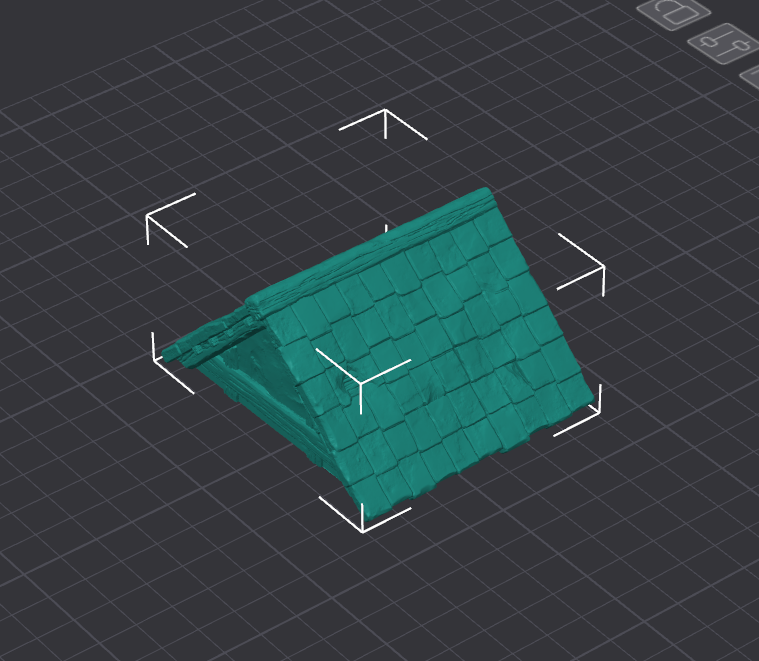
The easiest way to rotate the roof pieces is using the “Lay on Face” tool, and then clicking the face you want flat to the build plate. I initially tried manually rotating the pieces and was left with a cantilever contact point.
You can see even with supports just touching the build plate we still have a large number of trees supporting very small tile edges. By placing support blockers so that they fully enclose the tiles these can be prevented, saving us time and material.
The Tower will also need a similar treatment to the cottages, with supports for the recessed sections. You’ll be able to use normal supports without too many issues, and if you feel the amount of support generated for the second floor piece is excessive you can always utilise blockers.
Dweghom
The Dweghom, being expert craftsmen, offer a simpler printing experience for many of the files. However, being expert craftsmen, they also have a good number of extra addons which aren’t quite as straightforward to print.
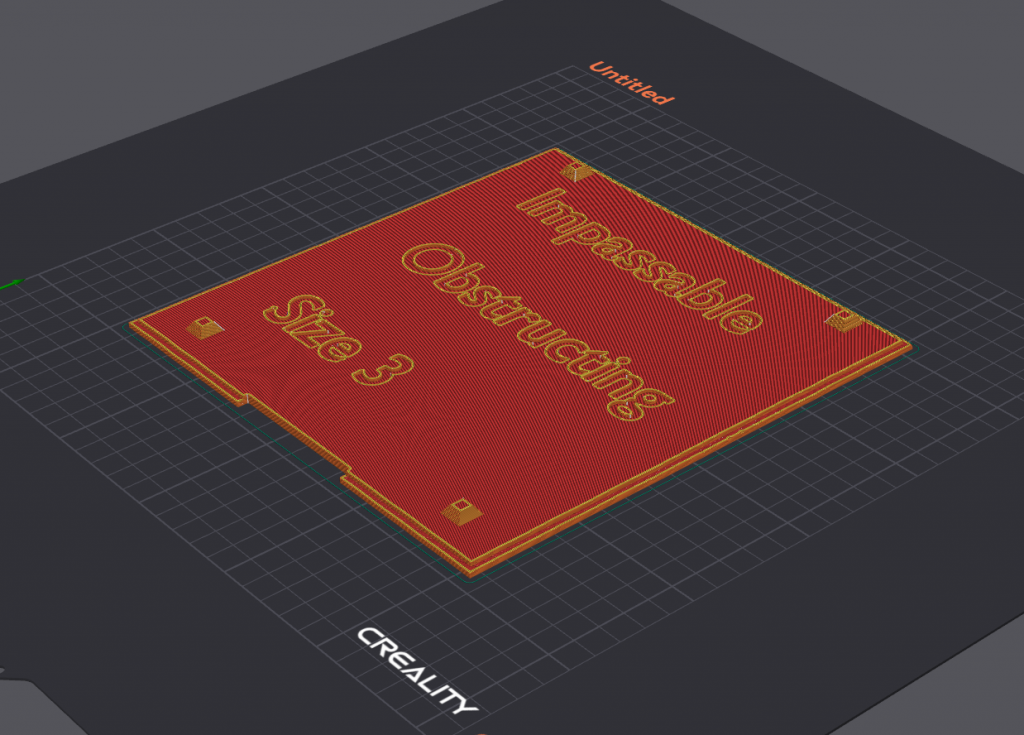
The Shrines can both be printed without supports, if you’re nervous about the overhangs on Shrine A then you can enable supports however they shouldn’t be needed. The additional pieces for Shrine B will need to be supported. With the exception of addon 2, they’re all already in the correct orientation. Using the default orientation, I would be concerned about losing detail due to support material interfacing. Flipping the part over uses a similar amount of support material, but means the top surfaces will not need support material to be removed.
While the Royal Tomb is overall a pretty straight forward print, you’ll still have a few pieces that require some support material to print but using default supports and orientation will be fine.
We’re into uncharted territory now, as I haven’t had a chance to print the Dweghom Tower yet. With plenty of similarities to the Royal Tomb, the main body and towers will require minimal support, and I would be tempted to turn off supports entirely for the main tower body.
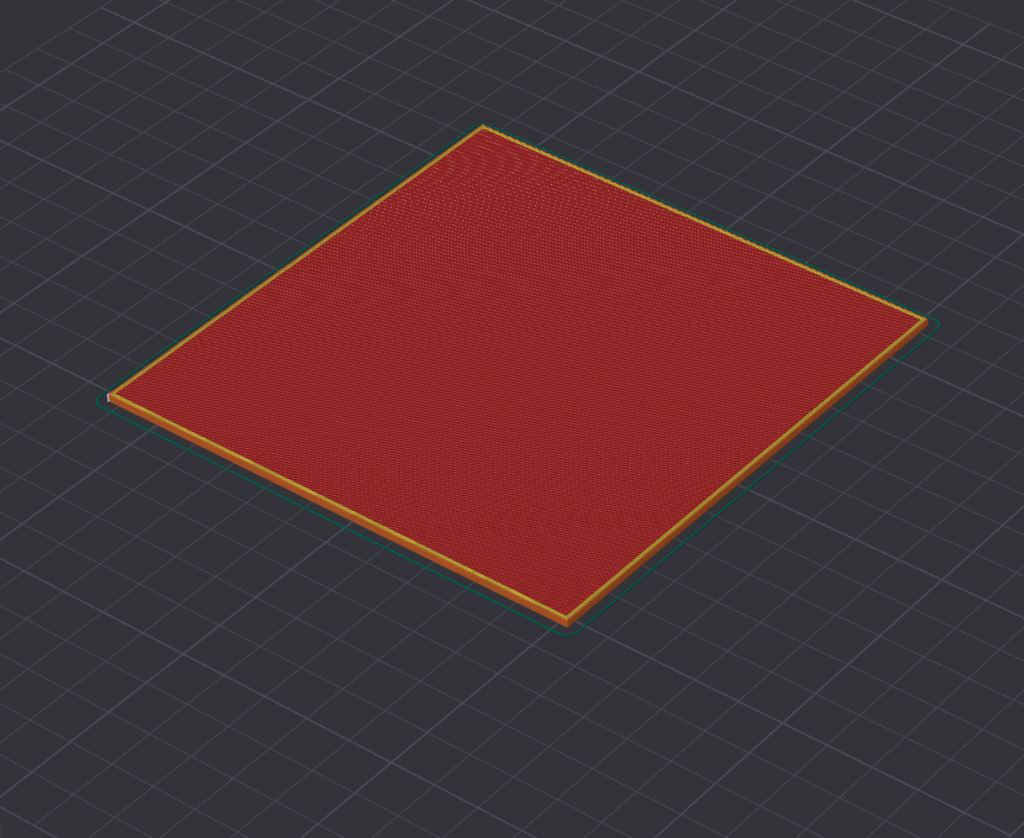
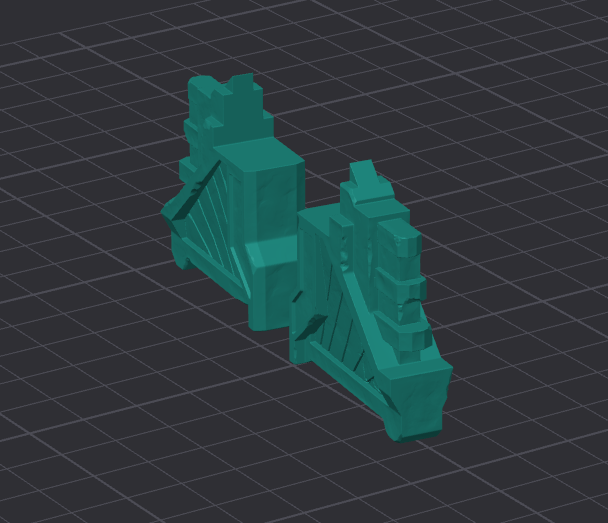
Once you reach the addons there are sufficient overhangs that I’d be inclined to enable them. For the wings, the default orientation will have one entire side interfacing with support material. While I’ve previously said this should be avoided, I’d actually recommend rotating them so that the top face points downwards.
With that, we’ve concluded our tour of Ea, and hopefully some of this has been helpful as you embark on your next printing project. Plenty of the approaches here can be applied to other FDM prints.
As always if you want to get 10% off and support Goonhammer you can make your Conquest purchase by clicking here for US/Canada or here for EU/rest of world. You’ll also need to enter code “goonhammer” at checkout.
Have any questions or feedback? Drop us a note in the comments below or email us at contact@goonhammer.com. Want articles like this linked in your inbox every Monday morning? Sign up for our newsletter. And don’t forget that you can support us on Patreon for backer rewards like early video content, Administratum access, an ad-free experience on our website and more.
