
G’day Goonhammer readers. I am back once again from Clash of Kings Australia and ready to talk about six great games for your reading pleasure.
Last time we left off, I was still nailing down exactly what the final shape of my list was going to be (you can check that out here). For those not jumping ahead and checking out the list submissions, this is what I needed up with:
3 x Scarecrow Regiments
6 x Tormentor Troops
1 x Butcher Horde - Blood of the Old King
1 x Shadowhound Regiment - Brew of Strength
1 x Mindscreech - Planar Apparition
1 x Portal of Despair
1 x Banshee - Command Blue, Zephyr Crown
1 x Esenyshra
1 x Void Lurker - Pipes of Terror
The last debate on list style was whether to focus on speed or anvils, and I landed firmly on the speed side. I’m much more comfortable being the one to throw the punch than take it, and playing a familiar style helps when the pressure is on.
I was happy submitting this list, and then a little less happy on the list release. There were a lot of strong lists, and I thought I might have brought a little too much glass, and not enough cannon. But read on, and see what happened.
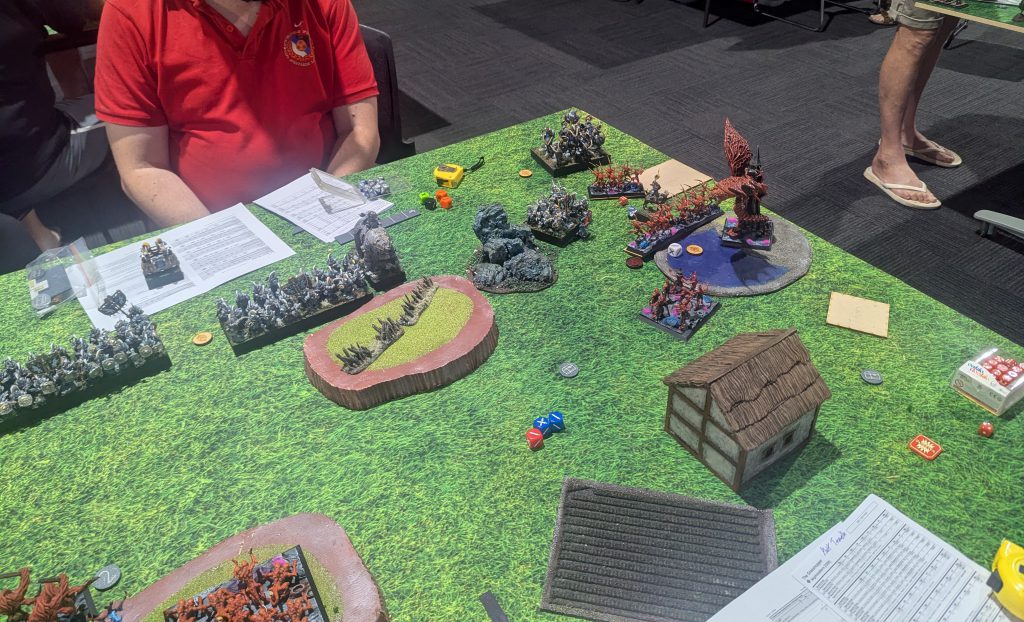
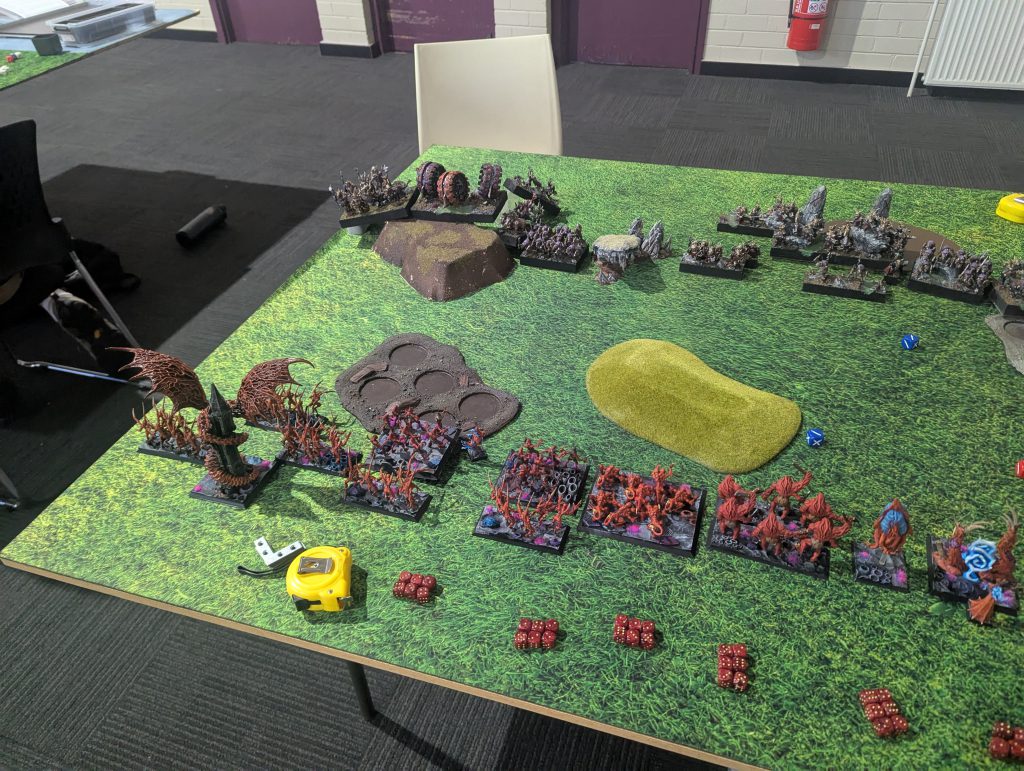
Game 1, Stockpile – Jatz’s Trident Realms
1 x Naiad Ensnarer Horde - Hammer of Measured Force
2 x Thuul Regiments
2 x Naiad Heartpiercers Regiments
1 x Placoderms Regiment - Guard of the Trident King
1 x Tidal Swarm - Nokken Shepherd
1 x Knucker
2 x Coral Giant - 2 x Giant Cleaver
1 x Kraken - K’thtur the Tidebringer
1 x Naiad Centurion - Trident of the Drowned Sea, Wings of Honeymaze
1 x Thuul Mythican - Knowledgable, Host Shadowbeast
1 x Naiad Envoy
This is a titaned-up Trident Realms list, with double Coral Giant and the new upgraded Kraken. It’s got all the utility characters, and that damn Trident of the Drowned Sea, along with just enough shooting, some fighting and some annoyingly large blocks of nerve that’ll be a struggle for me to punch through.
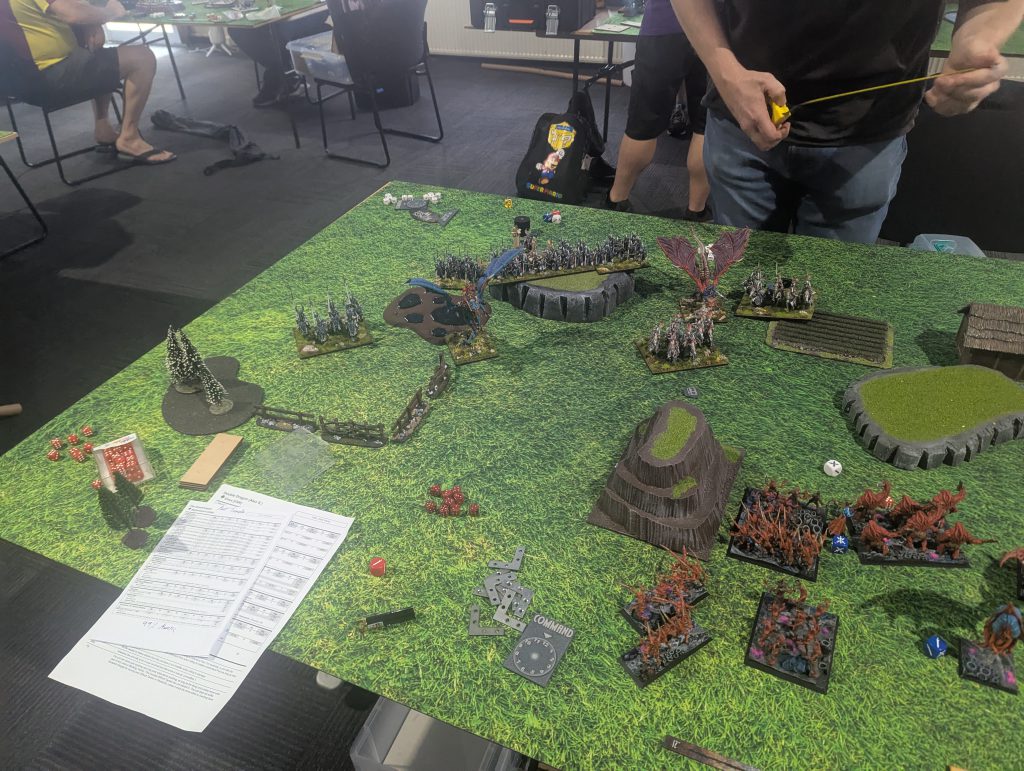
We’re playing Stockpile, so the plan will be to win a flank and then come around to crush the middle.
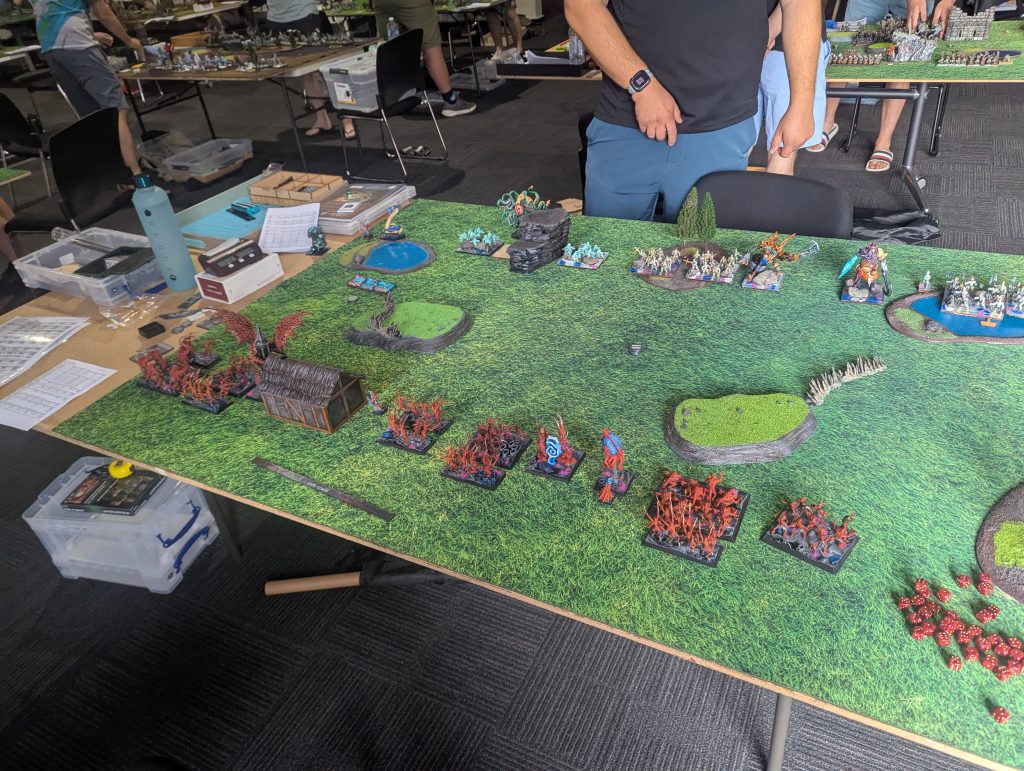
In deployment, Jatz drops his Naiad horde and Placoderms on my right flank. Both Giants and Heartpiercers, the Centurion and Envoy aim to control the middle, and the rest go to contest my left. I take one look at the right, and know I can’t beat that without a massive expenditure of my units, so the play will be to delay on that side and win the left as quick as I can, so that side gets my stacked deployment.
The plan goes about as well as I could hope. Pushing up on the left early sees some pieces swap. Jatz gets the first token on a Tidal Swarm, I kill it with Tormentors. They die to Thuul, and it takes me a little longer than I’d like to break through them. But I’ve massively won the left flank by turn four. Planning for double one’s saves that side. The Void Lurker has its butt hanging out for the Kraken when it fails to kill the Mythican, but I’ve fed the Kraken some Scarecrows, just in case.
The extra time it takes for the Kraken to kill them also lets a Tormentor from the middle get a Ferocious Charge on its flank, and kill it in one. It’s nice to see the idealised plan for what the list is about actually work, especially in game one. It’s a nice confidence boost, especially when I thought I had landed on a bad idea.
In the middle, a Boxcar waver on a Giant from a Windblast, really throws Jatz behind. The first Giant in fails to kill the Hounds and so gets flanked on both sides by two different Tormentors, plus the Hounds in the front, and quickly departs this world. That takes enough oomph out of the middle to let me grab all three of the tokens. With the two I’ve collected on the left, I’m up 5-2, as I have no chance of touching any of the tokens on the right, so Jatz still keeps a hold of them.
The one big mistake Jatz made was not pushing in with his big units once he won that right flank. I got to cover all the angles I wanted to, without any risk of taking a hit that I couldn’t handle. This was a great game, and definitely the way to start a tournament. A fun, relaxed game is always the best way to play and coming out with a moderate win is just a bonus.
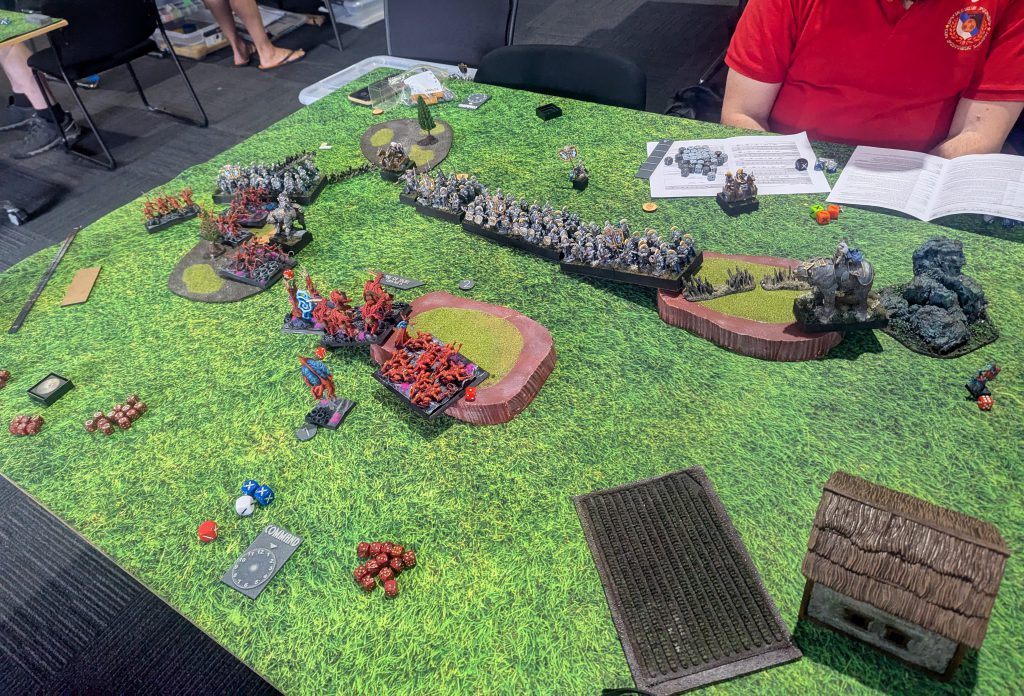
Game 2, Compass Points – Dan’s Halflings
1 x Braves Horde
2 x Poacher Regiments
2 x Ej Grenadiers Regiments
2 x Forest Trolls Hordes
2 x Juggers Hordes - 2 x Relentless, Brew of Sharpness
1 x Aeronauts Regiment - Blood of the Old King
1 x Iron Beast - Pride of the Shires
1 x Muster Captain - Command White, Miniature Aralez, Sure-footed Captain
1 x Sauceror - Miniature Aralez
1 x Muster Captain on Winged Aralez
Game two sees me paired up with Dan, a friend from Melbourne, and the guy who got me into Kings. We had played a practice game the night before, and that ended in the tightest draw as I spent most of the game digging up after giving his Juggers a flank on the Butchers. I wasn’t going to let that happen again. Instead, my greediness will cost me.
Once again, I am planning to crush the left, hold the middle and delay the right.
For the first two turns or so, it’s all going fine. Some chip damage on the Ej Grenadiers gets Dan to throw them in, and that just gets them killed. The shooting is all getting healed off the Butchers, and I get lucky enough on the right, with Tormentors killing the second unit of Grenadiers, swapping them for the Scarecrows.

The main swing of the game is a big mistake from me. I push too far forward with the Void Lurker, sitting so his Sharpness Juggers needed just one success on the Sauceror’s Wild Charge. Dan gets the roll and zooms in and takes the Lurker off. I knew about this, so it was all on me. I’m perfectly fine sitting just an inch or two further back, but I just don’t. I roll a little under with Tormentors that turn, so the second Juggers live, and Dan’s a little up on the Trolls, so I lose my Butchers. I’m stuck digging up and I just can’t pull it back. The Shadowhounds manage a sneaky flank on the Pride of the Shires, and kill it, but die to the Trolls in return.
Then Aeronauts finally make it into the game, and crush my middle with the Trolls. The Captain on Winged Aralez finally kills the Tormentors he’s been wavering for the last two turns, stopping any hope I had of, well, doing anything on the right. Turn 6 rolls around and I can tie if Tormentors kill a Poacher unit and roll big on the overrun (and survive), and the Banshee manages a waver/kill on the other Poacher unit. Consecutive doubles ones sees that dream dead, and turn 7 sees Dan clean up every scoring unit bar the Mindscreech, so it’s a big win to him.
Dan played this game really well, and took advantage of the mistake I presented him with. He also took enough lessons from all the Windblasting I did to him the previous night, so I couldn’t pull off a sneaky win with that.. This game also served to highlight just how quickly my army can crumble once the opponent starts getting their charges off, especially with that unrestricted Thunderous Charge command (the best command in the game). Even the little Strider Captain was killing units by himself. Still, it’s always a pleasure to play against such a beautiful army, and when you know where you stuffed up, it’s easier to take that into the future, and not do it again (hopefully!)
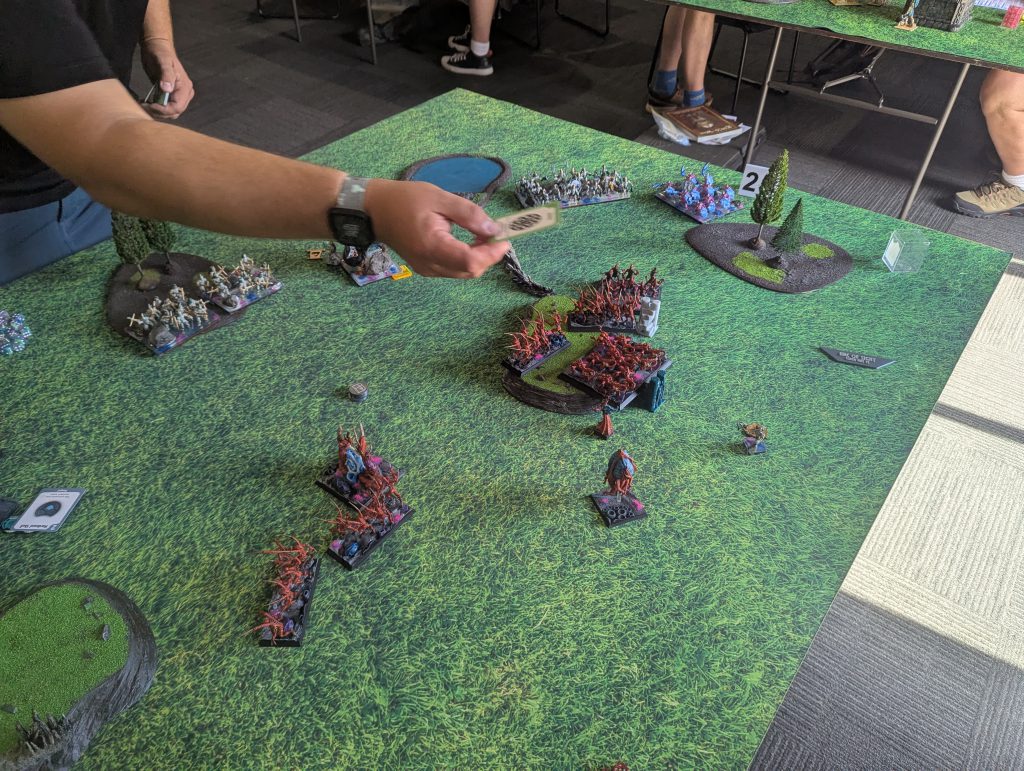
Game 3, Wrack and Ruin – Alex’s Elves
2 x Therennian Sea Guard Regiments
1 x Therennian Sea Guard Horde
2 x Silverbreeze Cavalry Regiments
2 x Stormwind Cavalry Regiments - Quicksilver Lancers, Sir Jesse’s Boots of Striding, Wine of Elvenkind
1 x Elven King
1 x Lord on Drakon - Trickster’s Wand
2 x Dragon Kindred Lords
The third and final game of the day was against Alex’s beautifully painted, and very scary, elves. We played last year, when Alex brought his full Verdant Forces of Nature list (you can read about that here), so I knew I’d be in for a good game.
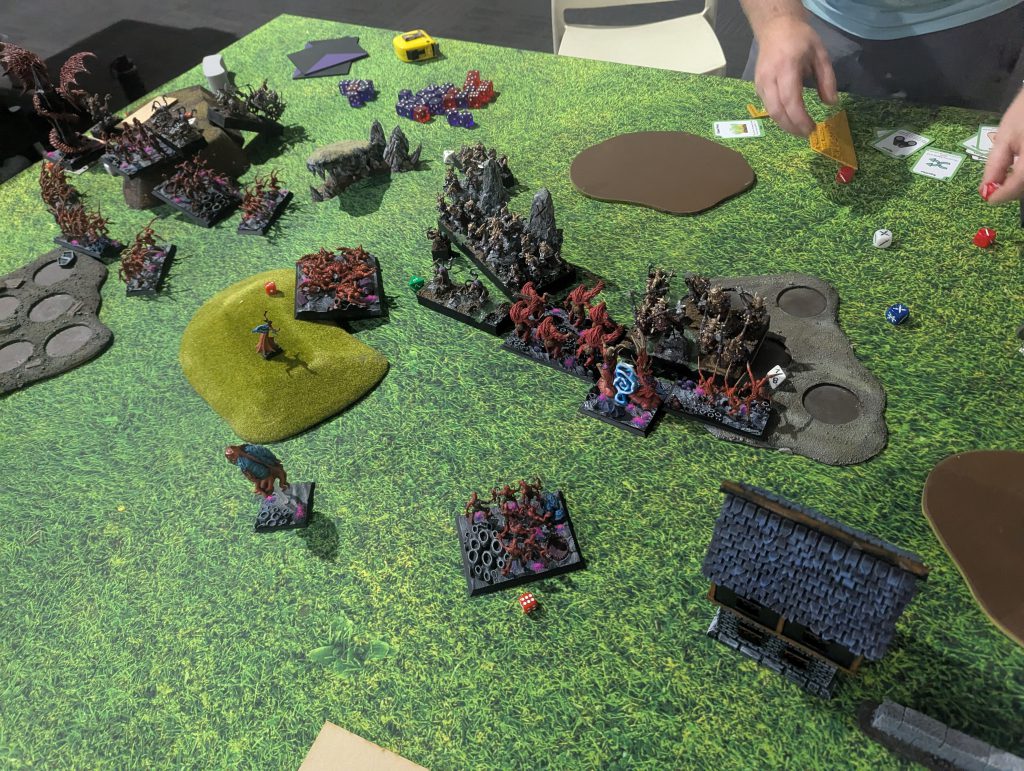
This is a particularly scary list for me. It’s got the volume of shooting to pick off whatever it targets, and enough speed to outrange most of my hitters as well. Having not played Wrack and Ruin before, I had a quick chat with the boys, about what not to do, and the warning was you can lose this game on turn 3 if your opponent grabs both zones, so I had to be careful not to let that happen, or I could try to make it happen to Alex. Going into the game, I did not get the side of the board I wanted. I knew I’d be picked apart if I split up, so I’d have to win my side, and go for the middle in the end.
As you can see, I deployed hard on my right, making sure I win my side. I’m looking to push the Stormwind & Lord on Drakon off my side, and then it’s mostly hope I can survive the shooting with enough stuff to grab the middle at the end.

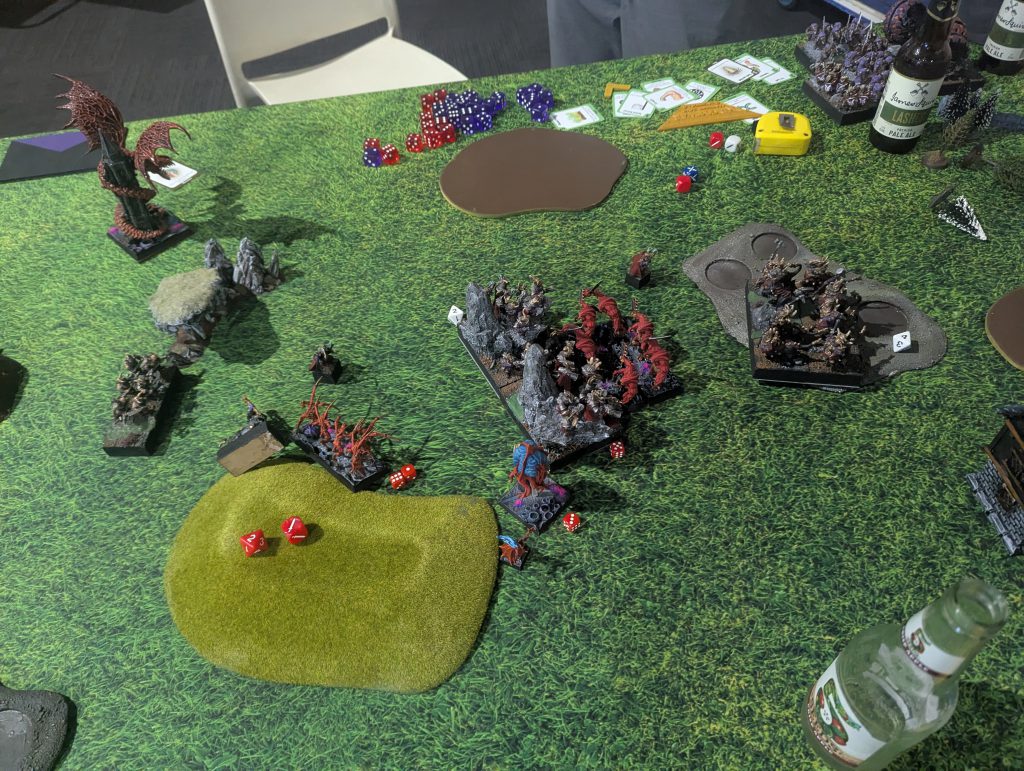
The plan essentially works, though it’s tough to cop that much shooting, and Alex’s dice were not letting him down. Esenyshra catches the Stormwind Cav, and the Hounds finish them off. And that’s all the killing I get to do until turn 6, in which we end like this:
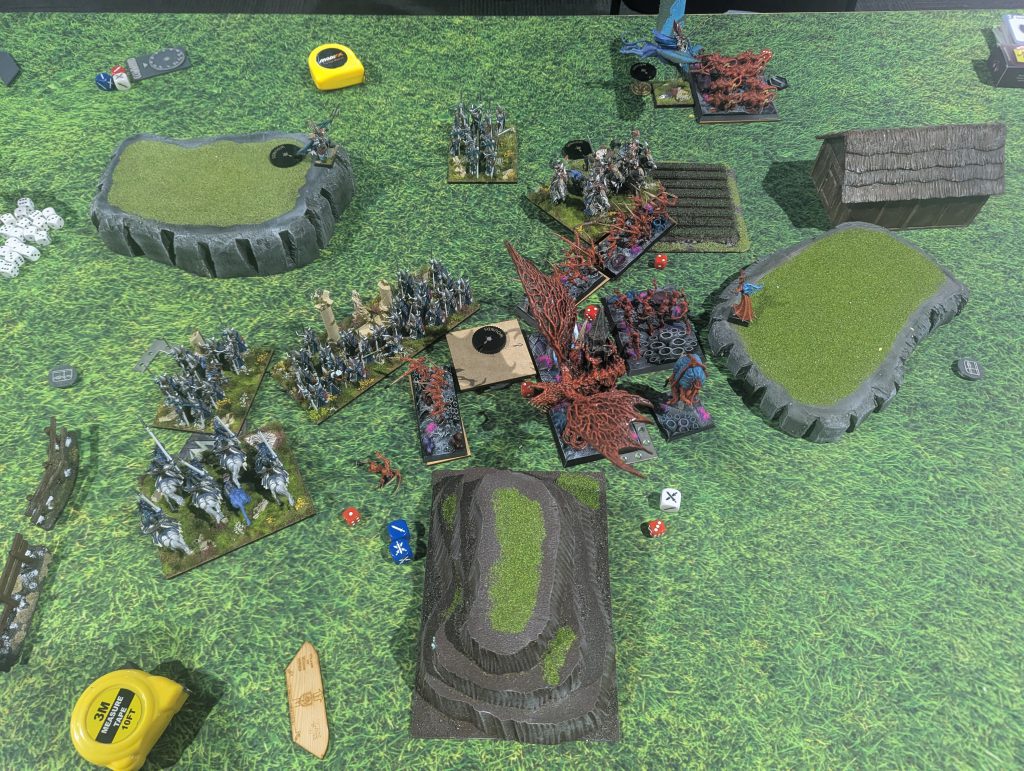
That distinct Titan based shaped hole in front of the Void Lurker is where Alex’s second dragon used to be. That Dragon caught a Ferocious Charging Tormentor unit in the rear as it jumped the remaining Stormwind Cav, having hidden out of arc of that corner. So in the end, it is a draw, as no-one claims the middle.
The plan worked. It hurt sucking up all that shooting, but scenario wins games. Alex probably needed to be more aggressive, and pin me in my corner, or maybe jump enough speed over to take my zone, but we’d both not had a chance to play this scenario before.
This brings to an end an excellent three games of Kings of War. It’s time to mention that three out of four air conditioner units were not working on day one, so I was mentally and physically cooked. We got some dinner and hung out at the venue, and I had hoped to get a demo of a few of the other Mantic games on offer to write about for you here. I couldn’t mentally manage anything complicated, so I tried Worms instead.
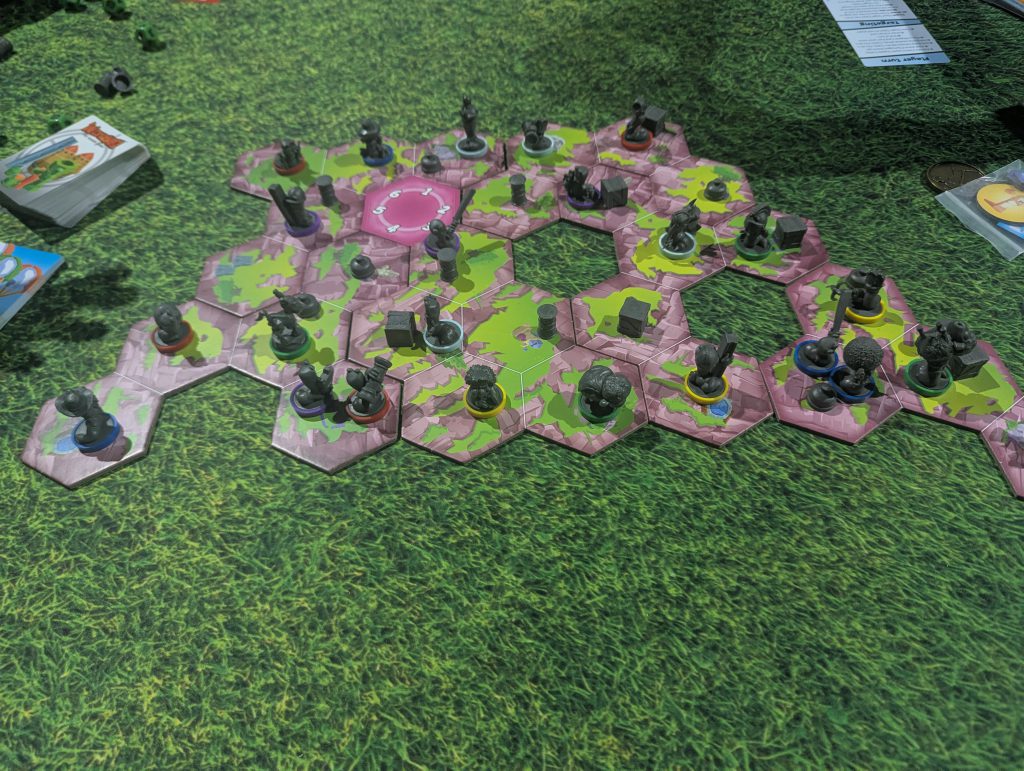
It is a great party game, and it really captures the chaotic feel of the video games. You shoot your bazooka, it hits a worm. They get blasted into the next hex, setting off a landmine. That kills the worm, and detonates an oil barrel, spreading fire to nearby hexes. That hex sinks into the sea, killing other worms on it, and that permanently changes the map. It was a blast, and I highly recommend it.
On to day two!
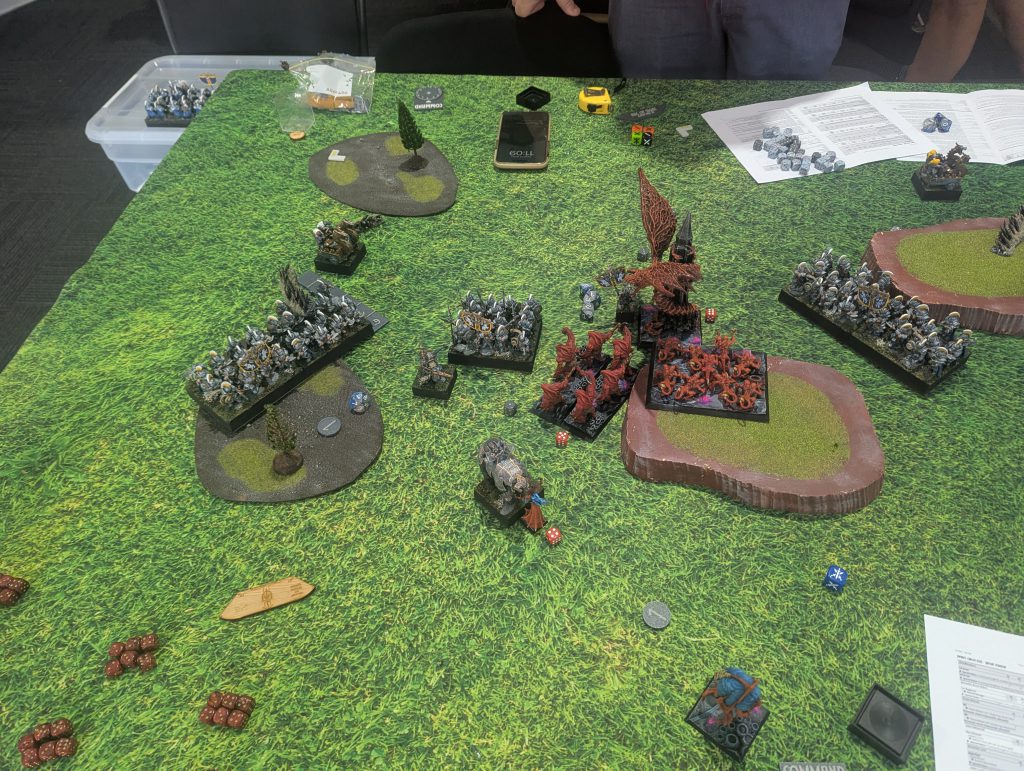
Game 4, Smoke & Mirrors – Antony’s Dwarfs
2 x Shieldbreakers Hordes
1 x Berserker Brock Riders Regiment - Brew of Strength
2 x Flame Belchers
1 x Steel Behemoth - Golloch’s Fury
1 x Berserker Lord - Brock Mount, Gnome-Glass Shield
1 x Faber Ironheart
1 x Dwarf Lord on Large Beast
Formation - The Royal Guard
2 x Bulwarkers Regiments - 2 x Throwing Mastiffs
1 x Ironclad Horde - Hammer of Measured Force
1 x Dwarf Army Standard Bearer - Command White
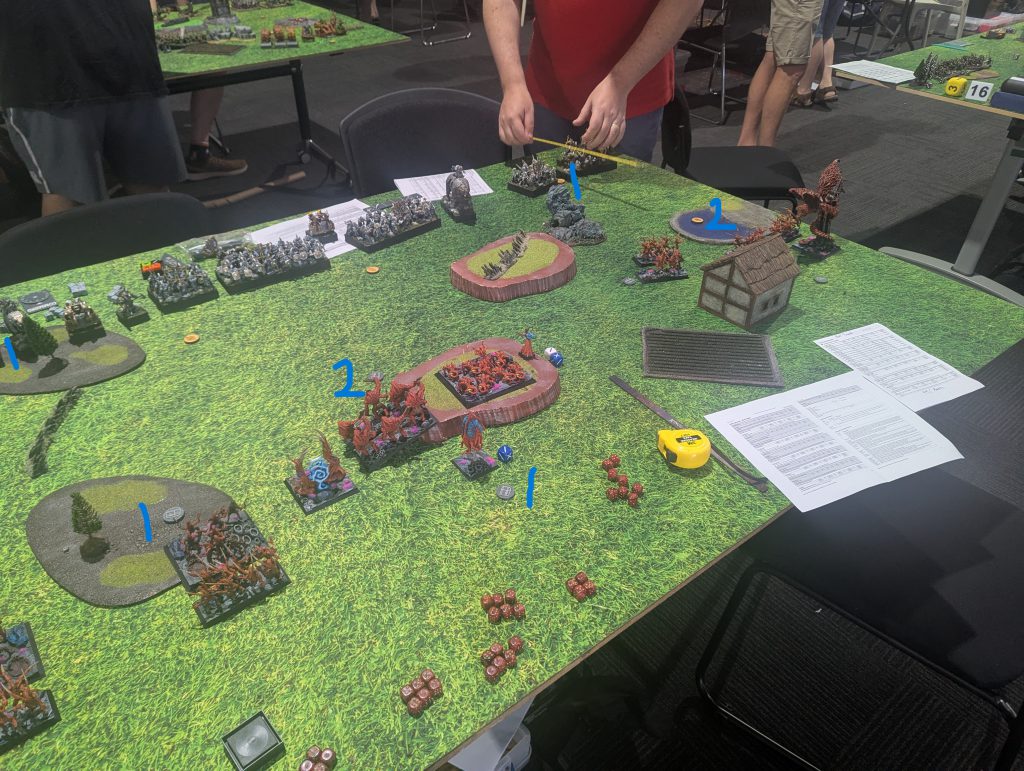
This is a pretty scary Dwarf list. It hits hard, it’s hard to kill, and it’s got just enough shooting to force the issue. Fortunately, we are playing Smoke and Mirrors, and I have mobility and Windblast.
I drop my 1 point tokens on the back left and back right, and my two pointer in the mid right. Antony, in typical Dwarf fashion, goes 1 point as close to the midline as possible on the left, the two pointer bang in the middle, and the other 1 point directly behind the two pointer.
Things don’t get off to the most auspicious start. Throwing dogs waver one unit of Tormentors, and Golloch’s Fury manages to kill another, with six sixes to hit from twelve shots.
Command Dice get me out of this, using the unwaver command to block the Brock Riders from hitting anything important. I do notice at time of writing that we played that wrong, the Tormentors should not have been flying and nimble, as the command only removes the wavered status, not the disordered. Can’t do anything about that now, but just an FYI for the rest of you.
It’s slow going this game. The Dwarfs continue to advance. It takes until turn four to win my right and turn to threaten the middle, while the Dwarfs keep going up, and I’ve played enough Dwarfs to know to just keep backing up. I’ve won the right, where I’ve got three points, and I’m sitting on one in the back. I won’t get the one on the midleft, as there’s Shieldbreaker Horde coming for that. And there’s a good chance I can get the back left, so we’re looking pretty good, I just have to delay, or better yet, claim the middle two pointer.
Another Tormentor waver put a stop to my basically guaranteed grabbing of the back left token. No longer can I claim it with one unit and kill the Flame Belcher with another. I have to run and hope he can’t shoot me off. Spoiler alert, he can. I keep backing up with Tormentors on the back right token. I’ve got to stay out of Flame Belcher range. Enthrall has got Golloch’s Fury in a rough spot. He’s been pinned against the blocking terrain by the Void Lurker, unable to see it but also unable to move though the gap. And now it’s finally time to engage fully. It takes two turns for the Butcher and Hounds to crack the Ironclad Horde, but they are kept safe thanks to a massive Enthrall/Windblast combo, sending the Shieldbreakers a massive 9 inches back. Esenyshra dies for this, but unit strength is what matters.
In the end, I’ve pulled off another big win 6-1, but had that turn 7 rolled up, I was in big trouble. That is a strong Dwarf list, but the scenario really helped me. So once again, play the scenario, folks. Another great game, and a good start to day two.
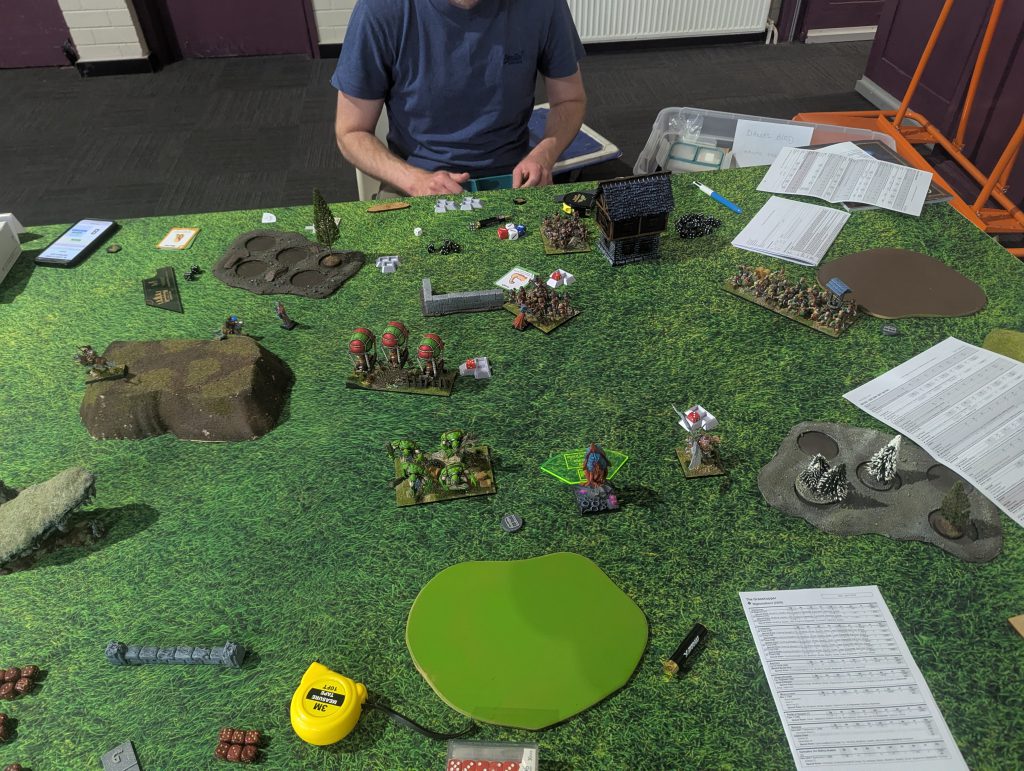
Game 5, Protect and Raze – Rob’s Kingdoms of Men
1 x Bowmen Horde
2 x Crossbow Block Hordes - Rifles
3 x Beast Cav Horde - 3 x Fly & Sp 10, 3 x TC +1 & Vicious, 3 x Indomitable Will
3 x Wizard - 3 x Pegasus Mount, 3 x Lightning Bolt
3 x General on Winged Beast - 1 x Command Red
Now this is a pretty scary list for me. It is the first one that is actually a lot faster than me. Everything will hit hard, and generally see what it wants. It’s also got the volume of shooting to pick off the Tormentors through the weight of dice. I’m going to have to set up bait, hope Rob takes it, and smash on the counter. I’ll also grab some sneaky token burns if the chance arises.
Rob gets turn one, and everything moves up. I do my own positioning. Butchers move up, but only one horde can fit, and it’s be hindered. The Portal moves up to the fence, hindering any charges, and only one horde will fit if one goes for the Butchers. Scarecrows move up. They’re in terrain as well, but probably won’t survive anyway. The Void Lurker and Tormentors prepare for some flanks if anything bounces.


And that is pretty much the story of the game. Rob hard commits turn two, pushing everything up in my face, even the Wizards move up. And he gets punished hard for it. He kills two Scarecrow regiments, and loses two Wizard and the three Beast Cav Hordes. There’s just no coming back from that. Rob does a great job trying to scrounge for tokens I’ve left unguarded with his remaining with his Generals on Winged Beast, but he just can’t pull it back, and I get another big win.
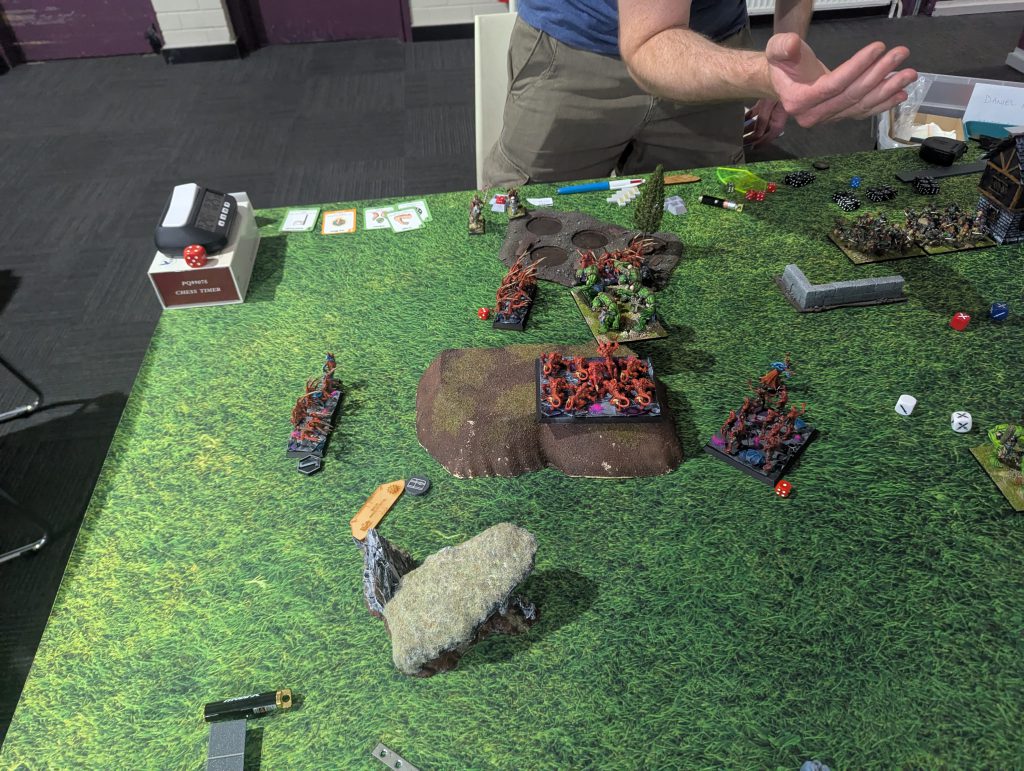
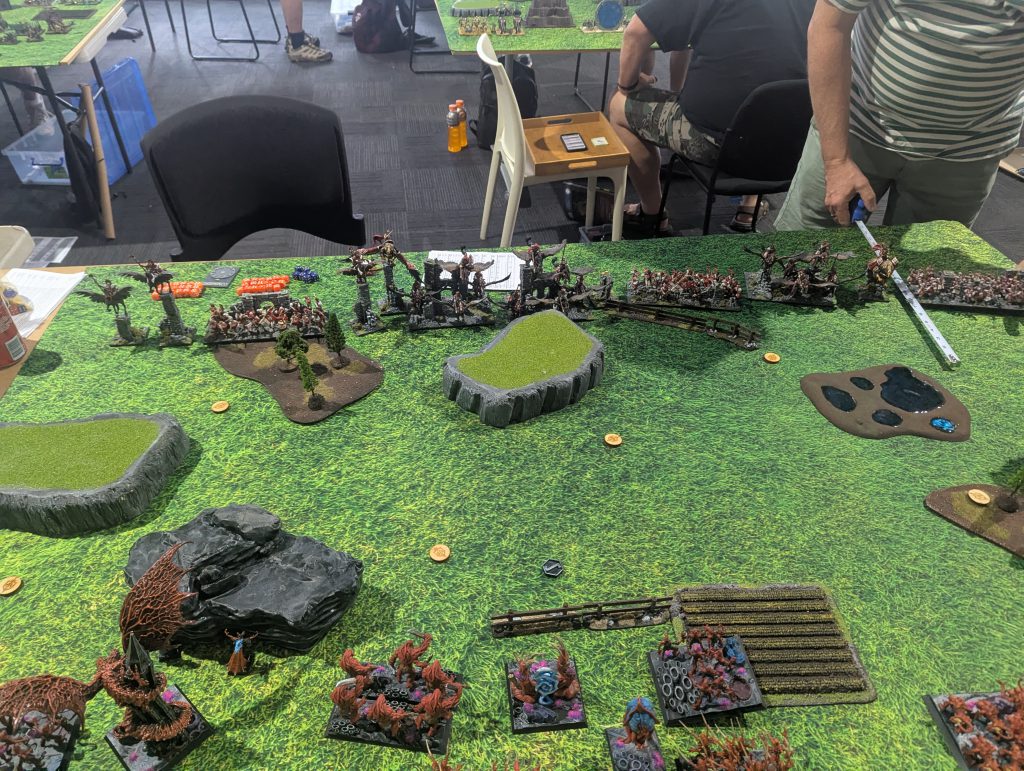
Game 6, Control – Tucky’s Ratkin Slaves
2 x Slave Warrior Regiment
1 x Abyssal Berserkers Troop - Slaver Nets
1 x Immortal Guard Troop - Infernal Wardens
1 x Decimators Horde - Blessing of the Gods
2 x Abyssal Halfbreeds - Sir Jesse’s Boots of Striding
2 x Vermintide
1 x Slave Tunnel Runners
2 x Iron-Caster - 2 x Command Red, 2 x Fireball
1 x Abyssal Halfbreed Champion
1 x Golekh Skinflayer
1 x Overmaster on Ancient Winged Halfbreed - Command Red
We’ve got another spooky list here. It’s Abyssal Dwarfs masquerading as Ratkin Slaves, for that juicy Thunderous Charge command. There’s a lot of Fireball, and a lot of shooting, backed up with rats for chaff, and the Halfbreeds for hitting. Tucky went with three extra red dice to make sure he never misses the commands he wants.
This game starts off with a lot going my way. I move a little too far forward with some Scarecrows on the right, and accidently give a flank to the Dragon on turn two. Instead of being a huge disaster, Tucky misses the nerve by one, and they live. This sets my dice on fire, and I just start getting everything I need. The Tormentors on the right get another Ferocious Charge flank, and kill the Dragon. Windblast into the Halfbreeds gets a boxcar waver. Tormentors and the Void Lurker kill the other Halfbreeds. There’s nothing really that can hit anything important and it’s all looking good. Turn 3 continues this, I’m cutting a bloody swath through Tucky and it’s looking like it’s all over.
I go grab us a beer, and come back to the new master plan. Things start turning now and the fragility of my army is once again exposed. The Shadowhounds go down to a Decimator charge, and Tormentors start dying by the droves. That Halfbreed Champ is a menace! Even the Vermintide manage to one-shot a Tormentor. The Portal can’t put a wound on the Halfbreeds, so it quickly falls.
The Halfbreed Champ fails to save the Decimators, rolling snakes on the Tormentors in the rear, and Tormentos, Mindscreech and Butchers finally kill the horde. At this point, I am reminded that we are playing Control, not Dominate, and have to send the Banshee to Windblast Vermintide into the front of Esenyshra, so she can pull them into combat. I put all my command dice into extra spell dice and re-rolling hits. I don’t quite get the distance on Esenyshra, but the Banshee does enough damage to kill it anyway.
In the end, Tucky has the Halfbreeds and the Berserker troop alive in my 2 point zone, and I have the Void Lurker alive in his, and that’s all the scoring units left.
We end the game with a perfect 10-10 draw.
It was a blast of a game and a great way to finish off the day, and the tournament.
So where’d I end up?
After a hiccup with the scoring spreadsheet, I ended up on 12th, just outside the top 10. Given I thought I had brought a list that would struggle, I am extremely happy with that finish.
We also had a little team component thrown together by Alex (the very same as above). We didn’t have any plans or a team theme going in, so I didn’t write about it, but myself, Ozzy and Yan, ended up second there, so go team! Hopefully we can see more team stuff next year.
List Review
So, how do I feel about the list after such a big event? Honestly, it was great. It performed far above my expectations, and was a great time playing. The only loss was because of my own silly mistake. As for changing things, I’m not impressed by Butchers, and they’re the first thing to go, if i can wrangle the unlocks. If the Butchers need to stay, with the new reduction in command dice, they’re definitely losing Blood of the Old King for more dice. This list wants Ferocious Charge basically every turn, and can make good use of the lesser commands as well. There’s just not much else to say here.
So, with that, a big congrats to Luke, who ended up taking the top spot, Ken for best battle, Max for best painted, and Patch for best Mantic painted.
And especially big thanks to Matt and the CWA for once again putting on a fantastic event, and I’ll be back next year for sure.
Have any questions or feedback? Drop us a note in the comments below or email us at contact@goonhammer.com. Want articles like this linked in your inbox every Monday morning? Sign up for our newsletter. And don’t forget that you can support us on Patreon for backer rewards like early video content, Administratum access, an ad-free experience on our website and more.
