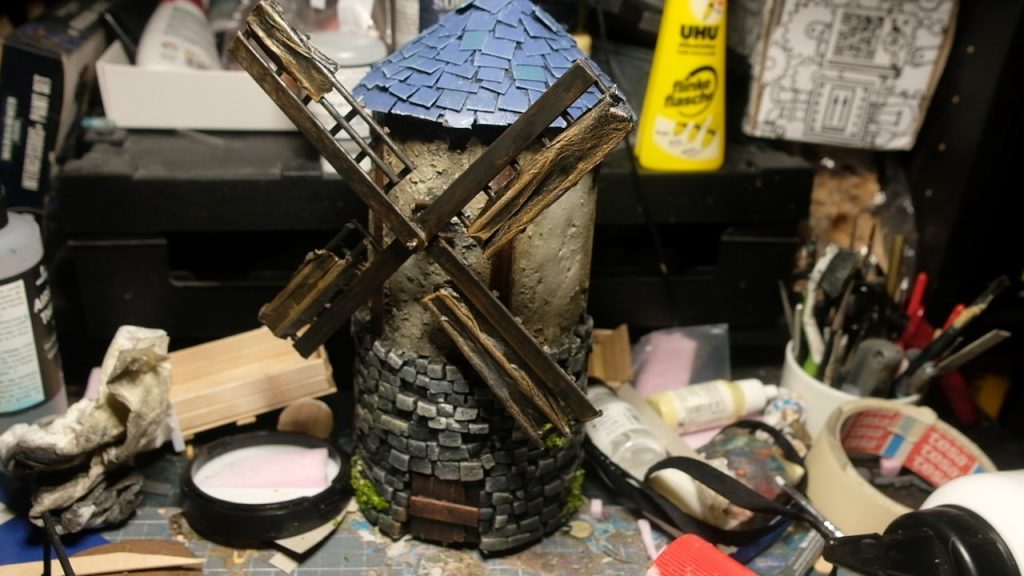
This article is adapted from a YouTube series made by the author, the videos can be found here and here.

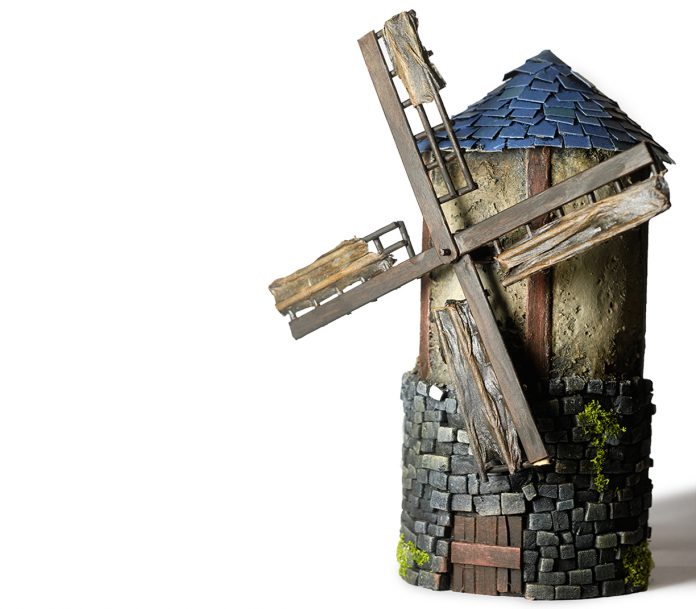
Windmills. Majestic monoliths, rising from the fields of shimmering golden grain; quixotic giants turning gently in the wind. Pretty romantic image, right? A fine target for a marauding host of orcs to attempt to destroy, and for a ragtag band of villagers to defend. Here’s how we can make our own miniature version, to be fought over by and around by our mighty armies.
Take a cardboard tube, measure a human soldier alongside, and then draw a door on it, the windmill isn’t much use if nobody can get in!
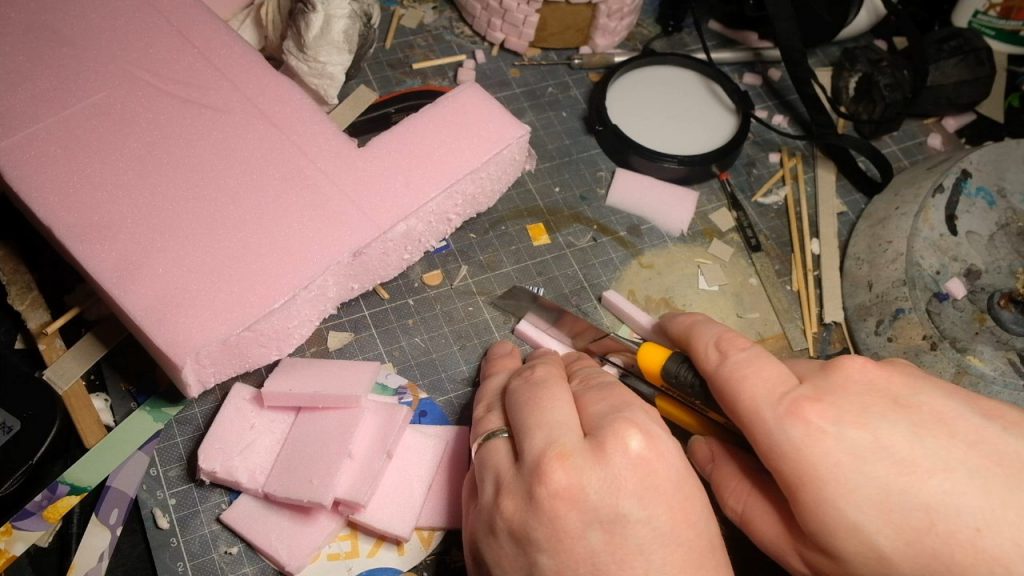
Next, we’ll grab some XPS insulation foam and cut it into slivers with a sharp utility knife, then cut those slivers down into rods, and the rods into bricks. This stuff is worth its weight in gold when it comes to modelling terrain, you can cut it neatly and it holds its shape pretty well, but you can also make impressions on it quite easily. If the windmill weren’t round, you could simply make a box from polystyrene sheets and create the impression of bricks with a knife and a pencil. There’s no real need to be super neat here, a little sloppiness is no bad thing really, a little unevenness or wonkiness really adds to the verisimilitude (now there’s a fancy word) of the piece, and helps to sell it as a shrunken-down building rather than a cardboard tube with foam stuck to it.
Be careful here, XPS foam takes a real toll on your blade’s sharpness, so use a breakable blade to cut the foam. Unless you want your wife/husband/mother/father/uncle/aunt to find a subsequent, more painful way to employ it, don’t use your good kitchen knife! A decent sized utility knife with a snappable blade won’t set you back much from a DIY shop, and when it goes blunt, who cares? Just snap the end off the blade and it’s sharp again.
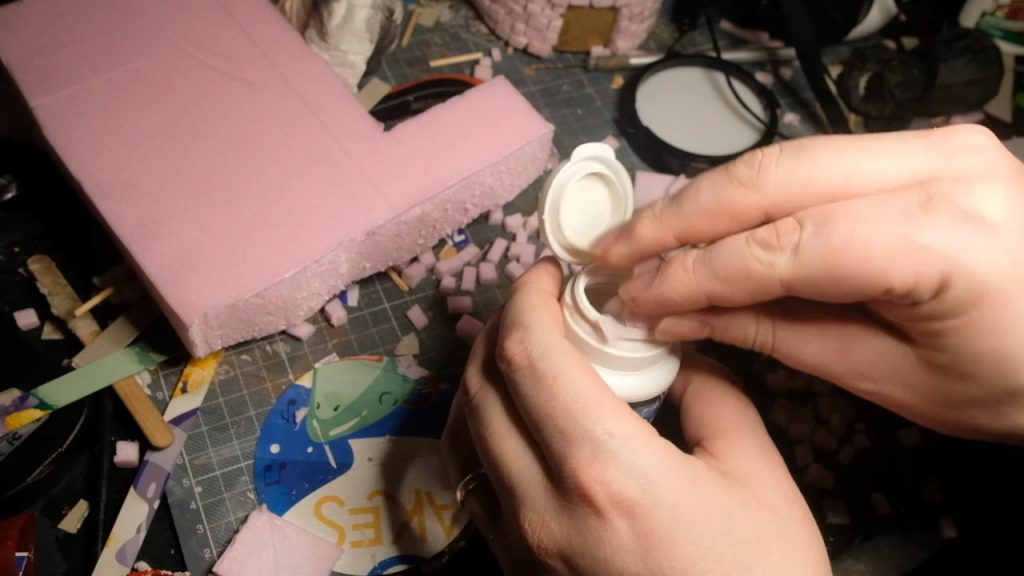
Once we have the bricks cut out, load them into a container that you prepared earlier, a la Blue Peter, with some real stones from your garden, park, or wherever you like to hang out, and give it a good shake, like you’re Tito Puente or something. This shaking will bash up our bricks a little, rounding off the corners and stamping a stone texture into them. The more you shake, the more rugged and damaged our bricks will be. Pretty handy trick!
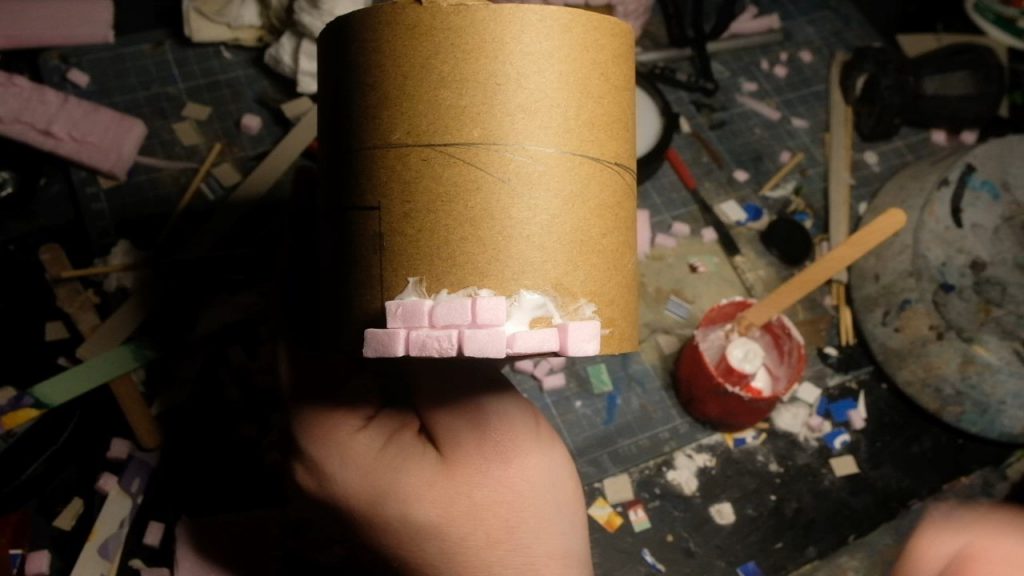
With a decent amount of bricks prepared, we’ll slather PVA glue on the side of the tube and start laying those bricks, working in rows around the circumference. Try to put the bricks down in the classic pattern, so that the brick above is in between the two bricks below. In bricklaying, this pattern is called a Running Bond. A little trivia for you there. Keep doing this around and around, building up the layers until you’re at least above the door. If you’re smarter than me, you can cut out a brick that’s a little bit larger than our door frame and set it there as a lintel. If you look at my pictures, my door doesn’t have a lintel, which makes no real sense, how do the bricks above the door stay in place? Urgh.
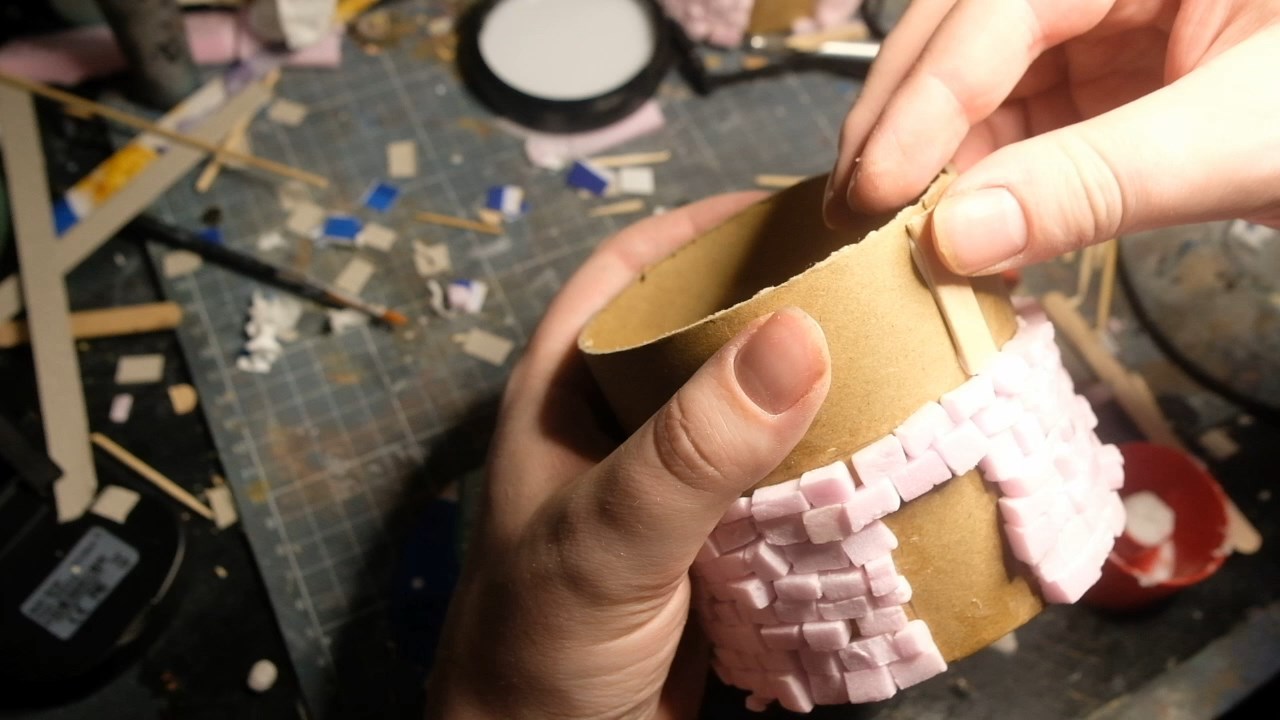
Measure some of your lollipop sticks against the side of your cylinder and cut them down to size, these will be the posts for our wattle and daub plaster section. Stick ’em on in a roughly equal spacing around the tube.
Mix baking powder with PVA glue and until you have a thick gloopy paste, this is our plaster! (Addendum: If you want to be a little more spendy, you can get some wall filler/spackle and use that instead, it’ll probably be much stronger, just be careful not to lay it on too thick. The posts should still stand proud of the plasterwork.) Once you’ve mixed up a bunch, splodge it into the gaps between the posts, make it a bit textured by manipulating it with the lollipop stick as it dries. Try to make it look like those horrible globby Artex ceilings that were everywhere in the 80s and 90s, we don’t really want smooth plastering here. If you get any on the posts, just scrape it off with a scalpel or craft knife.
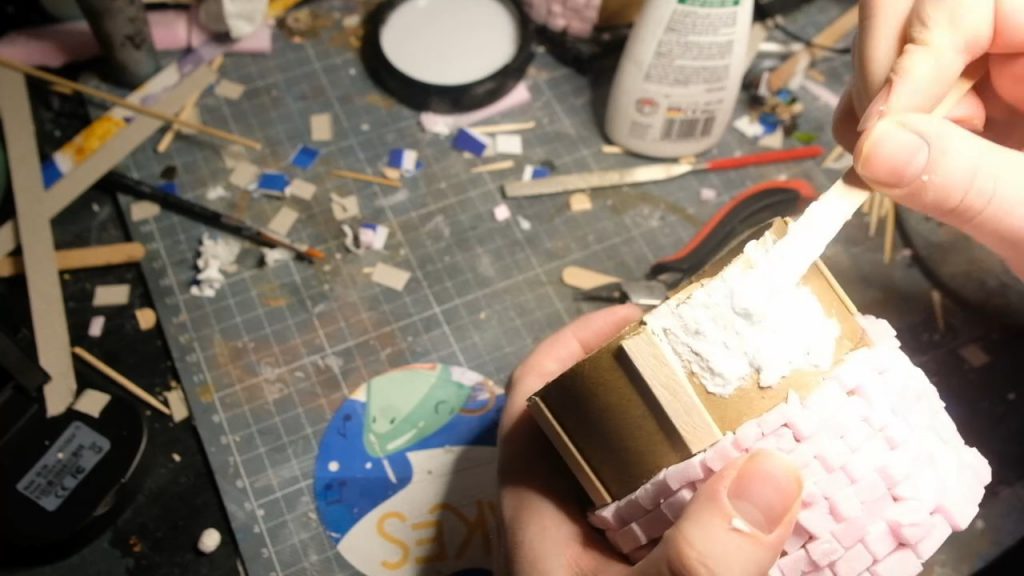
Once the plaster mix has dried, thin down PVA glue with water until it’s very runny, and paint it all over your structure, when one layer has dried, paint another. What this is doing is effectively creating a protective layer of plastic over everything, and because we’re building it up in a thin way, it’ll keep the texture nice and apparent. If you skip this step, painting the foam will be a little weirder (it’ll soak up the paint a bit) and the end result will be less robust overall.
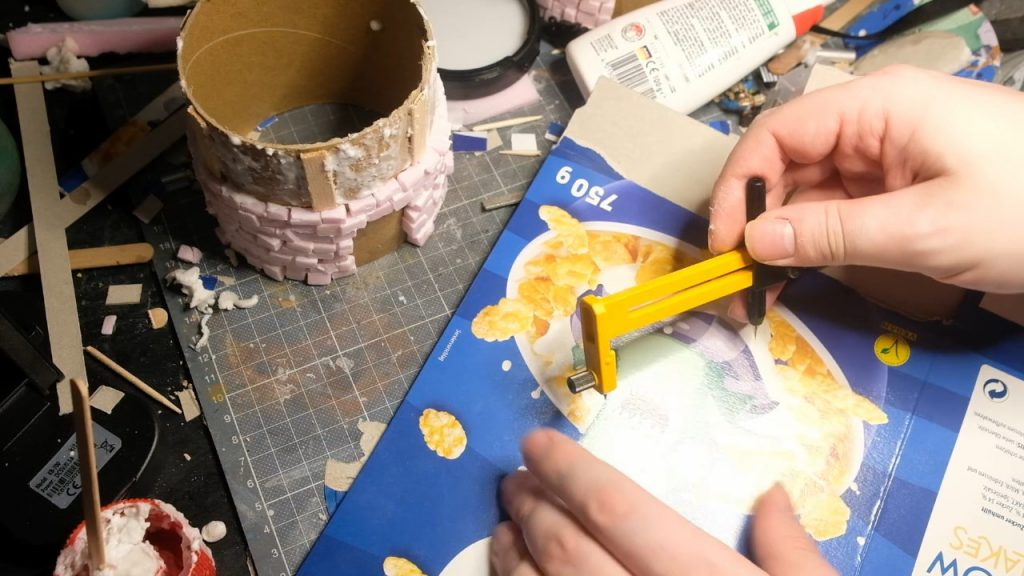
With that done, take a cutting compass and cut a circle that’s quite a bit larger than the diameter of your tube. The larger you make this circle, the taller and pointier your roof can be, so bear that in mind. Then cut out a wedge from the circle. The smaller your wedge the shallower the angle of your roof will be. Once you’ve made your little cone, glue it together and plop it onto the tube with yet more PVA glue.
The tiles I made in the same way as detailed in my housebuilding article (read it here)
Now for the windmill part. Measure the place where you’d like your assembly to stick out the side of your tower and mark it with a pencil. Use a drill to make a hole of the right diameter in the plaster, the hole needs to be large enough that your central post will fit, without being too large that the windmill wobbles in place.
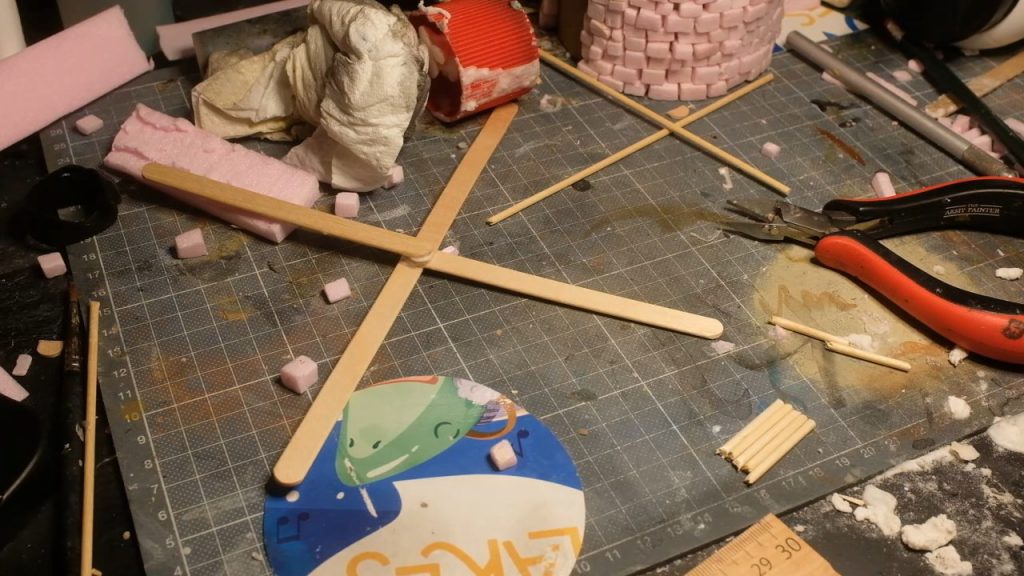
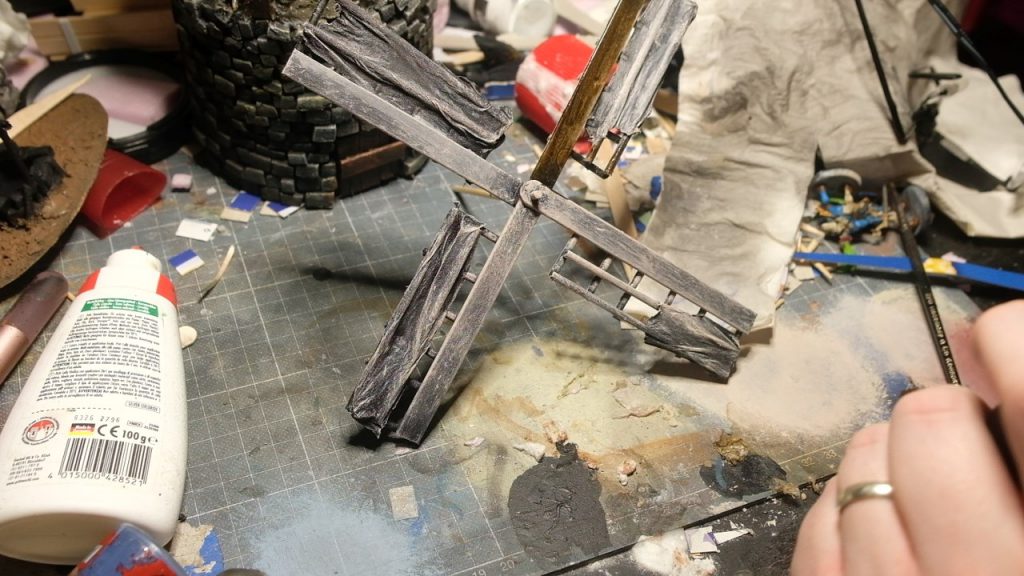
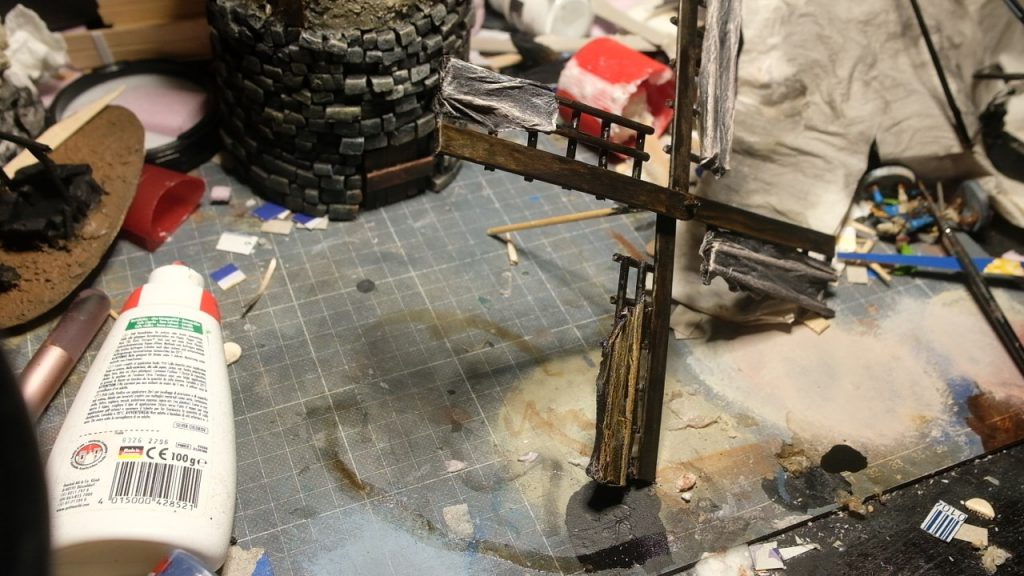
For the spokes we’ll go back to our wooden craft sticks, I glued mine together in a cross shape, stacking each stick upon the others, this is not particularly elegant, but it works in this situation. If you had the inkling to create something a bit more complicated, you could make your own cross from one piece of wood and glue your sails to it, but I went simple. Then, measure a barbecue skewer to see how wide the sails are going to be, I went with 3 centimetres for each stick. Snip each skewer into various 3 centimetre chunks, I wasn’t super neat with this, but I’ll sort that out later, you can always sort things out.
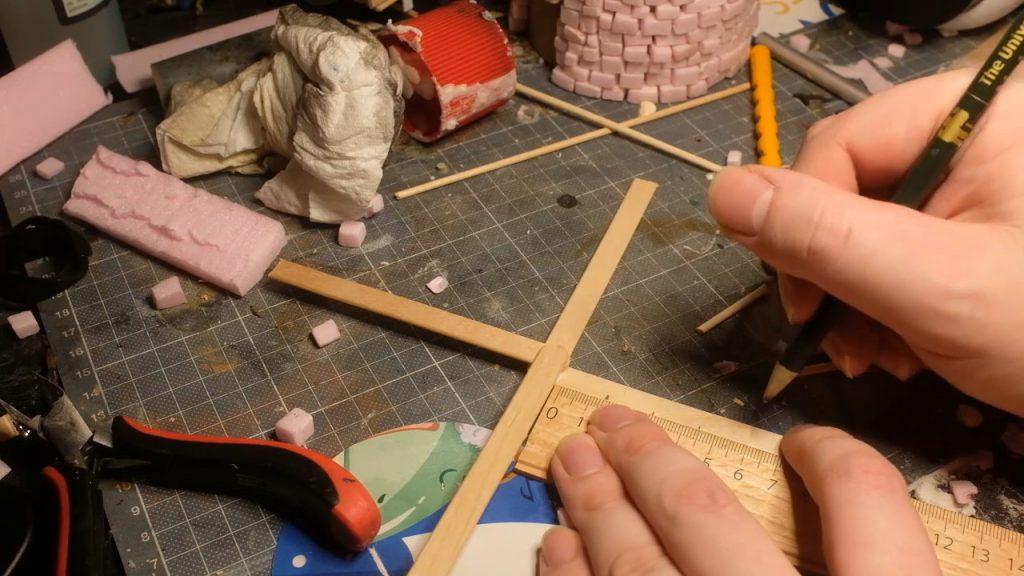
Measure your spoke into equal segments (my spoke is 9 centimetres long, so I went with 6 1.5cm segments) and glue a stick on each line. Then get a 9 centimetre long skewer section and glue that to the sticks. Take 4 more sections of the same length and glue them halfway between the spoke and the outer stick, so you have a kind of grid pattern.
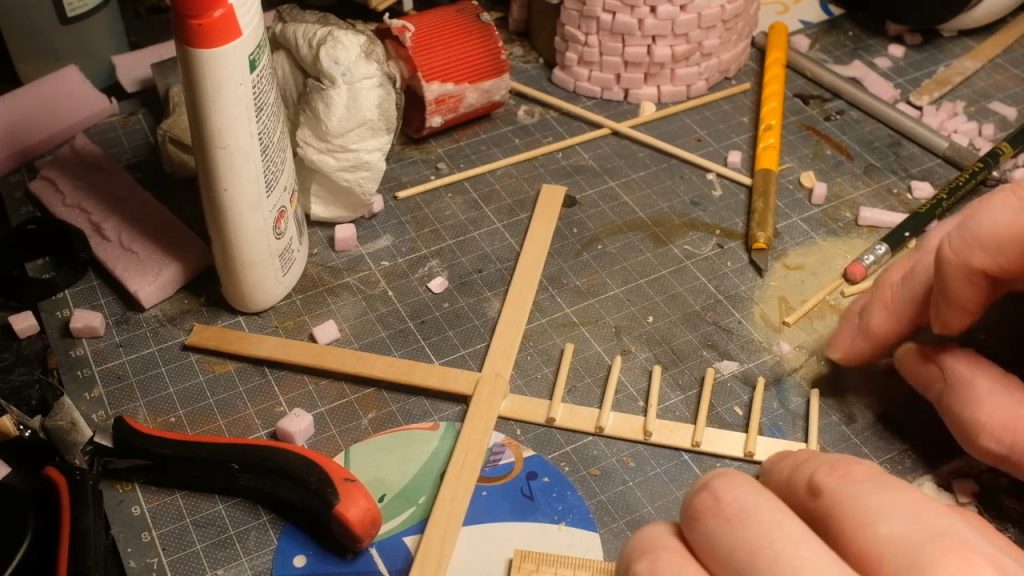
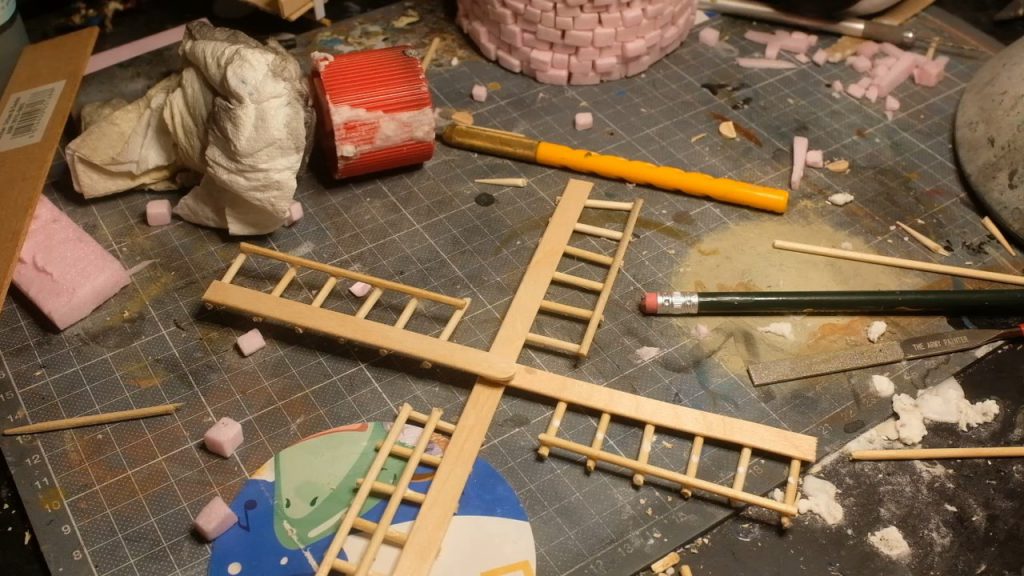
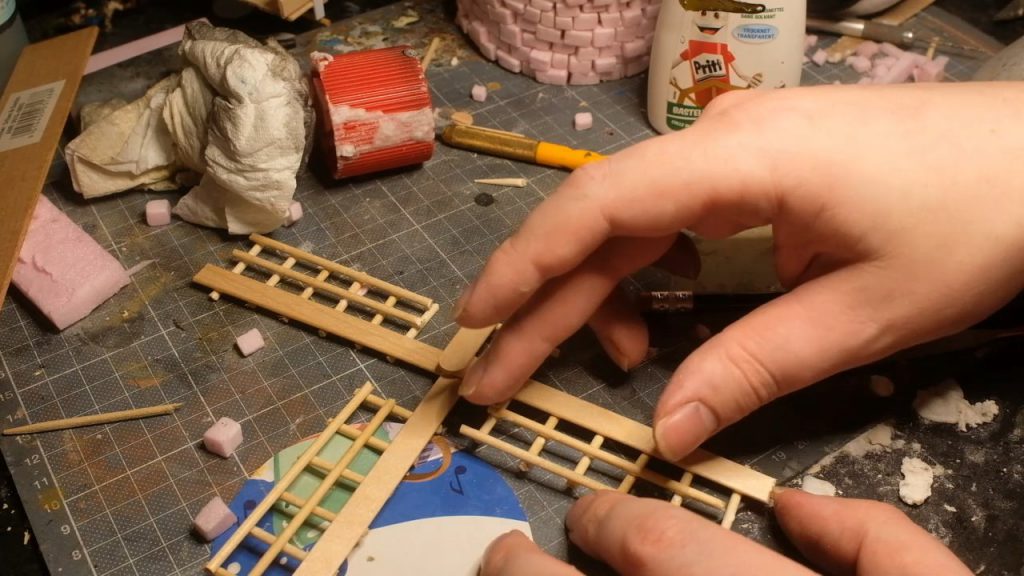
With the drill, make a hole where the spokes join to allow us to attach them to the main structure via the central post. Check the fit carefully to figure out how long you want the centre post to be, but don’t glue it in yet, we’re going to paint it separately.
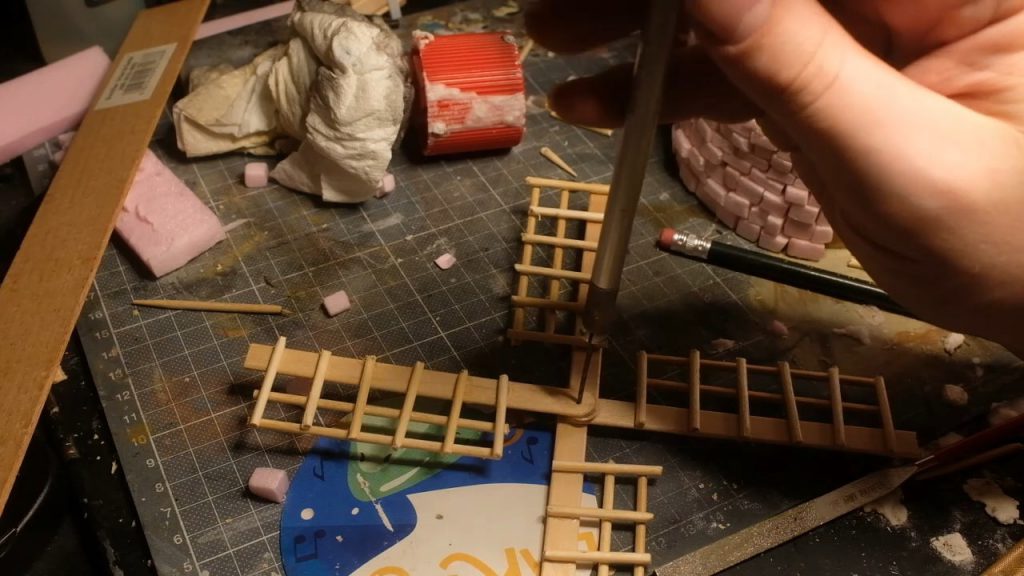
Using lollipop sticks, make a door as described in my housebuilding article.
We’re going to do a little papier-mache now, using tissue paper and some thin PVA glue. Douse the tissue paper strips in the PVA glue and stretch them over the grid pattern you’ve built to house them, you can be as neat or as messy as you like here, I went for slightly torn, battered sail canvases. Once you’ve done that, you have the unholy satisfaction of peeling drying pva goop off your hands, great.
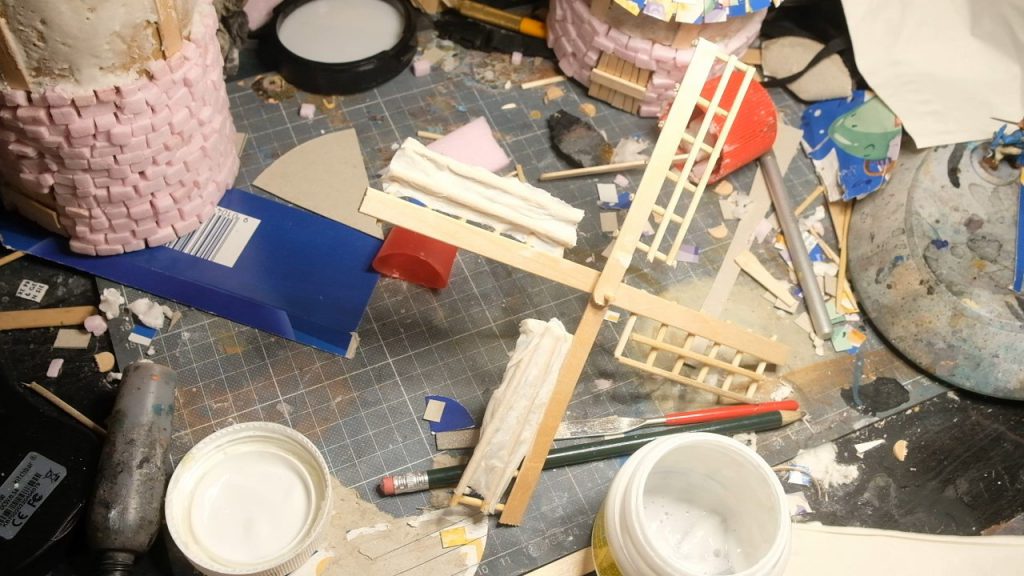
Check the fit again and make any adjustments you need, then remove the windmill apparatus and set it aside, we’re going to handle that separately. It’s time to paint!
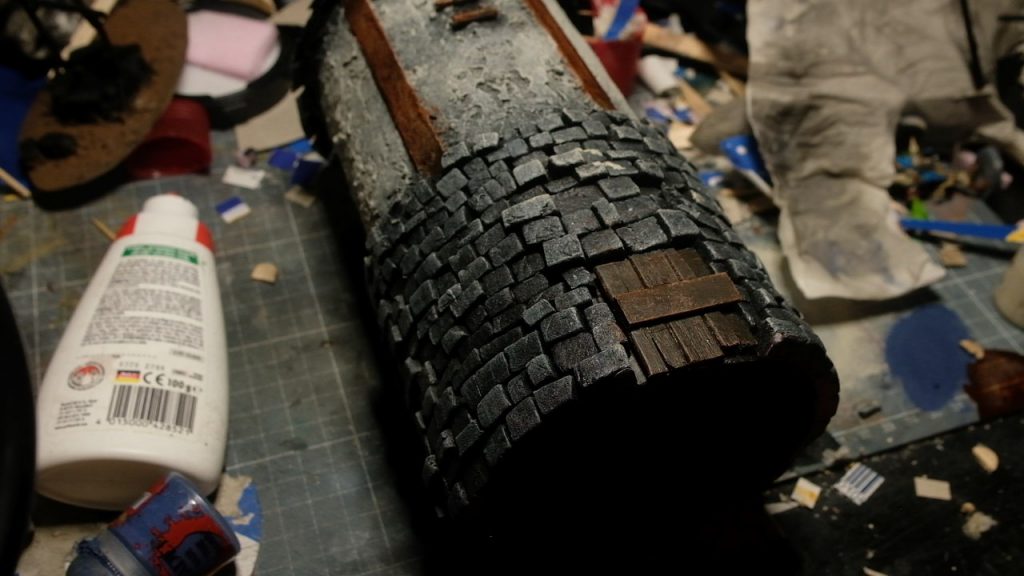
Primer: Vallejo Surface Black
Stone:
- Drybrush with Dawnstone, then add white to the Dawnstone and drybrush again. Keep going, adding more white each time until you’re happy with the highlights on the stone.
- Glaze parts of the stone with Athonian Camoshade and Agrax Earthshade for a little variety, a grubby lichen-covered look suits this piece.
Plaster:
- Very heavy drybrush (almost an overbrush) with Wraithbone, concentrating on the middle of each panel.
- Then drybrush again with Pallid Wych Flesh, focussing on the very middle of the panels.
- Glaze with Liquitex Acrylic Raw Umber Ink, thinned with water. Focus on the edges of the panels.
- Drybrush again with Wraithbone and PWF.
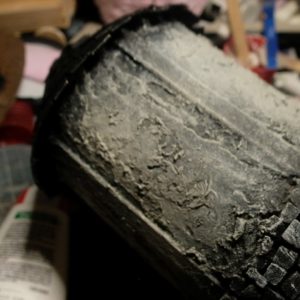
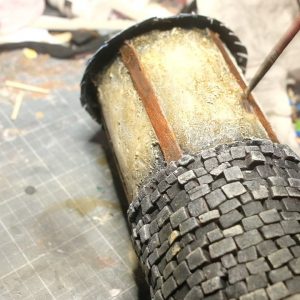
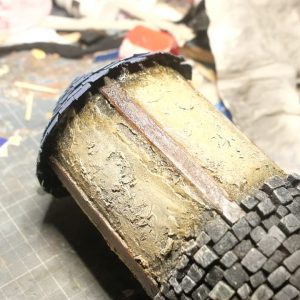
Wood (Door and Posts):
- Drybrush with Wraithbone
- Glaze with Vallejo Model Color Wood Grain
- Very light drybrush with Doombull Brown
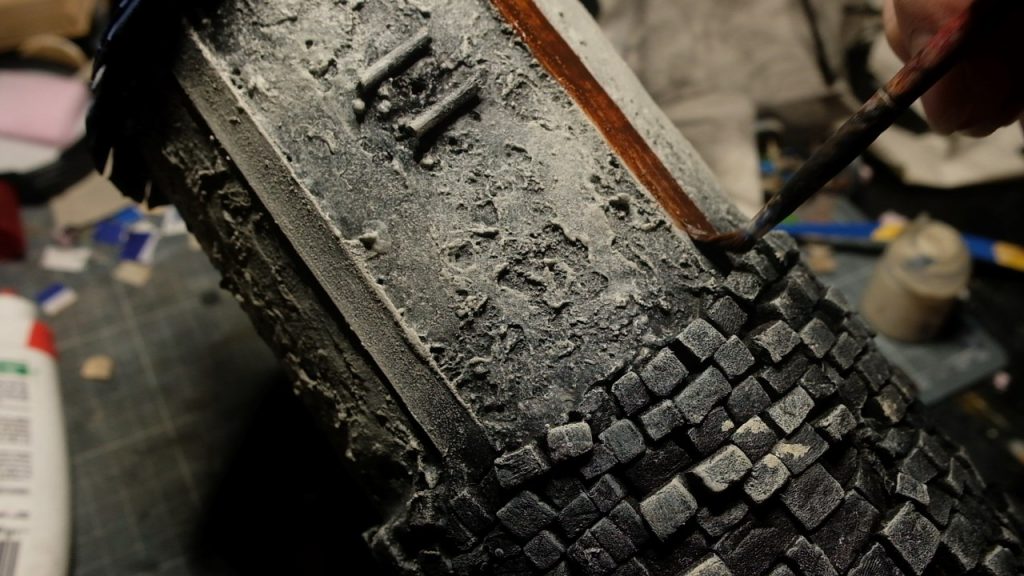
Wood (Windmill):
- Drybrush with Wraithbone and Pallid Wych Flesh
- All over coat of Wyldwood Contrast
Roof Tiles:
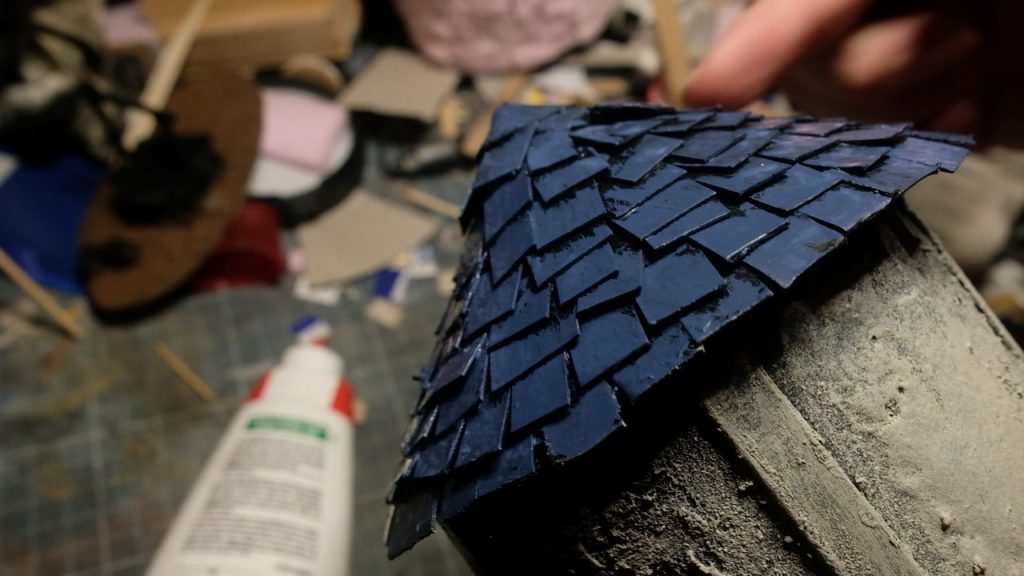
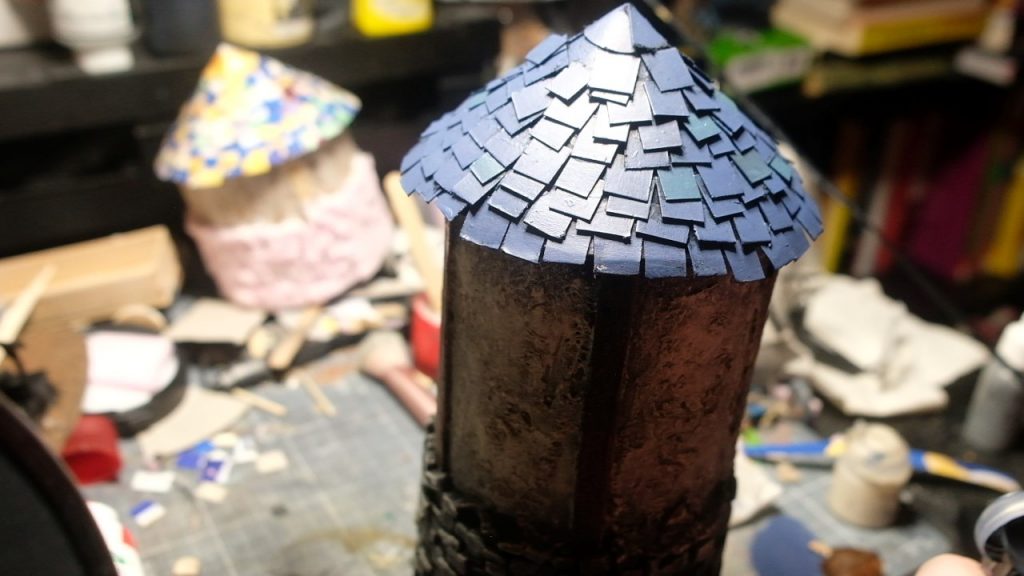
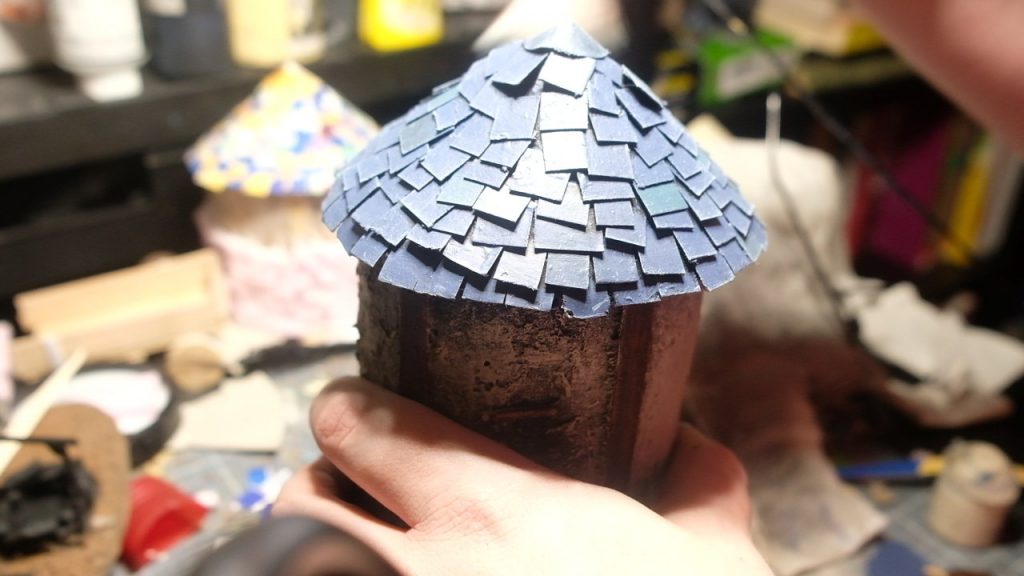
- All over coat of The Fang
- Pick tiles at random and paint them with either Thunderhawk Blue or Dark Reaper
- Drybrush with Fenrisian Grey
Windmill Canvas Sails:
- Drybrush Wraithbone and Pallid Wych Flesh
- All-over coat of Liquitex Acrylic Raw Umber Ink
Moss:
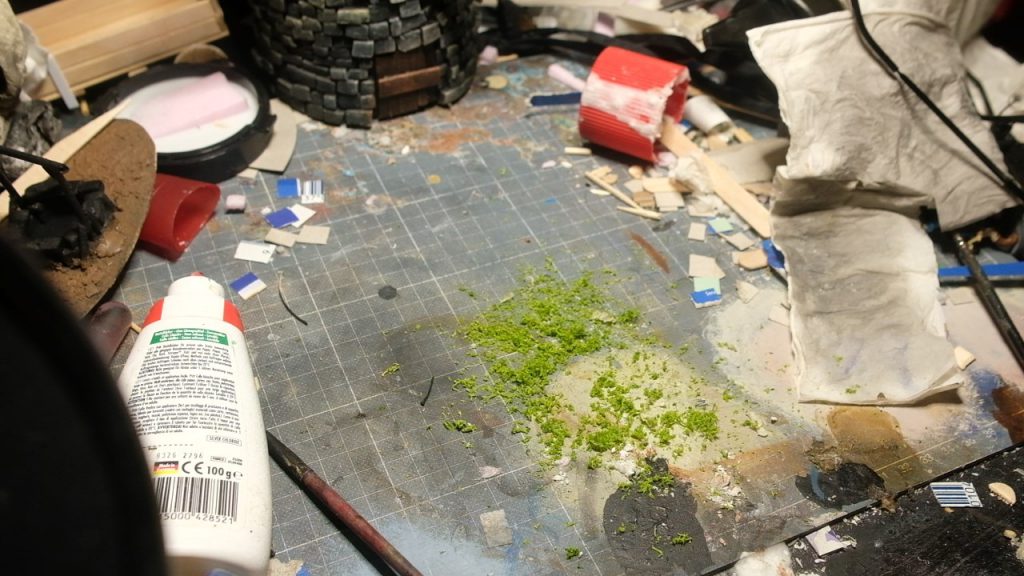
- Get some dried “Icelandic Moss” from a craft shop (It’s not really moss, but a kind of lichen)
- Chop it very finely with a Mezzeluna or any kind of herb grinder
- Apply PVA glue, both around the bottom of the structure an in patches on the stone wall (in a kind of cascading pattern)
- Sprinkle the resulting foliage onto these parts for mossy areas, the more you put on, the more overgrown and derelict the building will appear.
There you have it! A half-plaster, half-stone windmill, perfect for your games of Age of Sigmar, Warhammer Fantasy, or any high-medieval to modern historical European-setting!
