
Rather than try and cover every Detachment in the upcoming 10th edition Boarding Actions Compendium in a single article, we’ve broken the review of the book’s detachments down into the game’s three broad superfactions: Imperium, Chaos, and Xenos. In this review we’re looking at the game’s Xenos Detachments and how they play.
The Boarding Actions Compendium is finally on the way, including not only updated rules for playing Boarding Actions in 10th edition, but a brand new set of bespoke detachments for each faction that are specific to this game mode. Rather than having to figure out how the detachments you’re used to interact with these new rules, you’ll pick an entirely new detachment that is purpose-built to interact with the halls and hatchways found on a boarding actions table.
In our other articles, we’ve looked at the rules generally, as well as the Imperium and Chaos factions’ detachments. But if you, like me, have been wondering how your Xenos armies will fare in the close confines of shipboard battle, look no further: we’ve taken a look through the Xenos factions’ new rules and are here with the answer to the question of whether they’re worth the wait.
Thanks as always to Games Workshop for providing a preview copy of the Compendium for this review.
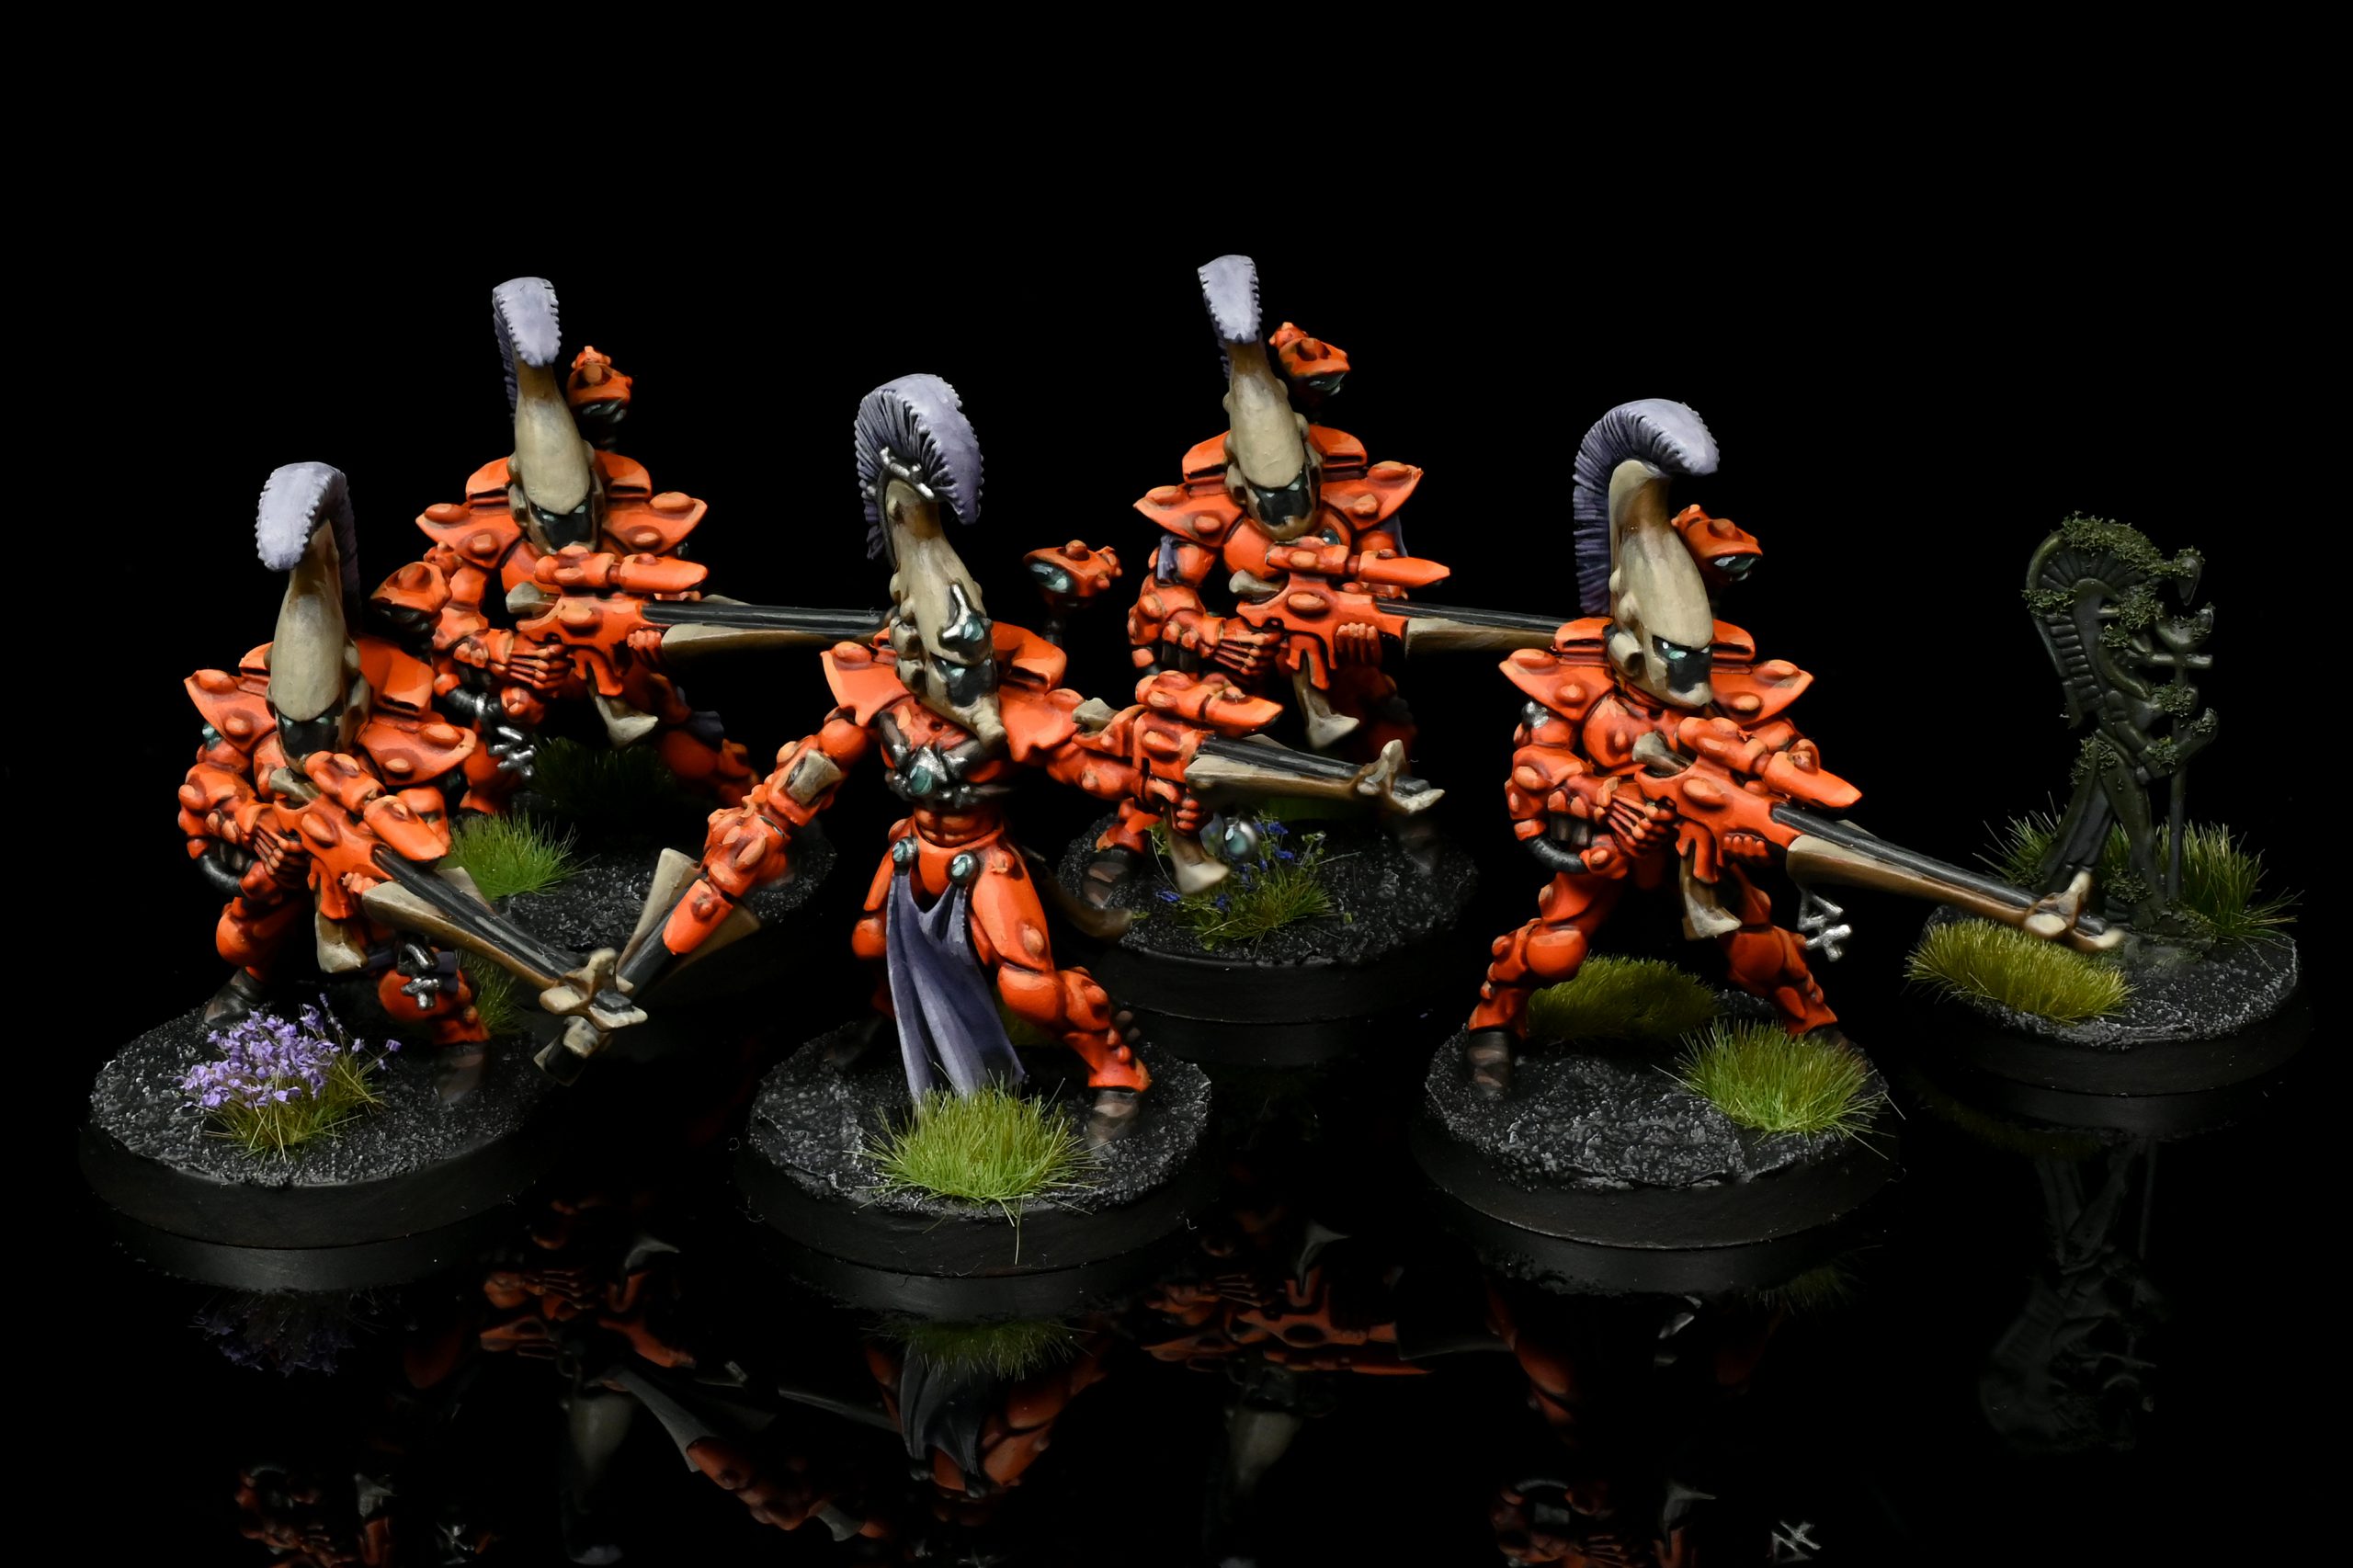
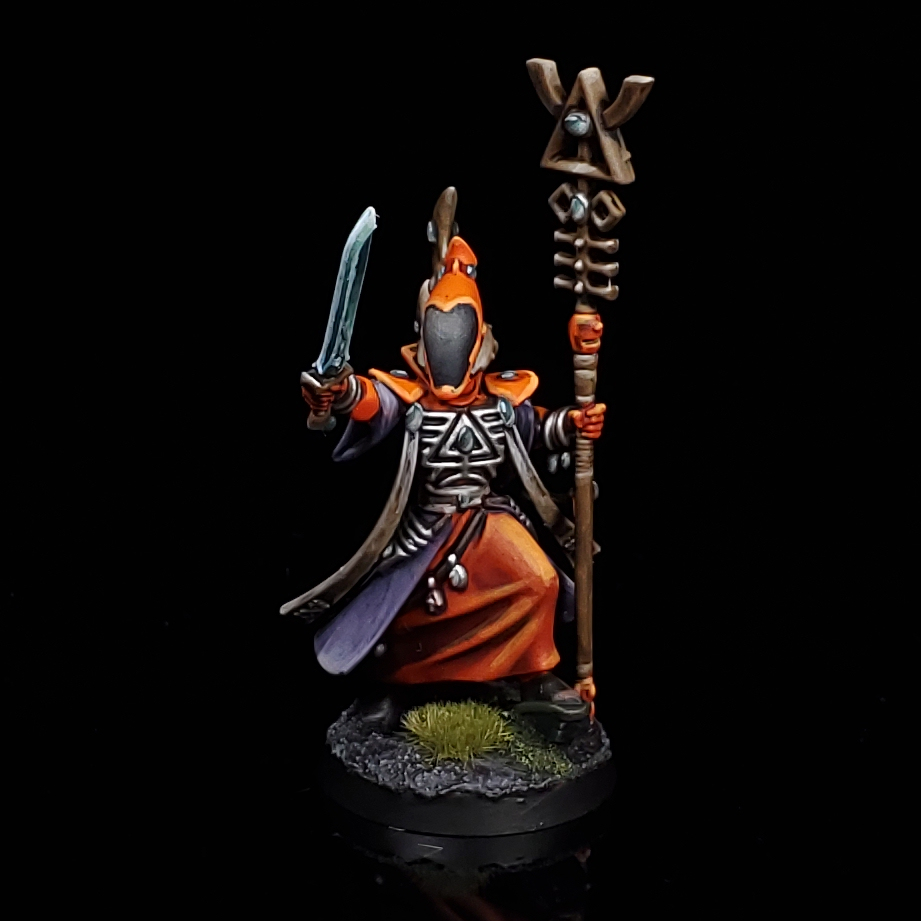
Aeldari
The Craftworlders offer three detachments, each themed around a particular type of force. The Khaine’s Arrow detachment represents several squads of Aspect Warriors coming together in an elite strike force, while the Protector Host sees Dire Avengers and Guardians digging in to hold a key location. And when the living aren’t enough to get the job done, Spiritseers will rouse the Wraiths of the Void to turn the tide. And while none of these detachments can bring Harlequins, that’s fine since they show up in their own detachment, the Star-Dancer Masque.
There are a few things missing, though. First off, no Ynnari, so if you were salivating at the prospect of Yvraine screaming at a bunch of marines so loud they just get back in their boarding torpedoes and leave, you’ll have to hope for a supplement of some sort. Similarly, there’s no way to bring Corsairs, which seems like an odd unit to leave out given the setting. That said, the options that are here offer plenty of ways to build a reasonably effective boarding patrol.
Also missing entirely are Fate dice, though that doesn’t mean they don’t get an army rule. Strands of Fate is replaced wholesale with Seers’ Guidance, which gives you a free use of Command Re-roll every battle round. It’s not as potentially game-warping as Strands, but when you’re only allowed a single non-Warlock character, not being effectively forced to spend that on Eldrad or a Farseer to get the most out of your army rule is nice.
Khaine’s Arrow
The first detachment on offer here is themed around Aspect Warriors, and you’ll need to go wide with your choices since you can only take one of each. Dire Avengers, Fire Dragons, Howling Banshees, and Striking Scorpions can all make good use of the format’s halls and hatchways to force favorable engagements, and the addition of a single squad of either Swooping Hawks or Warp Spiders will let you move out and take objectives quicker than your opponents might expect. Add in your choice of an Autarch, Farseer, or Phoenix Lord, and you have an elite force of specialist killers ready to go.
One final note on force selection here: while Maugan Ra is listed as an available character, you’re not allowed to take a Phoenix Lord unless your list includes a squad of their matching Aspect, and Dark Reapers aren’t on the list. This is almost certainly an oversight, but as written Maugan Ra isn’t actually legal.
The detachment’s rules let you lean into the Aspects’ identities as elite killers by helping them stay alive long enough to get into an advantageous fight, then hit hard once they get there. Every unit in your detachment has access to the Unerring Strike detachment rule, which lets them open a door at any point during a normal move at the cost of reducing their speed by 2”. This will help you dictate the pace of the engagement in a way most other armies can only dream of, and as an added bonus means you probably don’t need to spend an enhancement on Expert Breacher. Instead, you might take a Farseer with Runes of Sanctuary to reduce the AP on all shooting against a unit within 9” by 1 for a phase. Once you’ve gotten your Aspects into position, you’ve got two potent stratagems to make sure they’ll hit hard: Bladefocus lets your melee specialists re-roll hit rolls after a charge, while Focused Fusillade adds 1 to the wound roll of your ranged units’ shooting.
Aspect Warriors are already potent threats when they get to pick their fights and engage their enemies on their own terms, and these rules combined with the close confines of a boarding actions table will give you all the tools you need to put that plan into action. They’re still not the toughest if they get caught out, but their detachment rule lets them take full advantage of the terrain to stay alive until they can get there. This detachment looks like it’ll be a blast to play, and could shake out to be one of the more potent ones in the book.
Protector Host
Not all Aeldari follow the Path of the Warrior, but that won’t stop them from stepping up when their homes and families are in danger. The Protector Host sees your choice of an Autarch, Farseer, or Eldrad leading Guardians and Dire Avengers to hold onto a key location. As usual, the Guardian Defenders and Storm Guardians split into boarding squads, but since they have 11 models you’re required to split them so that their support platform goes in the larger squad.
Since the order of the day here is defending objectives, the Determined Defence detachment rule adds 1 to any armour saves made by Guardians or Dire Avengers within range of an objective. Note that this isn’t the benefit of cover, so this can potentially stack with cover if you’re taking fire from something with AP-1 or higher. More units to defend is always better, and giving a character the Rallying Cry enhancement will let you deploy two units of Guardians with them at the start of the game, giving you another unit on the board out of the gate. Once you’ve gotten into position, Shield of Blades will let a unit of Dire Avengers or Guardians hit on 5s on overwatch, and Rapid Ambush will let a unit deal a mortal wound or two to an enemy that opened a door then move d6” and reposition to meet the new threat.
All in all, this detachment isn’t as offensively potent as Khaine’s Arrow, but between the higher unit count and helpful defensive abilities, it will likely excel at playing the objective game on several missions. It probably won’t be your first choice for an Aeldari boarding patrol, but if you find yourself wanting to see how your Guardians account for themselves in tight quarters, give it a shot.
Wraiths of the Void
The final Craftworlds option is all about wraith constructs. You can take two each of Spiritseers, Wraithguard, and Wraithblades, though the Spiritseers lose their ability to revive destroyed wraith constructs (unless you take the Song of Renewal enhancement, which is limited to twice a game). You might be tempted to just try to load up on Wraiths, but that’s probably not the best play: since none of your units have the BATTLELINE keyword, none of them can Secure Sites. And with how expensive Wraiths are, you really can’t afford to have any of them not in the fight.
To solve that, the detachment rule, Wraith-Marked, lets you choose one unit on an objective you control in your command phase and take a leadership test. If you pass, the objective is secured. But there’s a catch: wraiths take a -2 penalty to the test, meaning they only have about a 42% chance of success compared to the Spiritseers’ 72%. Of course, you’ll still be bringing a couple squads of wraith constructs, and they’ve got plenty of tricks available to them. D-Strike lets a unit of Wraithguard shoot a door clean off its hinges, and imposes a -1 penalty to hit rolls on anyone within 3” in the bargain. Or if you’d rather keep a hatchway sealed, Guardian Constructs imposes a -1 penalty to wound rolls made by a model on the other side of a hatchway.
This detachment seems very cool at first, but it’s probably one of the harder ones to win with. The expensive units combined with reliance on leadership checks to hold objectives mean that opponents will find it easier to outmaneuver you on a lot of boards. List construction also seems like it’s kind of locked in: you almost certainly want both Spiritseers to lock down objectives, then you’ll throw in a squad of Wraithguard (likely with D-scythes) to use their powerful shooting. At that point, you’ve only got enough points left to take a unit of Wraithblades. Of course, none of this means this detachment won’t be a blast to play, as long as you keep in mind that you’re probably skating uphill here.
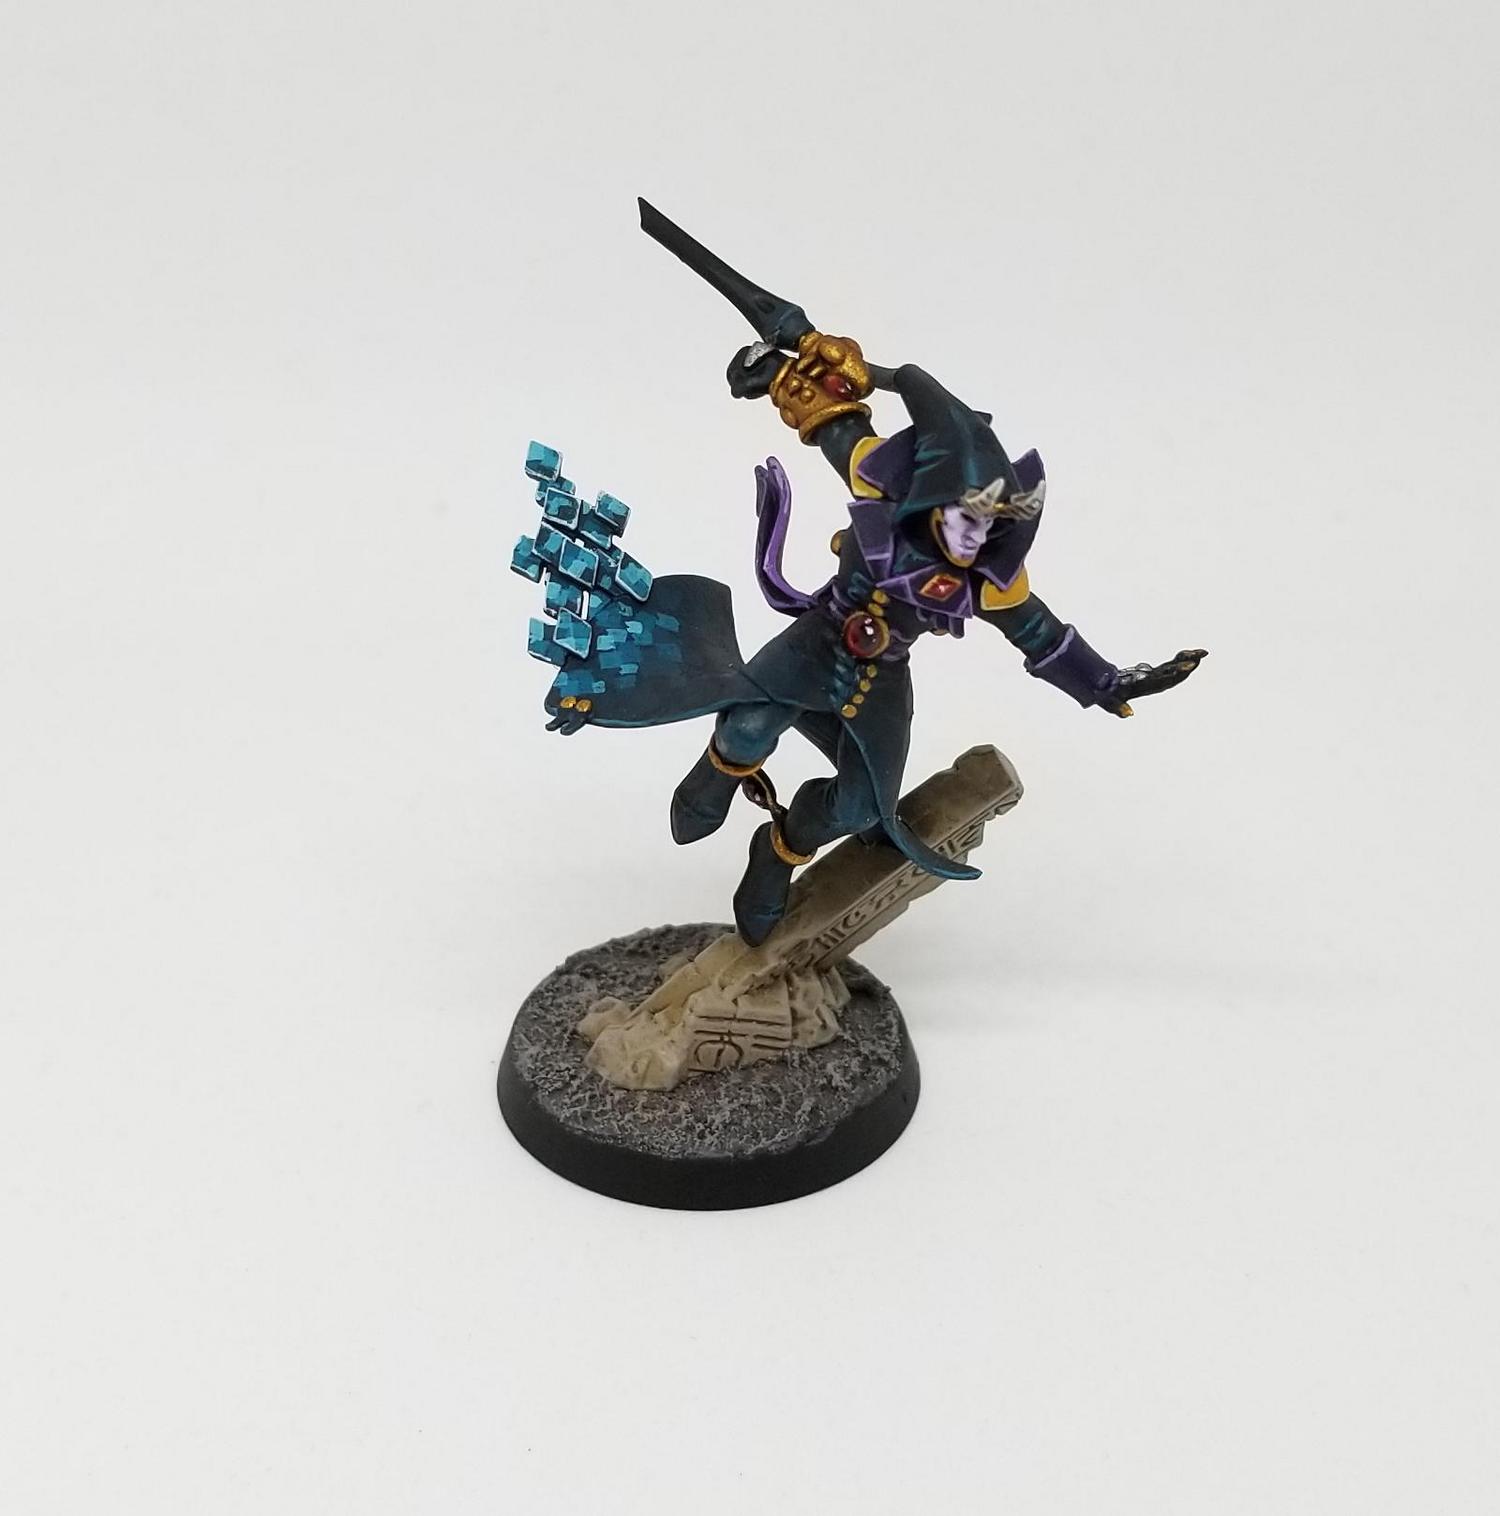
Star-Dancer Masque
And finally, it’s time to talk about the clowns. Unit selection is simple here: take a bunch of troupes and up to two characters. Unless, of course, you wanted to take a Solitaire, in which case that’s the only character you get. And while it remains a nasty melee threat, the loss of both of its datasheet abilities in this mode means you’ll probably be better off taking some combination of the remaining 3 characters.
As ever, Harlequins do their best work in close, and their detachment rule Faolchu’s Last Flight, helps ensure that they’ll get their chance to shine: a model destroyed by a melee attack still gets to fight on a 3+ so long as it hasn’t fought that phase. And they’re not going to have that much trouble getting into melee: a character wearing Prismatic Garb can’t be overwatched, and one of your units can make Acrobatic Leaps in the movement phase to move straight through other models and pass any Desperate Escape checks they had to make in the bargain. Once you’ve made the charge, Darting Strikes will help seal the deal by giving a unit re-rolls to wound.
Taken as a whole, the Harlequins wind up being more or less what you were probably expecting: they’re fast, they hit reasonably hard, and–most importantly–they’re a real pain in the ass to deal with in close. Regardless of whether you opt for the melee threat of the Solitaire or bring a pair of other characters to support your troupes, this detachment will give you the tools you need to put on a killer show.
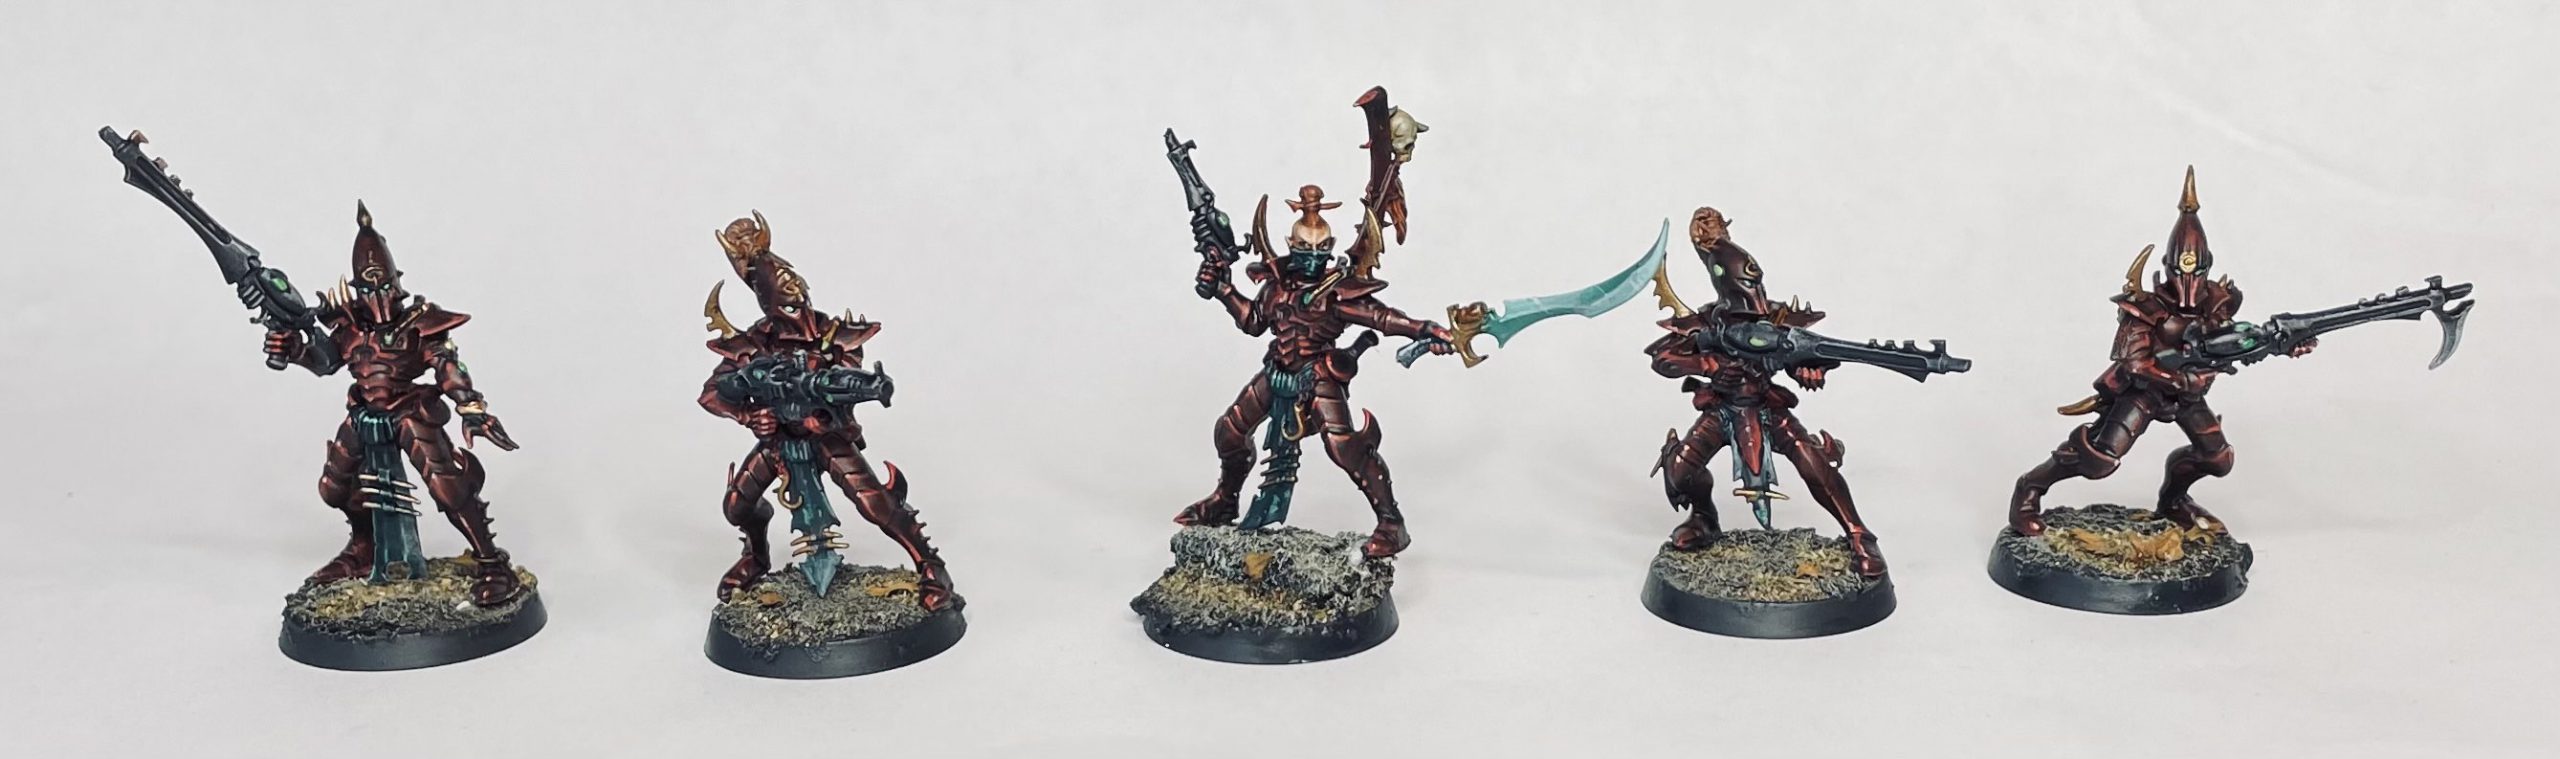
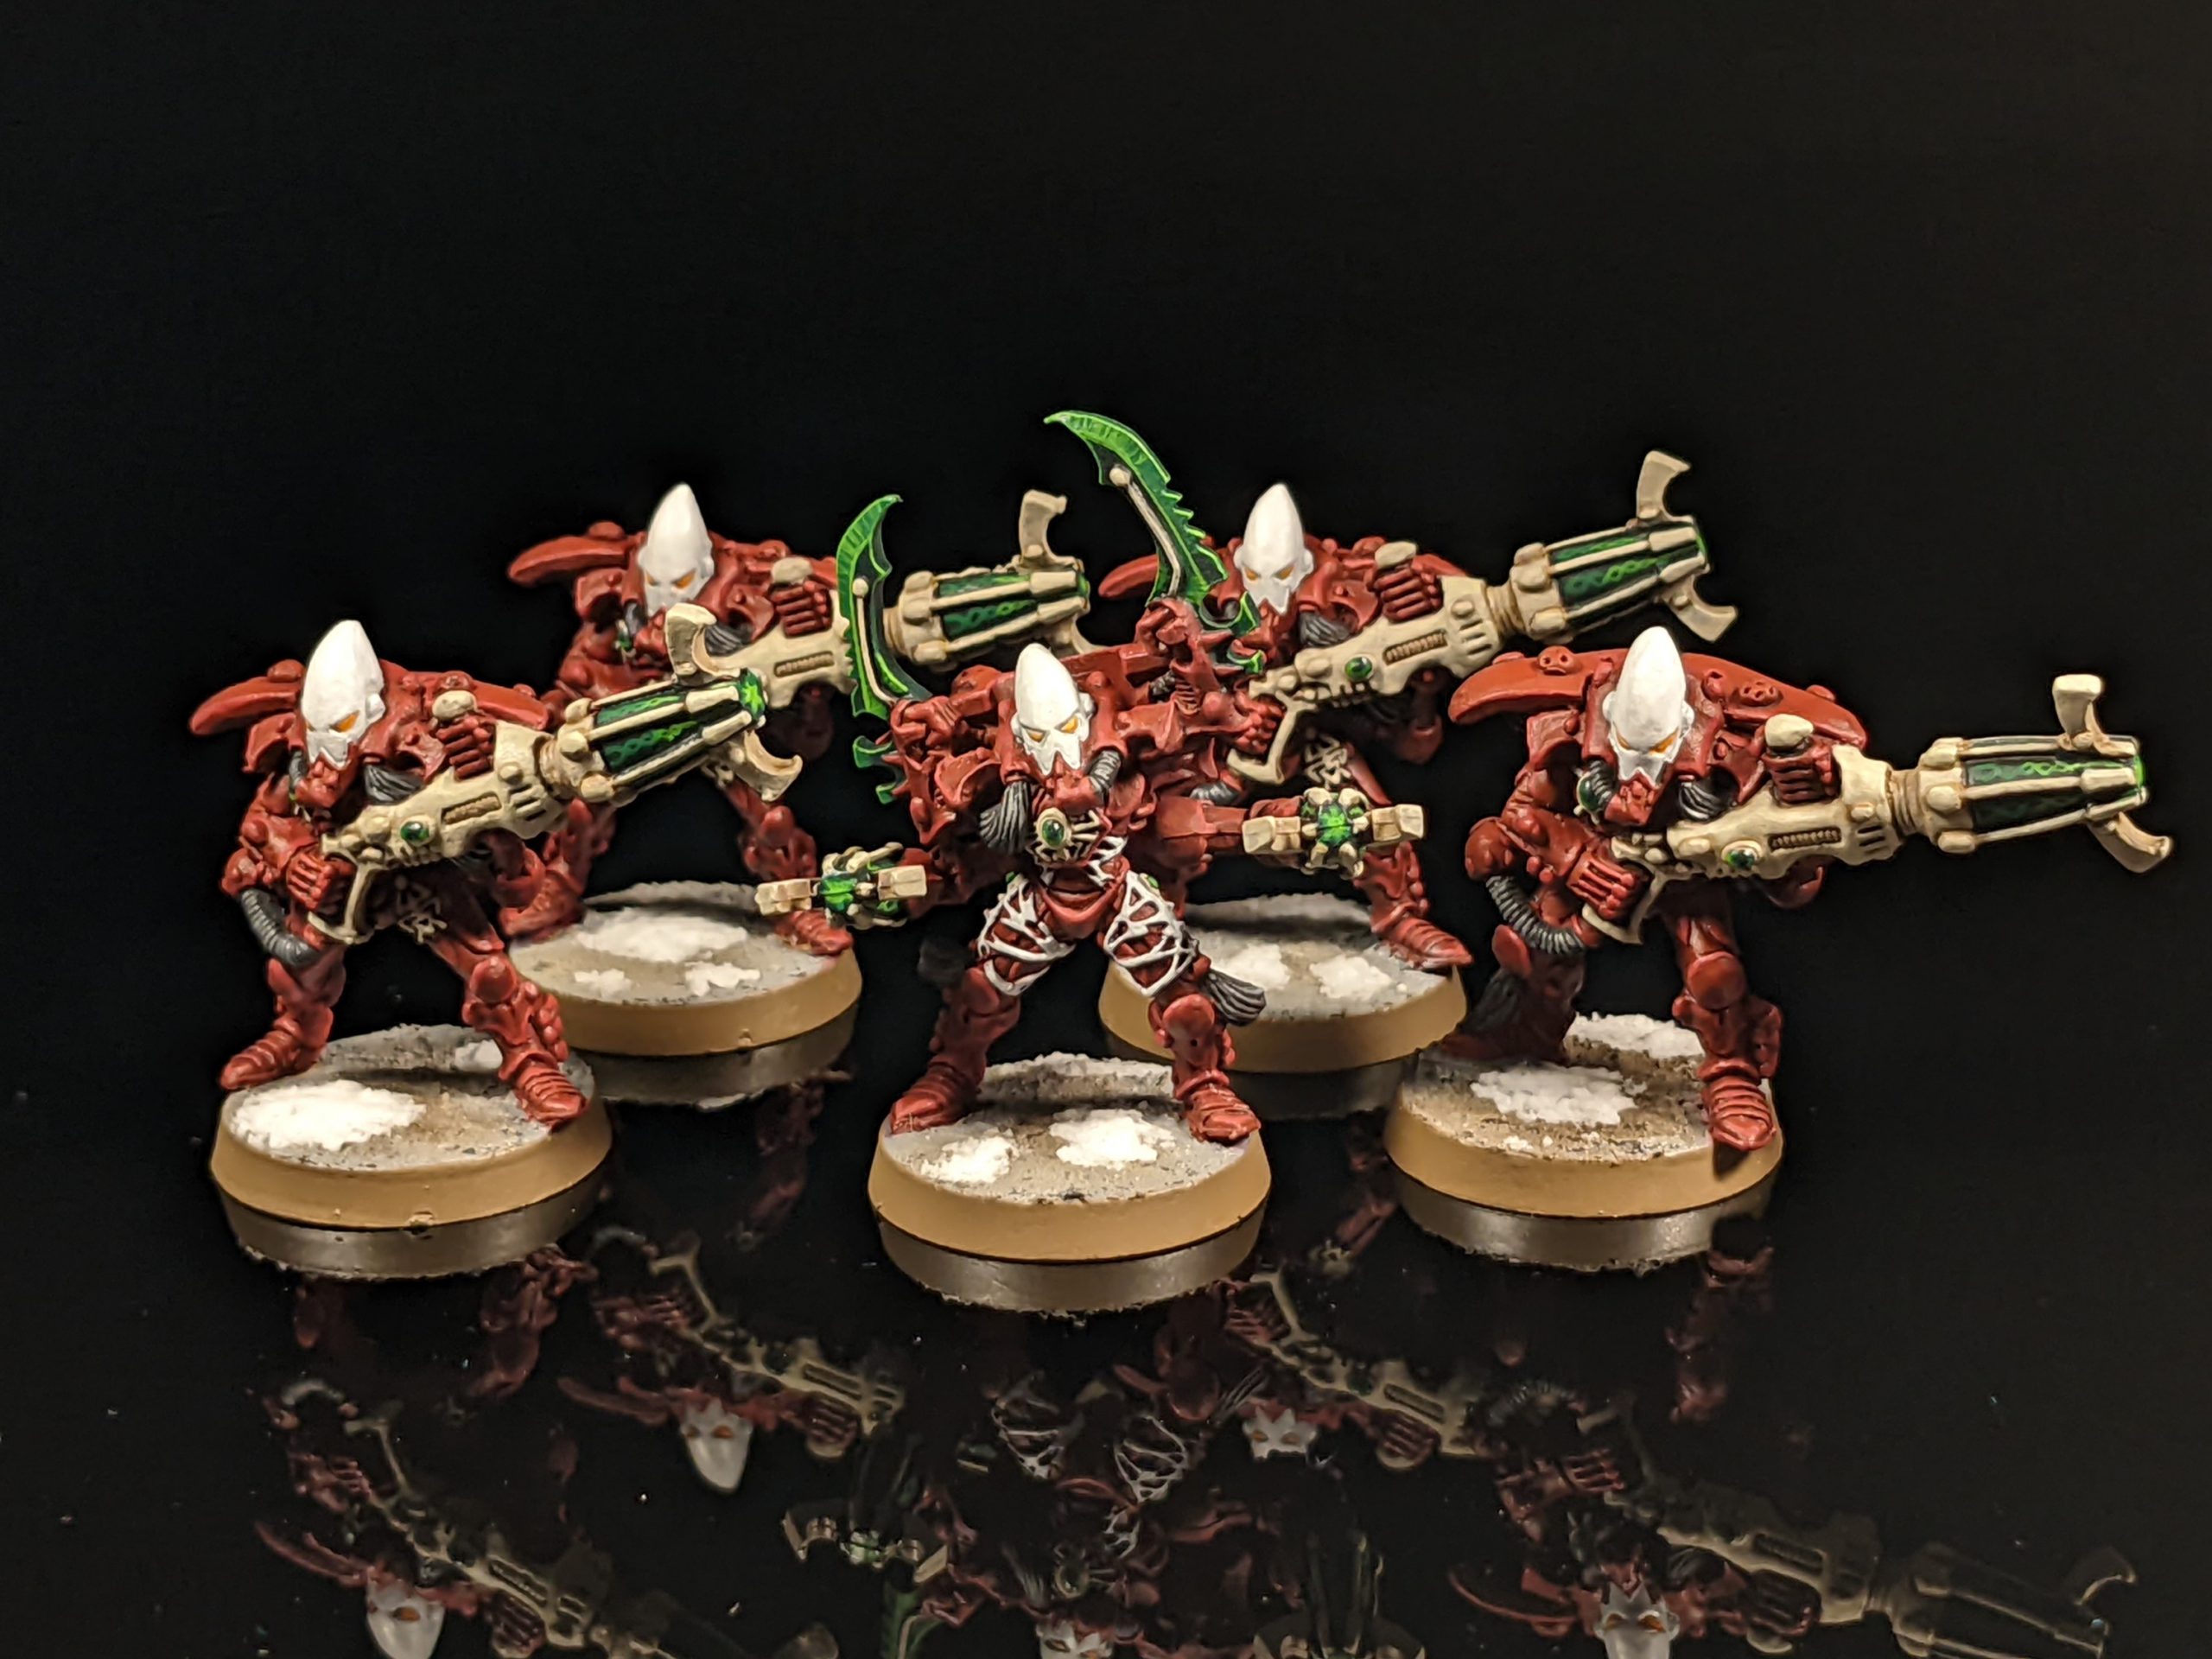
Drukhari
Never to be outdone by their Craftworlder cousins, the True Kin also come to boarding actions with four detachments. Space Lane Raiders is the analogue to the 40k Realspace Raiders detachment, allowing you to bring a selection of units from the Kabals, Wych Cults, and Haemonculus Covens in a single force. If you’d rather focus on a single alignment, though, they’ve got you covered. The Kabalite Corsairs, Ship-Killer Cult, and Painbringers detachments are each limited to Kabals, Cults, and Covens respectively.
Pain tokens are back, and you’ll start with 1 token in each game thanks to Feast of Pain. This is to be expected, as it’s the same number of tokens you’d get in a Combat Patrol game. But thankfully, each of the detachments here includes a way to gain additional tokens through their detachment rule, meaning that if you can play to your strengths, you can pick up a couple of extra tokens and use them to shift the momentum of the game to your favor.
Space Lane Raiders
You have access to Kabalites, Wyches, and Wracks here, and you’ll likely want to make use of all three options, not least because you can’t take any characters unless you have a battleline unit from the matching sub-faction. Kabalites let you bring an Archon, Wracks allow either a Haemonculus or Urien Rakarth, and Wyches can show up with a Succubus or Lelith Hesperax in tow. Both named characters lose one of their datasheet abilities, though Urien probably gets hit harder by losing Fleshcraft, while Lelith is still dangerous even without her once-per-game Thrilling Spectacle. Throw in some Incubi for some harder-hitting melee and a unit of Mandrakes for their Infiltrators rule, and you can put together a fairly well-balanced force.
The detachment rule focuses around characters, so be sure you bring a couple. Any time one of your characters manages to kill an enemy character, you’ll get an extra pain token thanks to the Commorrite Rivalries detachment rule. As an added bonus, the rule also lets you spend a pain token to lower the cost of Battlefield Command by 1, potentially letting you hand out a key buff even when you can’t afford the command point. It’s not something you’ll use all the time, but it’s a nice option to have. And having command points on hand will be helpful, because your various units each have stratagems that only they can benefit from. Kabalites can move up to 3” after shooting thanks to Veteran Pirates, while Wyches can roll a d6 with Voidship Gladiators and be immune to overwatch on a 2+. Finally, Wracks can upgrade their melee weapons to gain [ANTI-INFANTRY 3+] by using Crew-Thieves.
Each of the three Drukhari sub-factions has their role to play here: Kabalites are a mobile shooting platform with legitimately threatening special weapons, Wyches tie up enemies in combat and dare them to fall back, and Wracks provide a reasonably tough unit for their price suitable for taking and holding contested objectives. And the characters you can take are all at least passable at hunting enemy characters, potentially netting you a few extra Pain tokens. To succeed here, you’ll need to work to get the most mileage out of the various units available to you and avoid letting them get caught in unfavorable situations.
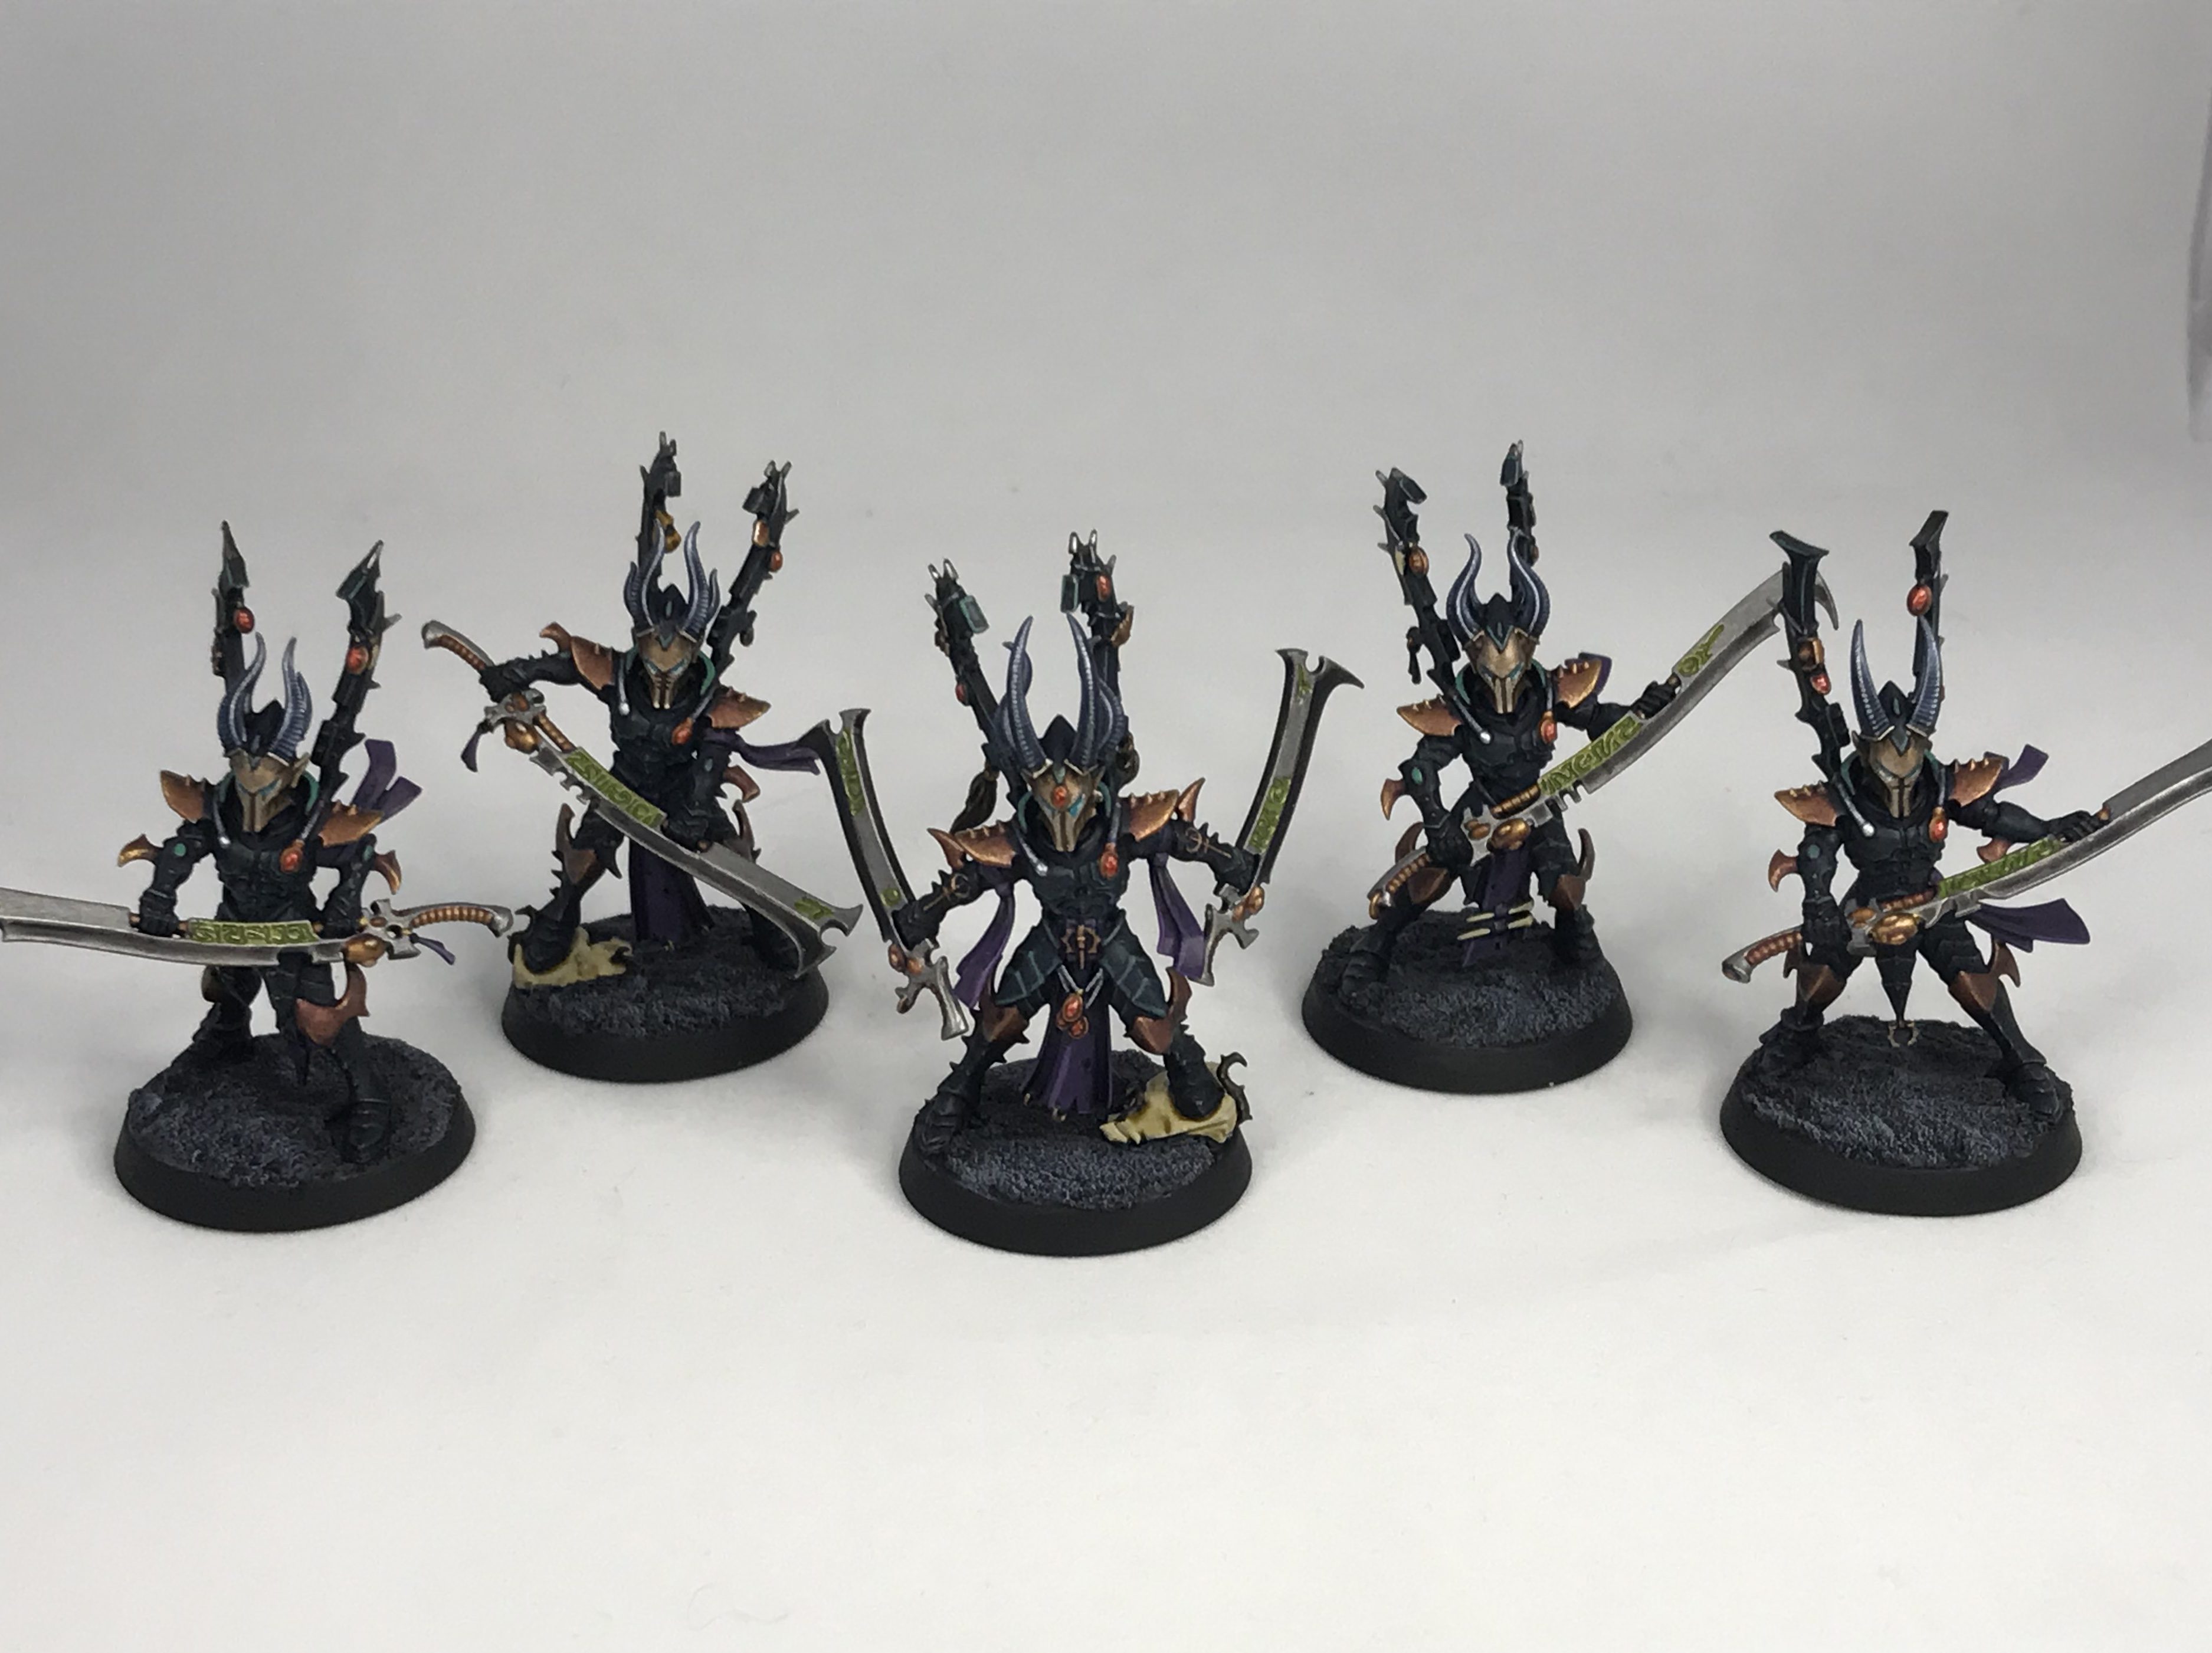
Kabalite Corsairs
The Kabals take to the field with a set of rules that’s honestly more interesting than you might expect. You can take up to three units of Kabalites, backed up by one each of Incubi, Mandrakes, and the Court of the Archon. But the real draw here is in the characters: not only can you bring an Archon, you can also bring Drazhar. The Master of Blades excels at shredding the sorts of units you’re likely to run into in boarding actions, especially if you feed him a Pain token to re-roll hit rolls and push him to AP-3.
And spending that Pain token won’t be as hard of a decision as you might think, as long as you point him at an enemy on an objective. The Raid and Pillage detachment rule gives you an extra Pain token any time you destroy an enemy unit in range of an objective they controlled at the start of the phase. It also lets you spend a Pain token in your Command phase on a KABAL unit to secure an objective you control. Not only does this let you secure an objective without having to give up shooting, it also allows your Archon or Court of the Archon to lock down objectives even without the BATTLELINE keyword.
This detachment’s tools will help you scrap over objectives with Incubi supported by Kabalite firepower. Despite losing its Devious Mastermind ability in boarding actions, your Archon can get access to a similar ability in the Malevolent Cunning enhancement, which increases the cost of the first stratagem your opponent uses on a unit within 3” of the Archon. If you need some help staying alive in close, Elusive Duellists imposes a -1 penalty to hit one of your units in the Fight phase, and if you use it on Incubi, improves their invulnerable save to a 4+ in the bargain. Finally, if you need a few extra inches of movement to get onto an objective, look no further than Opportunistic Thieves, which lets one of your Kabal units move d6” towards a visible objective at the end of your Fight phase.
While it might have “Kabalite” in the name, the Incubi are the unit that really shines here, and they’re a great target for Pain tokens, especially when they’re benefitting from either your Archon’s or Drazhar’s leader abilities with Battlefield Command. That’s not to say the Kabal choices aren’t useful: the Court of the Archon is solid, and the Kabalite special weapons will do solid work into a wide variety of targets. And the rules on offer here reward for doing what you need to do to win: fighting over objectives. And if all else fails, at least Drazhar’s a monster.

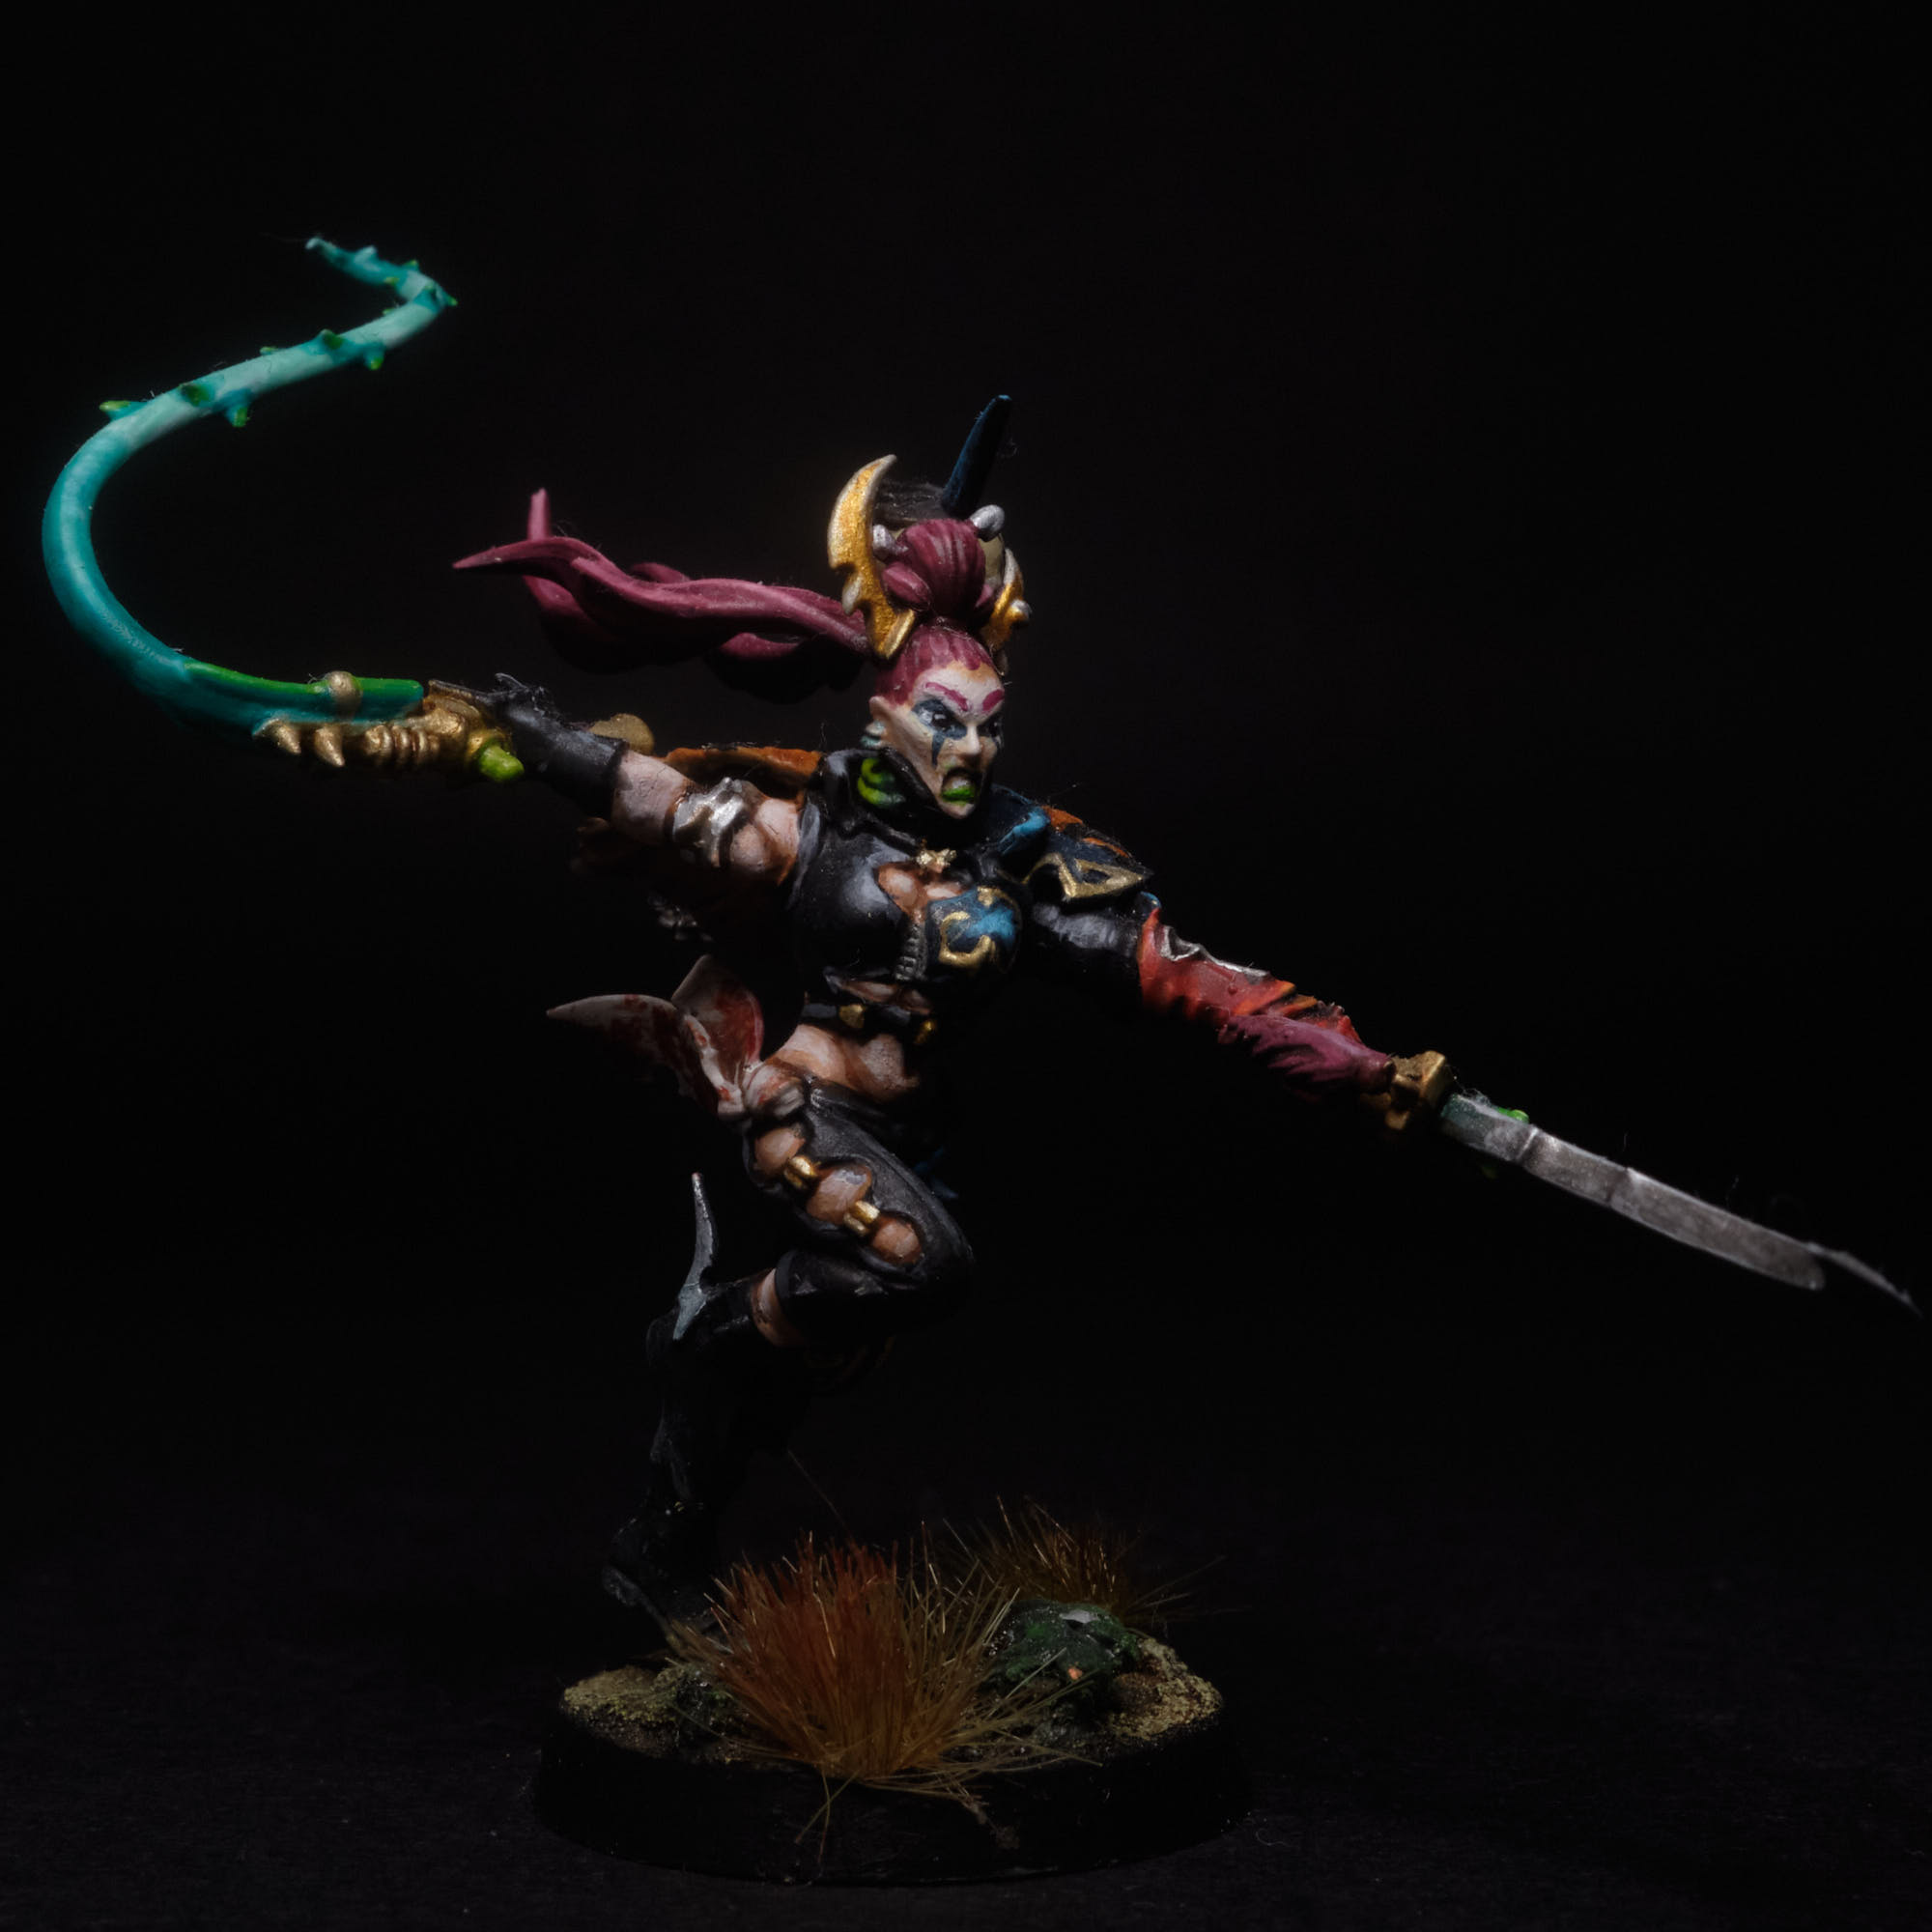
Ship-Killer Cult
The Wych Cult-focused detachment can make them downright nasty. You get up to three units of Wyches along with one each of Incubi, Mandrakes, a Succubus, and Lelith. As ever, Lelith is the real star of the show here, but you’ll want to bring a generic Succubus as well since EPIC HERO units can’t take enhancements. You still probably want to bring some Incubi, but if there was a detachment where you could get away with leaving them out, it’s this one: the Appetite for Adulation detachment rule gives your Wyches [ANTI-INFANTRY 4+] in any fight phase where they’re empowered. Plus, if you can manage to kill two units in the same fight phase, you’ll pick up an extra token. This is probably one of the harder extra token triggers to pull off, but considering that you’re not killing anything at range with this list, it’s not impossible by any means.
Wyches aren’t that great unless they can make it to combat, but there are plenty of rules here to help you do just that. A Succubus with Stimm-Fervour can advance and charge. Simple, but strong. No Obstacle lets a unit charge enemies it can’t see as long as the charge takes it through a hatchway it opened this turn, potentially letting you make a charge without having to expose the unit to fire. And if one of your units does get attacked, Hyperagility imposes a -1 penalty to both hit and wound rolls for the phase, which could make the difference between winning and losing the next fight they’re in.
The strategy here isn’t complicated: cross the board, tie up enemies, and absolutely drown them in attacks with the ANTI-INFANTRY keyword and AP-2 or better. Then, dare them to fall back under the threat of your Wyches’ No Escape ability. Meanwhile, Lelith and your Succubus can move around the board to add some additional attacks where needed, while Mandrakes help take objectives and Incubi pitch in with AP-3 attacks where necessary. This detachment is the most aggressive one here by far, but if that’s your speed, it could be a lot of fun.
Painbringers
Finally, the Haemonculus Covens are here in all their horrific glory. In addition to Wracks, Incubi, and Mandrakes, you can also bring 3 or 6 Grotesques. After that, you can bring a single Haemonculus and Urien Rakarth. Having lost Fleshcraft and being unable to take an enhancement, Urien doesn’t really do anything for the units near him. That said, he’s pretty tough and has a chance to come back if he dies, so using him to go play objectives and hunt the odd character or two isn’t the worst play.
Grotesques are going to be your unit of choice, though: not only are they tough and deadly, they interact well with your detachment rule, Regenerative Agony. The first time you empower any of your Covens units, you roll a d6 and they regenerate. If it’s a unit of Wracks, they get one model back on a 2+, but anything else recovers a single wound on a 2-5, or 2 wounds on a 6. And keeping your models alive will help you generate Pain tokens thanks to the other half of the rule, which gives you a token whenever you pass four or more Feel No Pain rolls in the same phase.
The rest of the rules available to you focus on getting mileage out of your units so long as they stay alive. A Vile Surgeon Haemonculus deals a flat 3 damage to enemy characters, making them that much scarier in close combat. Unfeeling Abominations lets a Covens unit fight on death on a 4+, but if you use it on Grotesques, it lets them fight on a 3+ instead. And a unit that’s fighting an enemy on the other side of a door can use their Moulded Musculature to improve the strength and AP of their weapons by 1.
Genestealer Cults
If you thought Genestealer Cults would be cool in boarding actions, look no further: there are two detachments ready for you to take to the stars with your cultists: the Cult Unveiled is all about Acolytes, Neophytes, and the various human-looking characters, while the Genespawn Onslaught lets you swarm your opponent with Aberrants and Metamorphs.
Unfortunately, your units lose Deep Strike and your army rule is completely gone, replaced with Insidious Ambushers. That rule requires your opponent to set up their entire army before you deploy anything (though if they have a similar rule, you’ll just deploy as normal). Knowing where your opponent is going is certainly helpful, but it likely doesn’t compare to the power of being able to bring back units over the course of the game. That said, it does keep things simpler.
Cult Unveiled
Acolytes, Neophytes, and characters, oh my! You’ll get up to three units each of autopistol Acolytes and Neophytes, with a single unit of hand flamer Acolytes if you want them (you do). The force is led by your choice of a Magus or a Primus, and you get up to two from the other vaguely-humanoid infantry character options. One interesting thing to keep in mind when you’re building your force: Neophytes are one of the few units in the game that do not split into boarding squads. That means you get all 10 of them in the same unit, which might help them stay alive in situations where a 5-model unit of Acolytes would bite the dust.
The detachment rule here is one of the more annoying ones in the game. You pick a unit at the end of your shooting phase, and it can shut a door within 1” and move up to 3”. Crucially, it can still move even if it didn’t (or couldn’t) try to shut a door. The unit you pick can’t charge until the end of the turn, but if it’s closing doors, you probably don’t want it in combat anyway. This annoyance is backed up by the Master Saboteur enhancement, which lets you roll a d6 the first time your opponent tries to secure an objective, and simply say “no” on a 3+. And Primary Detonator lets you trigger booby-traps on a door, dealing mortal wounds to an enemy that opened a closed door on a d6 roll of 3+.
Out of Hiding helps you play the mission by giving one of your Neophyte units the Deep Strike ability for a turn. You might have some difficulty dropping a 10-model unit from deep strike in this mode, but when it works, it’ll be worth it. And if your opponent thinks that getting into combat will save them from your hand flamer unit, they’ll need to think again: For the Brood allows one of your units to target an enemy unit that’s in engagement range of friendly units. There’s a downside: you roll a d6 for each friendly unit that was engaged with your target to see whether they take a mortal wound or two, but you’ll usually be happy to pay that price.
If you want to lean into the tricks and traps of the Genestealer Cults, this detachment is for you. Slow your enemy down by closing doors in their faces, trigger traps, and crawl out of the ducts when they least expect it. The units you’ll have access to aren’t the most durable, but there are some really fun tricks you can pull to try to pull out a win.
Genespawn Onslaught
That said, maybe you prefer the direct approach. If so, load up on Aberrants, bring a squad of Metamorphs, and add your choice of two from the Abominant, Benefictus, or Biophagus. Your force’s detachment rule isn’t the most impressive: Blessed Visages only triggers when an enemy charges you, and imposes a -1 penalty to hit, but only if that unit fails a leadership check. It’s an odd rule for a list that likely wants to be charging rather than be charged, but thankfully it’s not the only rule you have access to.
Your Abominant can be a Spiteful Imp, which lets it deal mortal wounds when an enemy opens a door within 1” of it. And if they don’t open it, you can take care of that for the with Unstoppable Brutes, which allows Aberrants or an Abominant to move, advance, or charge right through a hatchway and knock it off its hinges, leaving it open for the rest of the game. As a bonus, if there was an enemy within 1” of the door on the other side, you can declare them as a target of the charge even though you couldn’t see them. And if your enemy gets too close for comfort, Soldiers of the Star-Children lets a Metamorph unit that’s setting overwatch also secure an objective at the same time.
This detachment is honestly a bit of an odd one. Some of its rules only work if an enemy unit fails a leadership check, which isn’t the best given that most units are at 6+ or 7+ on that check. But if you’re clever with how you play your Aberrants and Abominant around doors, they can be absolute nightmares for your opponent to deal with, and Hybrid Metamorphs get the ability to secure objectives without having to stand there for an entire turn, which is very helpful. If these units appeal to you, give it a shot.
Great Devourer
Reading the last section, you may have been asking yourself: “why aren’t the Genestealer Cults allowed to take Genestealers?” Well, the answer is because they’re in their own cross-faction detachment called the Infestation Swarm.
Infestation Swarm
You have a choice here out of the gate: you get either the TYRANIDS or GENESTEALER CULTS keyword. If you choose TYRANIDS, you get Genestealers and a Broodlord; GENESTEALER CULTS offer Purestrain Stealers and a Patriarch. Either way, your army rule is the same one from the Genestealer Cults detachments: your opponent has to deploy their entire army before you do. TYRANIDS forces also keep Shadow in the Warp, while GSC Purestrains lose the ability to advance and charge, though they keep Infiltrators.
Your units are all harder to hit thanks to Half-Glimpsed Shadows, which imposes a -1 to hit any of your units from further than 6” away. And Stalking Menace lets your chosen character leave the board at the end of your opponent’s fight phase, then come back in your next movement phase (thought it can’t charge if you do this). Hyperadrenal Reflexes lets you give one of your units a 4+ invulnerable save, which is helpful for keeping them alive. But if you want something trickier, Outflank lets you move a unit of Genestealers from one of your Entry Zones to another, or–if you’re able to pull it off–from one of your opponent’s to another.
Genestealers are a classic shipborne threat in 40k, and it’s great that they have a detachment, if only so that you can live out your dreams of playing Space Hulk in “real” 40k. That said, while this detachment promises to be a lot of fun, it might not be the strongest just due to the limitations on the units you can bring. But if you want to run a bunch of Genestealers, they do get a lot of mileage out of the terrain on a typical boarding actions table, and with clever play, this detachment could be a lot of fun.
Leagues of Votann
If you’re fielding a Votann force in boarding actions, you have two options: a generalist force in the Void Salvagers detachment, or just a whole bunch of Hearthguard with Hearthfire Strike. Either way, you’ll get the benefit of the Eternal Resentment army rule, which gives you two bonuses: first, you get to pick an enemy unit at the start of the first battle round and give it a Judgment token, and second, every time one of your units destroys an enemy that has at least 1 token on it, you can put a token on another enemy unit your unit can see.
Void Salvagers
The first detachment gives you the most options. You’ll get up to 3 units of Hearthkyn, backed up by up to one each of Thunderkyn, Beserks, and Hearthguard. Character-wise, you can bring any two from the book you’d like. The army you’ll build from this may seem slow at first, but that’s mitigated by your detachment rule, Stalwart Advance. Every time one of your units destroys an enemy unit in your shooting phase, it can move 3” and try to operate a hatchway. It won’t help you in the early stages of the game, but being able to move and open–or shut–a key hatchway out of sequence can be extremely powerful.
The rest of your rules are similarly useful, often in ways that other factions just can’t match. Obsessive Drive lets you choose an objective marker at the beginning of the round, then treat any enemy within range of that objective as having an additional Judgment token when you attack it. If you find yourself locked in melee and need a way out, Point-Blank Fire gives the PISTOL trait to all the ranged weapons in one of your squads for a turn. And if you need to open a door but aren’t there yet, Relic Cypher just does that, anywhere on the board.
If you want to play a “standard” Votann force in boarding actions, this is the way to do that. And as a bonus, you’ll have access to some tricks that very few other forces can replicate. Taken together with the various units you have access to, this detachment presents an interesting, if somewhat slow-moving, force on the table.
Hearthfire Strike
As the Votanns’ elite detachment, the only units you’ll have access to here are Einhyr Hearthguard and up to two Einhyr Champions. Thanks to their detachment rule, Wrought in Wrath, all of your units will add 1 to advance and charge rolls, helping you move across the board and get in position to take objectives and set up advantageous charges. It’s not the most complicated detachment rule, but it’s solid.
That doesn’t mean this detachment is lacking for tricks, though. Gulyk’s Stars lets one of your Einhyr Champions deal mortals to an enemy unit after it finishes a charge, and if you manage to kill a unit with them, you can open a door within 6”. Economy of Aggression lets you trade the [BLAST] trait on a unit’s grenade launchers for a flat 6 attacks per model, so long as you’re firing through an open hatchway. And once you charge your target, Gravitronic Pulse not only makes your enemy attack with a -1 penalty to hit, it also removes the Fights First ability if they had it, making sure you get to benefit from your charge bonus.
If you want to play melee Votann, this detachment is worth a look. While your choice of units is extremely limited, they’re tough, strong, and have easy access to Deep Strike to help you move them into advantageous positions. And the enhancements and stratagems offer some unusual effects that really help shore up some of your only unit choice’s weaknesses. All in all, while this detachment has the fewest options of any detachment in this book, the rules wind up making it more flexible than you might expect.
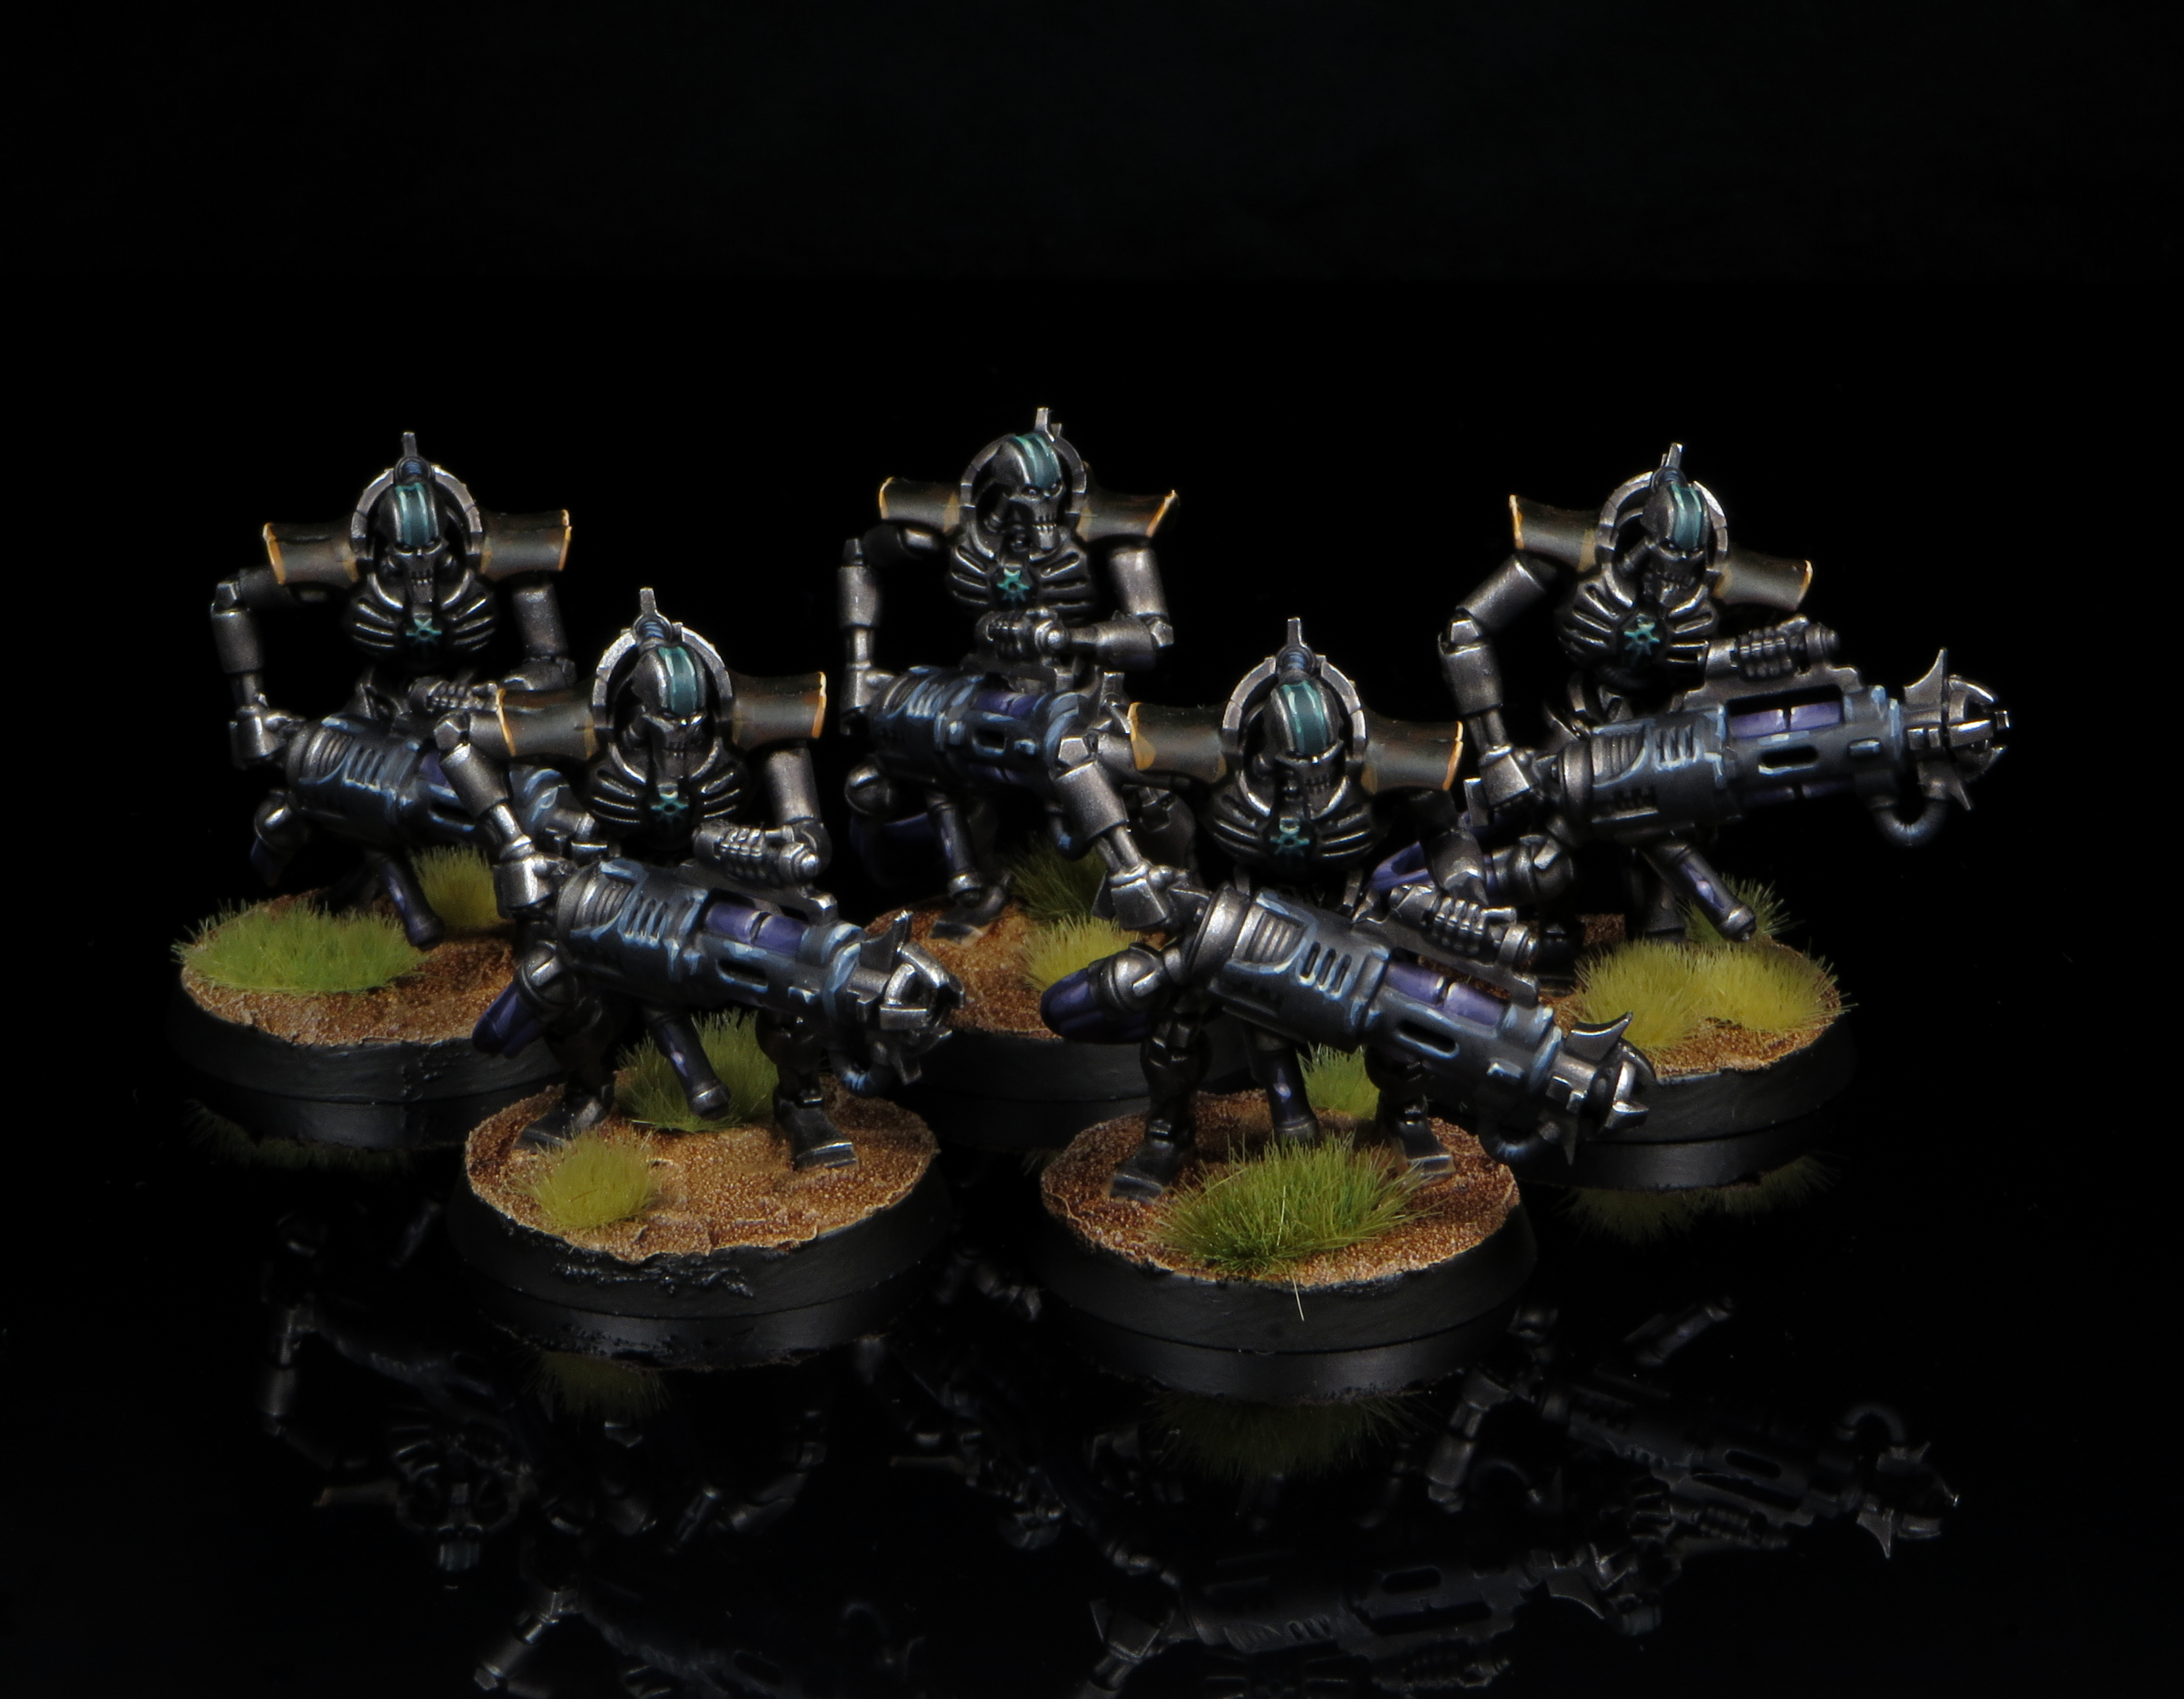
Necrons
The undying legions of the Necrons have found their way to boarding actions, but they’ve had to make some adaptations to the process. The most important of these is the change to their army rule: you’ll no longer be rolling Reanimation Protocols and instead gain Transdimensional Reinforcement. This grants each non-CHARACTER unit a once-per-game ability that you can use in your command phase. When you do, you’ll roll a d6 for each missing model in the squad, and bring one back at full health for each 5+. But while this only goes off once per game, each unit is guaranteed to use it: if a unit is destroyed before requesting reinforcement, you immediately make the roll, then set up the revived models in one of your entry zones.
The detachments you’ll choose from are probably the ones you’re expecting: the “combined arms” Tomb Ship Complement, the Deranged Outcasts made up of destroyers and Flayed Ones, and the Cryptek-centric Canoptek Harvesters.
Tomb Ship Complement
If you want to bring a diverse assortment of units, this detachment is where it’s at: you can bring at least one unit of nearly any non-monster non-vehicle unit in the Codex. No Wraiths here, but other than that, the world is (largely) your oyster from a list-construction perspective. The detachment rule is similarly flexible, improving the AP of any of your attacks by 1 when you either attack with a unit within range of an objective or attack a unit that’s within range of an objective.
Keeping your characters in the fight is certainly helpful, and Resurrection Protocols will help you do that, allowing the bearer to stand back up on a 2+ with d3 wounds remaining. Unwavering Defence will help you hold the line by giving a unit that has Set to Defend the [SUSTAINED HITS 2] ability for a phase. And woe be unto that enemy who tries to prevent you from opening a hatchway: Disintegration Beams will deal mortal wounds to them regardless of whether they’re successful.
The rules you have access to with this detachment cover a wide variety of use cases, which is good given the broad access to units here. You’ll need to make up for the lack of focus in the rules by applying them to get the most out of the units you bring in your boarding patrol. But with the number of options available to you, that shouldn’t be that difficult.
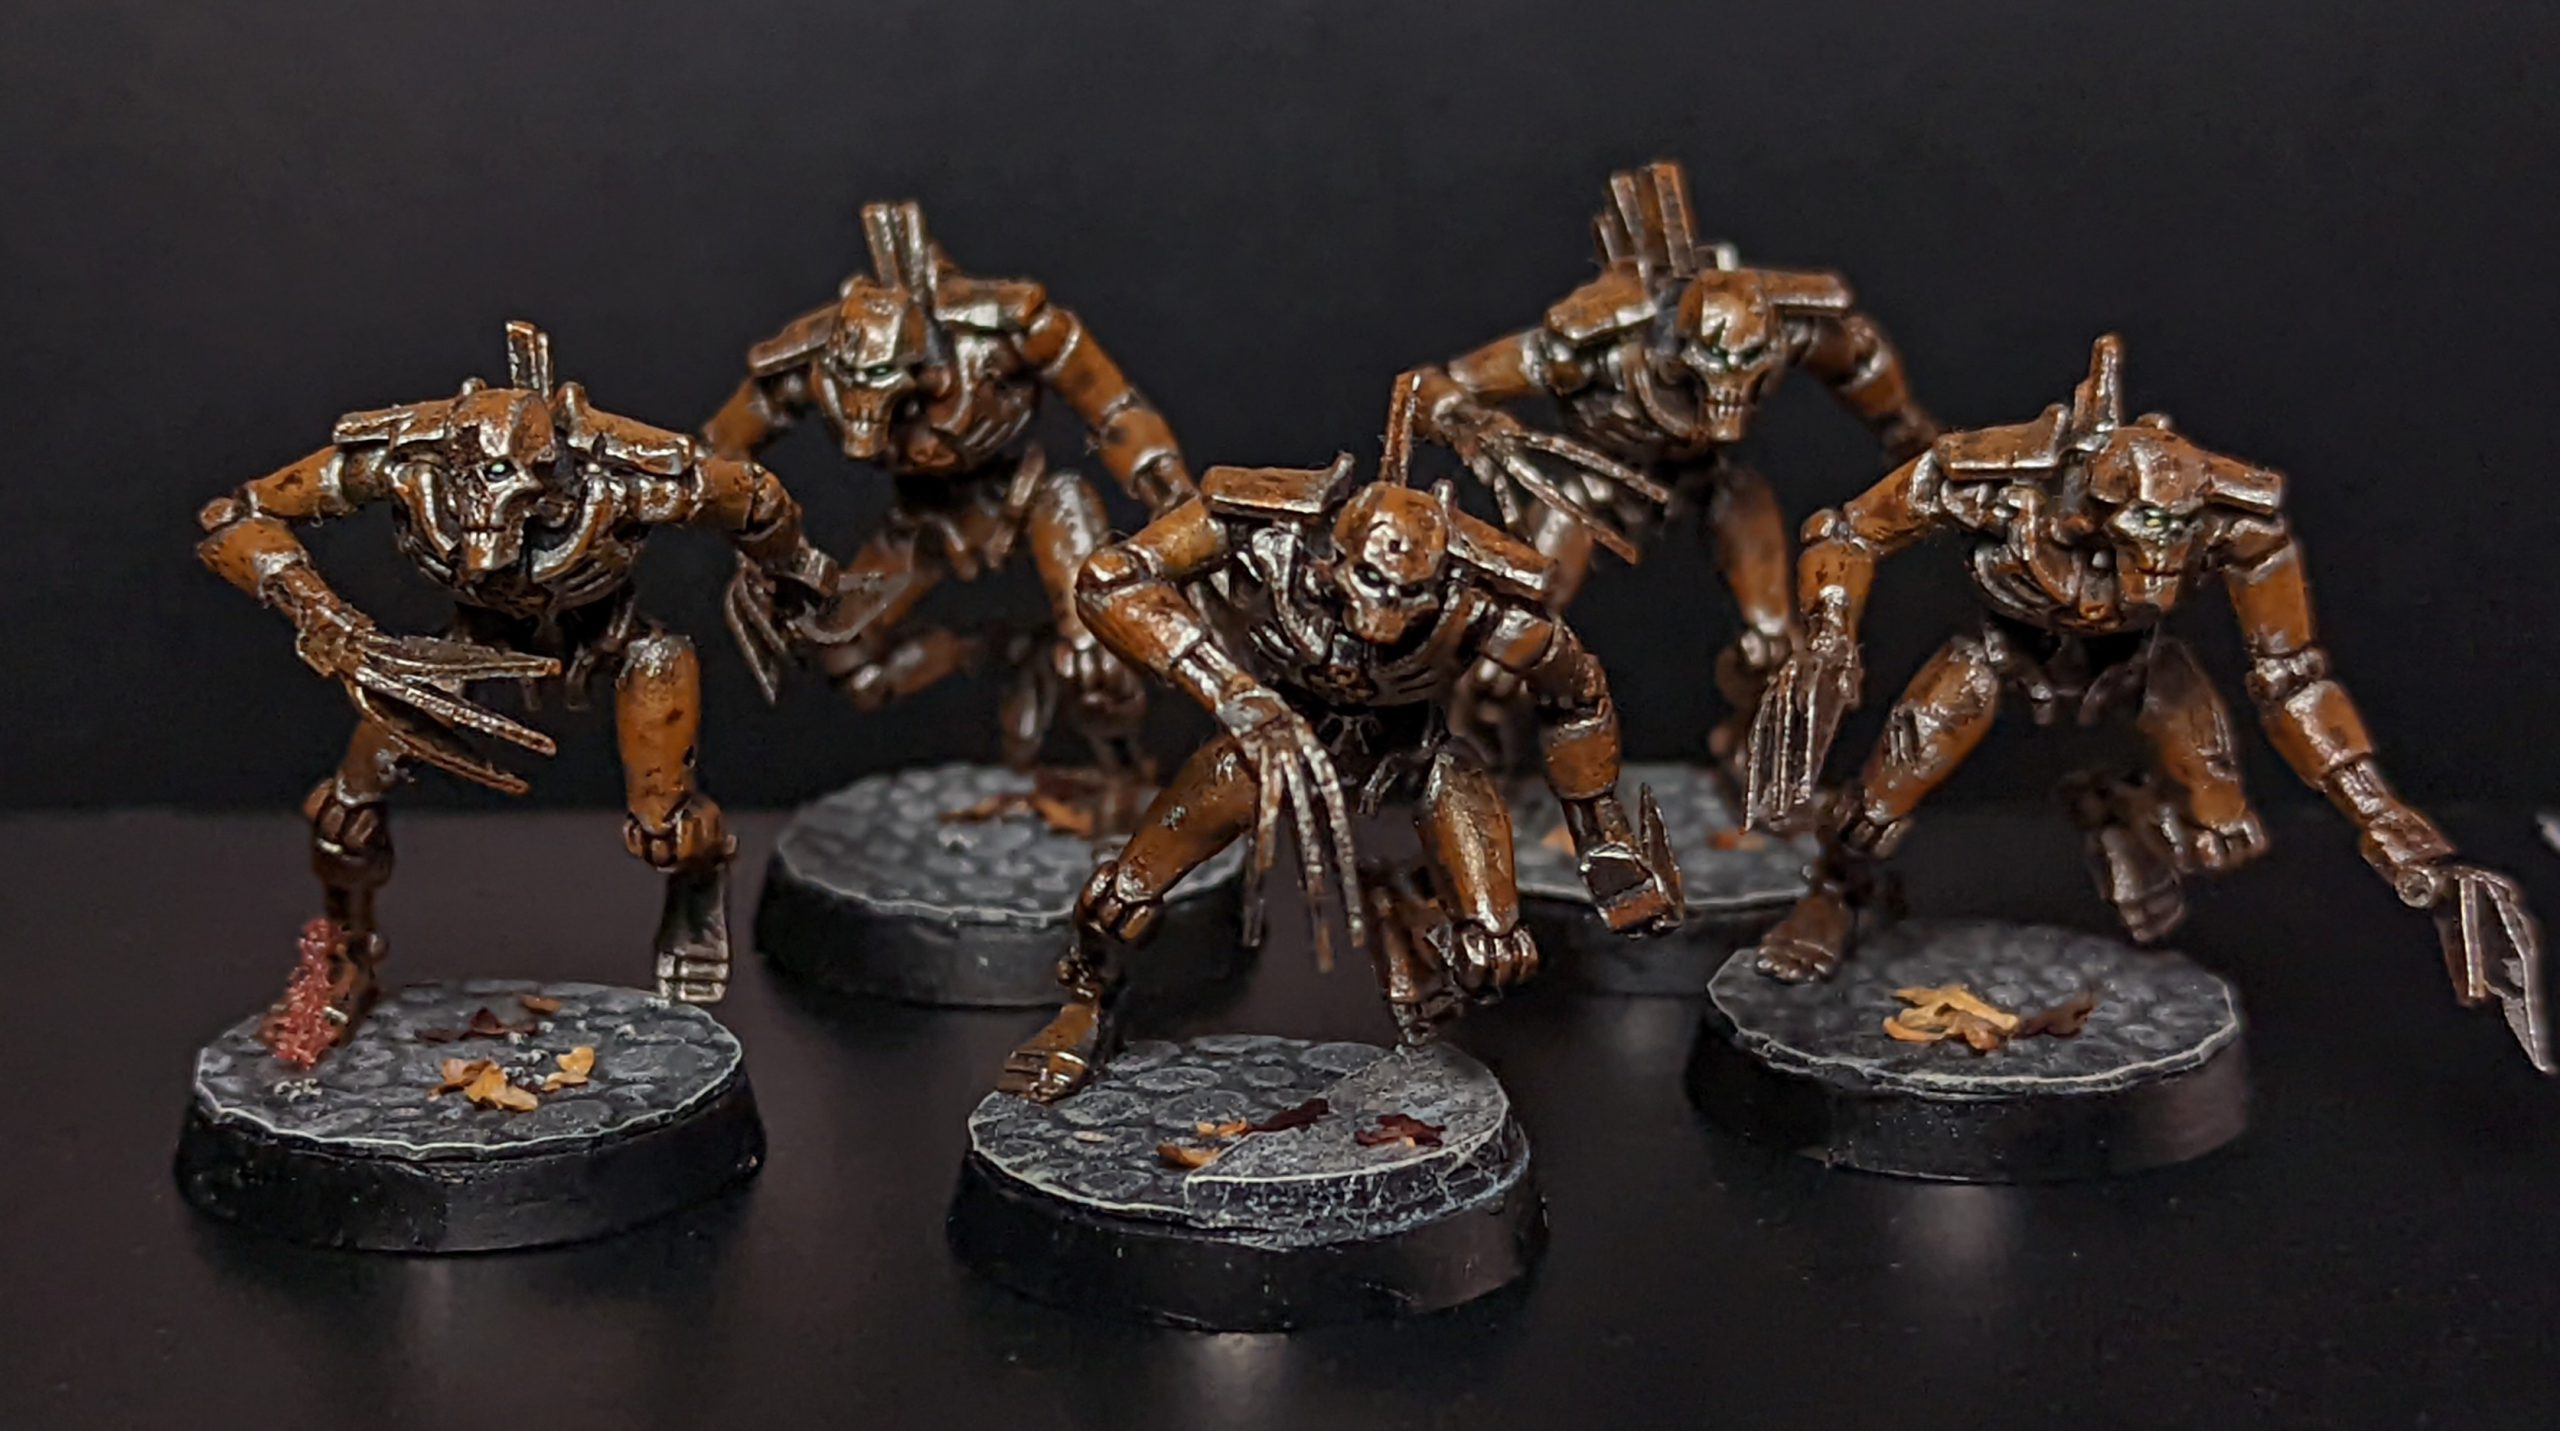
Deranged Outcasts
As a detachment devoted to Destroyers and Flayed ones, the rules unsurprisingly support a melee-focused playstyle. The detachment rule, Terrifying Charge, forces enemies you charge to make a leadership check, and puts them at -1 to hit for the rest of the turn if they fail. One of your characters can also become Inured to Damage, giving them a 6+ Feel No Pain that upgrades to a 5+ after they destroy a unit.
Your Flayed Ones can gain the Deep Strike ability for a round thanks to the Shadow Stalkers stratagem, and if you need to secure an objective, Bathed in Blood allows you to Secure an objective when you destroy an enemy within range of it.
This detachment is one of the more straightforward ones in the book: you want to get into melee and shred your opponent’s units, ideally within range of an objective. Your units are threatening enough against most of what you’ll run into in boarding actions, and the detachment’s rules give you the tools you need to play the mission and move onto objectives on the other side of the board.
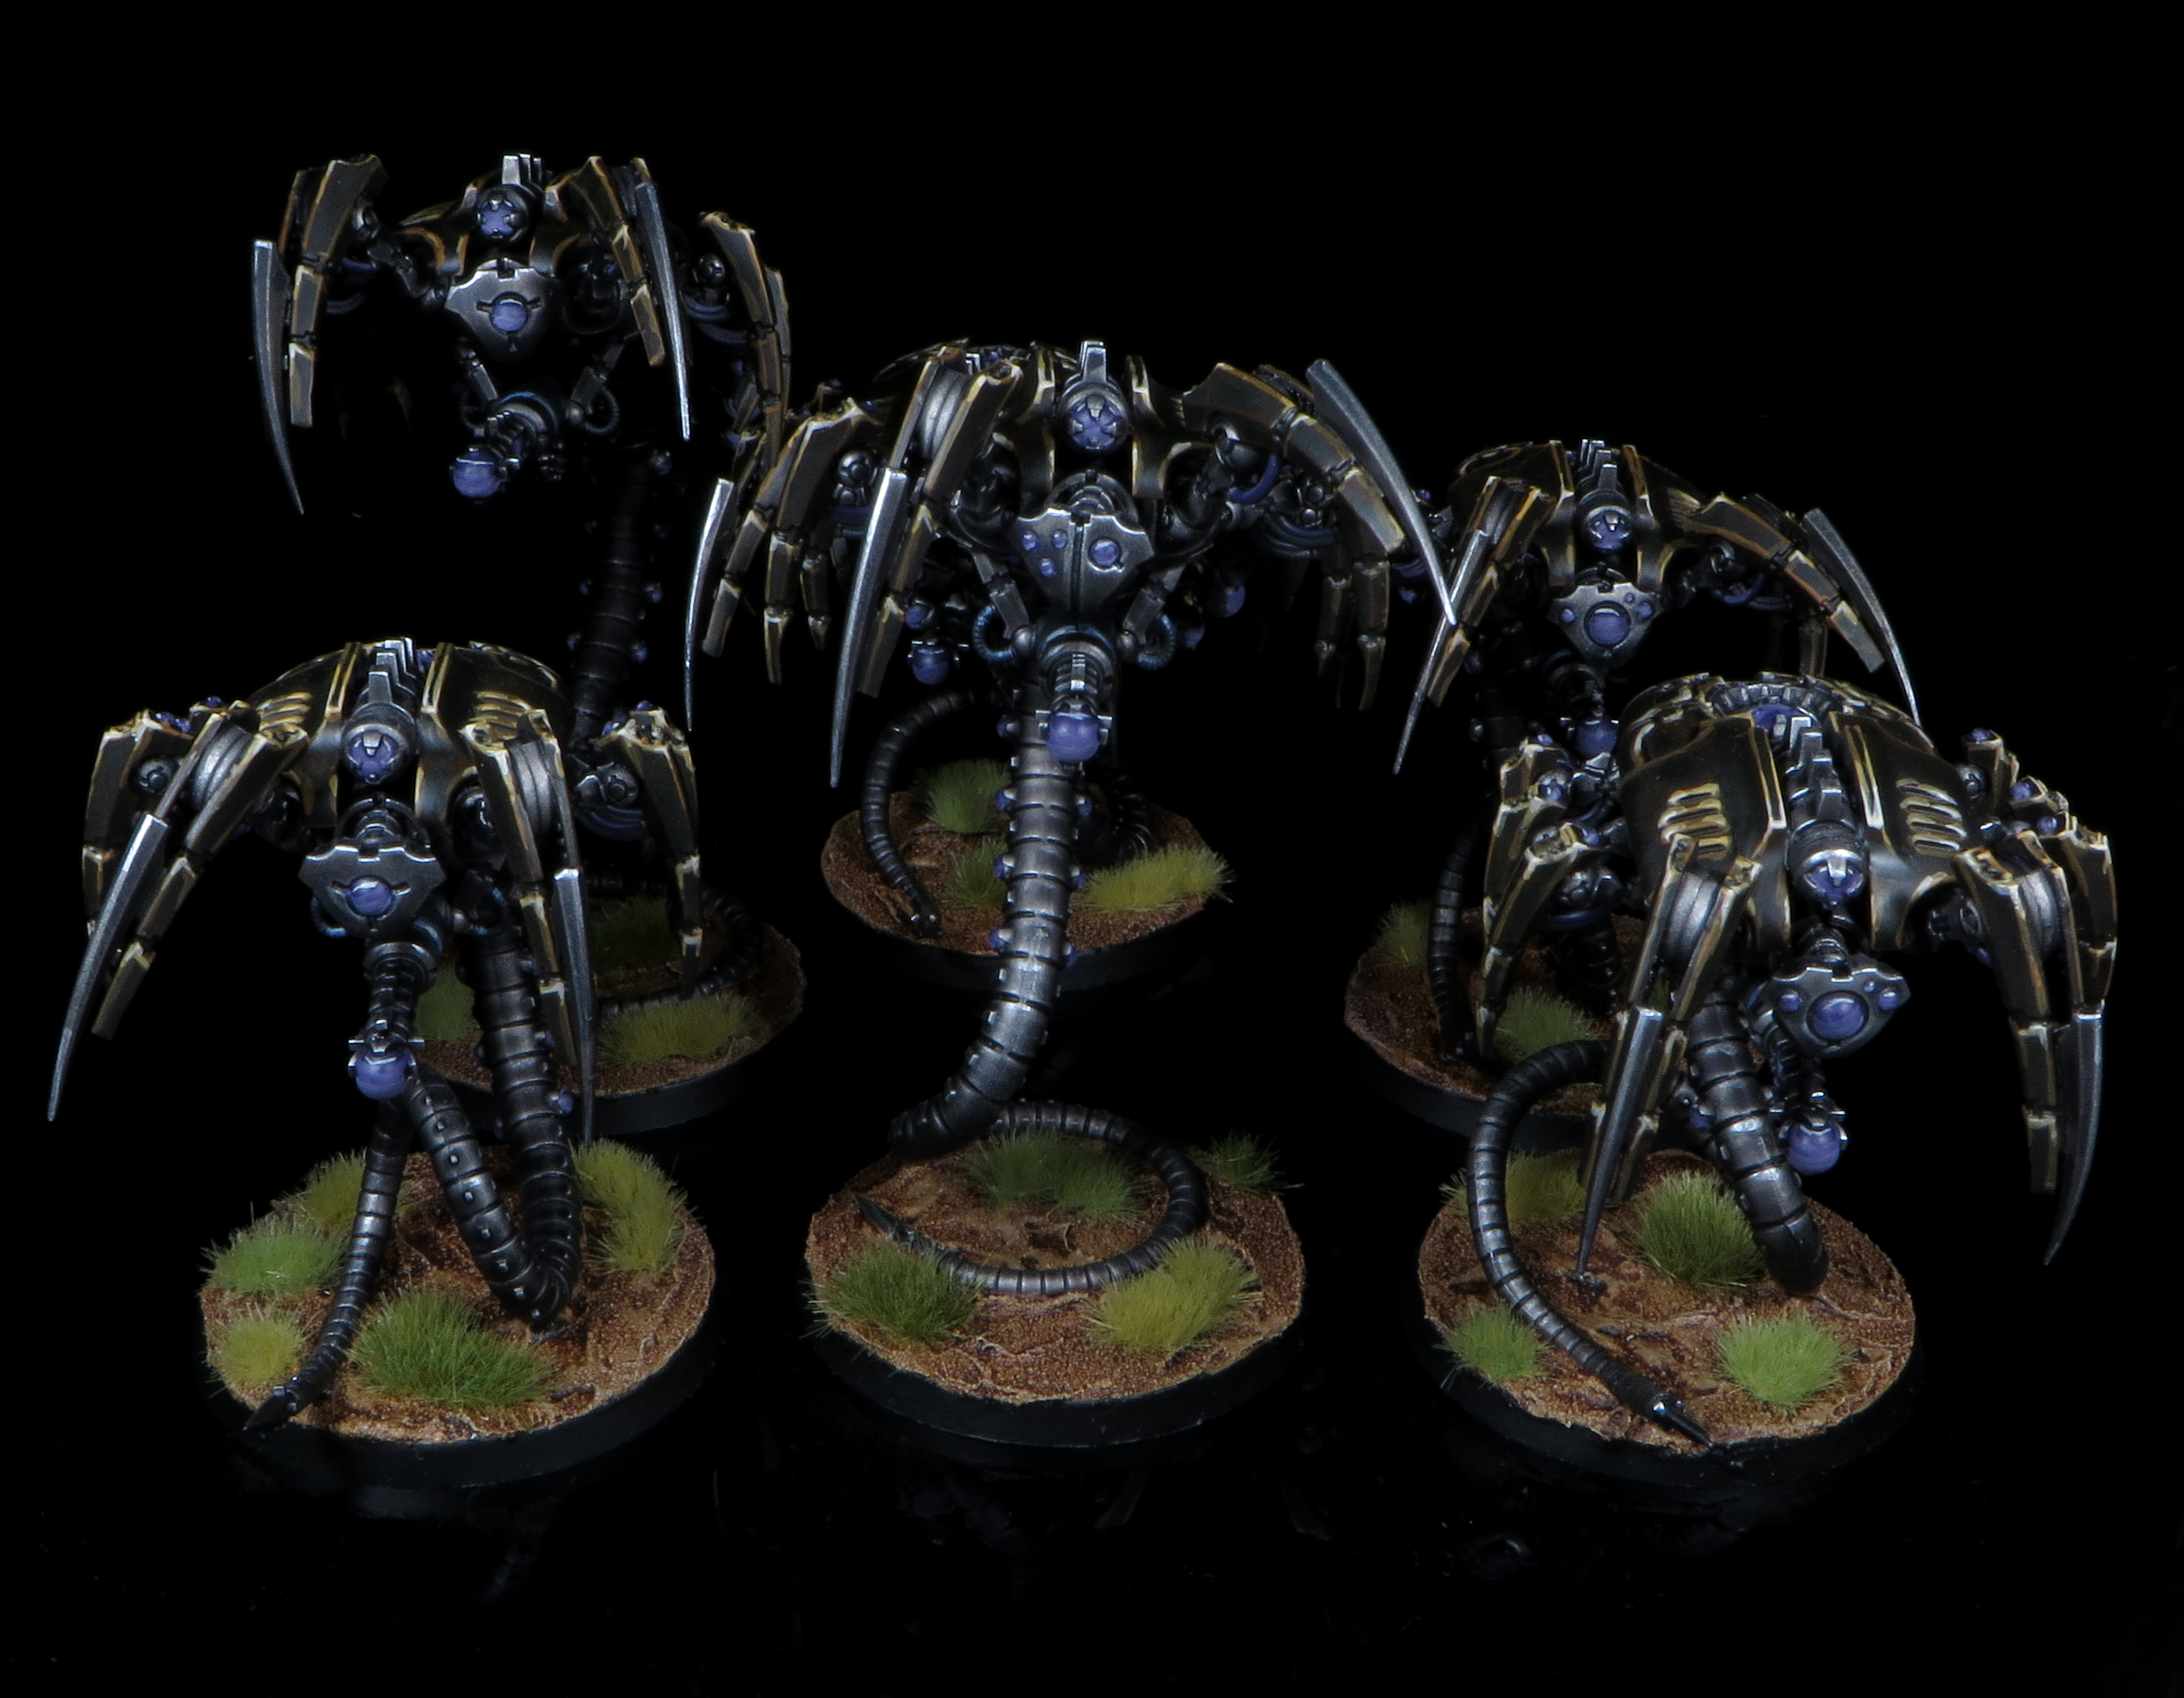
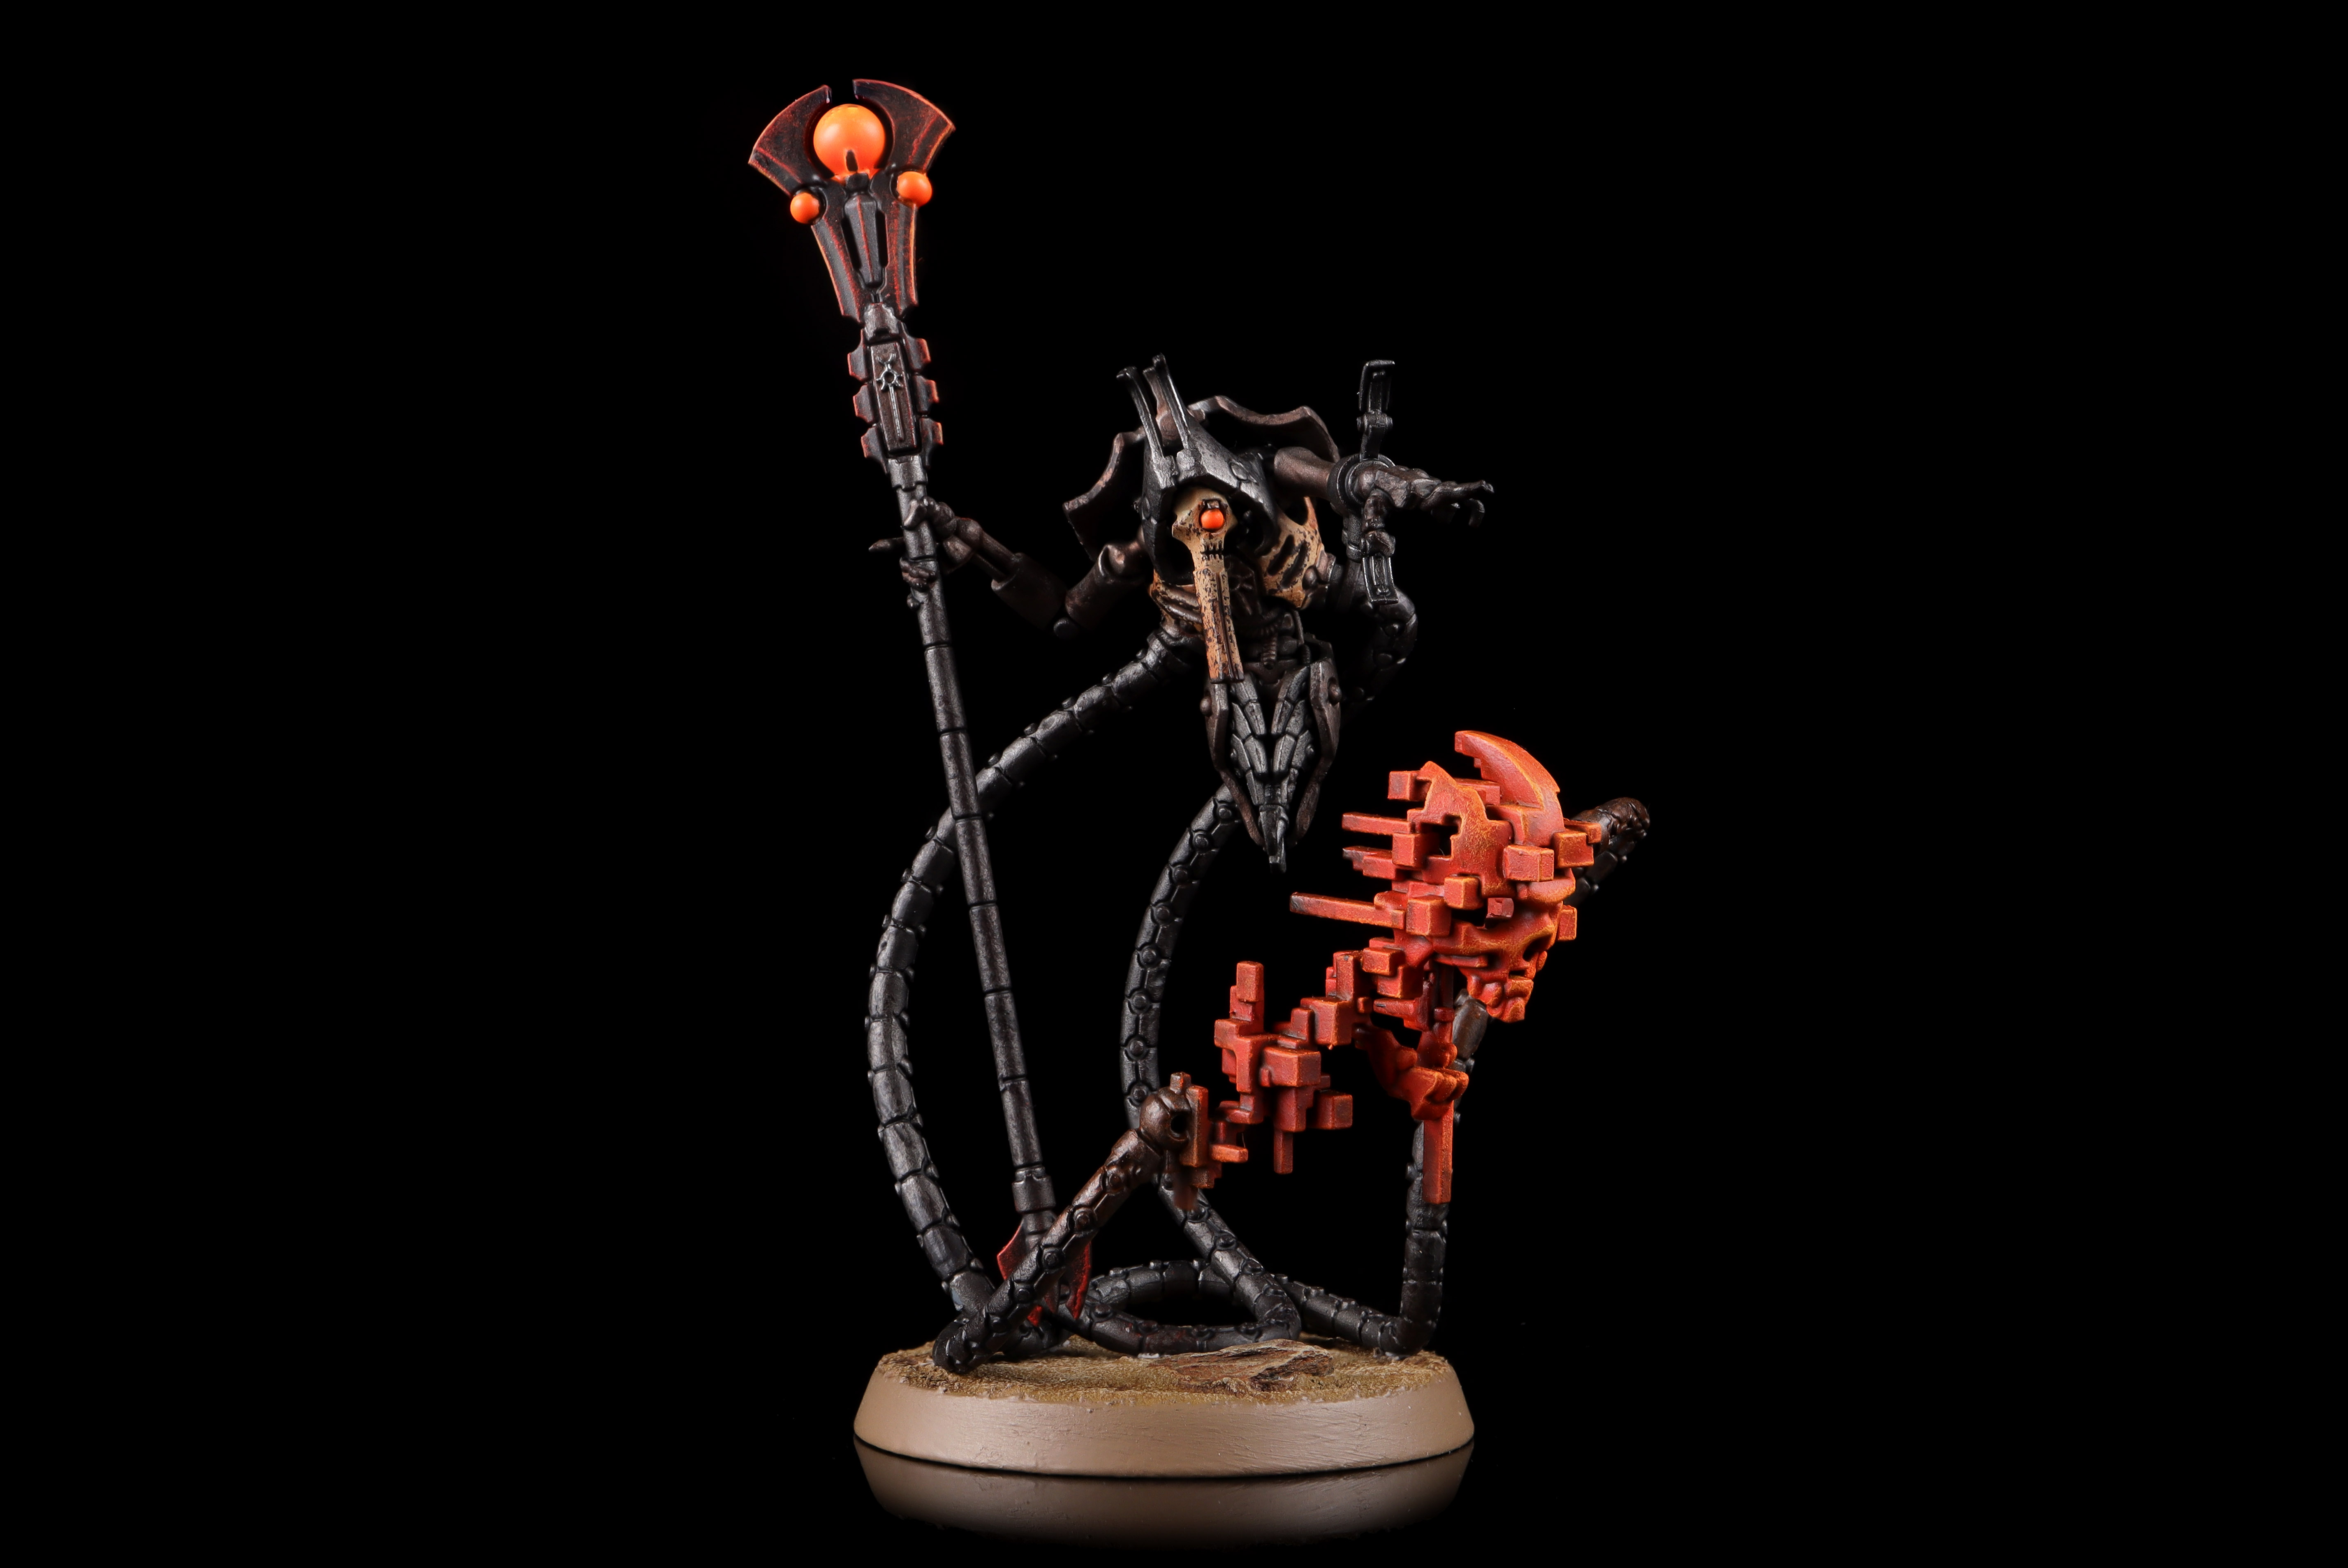
Canoptek Harvesters
The other Necron detachment you were expecting, this one focuses on Crypteks and Canoptek units. Specifically, you can bring up to two each of Wraiths and Scarabs. Warriors too, if you need another unit to go stand on objectives. You also get to bring three characters, choosing from the 4 generic Crypteks, Orikan, and Illuminor Szeras. You’ll want to bring all three to maximize the chance you’ll get to use your detachment rule: Retribution Protocols gives your entire army the ability to re-roll hit rolls against a unit that destroyed one of your Crypteks.
The rest of the detachment is exactly as tricky as you’d expect a Cryptek detachment to be. Impromptu Translocation allows the bearer to move 6” after shooting once per game. If that’s not enough mobility for you, a unit of Wraiths can move through walls and closed doors once per game with Phase-Shift. And your Crypteks can try to shrug off incoming fire by using Quantum Flare-Shield to get a 4+ invulnerable save.
Even with their rules changes, the various Cryptek models are all interesting choices here. And while Orikan probably isn’t worth a look without The Stars are Right, Szeras is an absolute monster, and punishing your opponent when they finally manage to take him down is only adding insult to injury. If you’re looking for a character-focused Necrons force, this detachment might well be a perfect fit.
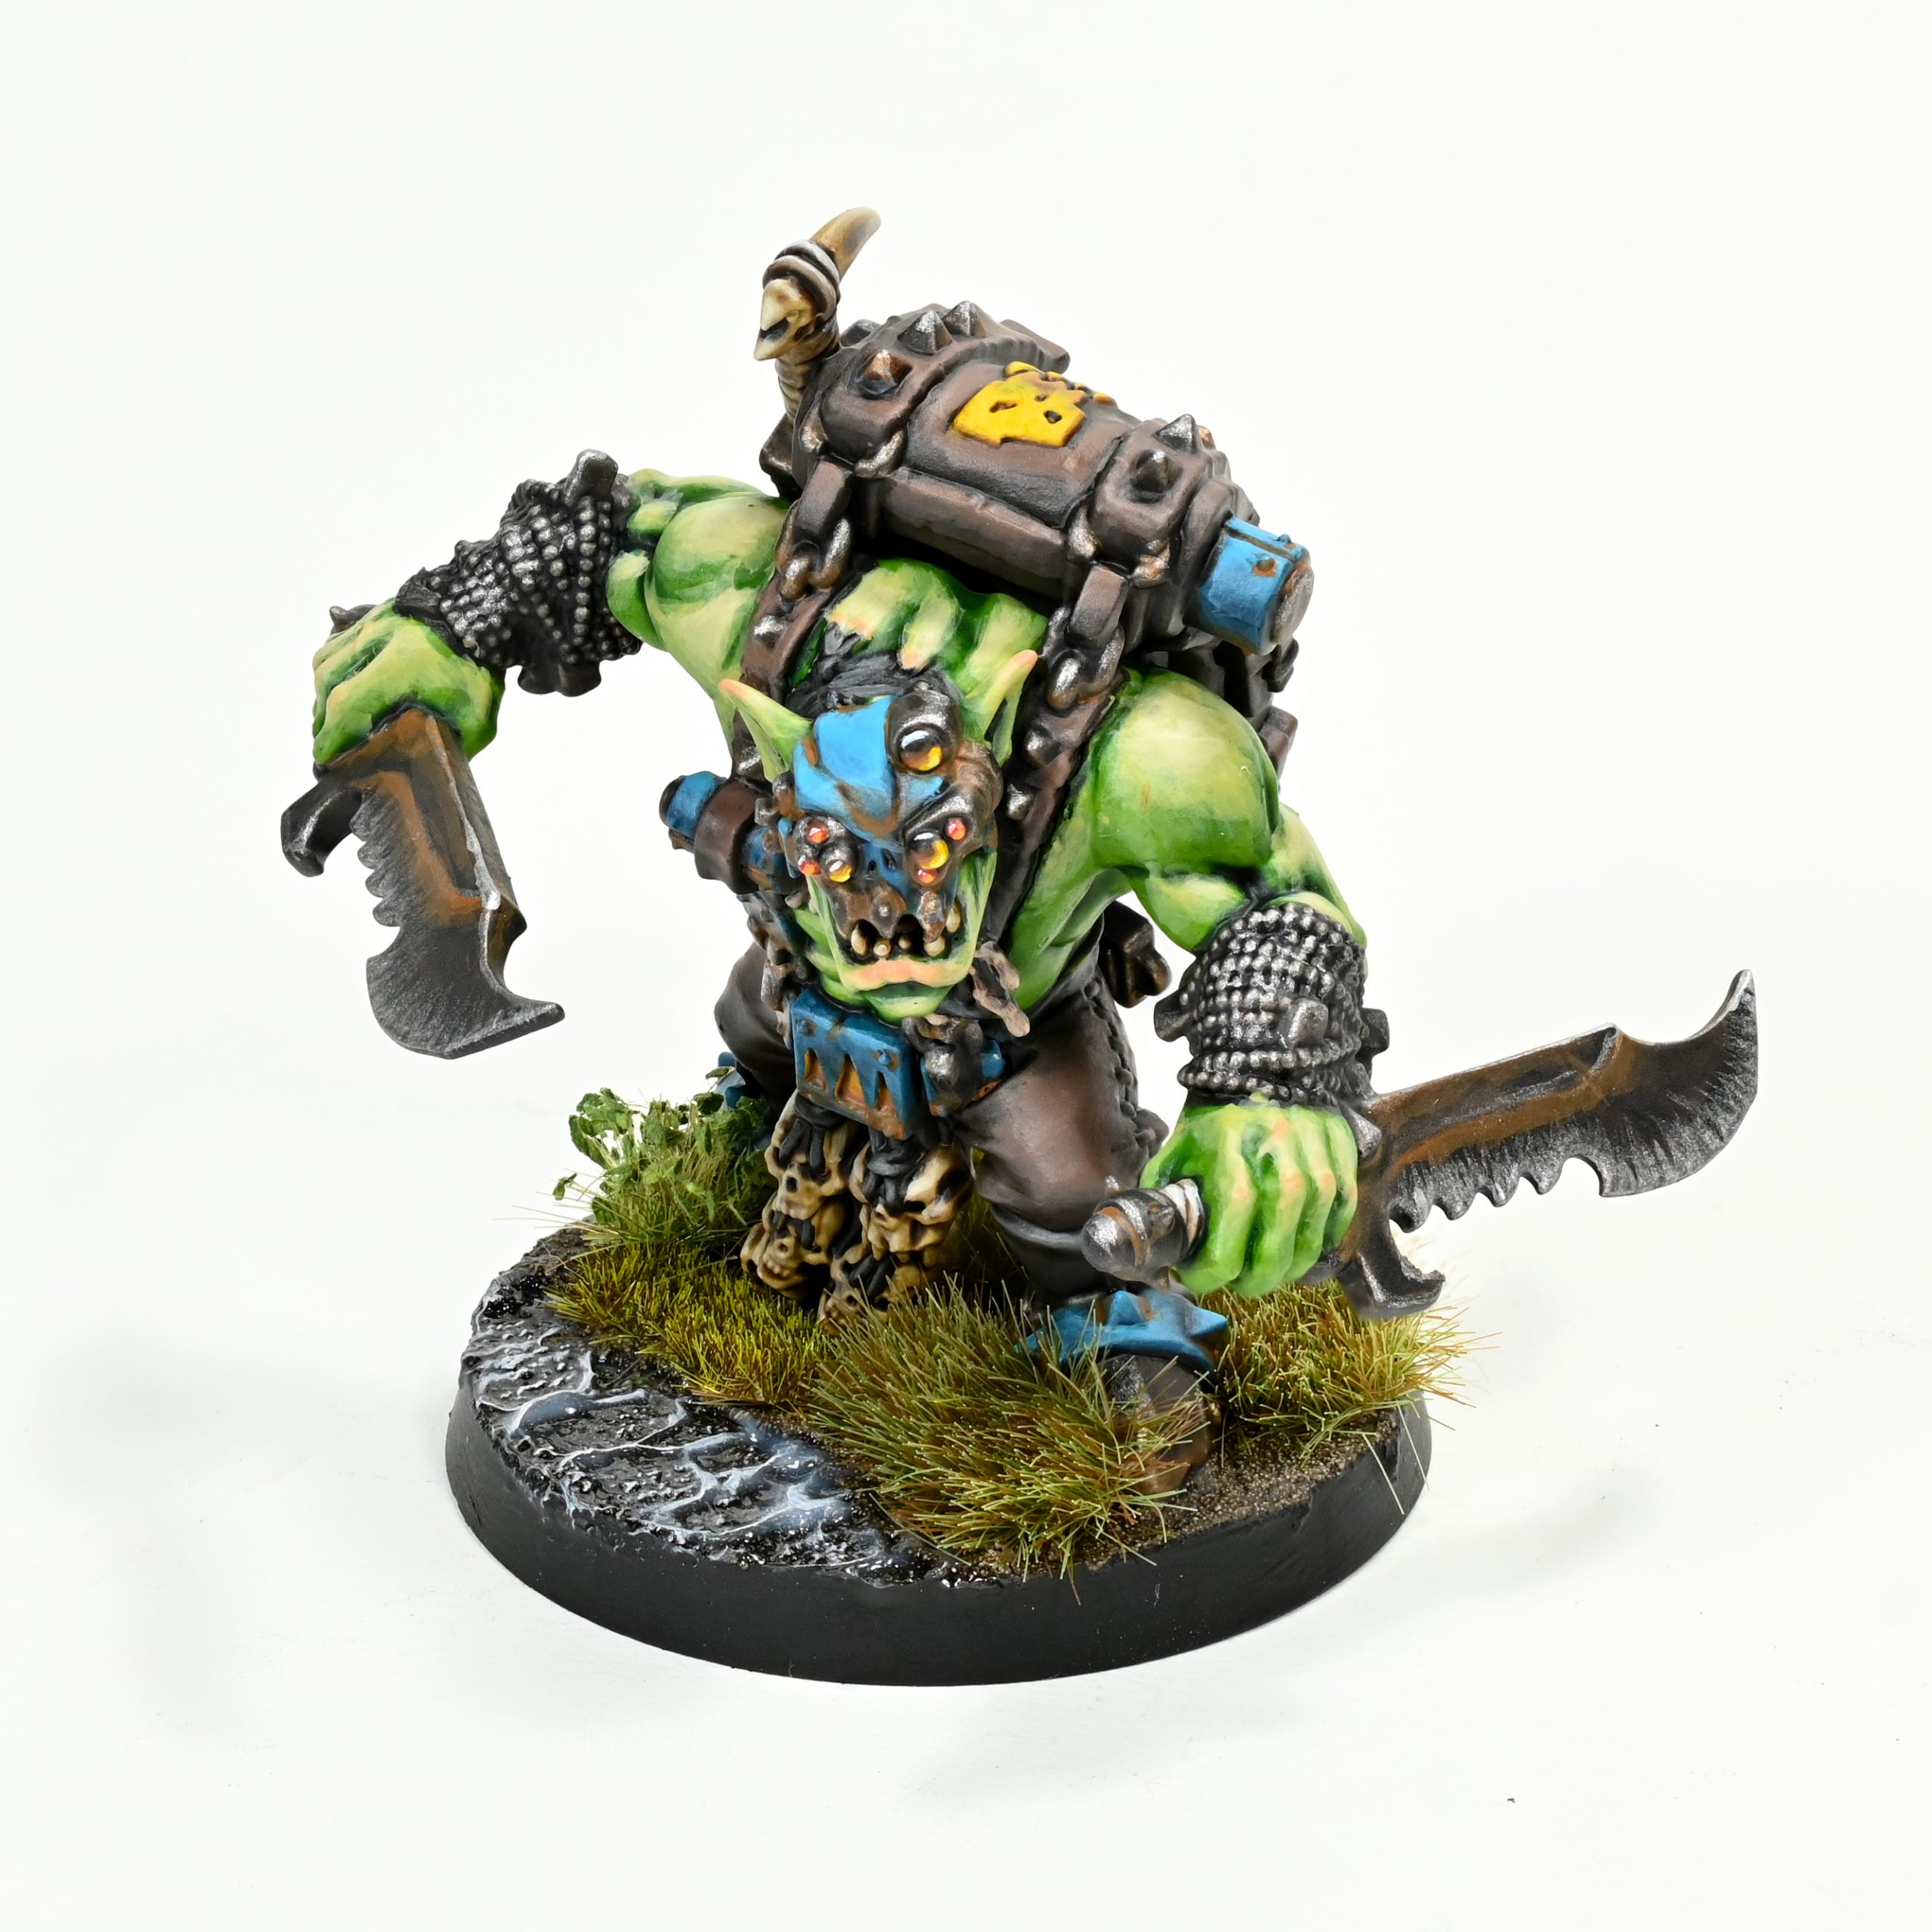
Orks
It turns out Orks are even more rambunctious in boarding actions than they are in normal 40k: not only do they retain the Waaagh! ability, they gain a new army rule in the Void Waaagh! This gives you a second round of Waaagh! for datasheet ability purposes, but doesn’t give you the ability to charge after advancing. This will definitely help you out since it’s harder to line up multiple meaningful fights in the same turn here than usual.
There is one major unit missing here: there’s no way to take Ghaz. If you were hoping to having him square off against the Lion in a boarding actions game, you’ll either have to get your opponent to agree to special dispensation, or just leave him on the sideline as a supervisor.
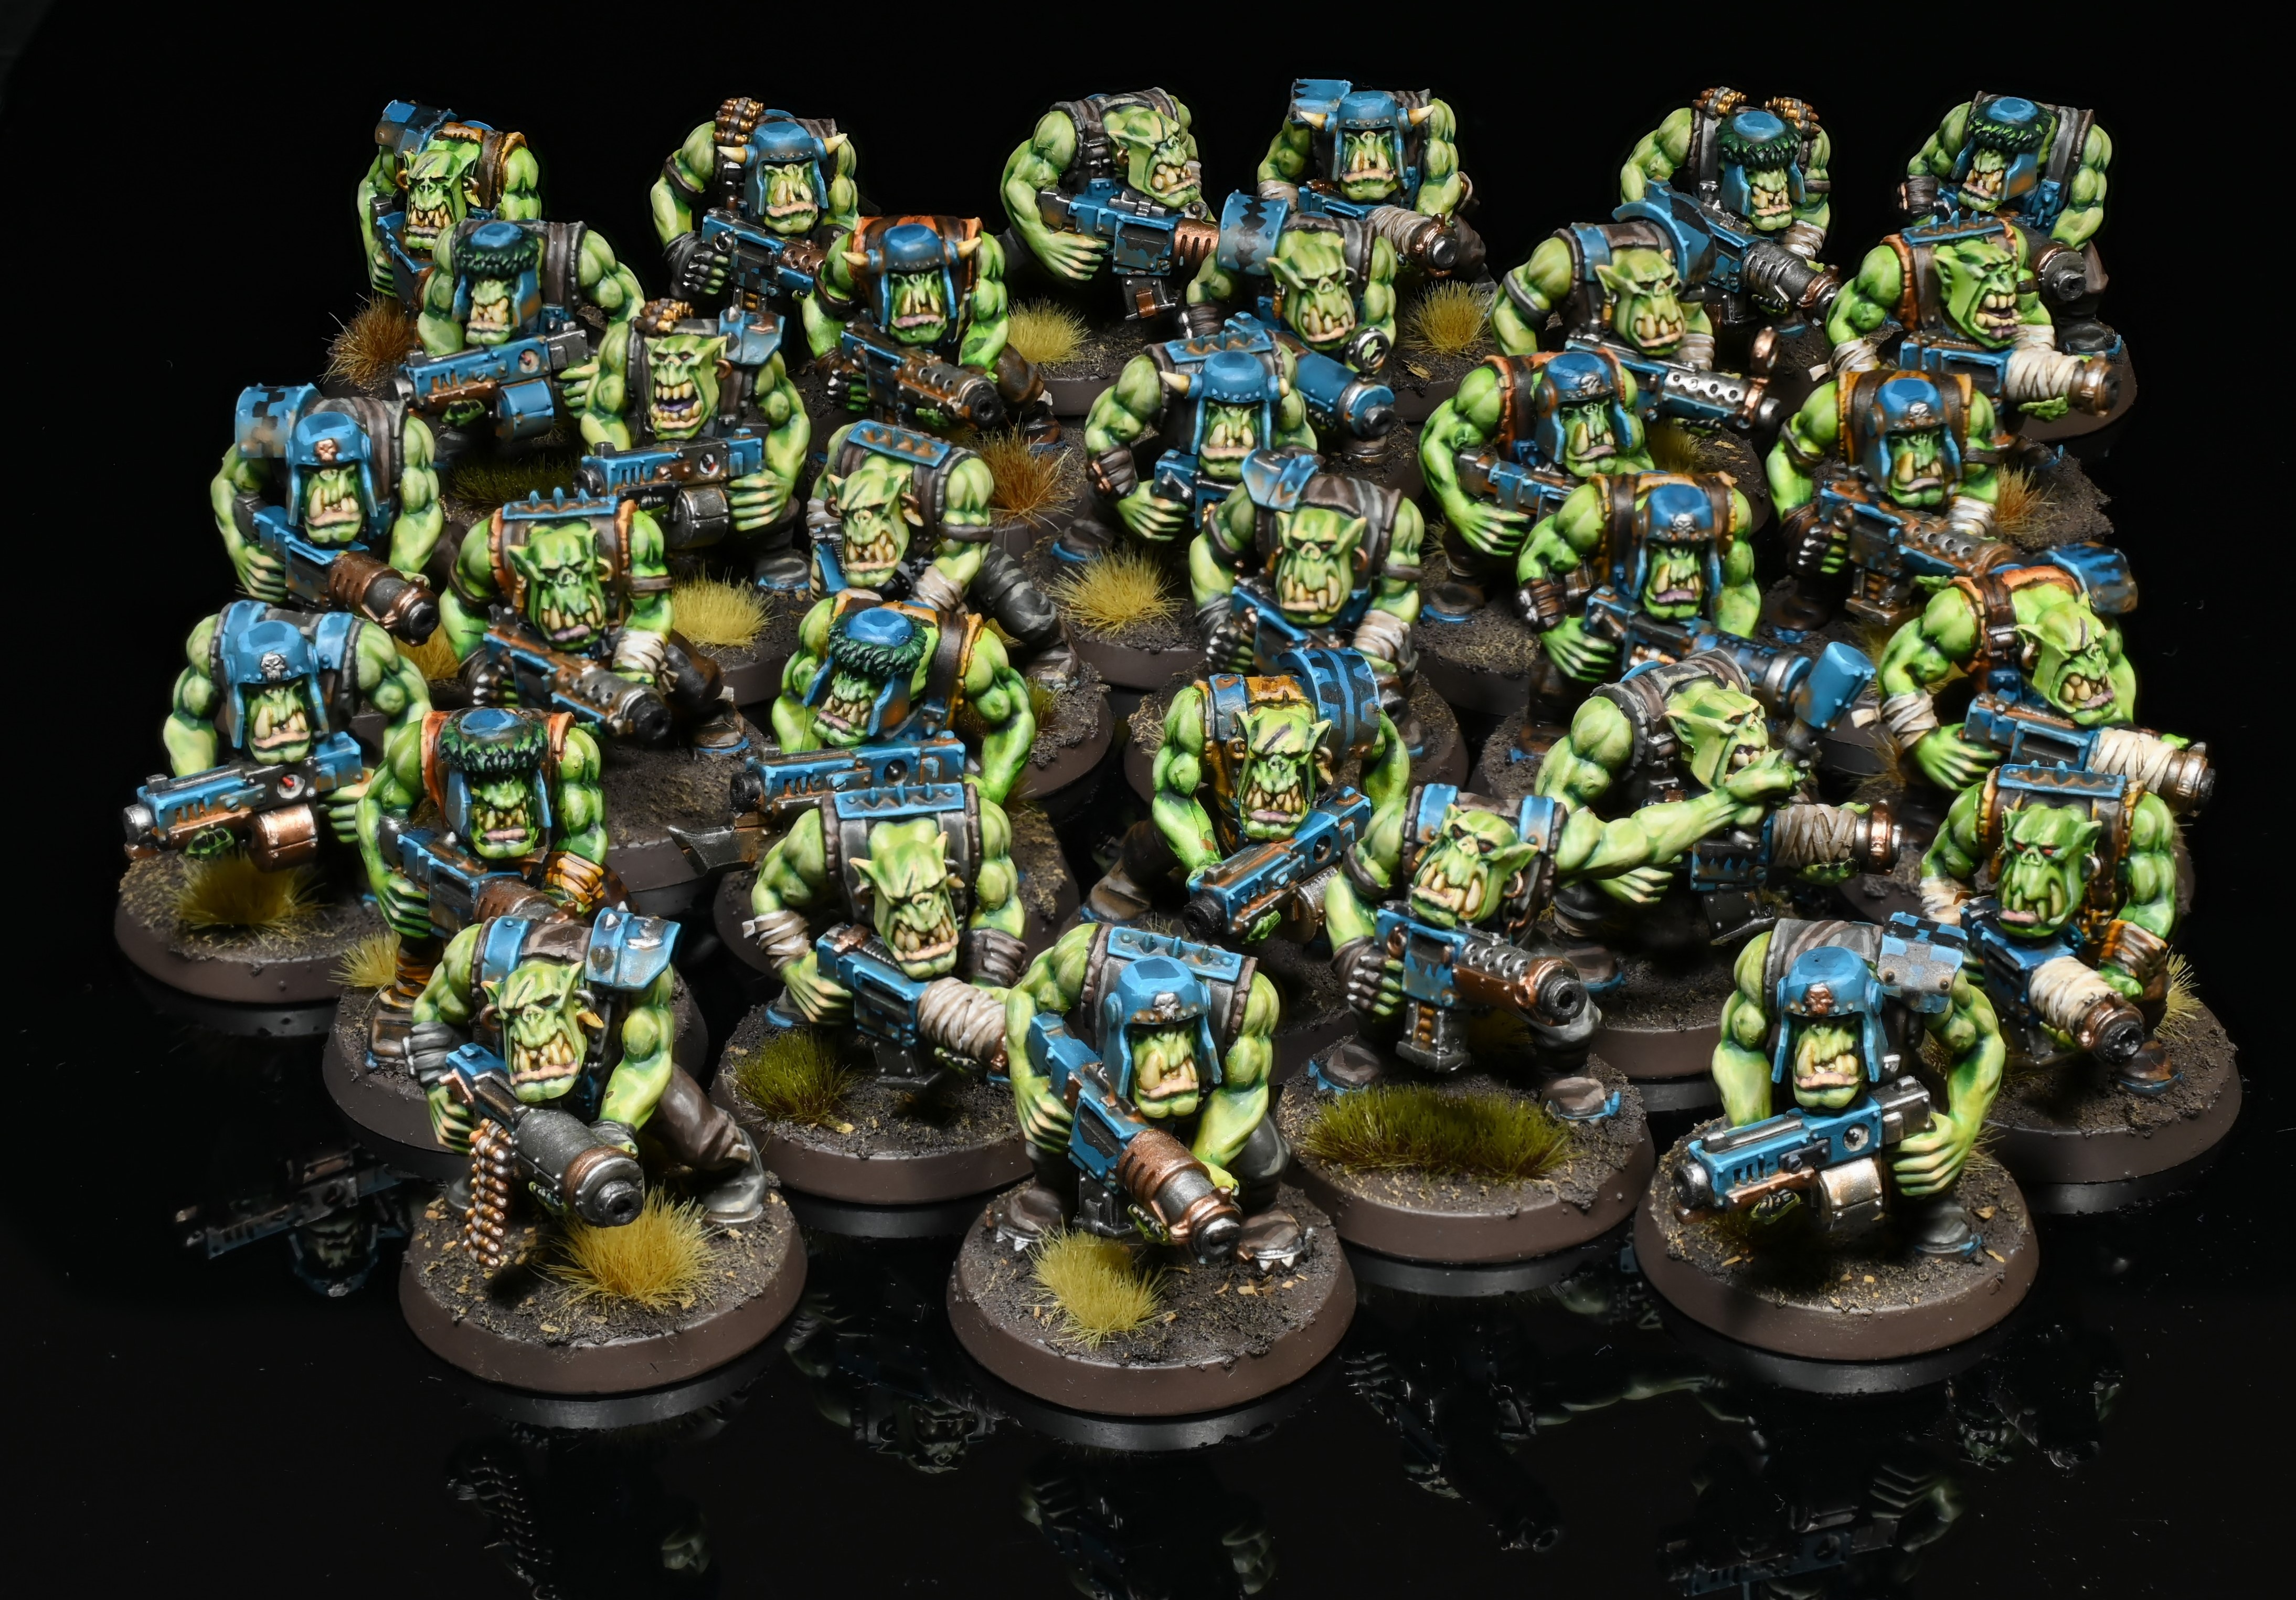
Ramship Raiders
This is the “standard” Orks detachment, which is mostly composed of Boyz and Beast Snagga Boyz. You can back them up with a solid selection of other units and up to two from a large cast of character options. This force of Belligerent Boarders is tough to kill, and all incoming attacks whose strength is greater than your unit’s toughness will get -1 to wound. Unless your unit is Grots, in which case they’ll die just as quickly as usual.
Your chosen character will have no problem getting stuck in if they’re a Living Battering Ram, which stops enemies from trying to prevent them from opening hatchways and forces all enemy units within 6” of a door it just opened to take a battle-shock test if they’re on the other side of it. Once you open a door, your unit can gain the Fights First ability thanks to Pile Through. And any stragglers who were late showing up will benefit from Eager to Fight, which allows a unit set up from reserves in an entry zone to immediately make an Advance move. This Orks force will be quick to fight and hard to kill, exactly what you’re probably hoping for when the green tide hits the table.
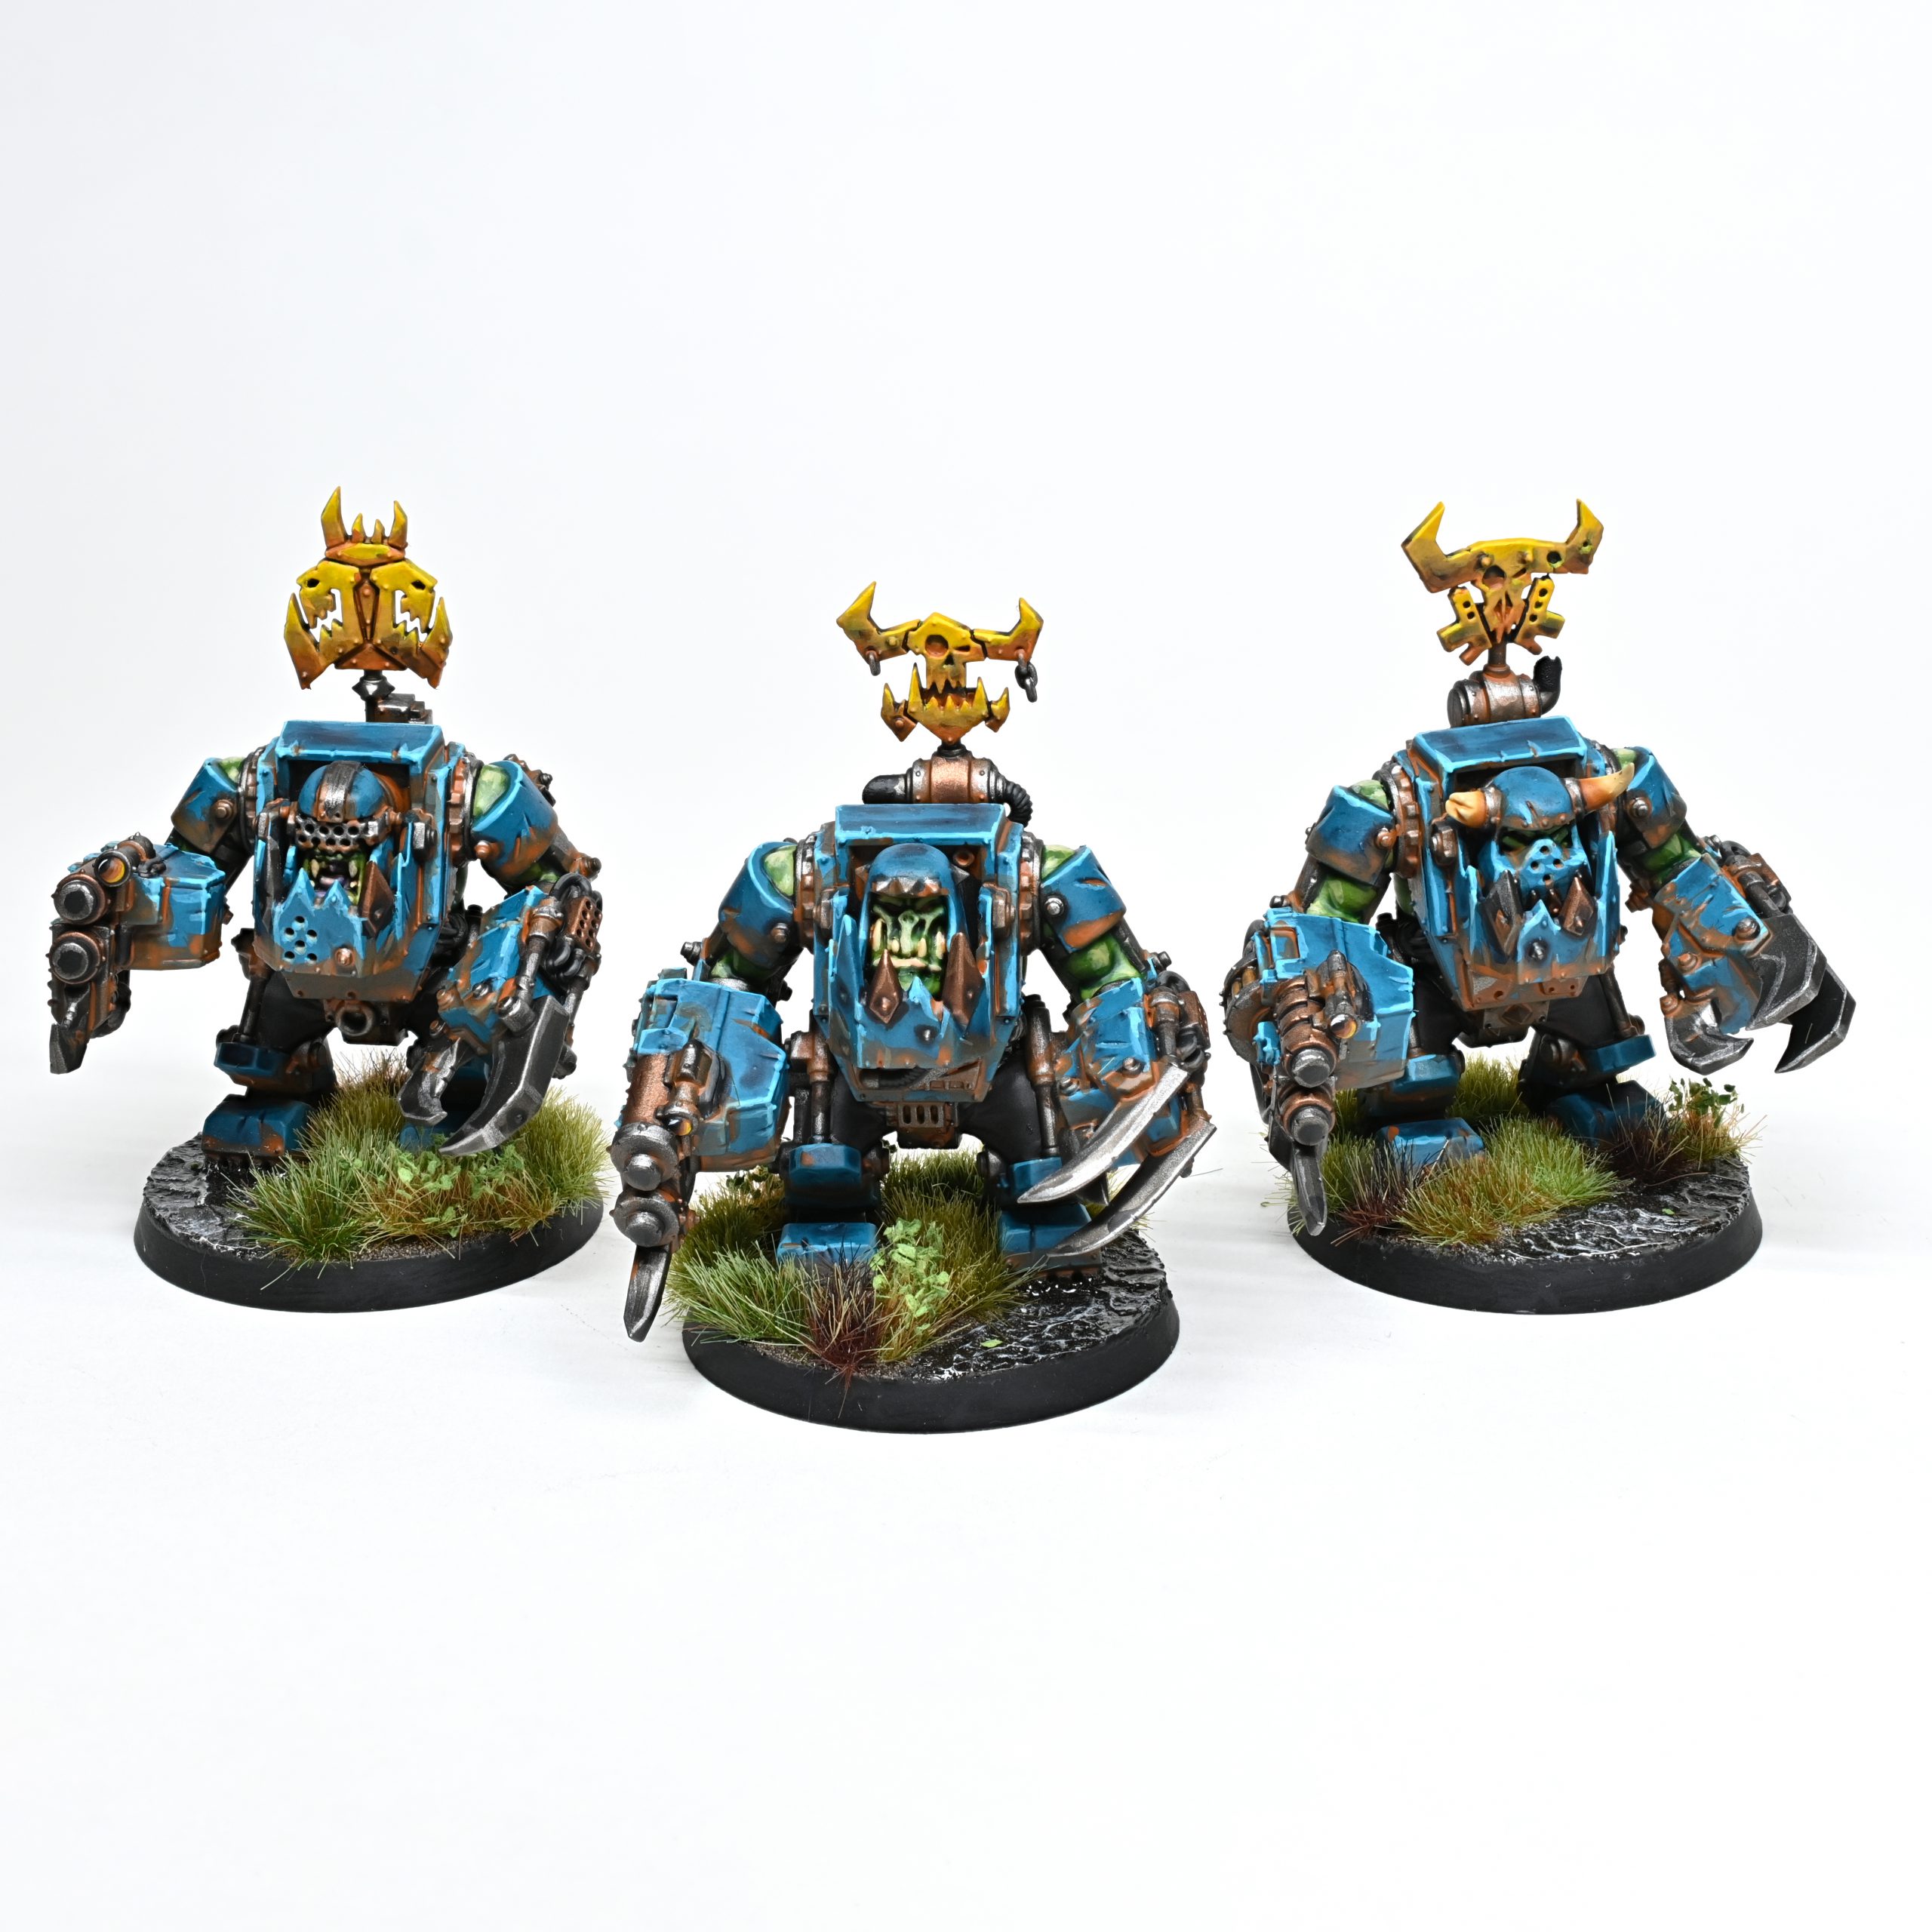
Kaptin Killers
If you want a more elite Ork force, stock up on Nobz and Meganobz, then send them after key targets. Comin’ Through lets your units leverage their strength and bulk to move through enemies as though they weren’t there as long as your unit’s toughness is higher. As a bonus, they automatically pass Desperate Escape attempts, so if you need to walk through a screening unit to get onto an objective, you can just do that at no risk.
Meganobz can be slow, but one of your characters can give a unit of them Deep Strike by taking a Tellyporta. And if you brought a Warboss, they can Comin’ Through to fall back right through one unit, then pop Pit Fighter to charge after falling back and catch the unit you really wanted them to fight. And I’d be remiss if I didn’t mention that this detachment has my favorite stratagem in this book: Loot on the Move. You use it in your movement phase after a unit opens a door. But it doesn’t speed up the process: it lets your unit rip the door off its hinges and use it as a shield. Mechanically, this means the door can’t be closed again, and your unit reduces the AP of incoming attacks by 1 for the rest of the turn. But a bunch of Nobz ripping a door down then using it as cover as they charge into an enemy unit is one of the most thematic beats this mode has to offer.
This detachment can be deceptively quick, since you can use its detachment rule to convert charges into additional movement in ways other armies just can’t. Your characters can dive into enemy formations and do their jobs as “Kaptin Killers” with enviable efficiency. You’ll have to be clever about setting it up, but you’ll be well-positioned to take advantage of any openings your opponent leaves you.
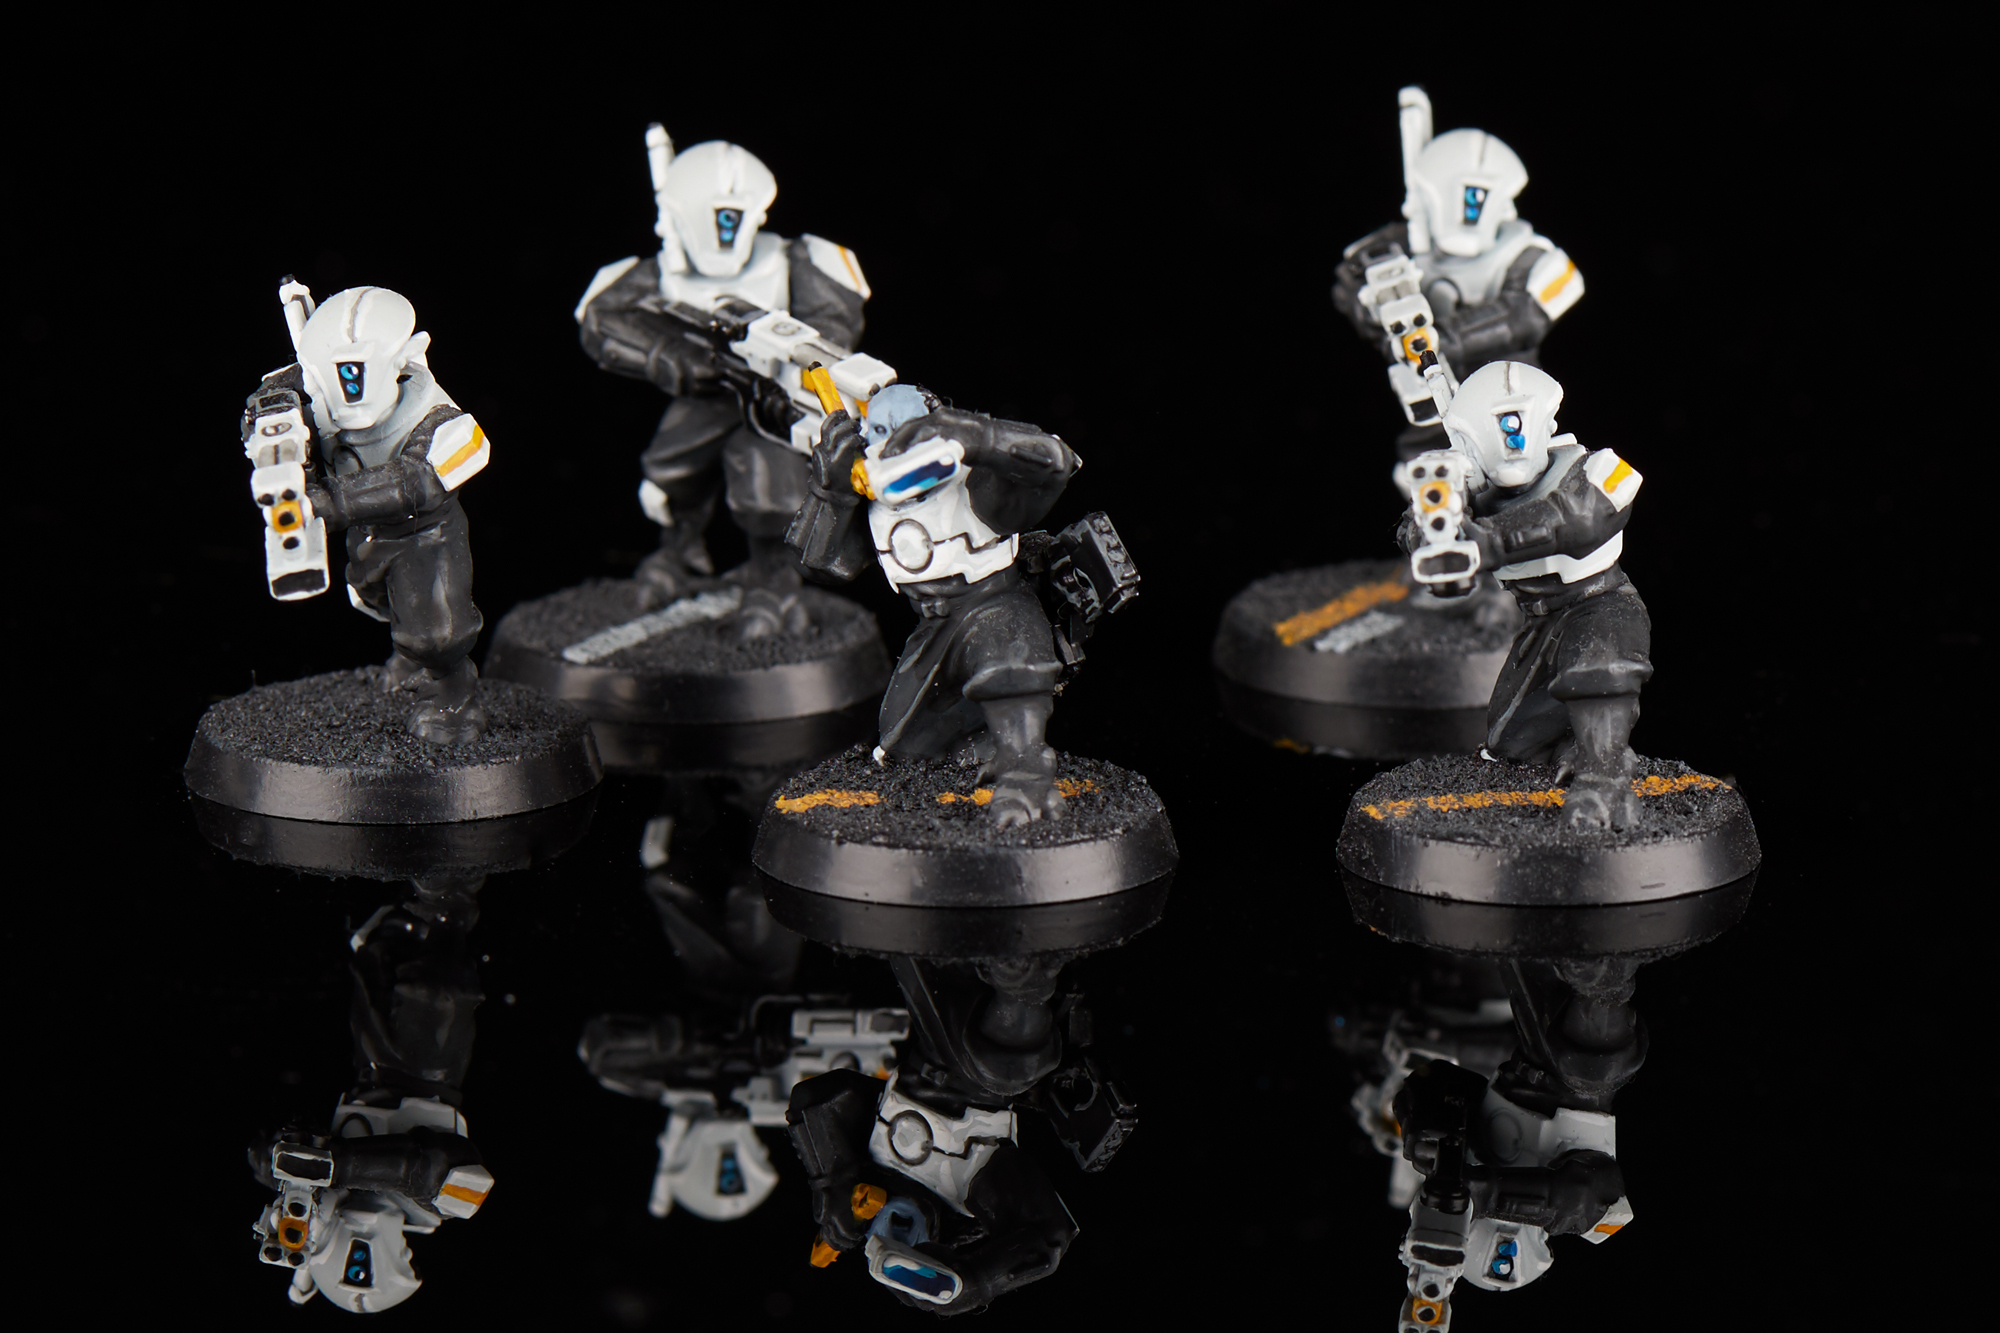
T’au Empire
T’au armies lose For the Greater Good entirely, which isn’t a surprise given how hard it is to line up spotters in boarding actions. Instead, your units gain Void Combat Discipline, which grants them two incredibly useful abilities: first, your units can ignore other models in their own unit for line of sight purposes, letting you squeeze maximum firepower out of all your squads regardless of situation. Second, you can Set Overwatch even after advancing or falling back, letting you get mileage out of your units even when they wouldn’t normally be able to shoot.
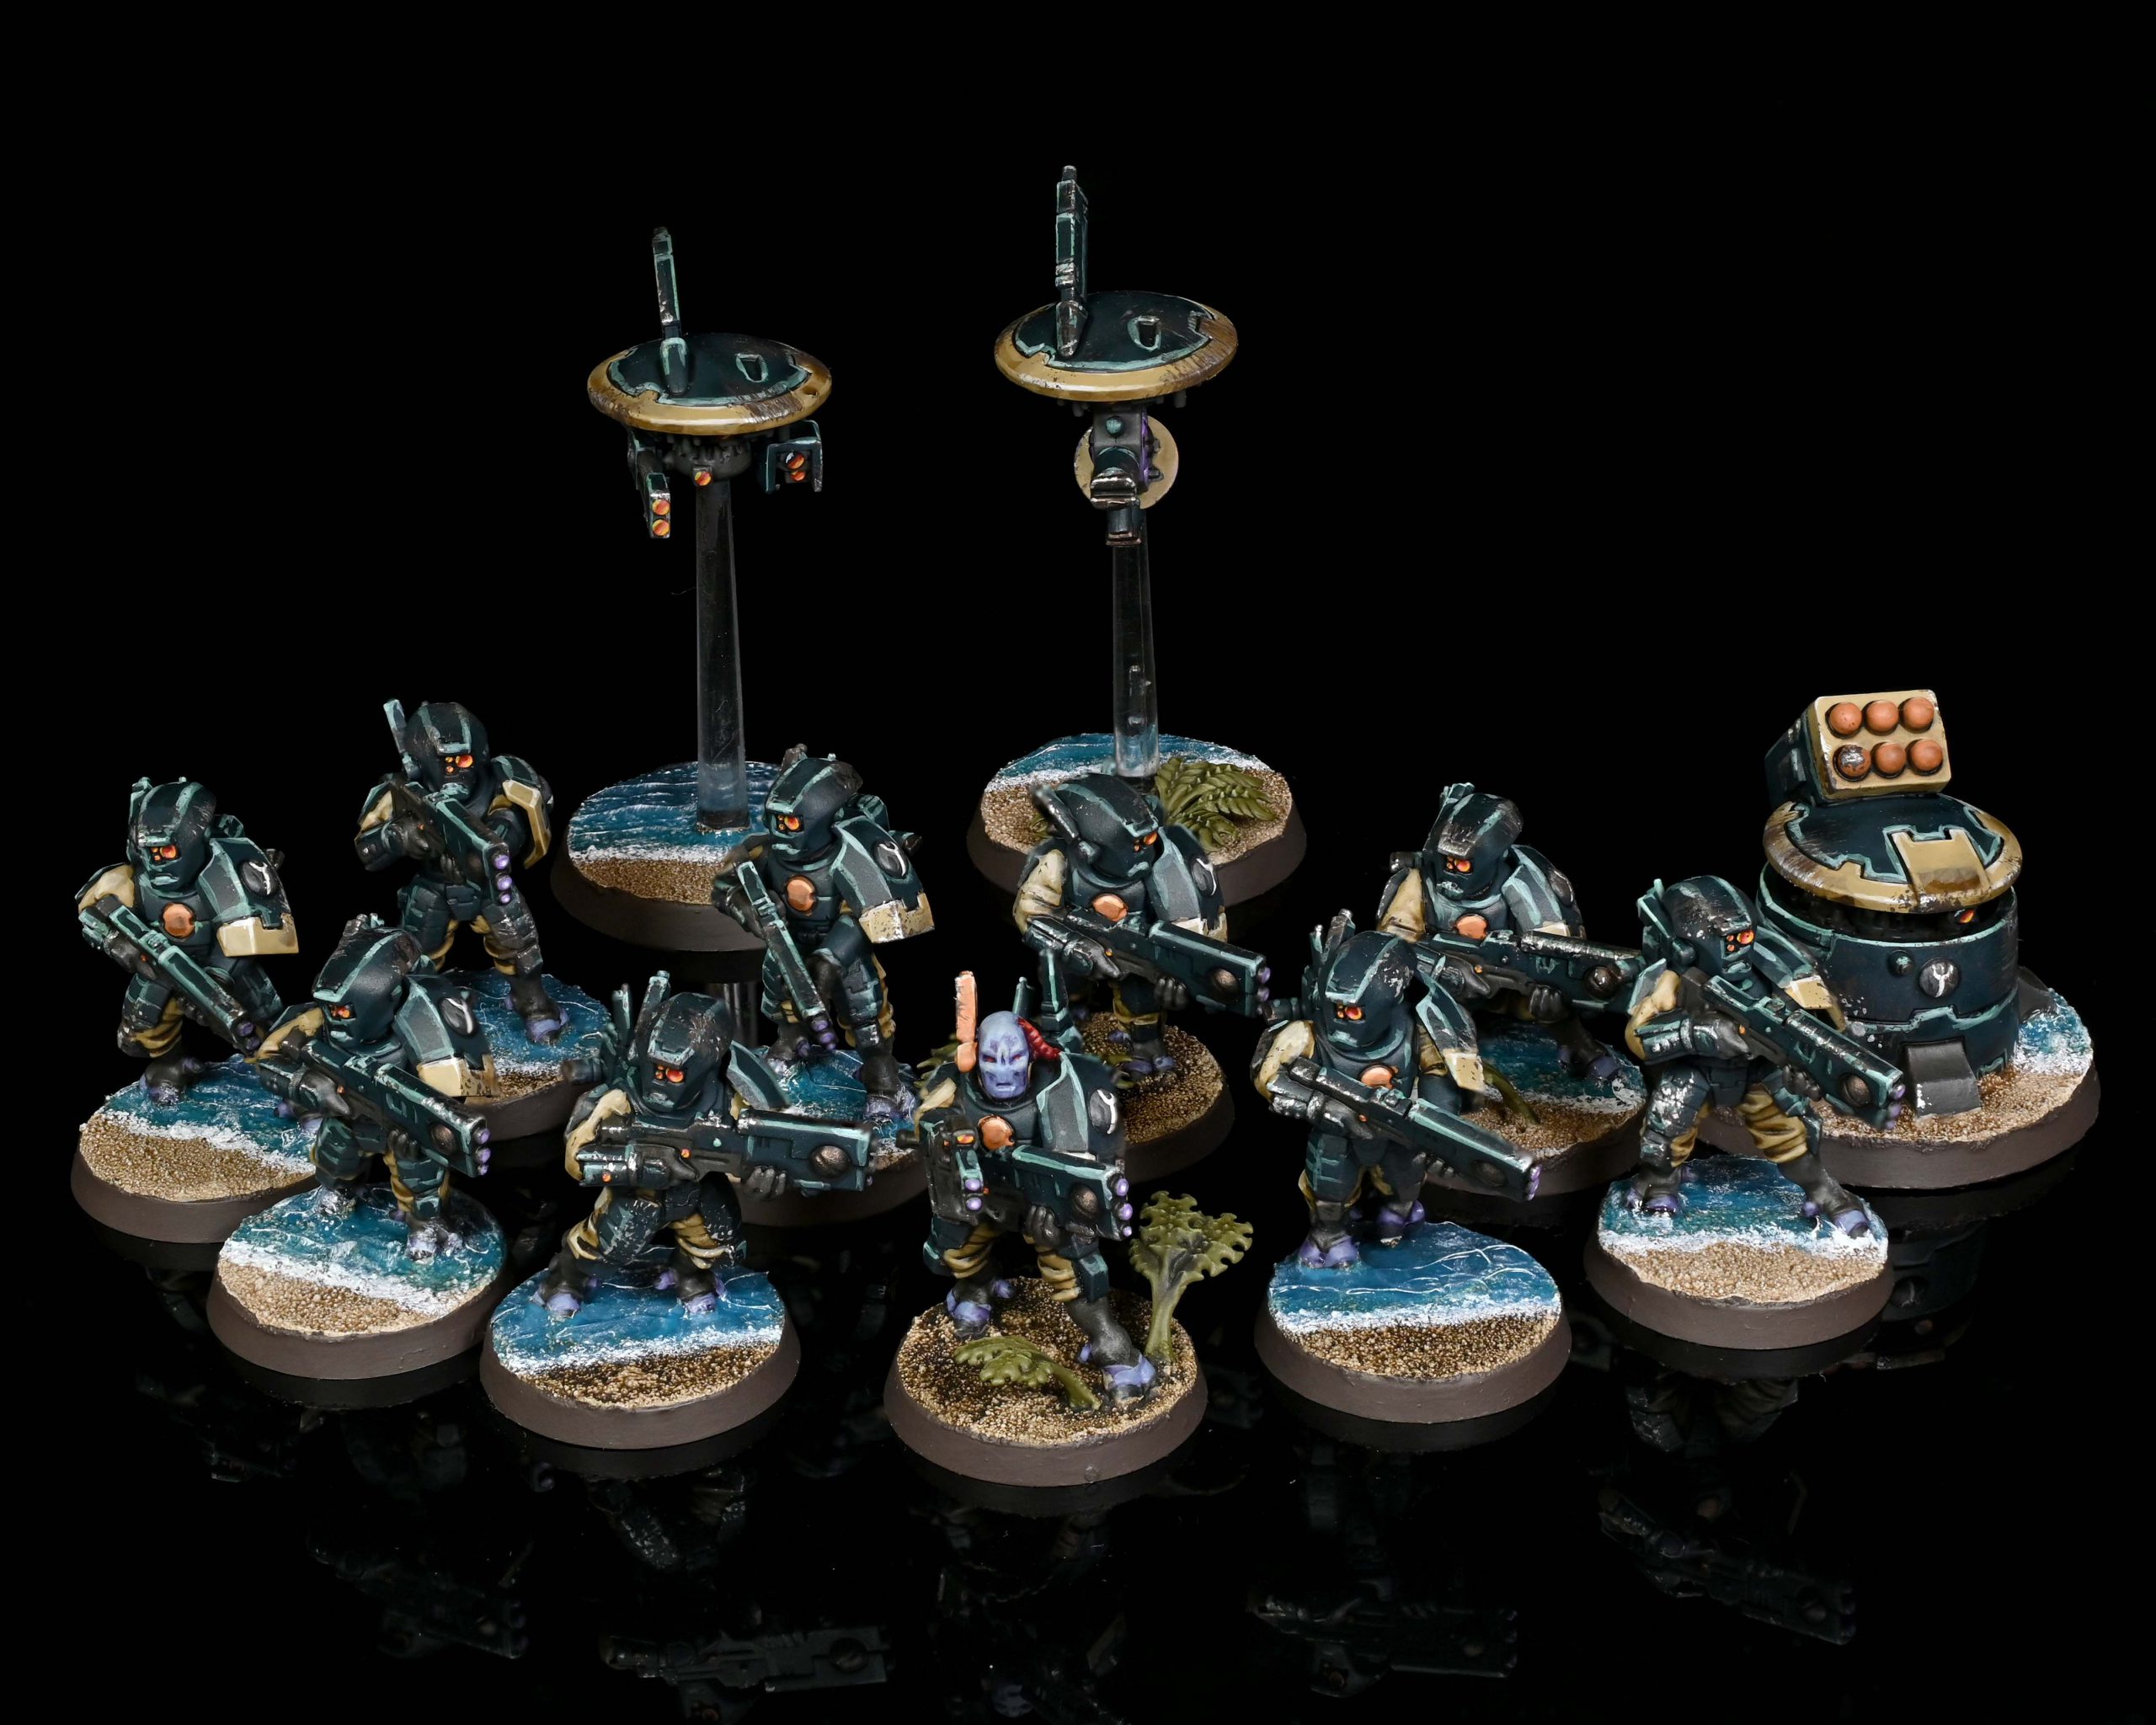
Starfire Cadre
You’ll build this detachment around a core of Fire Warriors, taking either Breachers, Pathfinders, or Strike teams as the majority of your units. Then, add in up to one each of Kroot Carnivores, Vespids, or stealth suits, and throw in two characters from your choice of the Cadre Fireblade, an Ethereal, or Darkstrider. Finally, you get to do something extraordinarily unusual in boarding actions: you get a single VEHICLE unit. Granted, it’s a 3-model unit of Crisis Suits, but they’ve got the statline and datasheet abilities to be downright nasty in this mode. And if you were missing the spotter bonus from For the Greater Good, never fear: thanks to Markerlight Precision, your ranged weapons get +1 BS and [SUSTAINED HITS 1] as long as they’re visible to a friendly unit with the MARKERLIGHT keyword. Kroot don’t benefit from this, and the MARKERLIGHT can’t be in engagement range, but there’s nothing here that says a MARKERLIGHT unit can’t spot for itself to gain this bonus.
If you take an Ethereal, Duty’s Echo lets them choose squad of Fire Warriors or Pathfinders within 6” and let them move 3” at the end of your Shooting phase, then Set Overwatch in the bargain. Between that and Void Combat Discipline, you’ll be firing a lot of overwatch, which will present plenty of opportunities to use Pulse Barrage to hit on 5+ instead of unmodified 6s. Meanwhile, Breachers can live up to their intended purpose by combining Markerlight Precision with Responsive Volley, which lets a Fire Warrior or Pathfinder unit score critical hits on 5+ when they’re shooting through a door they just opened.
This detachment is going to be firing a lot of overwatch, and will be surprisingly mobile while you do it. Add in a unit of Crises to take advantage of their ability to blast infantry off the table, and you’ve got the makings of a downright nasty force here.
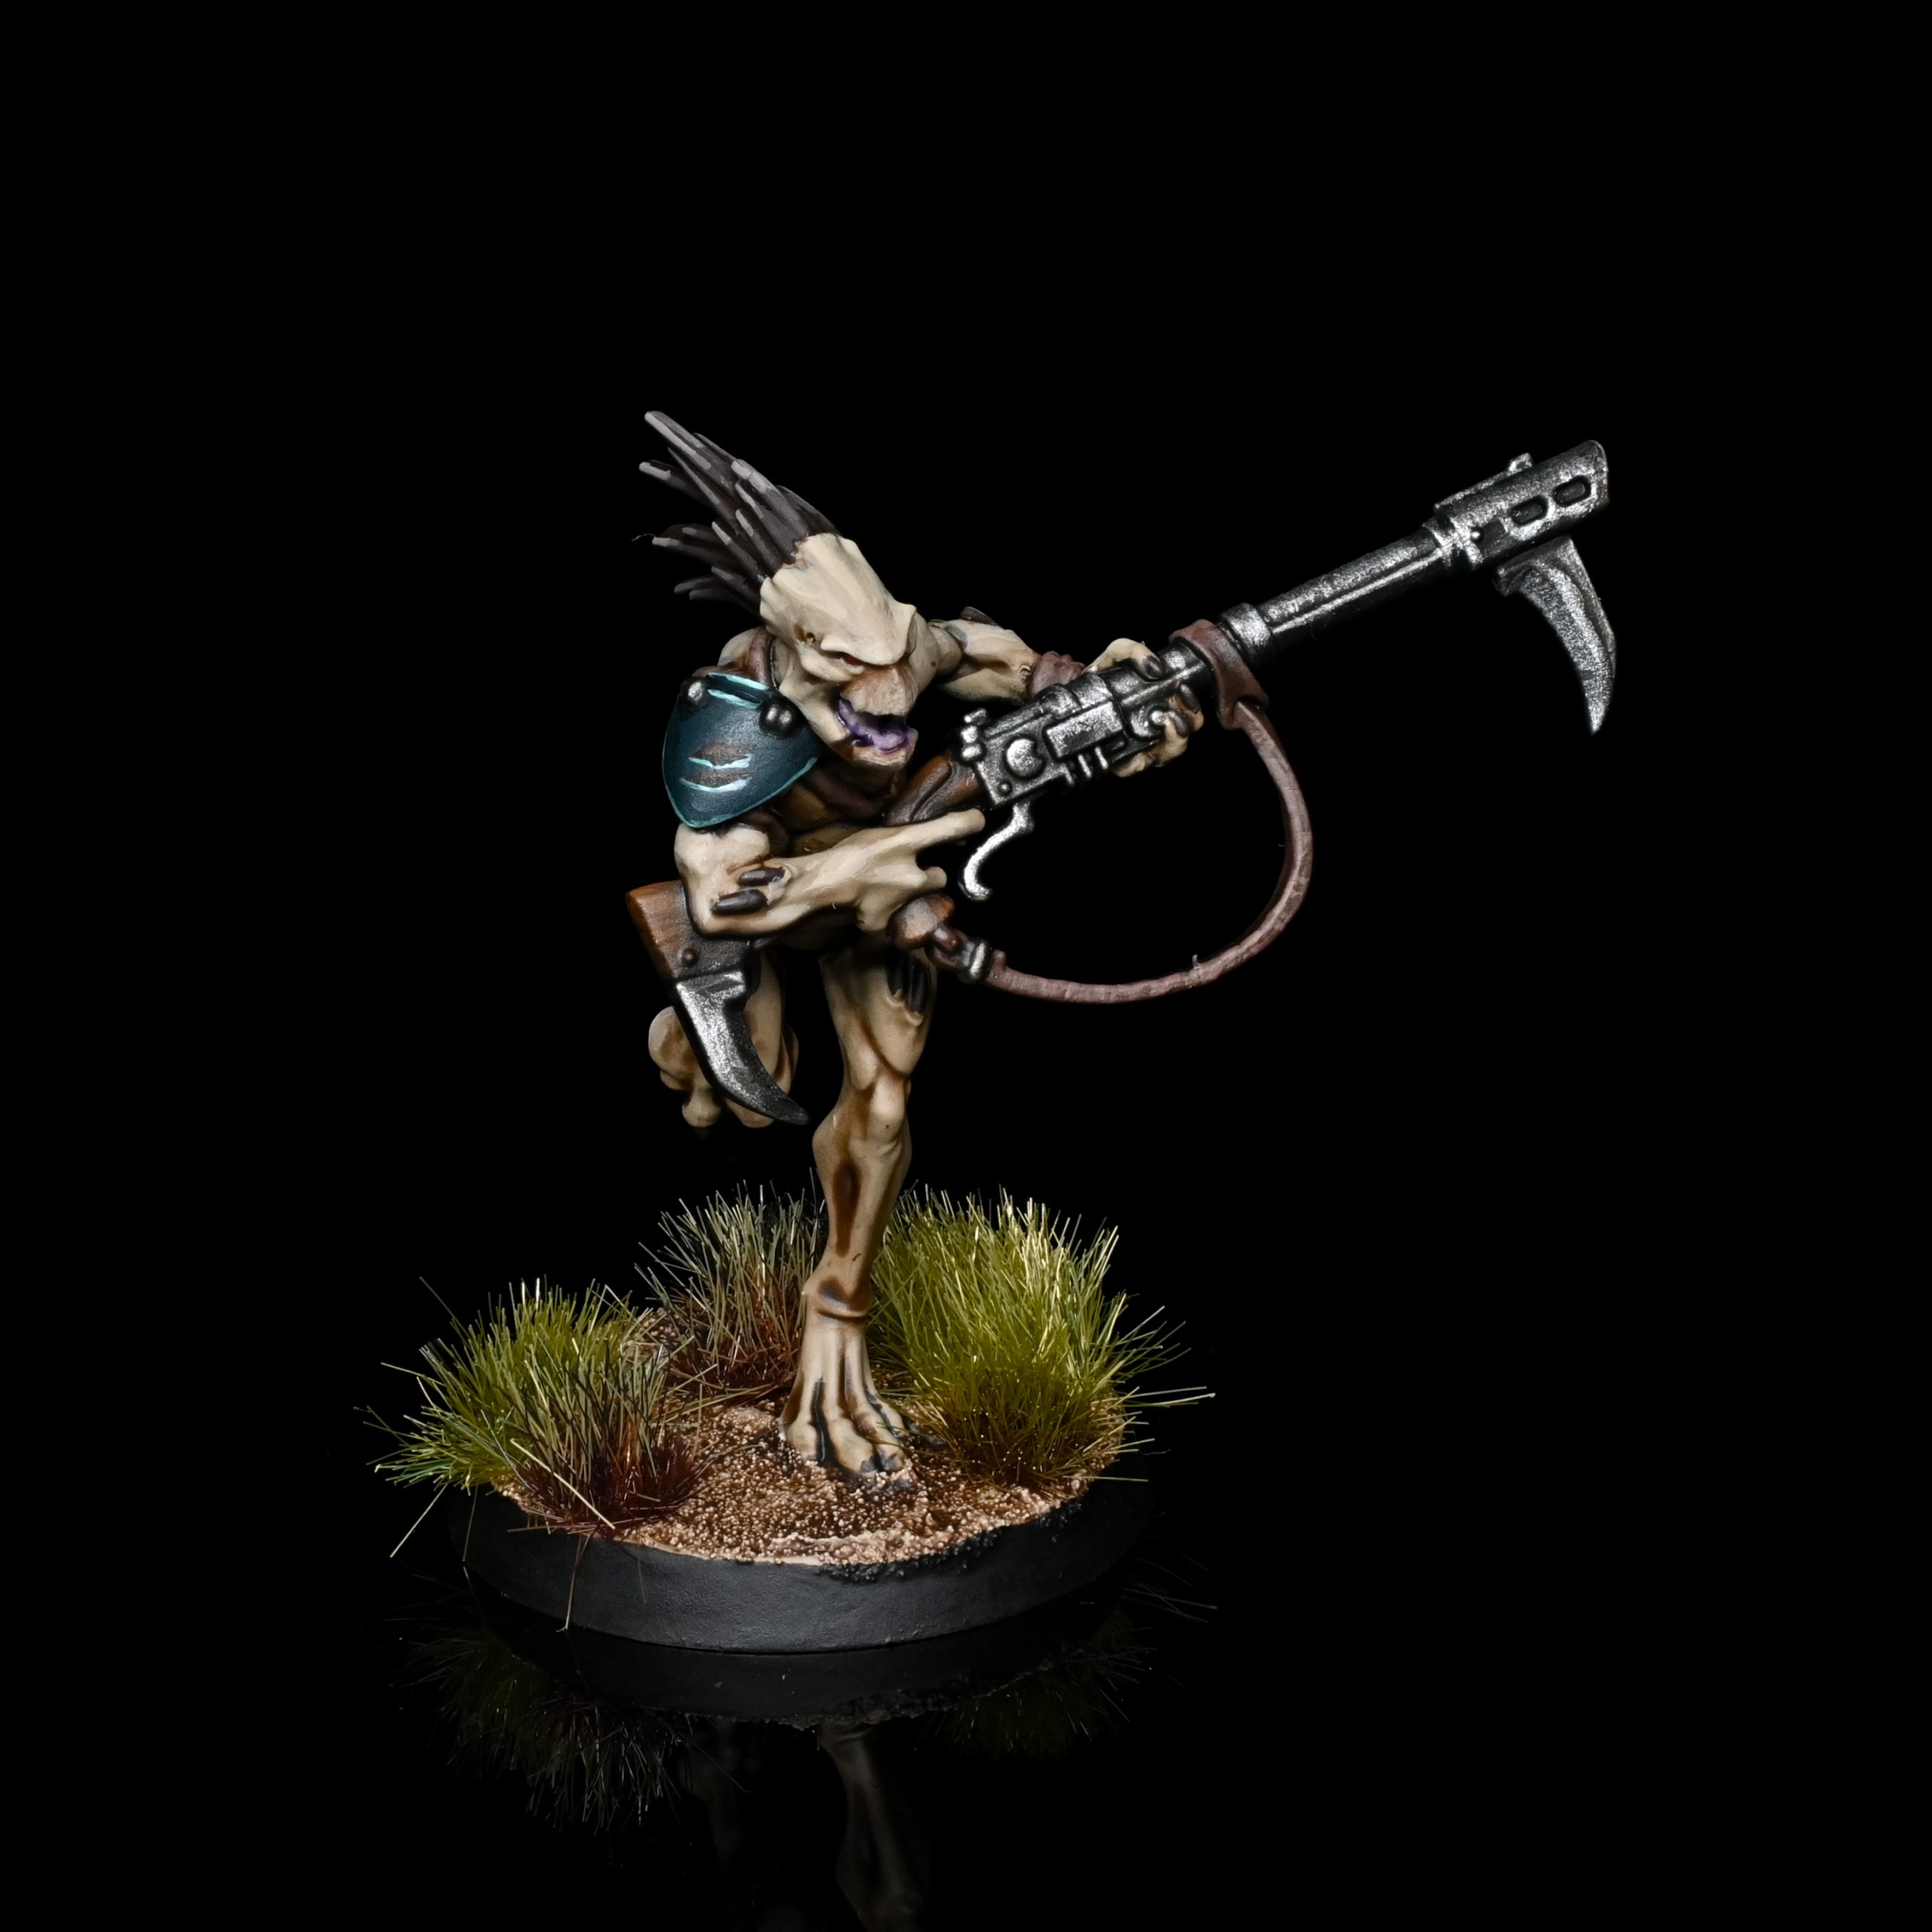
Kroot Raiding Party
Of course, if you’d rather just bring a bunch of Kroot, you can do that too. There are some interesting rules adaptations here: in addition to letting Carnivores Secure Sites, you can have Hounds and Krootox Riders set up in the same entry zone as a Carnivore squad, an dthe Flesh Shaper’s Rites of Feasting keeps working on a unit of Carnivores or Farstalkers that triggers it, even after it falls off when Battlefield Command expires. And if you were concerned that your Kroot might not be able to make it into combat to fight their foes, never fear: Guerrilla Ambushers means that anytime an enemy tries to fire overwatch, there’s a 50% chance they lose the ability to do so for the rest of the turn.
Of course, you can lower that to a 0% chance by charging a unit that can’t see you using Quill Marker. This enhancement lets the bearer nominate an enemy within 12” to be an eligible charge target regardless of line of sight, so long as the charging unit is within 6”. Once you make it in, seal the deal with Boarding Blades, which not only improves the AP of your weapons by 1, but adds a second point of additional AP on a critical wound. Finally, if you want to stop an enemy from getting away from you, Tanglebomb Bolas lets you roll a d6 and, on a 2+, half an enemy’s move characteristic and advance and charge rolls.
Kroot are one of many units that likely benefit from the lack of clear sightlines in boarding actions, and the rules in this detachment let them play a little looser around overwatch and other threats than many other armies. And don’t forget that your units still benefit from Void Combat Discipline, so don’t be afraid set overwatch yourself, especially after advancing or falling back.
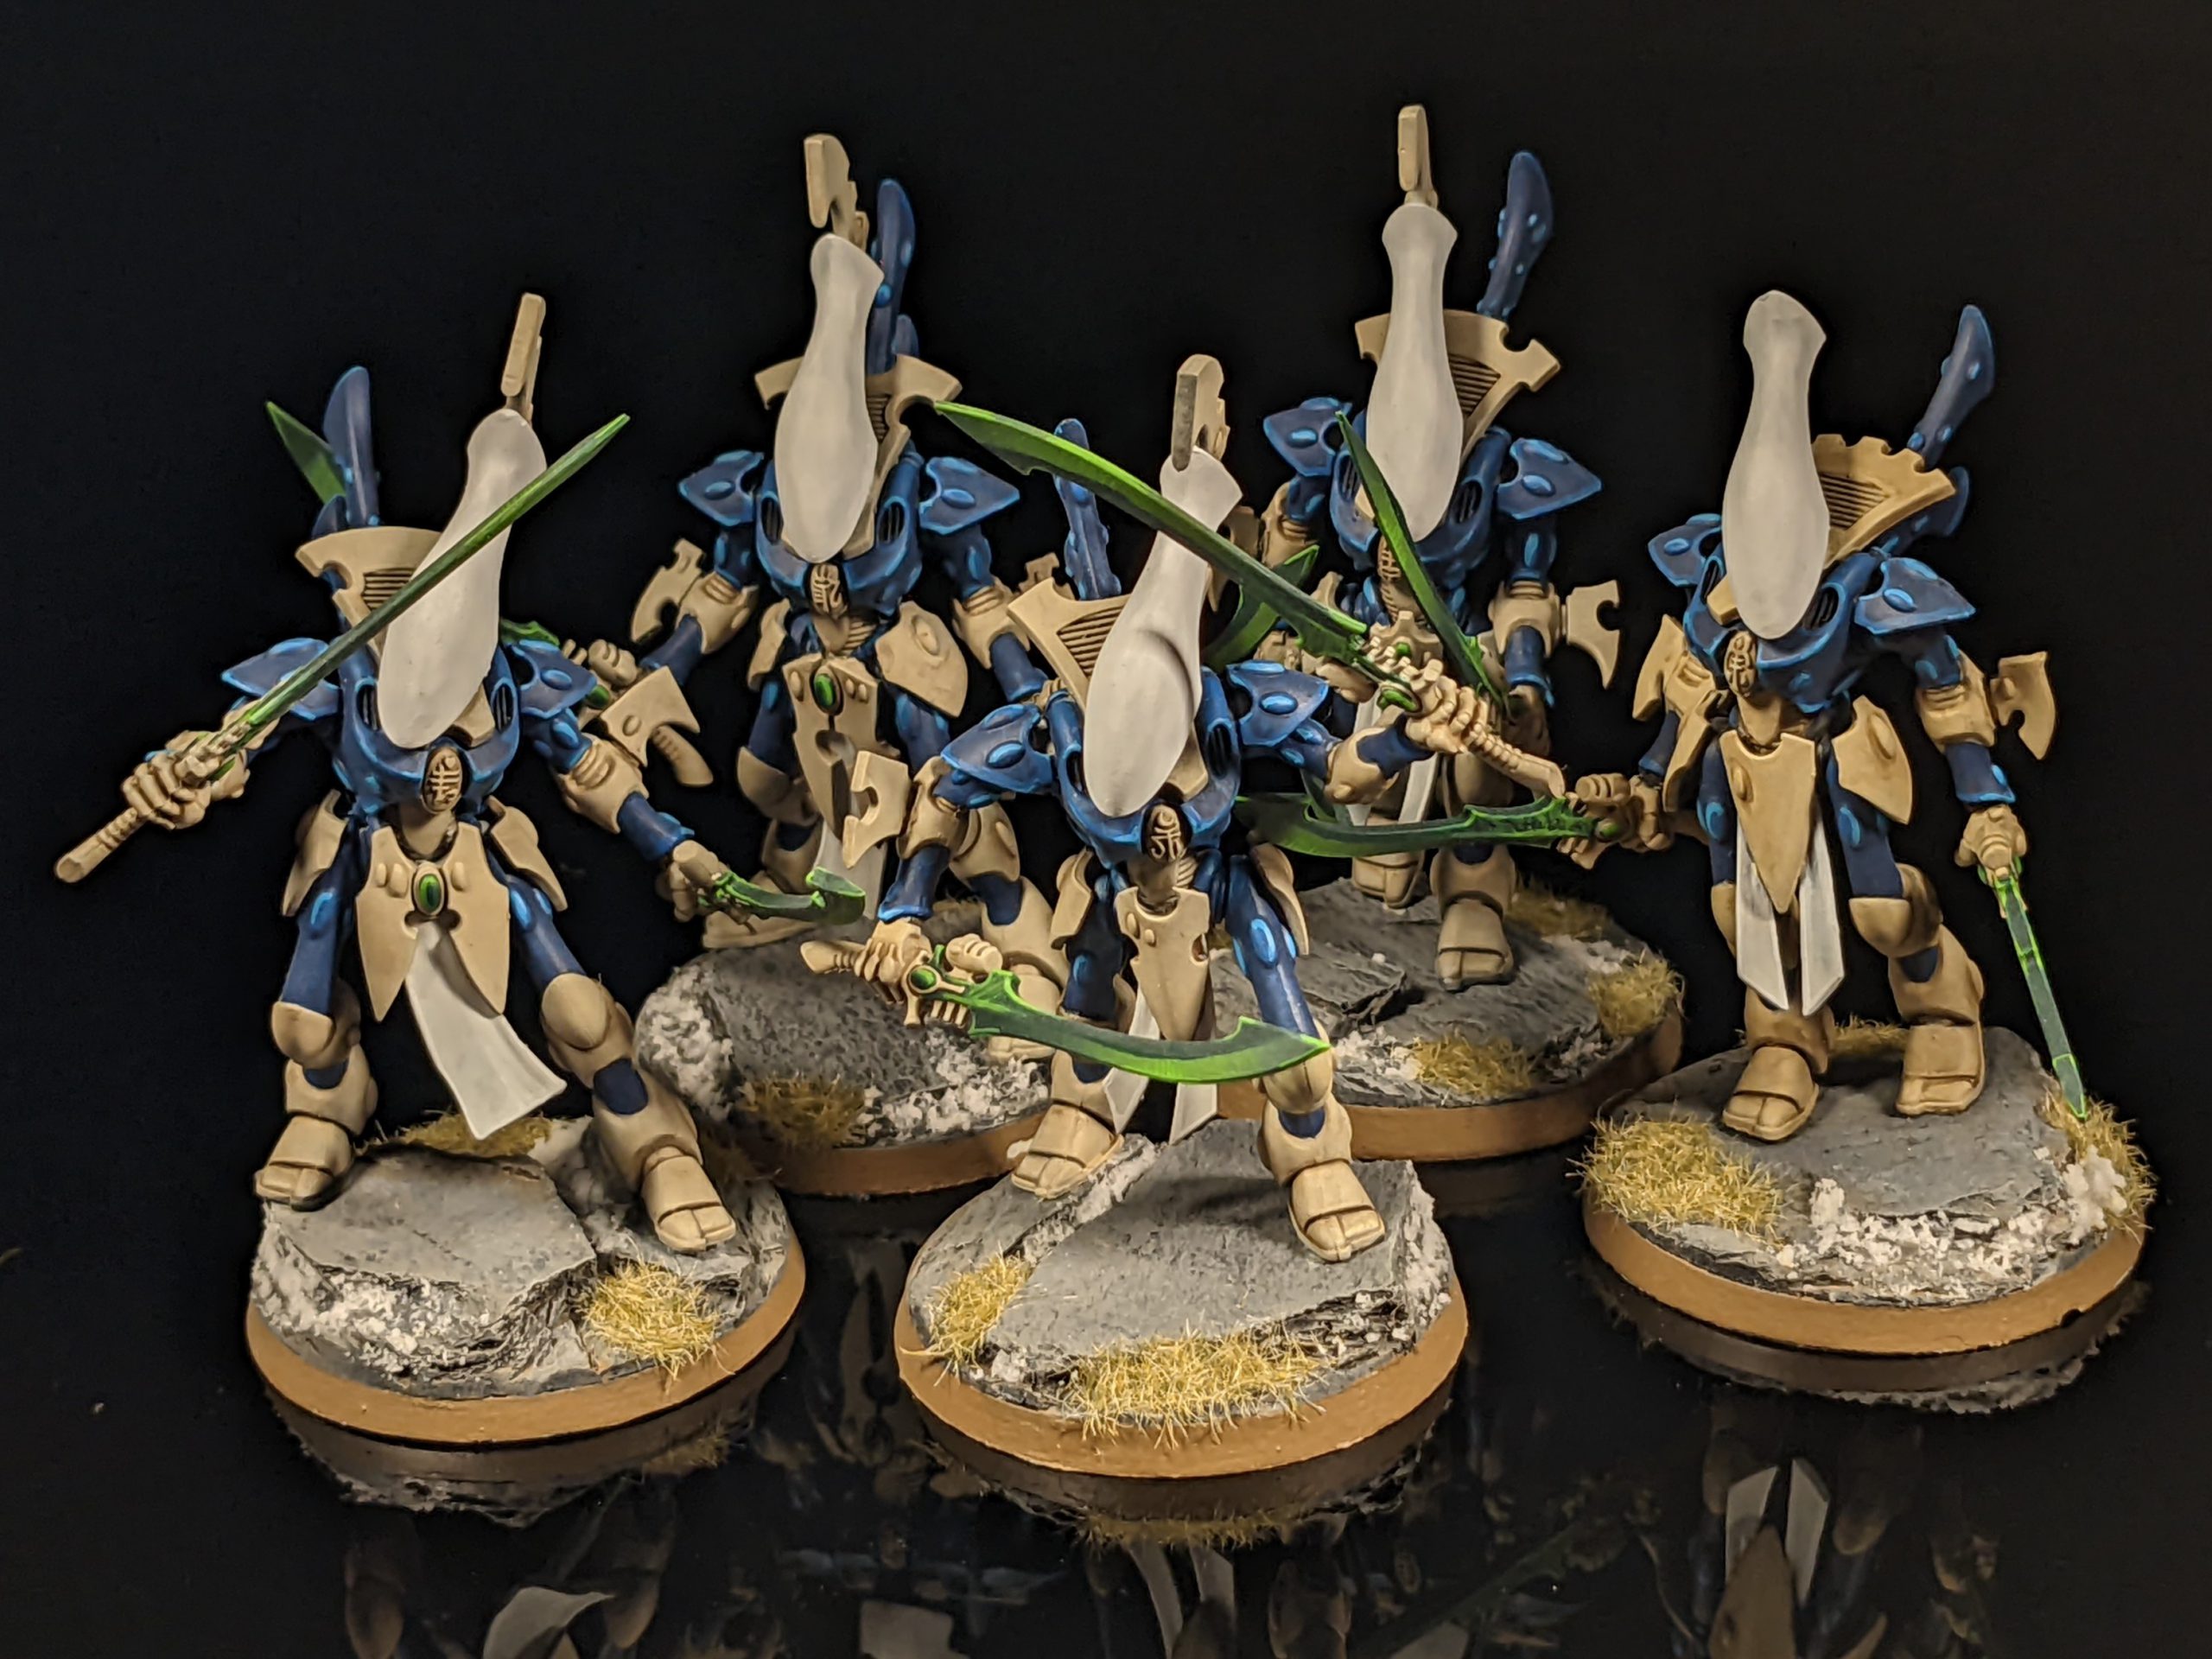
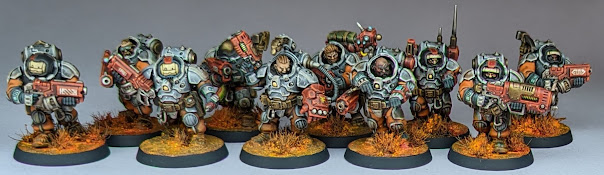
Credit: Pendulin
Tyranids
Last but certainly not least are the Tyranids. No Genestealers here, as they’re all in the Great Devourer detachment above. But the detachments here offer some unusual ways of playing Tyranids. Not everything is different, though: both your army rules remain intact, and the new Synaptic Web clarifies that your Synapse range ignores walls and hatchways, letting you get good coverage across the board regardless of how dense it is.
Tyranid Attack
The core of this detachment is Tyranid Warriors, and you can take up to two units each of the melee and ranged varieties. You can back them up with one squad each of the various gaunts and gants, none of which split into boarding squads, meaning they come in at a full 10-model squad, as well as a squad of rippers. To lead it, you can bring up to two Winged Tyranid Primes. One cool thing to keep in mind about your Rippers and ‘ga(u)nts is that you can ignore them for visibility purposes for your Warriors and Primes, letting you swarm your opponents while still firing over the little guys.
The detachment rule, Xeno-Terror, imposes a -1 penalty on the Battle-shock test forced by Shadow in the Warp, and also prevents any units that failed it from firing overwatch that turn. Your Prime can have a Reinforced Carapace, which reduces the damage of all incoming attacks by 1, increasing its durability against harder-hitting enemies. As expected, the smaller Tyranids in your force are Expendable Biomass, and that stratagem allows your ranged Warriors to shoot at enemies that are engaged with Ripper Swarms or ENDLESS MULTITUDE units, at the risk of potentially killing a couple of the little guys. And Phagic Spores punishes your opponent for attacking your Warriors, allowing each model that’s destroyed in the phase you use the stratagem to deal mortal wounds to an enemy unit within 3” on a 3+.
The strategy here is pretty straightforward: use the swarm units to tie up enemies, then blast them off the table with your Warriors and Primes.
Boarding Swarm
This is one of the more unusual detachments in the book: there are no enhancements here, so you’re relying entirely on your datasheets and stratagems to get things done. You get two each from Hormagaunts, Raveners, and Von Ryan’s Leapers, then two of your choice from the Deathleaper, a Lictor, or a Neurolictor. This list is melee-focused, so the Priority Predation rule is a nice touch: it lets you move your unit up to 3” when an enemy falls back from them and leaves them out of engagement range of any enemies. You can use this to try to minimize losses from shooting if you get caught out after your enemy falls back.
You’ll want to be in melee as much as possible, so being able to keep your units alive with Lithe Killers will be a huge help: it gives one of your units a 5+ invulnerable save in the fight phase. Alternatively, Adrenalised Slaughter lets models in one of your units fight on death on a 5+. And Predatory Pounce will help you get there more frequently by allowing you to make a 3” move after an enemy unit opens a hatchway.
The lack of enhancements here is definitely odd, but the rest of the rules present an interesting take on how to play boarding actions that might be a lot of fun. You’ll definitely be playing a different style of game from most of your opponents, but that’s not necessarily a bad thing, especially with how quick these games can be.
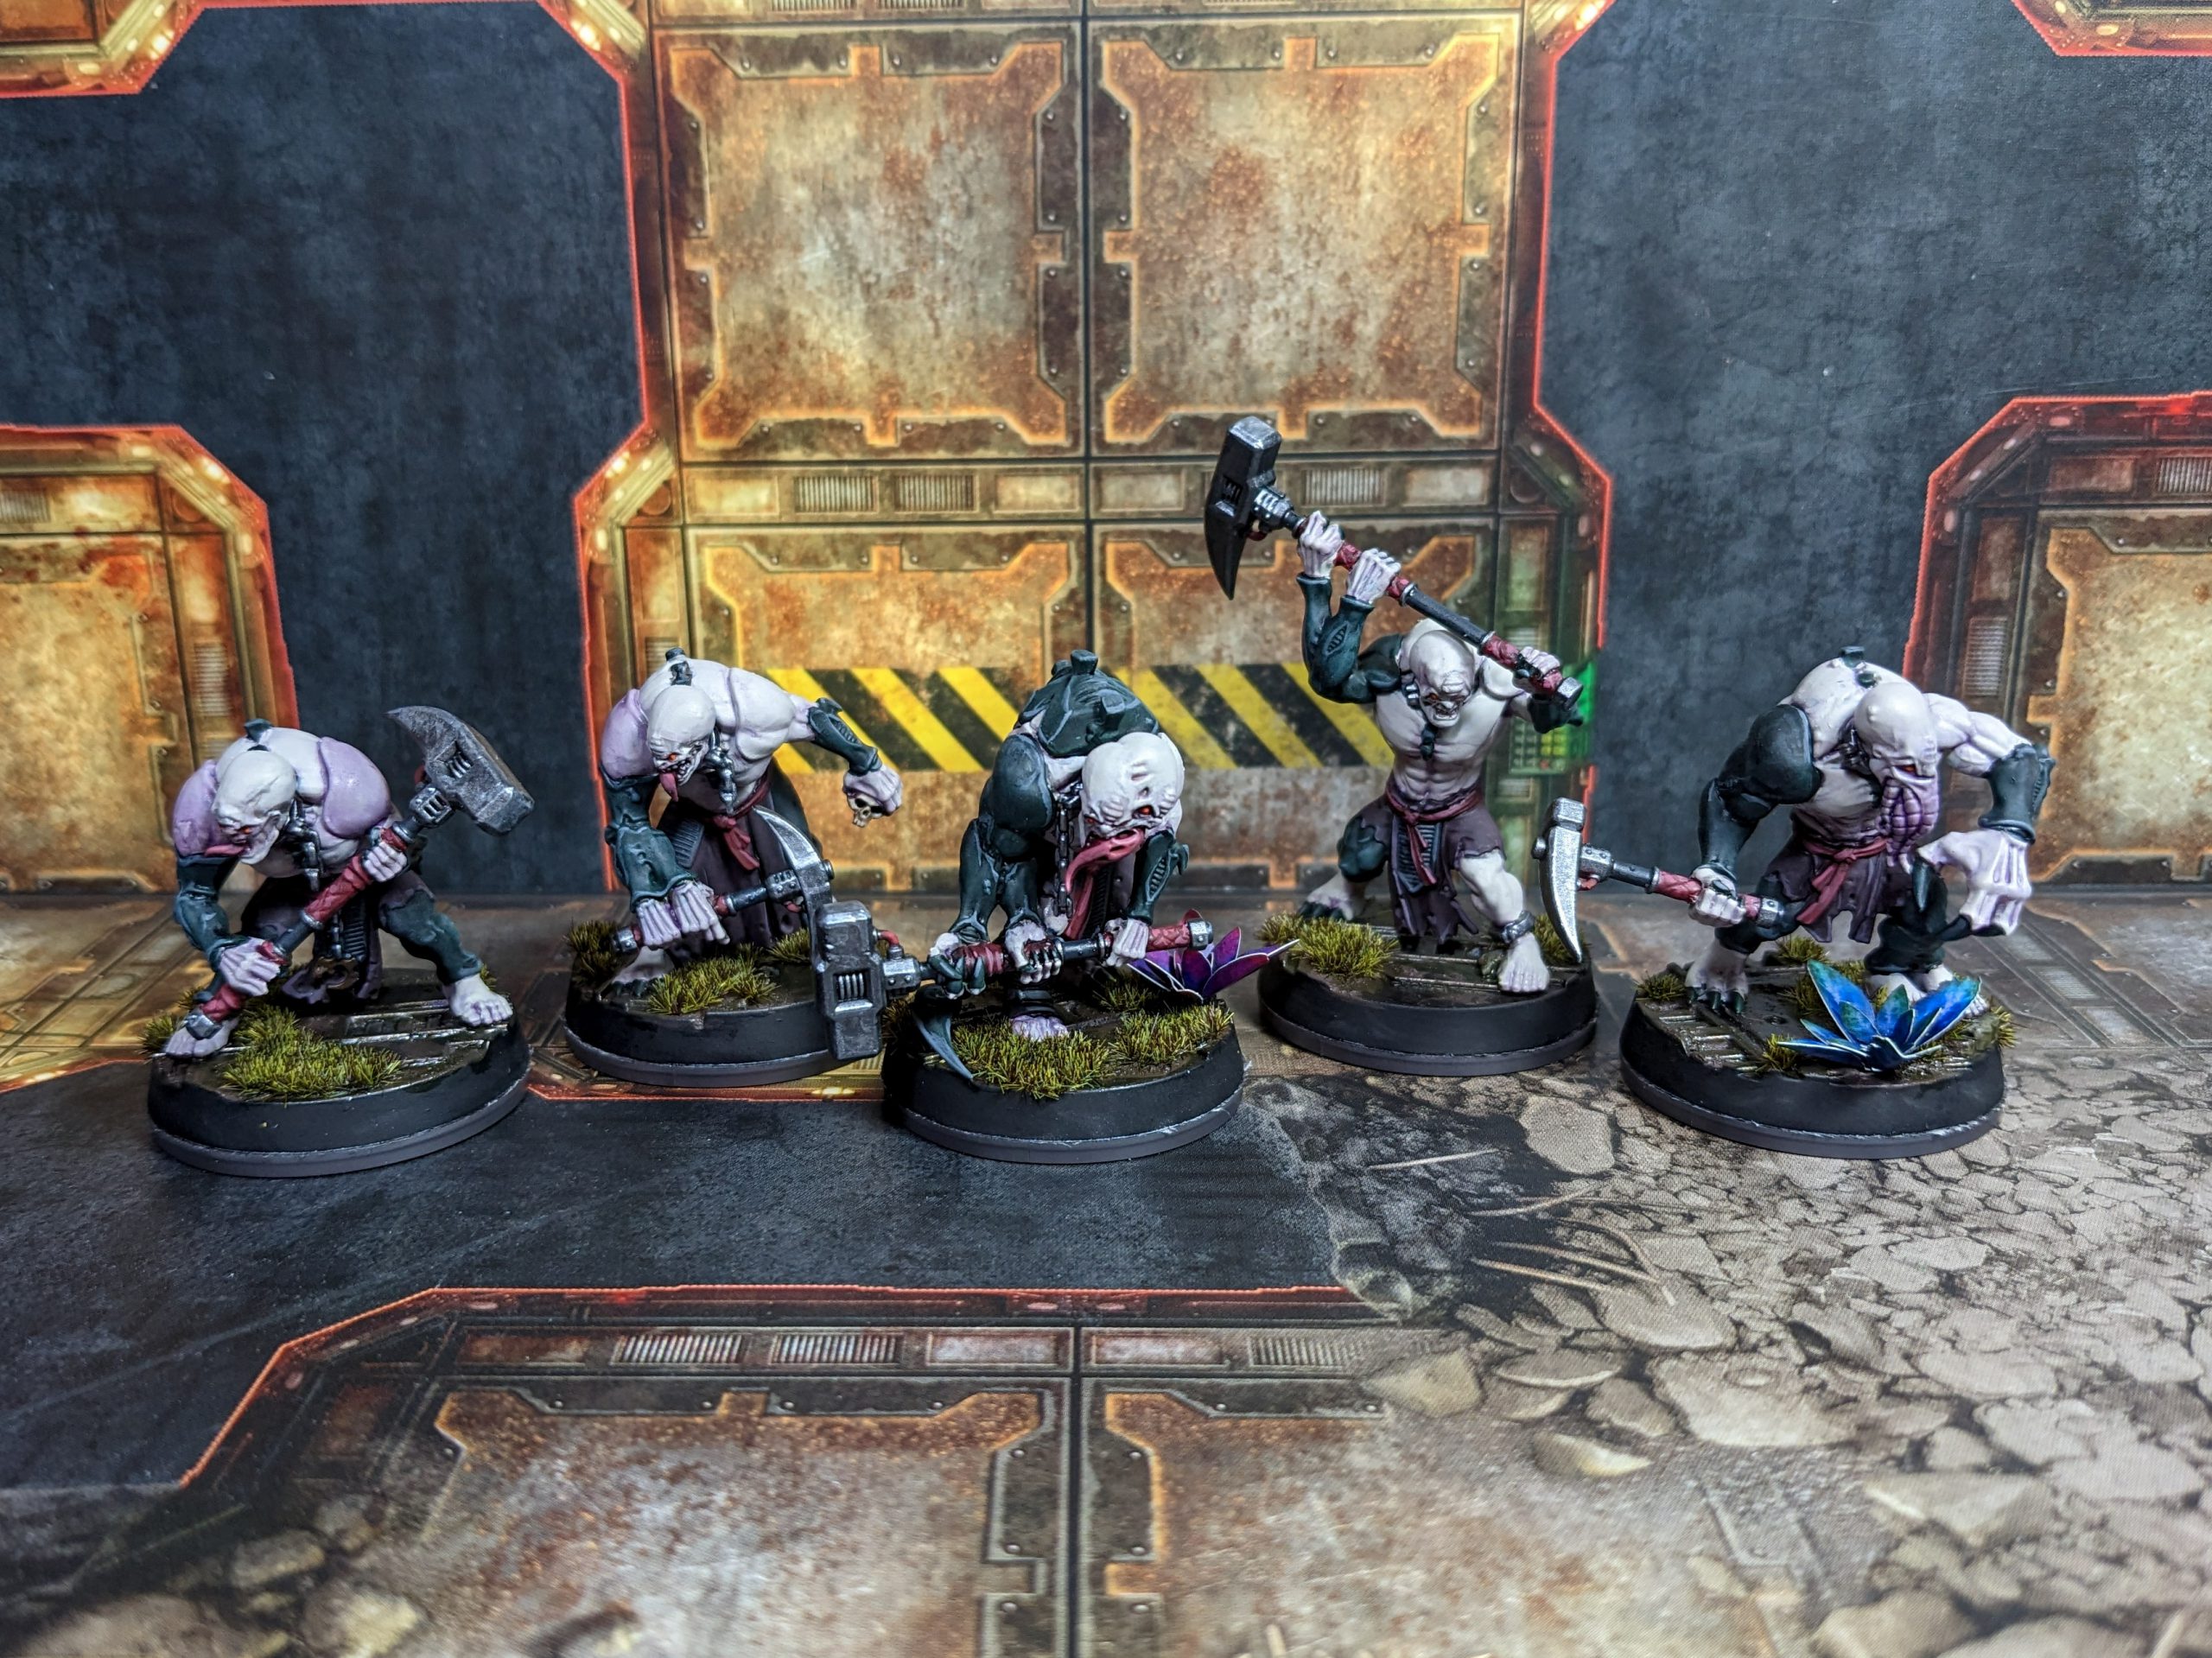
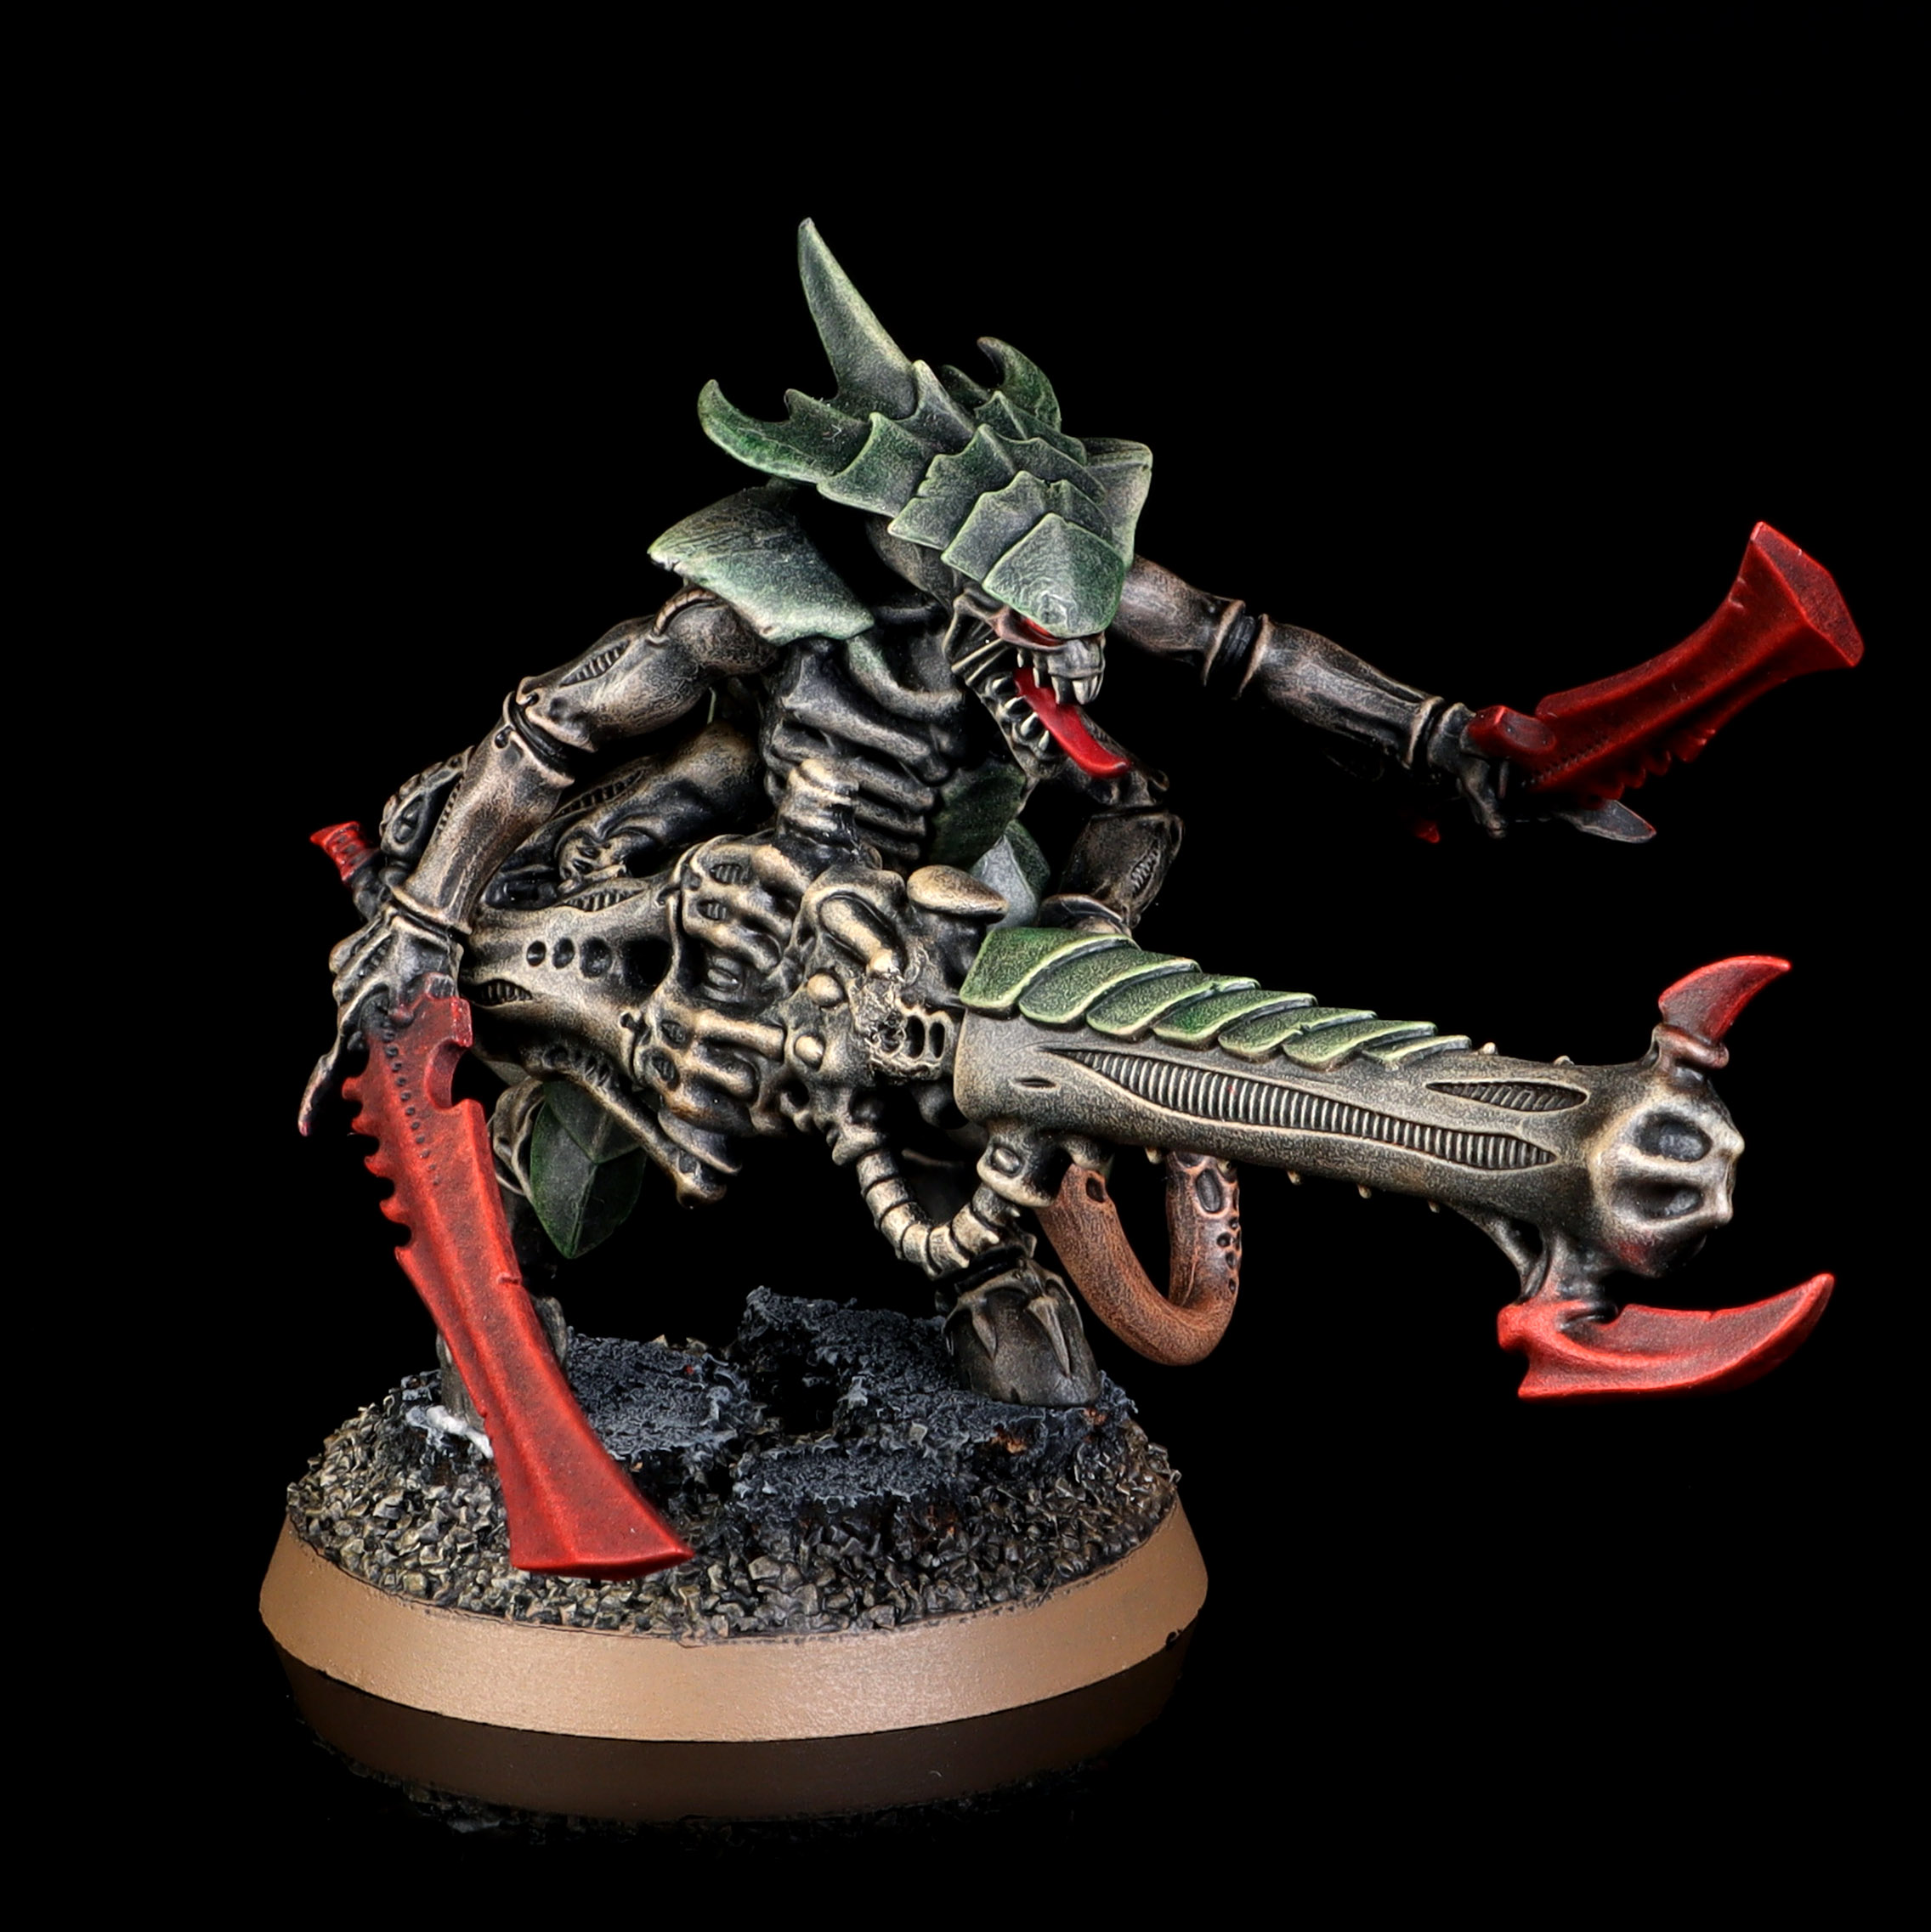
 Hormagaunts. Credit: Rockfish
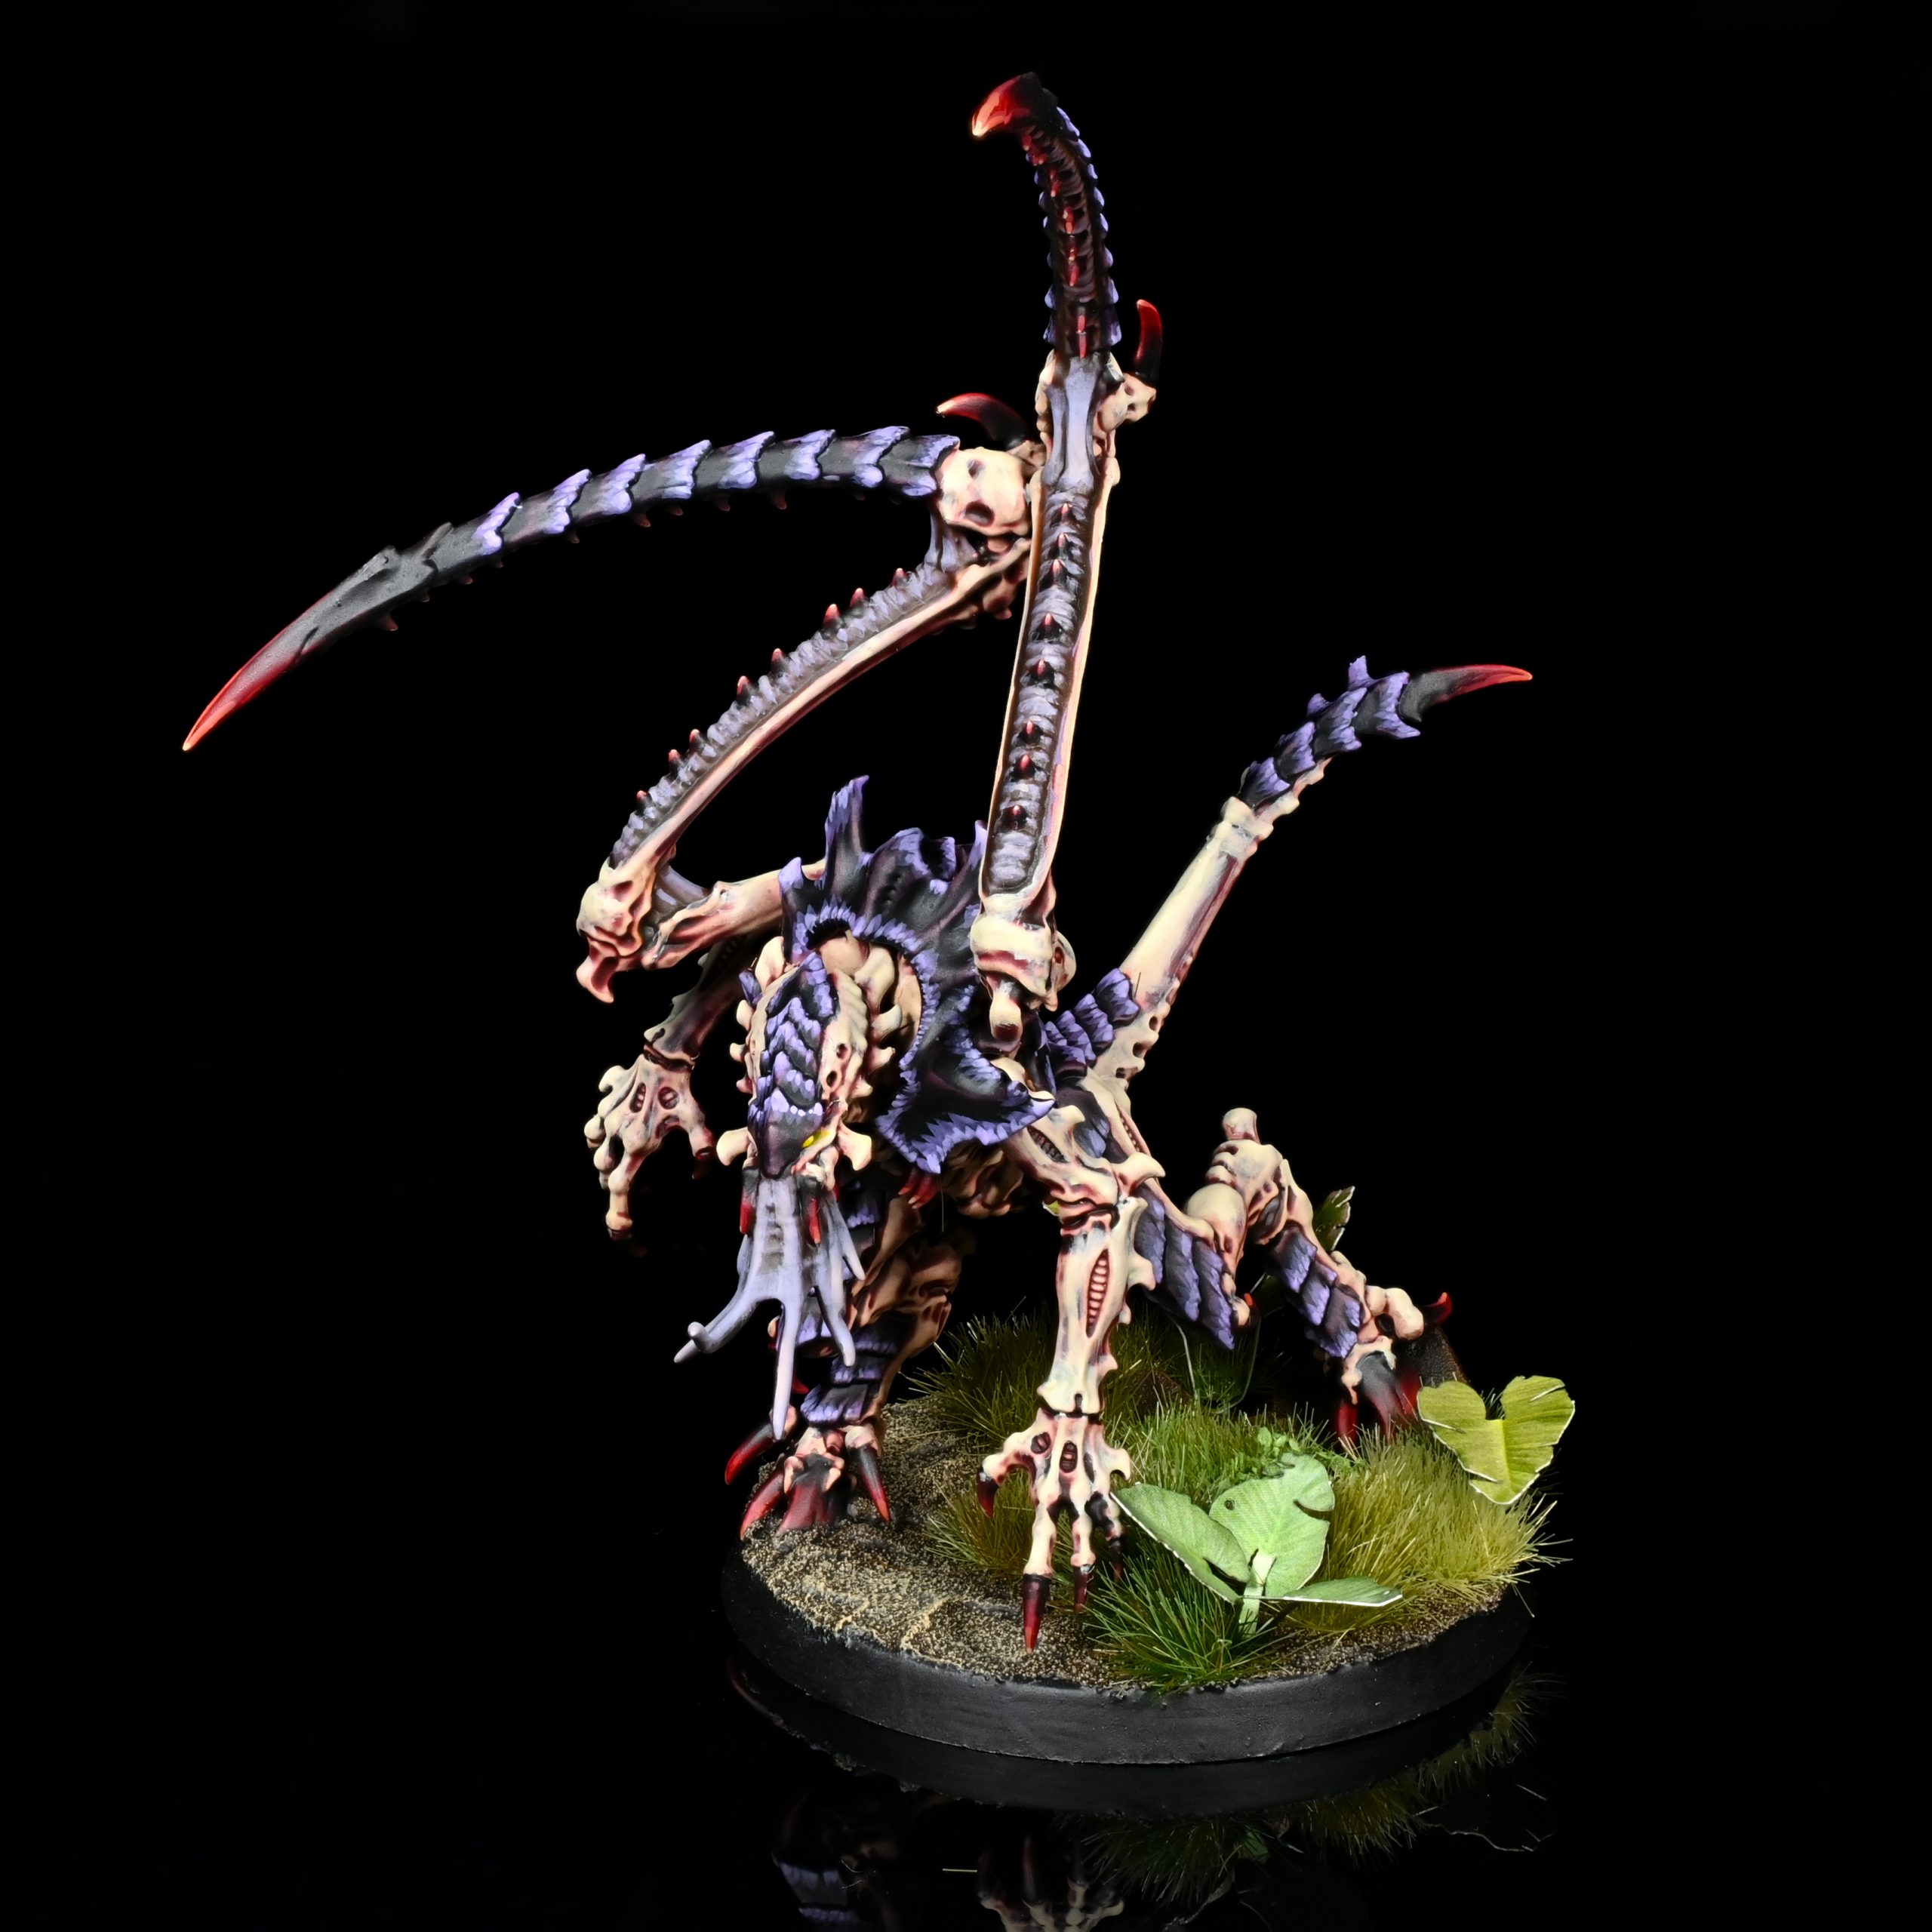
Biotide
Finally, we have the swarm detachment. You can take 2 Winged Primes, and then fill out the rest with Hormagaunts, Neurogaunts, Termagants, and Ripper Swarms. Your units can move through each other freely thanks to Unstoppable Swarm, and you get a +1 to the roll-off if your opponent tries to stop you from opening a door.
You’ll probably need your Primes to do work in this detachment, and Hypersurge Gland will let one of them work overtime by allowing you to declare one charge per game at the end of your opponent’s Charge phase. This sort of out-of-sequence movement is incredibly cool, especially when it’s on a free enhancement. It’s not the only source of additional movement here, though: Living Avalanche lets one of your units move 3” immediately after opening a door, which can take them into engagement range if there’s an enemy there. And Squirming Masses gives one of your ENDLESS MULTITUDE units Deep Strike and lets them set up anywhere more than 6” away from enemies, so long as the unit is within Synapse Range. You won’t be able to declare a charge with them that turn, but this is a great trick to get a unit into position on the other side of a wall to take an objective or slow down your opponent.
This detachment honestly has a few more tricks than expected, and if you want to just shove a bunch of chittering monstrosities at your opponent, you could do worse. Make sure to take full advantage of the movement tricks offered to you, and you’ll do fine.
Wrapping Up
The various Xenos forces are largely in a pretty good place here. While not every detachment seems amazing, most of them are at least interesting and are likely to let you try out some really unusual lists. A good number of them also breathe new life into a few units that typically aren’t that great in other games of 40k, so if you’ve got the models to field a detachment, it’s probably worth giving it a shot at least once, especially if you’ve been looking for an excuse to get a rarely-used unit off the shelf.
As with the other factions, not everything here is going to be a hit, but the creativity on display combines with some legitimately cool rules to make me very excited to see how these various detachments actually play in boarding actions. If you were waiting for new rules for your Xenos army to try out boarding actions in 10th, they’re here now, and were well worth the wait.
Have any questions or feedback? Drop us a note in the comments below or email us at contact@goonhammer.com. Want articles like this linked in your inbox every Monday morning? Sign up for our newsletter. And don’t forget that you can support us on Patreon for backer rewards like early video content, Administratum access, an ad-free experience on our website and more.
