


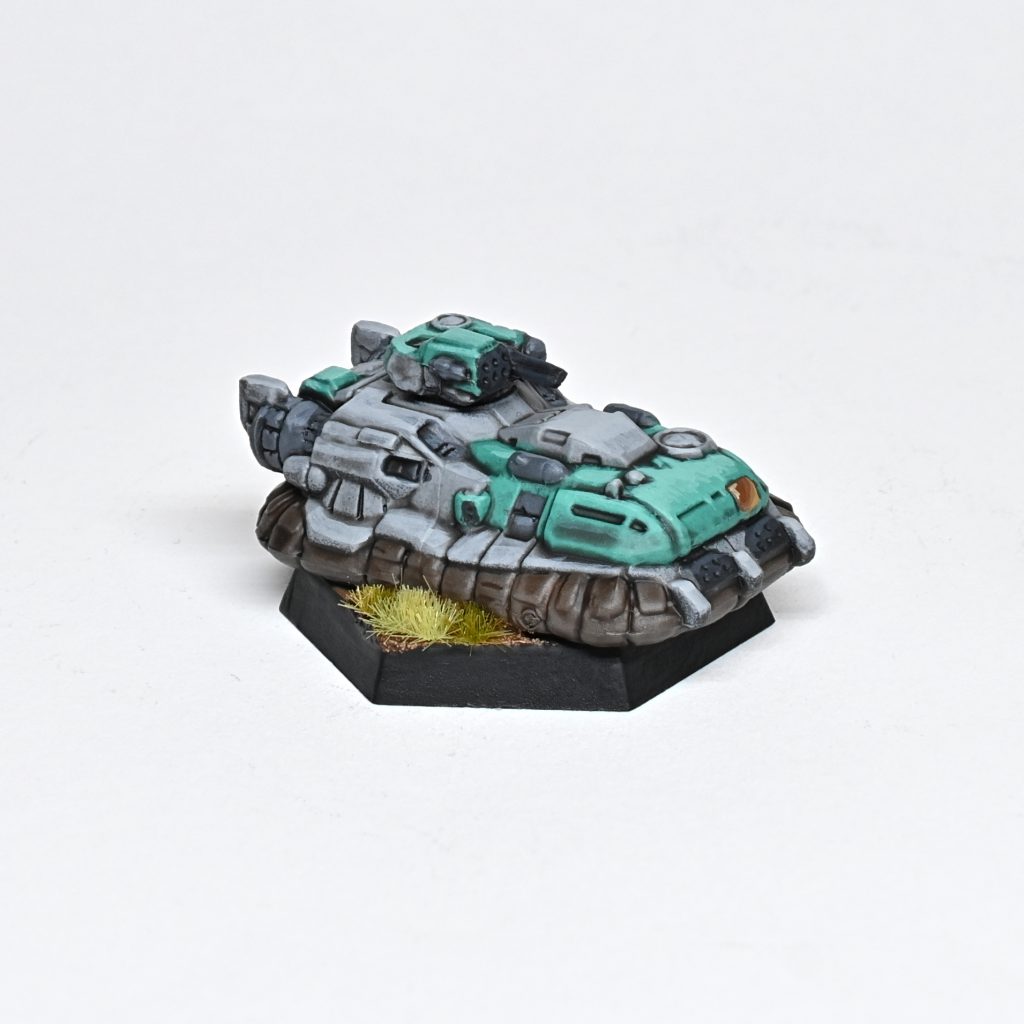
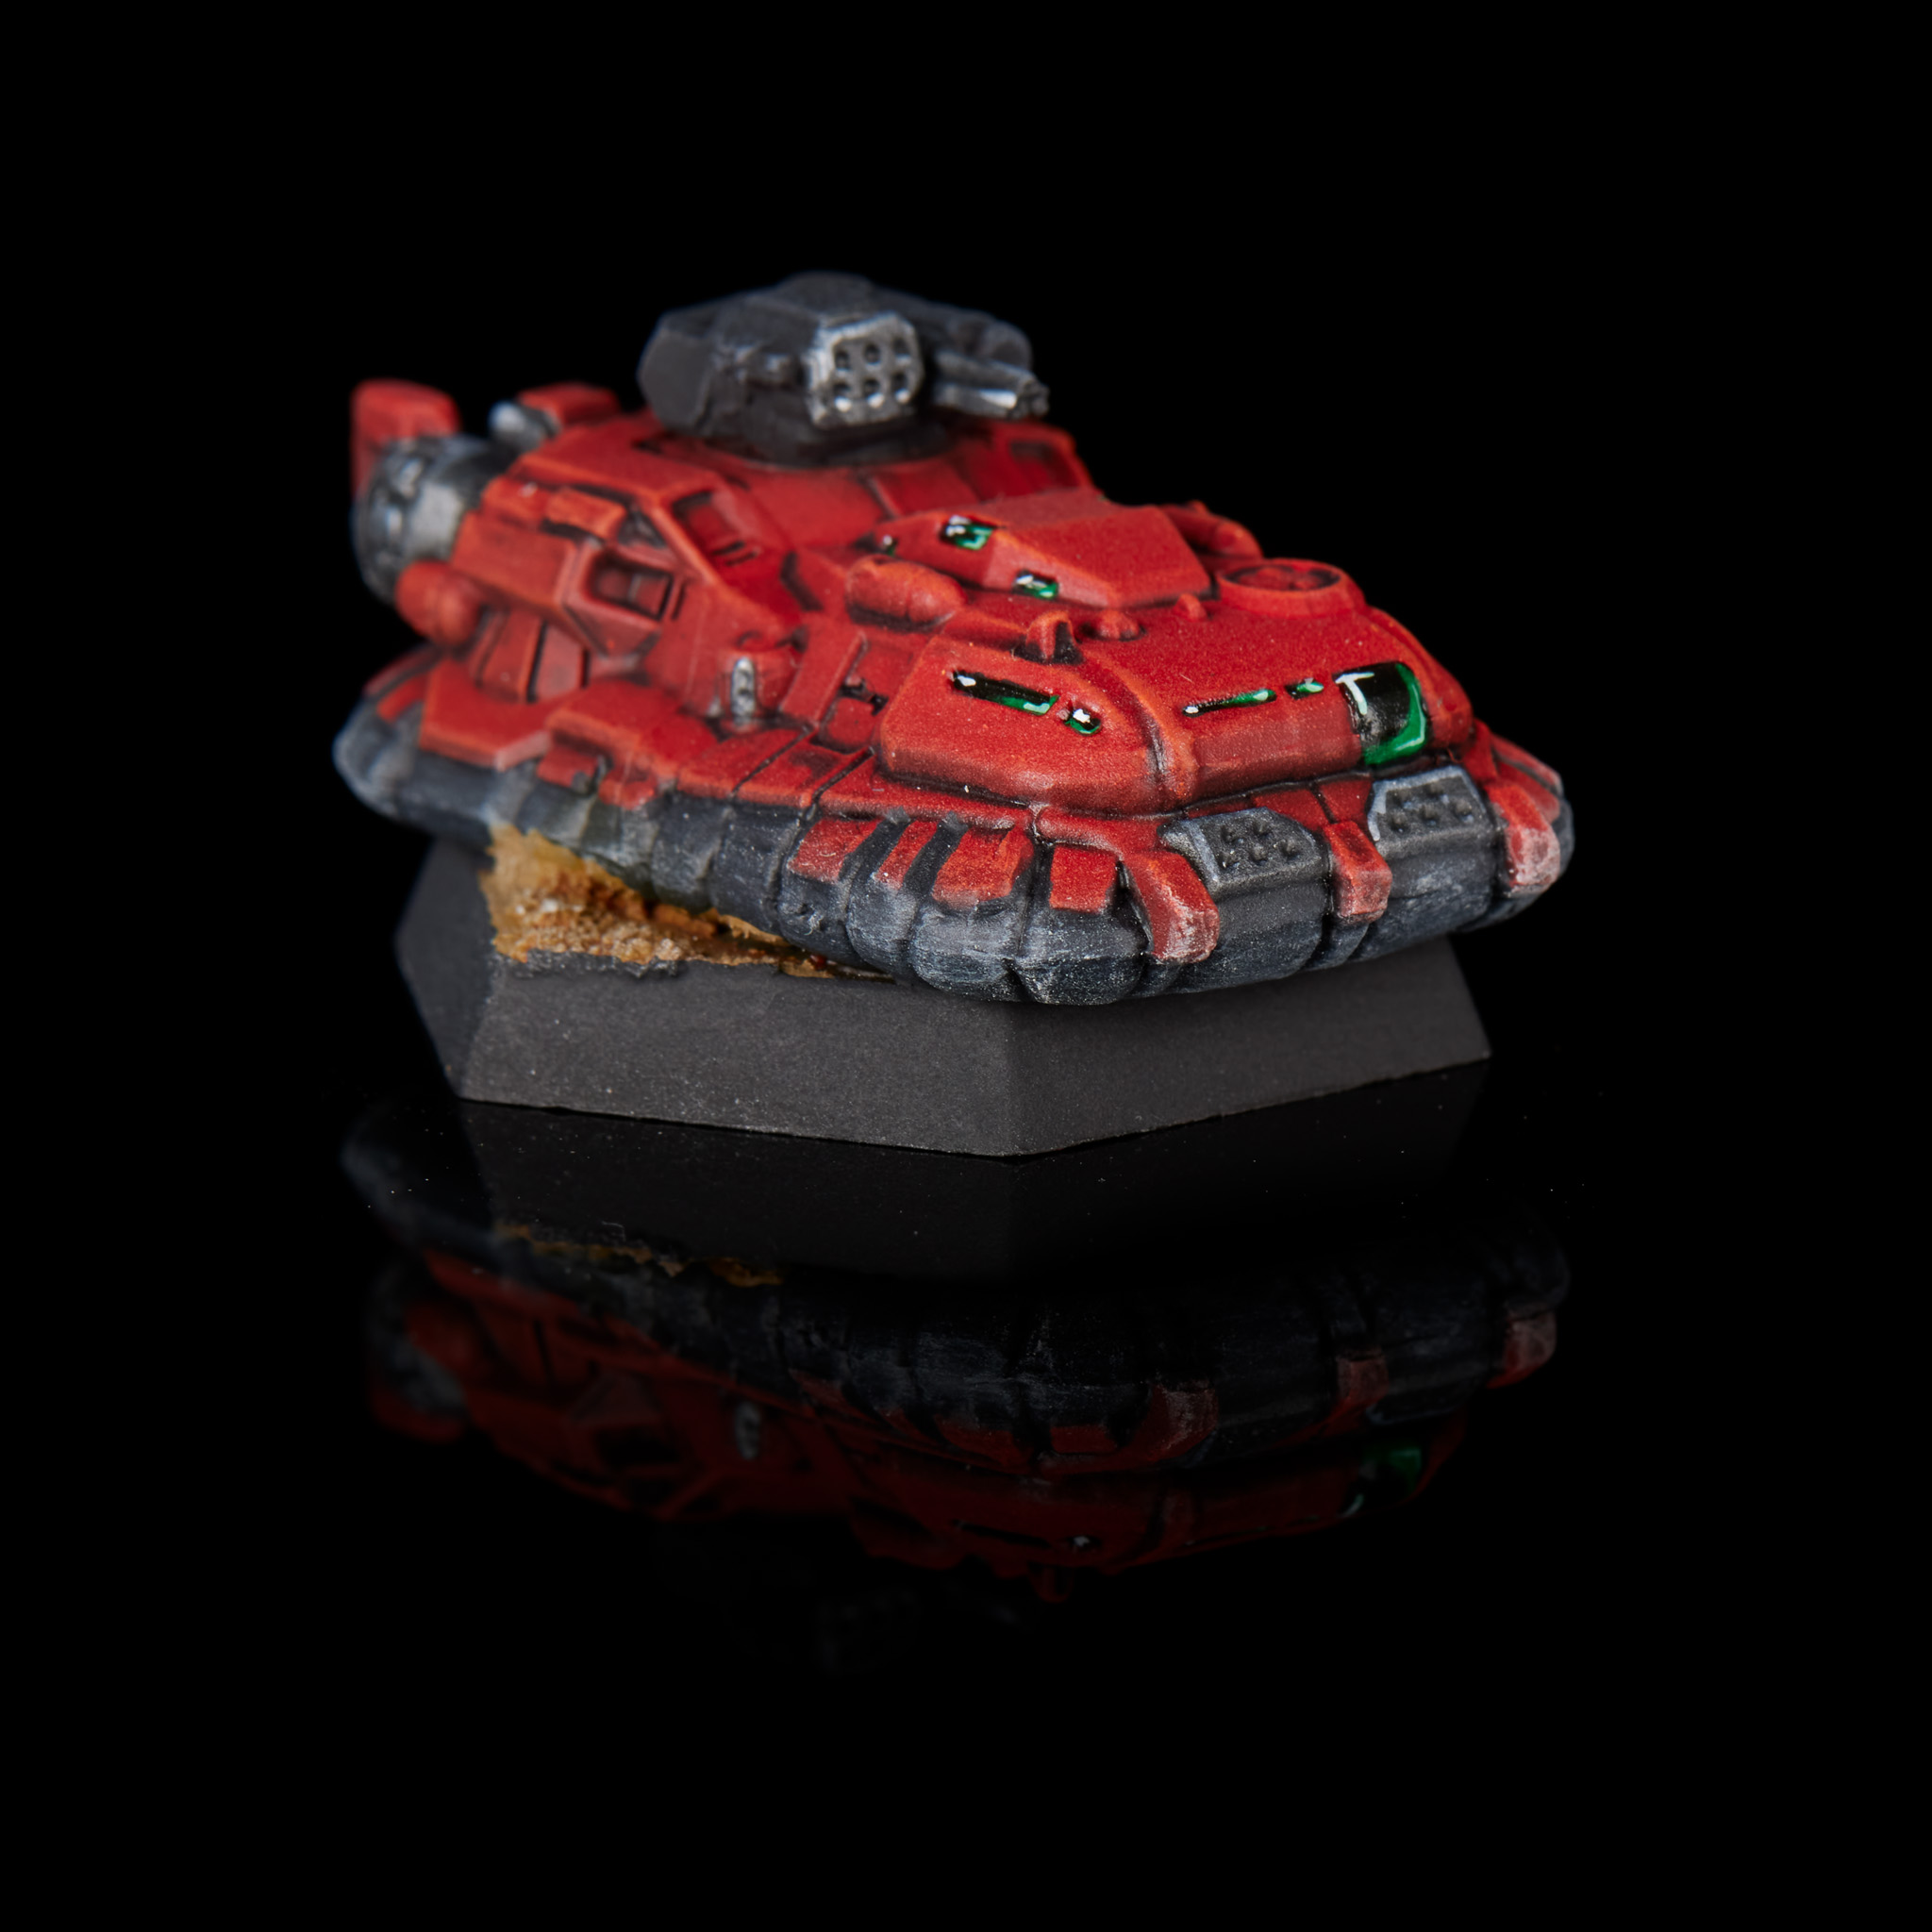
The Maxim is the second vehicle in the Battletech: Mercenaries box, heavier than the Galleon we reviewed yesterday. While that was a light tracked vehicle, this one is a 50 ton hovercraft (which, coincidentally, is as heavy as hover vehicles get). Its primary use is as a fast transport, with the base model starting at 3 tons of infantry bay – enough for most basic infantry platoons.
Chassis
Maxims sport somewhere a bit over 100 points of armor, giving them 20-30 points of armor everywhere but the rear (and occasionally the turret). While not a ton of armor, it’s pretty adequate when coupled with an 8/12 move profile. In open terrain they can actually end up moving even further than that – if a hover vehicle turns while moving at flank (run) speed it has a chance to sideslip, which can move it more hexes without expending MP. Watch out though – colliding with terrain or buildings is not a recipe for longevity.
Variants
These vehicles have all been reviewed based on a standard F through S scale, which you can find described on our landing page here (along with all of our other ‘mech reviews, the name of the box you can buy to get any of the mechs we have covered, and our general methodology).
One thing to note is that unlike most mechs, variant naming on vehicles can be weird. Often it’s the base model name, in this case Maxim Heavy Hover Transport with a variant in parenthesis, like (SRM2). The names below will generally just be the name in parenthesis, as everything on this page is a Maxim.
Heavy Hover Transport
The earliest Maxim has three LRM 5s, two SRM 2s, three machine guns, and a SRM 6. Of those, one LRM is in the rear, the SRM 2s are in the sides, and the machine guns and SRM 6 are all in the turret, leaving the last two LRM 5s facing forwards. This is a do-everything weapon loadout rather than something dedicated to a specific role – LRM launchers can fire (or lay down smoke) on the way in and out, the SRM 6 and 2s provide a bit of punch while deploying infantry, and the machine guns work to either crit fish or kill infantry. While it can do all these things a little bit, other than killing infantry it’s not tremendously effective at any single thing, unfortunate for something you’re spending 764 BV on. The GAL-106M is both cheaper and better at transport with the same speed.
My rating: D
SRM 2
Pretty much the same, this just moves the SRM 2s up to the turret. While it does concentrate firepower a little bit, it doesn’t actually increase effectiveness. Dropping half a ton of machine gun ammo (to make the turret heavier) saves you 1 BV, putting this variant at 763 BV.
My rating: D
SRM 4
The three LRM 5 launchers from the base model are turned into a pair of SRM 4 launchers and quite a bit of ammo. Unfortunately one SRM 4 is still facing backwards, otherwise this would have quite a bit of punch, and the extra ammo gives you room to bring both inferno and regular ammo. At 682 BV it’s a little cheaper than the variants carrying LRMs, and is a more effective combat unit – 8/12 movement is enough to quickly get you into SRM range.
My rating: C
3052 Upgrade
The rear LRM 5 goes away in exchange for a bit more armor, upgrading the side SRMs to streak SRMs, and swapping a machine gun for TAG. At 794 BV it’s a bit better than the base model but I’d say a touch worse than the SRM 4 variant – unless you have an LRM boat carrying semi-guided ammo. While that will bloat BV a bit, an 8/12 TAG carrier is a great way to hammer someone with missiles. It’s not tough enough to be your only TAG carrier, but with a friend to draw fire it can be effective.
My rating: C
Fire Support
This goes the opposite direction of the SRM 4 variant – now most of the support weapons (and rear LRM) have been exchanged for a turret mounted LRM 15. This is actually enough weapon to meaningfully contribute at range, so if you’re trying to deliver infantry to hold objectives at range rather than them into someone’s face this is a useful platform. 869 BV is getting more expensive, but it’s about the same price as a Valkyrie with a LRM 15 and this is more mobile.
My rating: C
Anti-Infantry
Continuing to be very simple weapon swaps from the base model, the side SRM launchers are now pairs of machine guns and one has shown up in the front. That’s a total of 7 MGs, but as you can’t ever get more than 4 to fire on a single target you really hope you can get in between multiple infantry platoons. At 715 BV, this is only more effective than the SRM4 variant in very specific situations, so take that one.
My rating: D
BA Factory Upgrade
The first variant I think most people will use, this is the same as the 3052 Upgrade but trades the TAG for a fourth ton of infantry bay, enabling you to carry a unit of 4 battle armor. Battle armor mostly need some form of transport to be effective (or to setup in ambush), and this moves them around at 12 hexes a turn. 794 BV is entirely reasonable for this, though it’s not particularly flashy.
My rating: C-
BA Field Upgrade
Unlike the factory upgrade, this keeps the TAG and drops the machine guns to fit in the extra infantry bay. It’s also added a bit of extra armor. This works a ton better as a battle armor taxi than the factory upgrade (wow what a surprise that the people actually using something do a better job than the designers back in the factory). A squad of battle armor is great at killing infantry, so losing the machine guns is fine, but battle armor mostly won’t do substantial damage at any given point to a mech, so being able to TAG it for semi-guided LRMs is great. 817 BV costs a tiny bit more, but whatever. 23 BV is usually floating free in a list.
My rating: C+
Clan
Upgrading all the weapons to clan tech unsurprisingly frees up a ton of weight. The front mounted LRMs are now a LRM 15 and the turret is upgraded to a streak SRM, plus the infantry bay is now up to 6 tons – enough for either two foot infantry platoons or a full unit of battle armor, even if you’re comstar and have six suits. No minimum range on the clan LRMs gives this a whole lot of punch even in close. The main issue it has is the same as most clan units – firepower increase without durability increase. 1147 BV is just as easy to kill as the cheaper Inner Sphere variants, and makes using this risky.
My rating: C-
Infantry Heavy Hover Transport
Most weapons have gone away, leaving just a turret mounted SRM 6, pair of ER medium lasers, and TAG. The infantry bay is now up to 12 tons, which is enough for four infantry platoons or three squads of battle armor, but you can still only disembark one unit a turn. That makes this have way too many eggs in one 770 BV basket.
My rating: D
Infantry Heavy Hover Transport (Company Command)
With the same weapon loadout as the Infantry variant above, this swaps the entire troop bay for a pair of C3 master computers and an ECM suite. Using the ECM in ECCM mode will help keep the C3 networks online, but this is likely to end up hideously expensive once operating in a pair of C3 networks (I think it would be at +40%, which takes it from 851 BV to 1191 BV). I’d rather use something with few/no weapons so I don’t feel bad about the 250-odd BV of weapons I’m not using.
My rating: D
C3M
This has the standard Maxim armament of two LRM 5s, two streak SRM 2s, and a SRM 6, coupled to a single C3 master computer, with no infantry bay. While still a disjointed weapon loadout, having C3 makes it much easier to use IS LRMs because you’ll count range brackets from the closest unit, but minimum range from the actual firing unit. That said, to make use of both LRMs and SRMs at the same time you’ll be taking a multi-target penalty, so a more focused loadout would be more effective. At 817 BV it’s ok as the master computer in a c3 lance, but not really good at it.
My rating: C-
C3S
Much the same as the C3M, this keeps the four ton infantry bay and runs a C3 slave. It also has a TAG, but because the master computer has TAG integrated to it I’m not considering that as an actual difference between them. It’s 773 BV and still unfocused, especially as I’m pretty sure you can’t combine semi-guided missiles (and thus most of the use of TAG) and benefits from C3.
My rating: C-
Flanker
Experimental Technical Readouts usually introduce units that are very funny, very bad, or both, and this is no exception. It’s moved nearly all the armor to the right side, and mounted an LRM 15 and SRM 4 in a sponson turret on that side – the lightly armored left side has three machine guns and an SRM 2, and there’s a fourth machine gun covering the rear. In theory, this means you can show your heavily armored right side to the enemy while driving in circles around it. In practice, showing your sides in a hovercraft is a Bad Idea, as that’s +a lot to motive damage checks, so it’ll end up immobilized and thus dead in short order. At 581 BV it’s the cheapest Maxim, but it’s also the worst.
My rating: F
Escort
This sacrifices the entire infantry bay to swap the LRM 5 launchers to MML 5s, meaning it’s no longer stuck trying to decide between shooting at long range and short range. LRMs can either pepper the enemy on the way in or drop some smoke, and then 16 tubes of SRMs in the front arc do substantial damage. The machine guns still exist (now in a machine gun array), so while this doesn’t have any good way to punch holes in armor, it has a ton of ways at short range to fish for crits, and 8/12 lets it get in to short range. 835 BV is entirely reasonable to bring this kind of mobile crit-finder.
My rating: B-
Conclusion
Most Maxims are pretty average. Other than the Flanker, none are really actively bad, but they aren’t standouts either. The two battle armor variants do an entirely acceptable job of transporting battle armor, and the Escort is a nice little pile of missiles, you just need to be cautious in all of them of exposing your sides and getting immobilized.
Have any questions or feedback? Drop us a note in the comments below or email us at contact@goonhammer.com. Want articles like this linked in your inbox every Monday morning? Sign up for our newsletter. And don’t forget that you can support us on Patreon for backer rewards like early video content, Administratum access, an ad-free experience on our website and more.
