This article is part of a series designed to help you navigate the Administratum app that Goonhammer provides to help players navigate the rules for Crusade campaigns. In this article we cover how to make a roster, add new units, and edit your entries.
How To Make a Roster
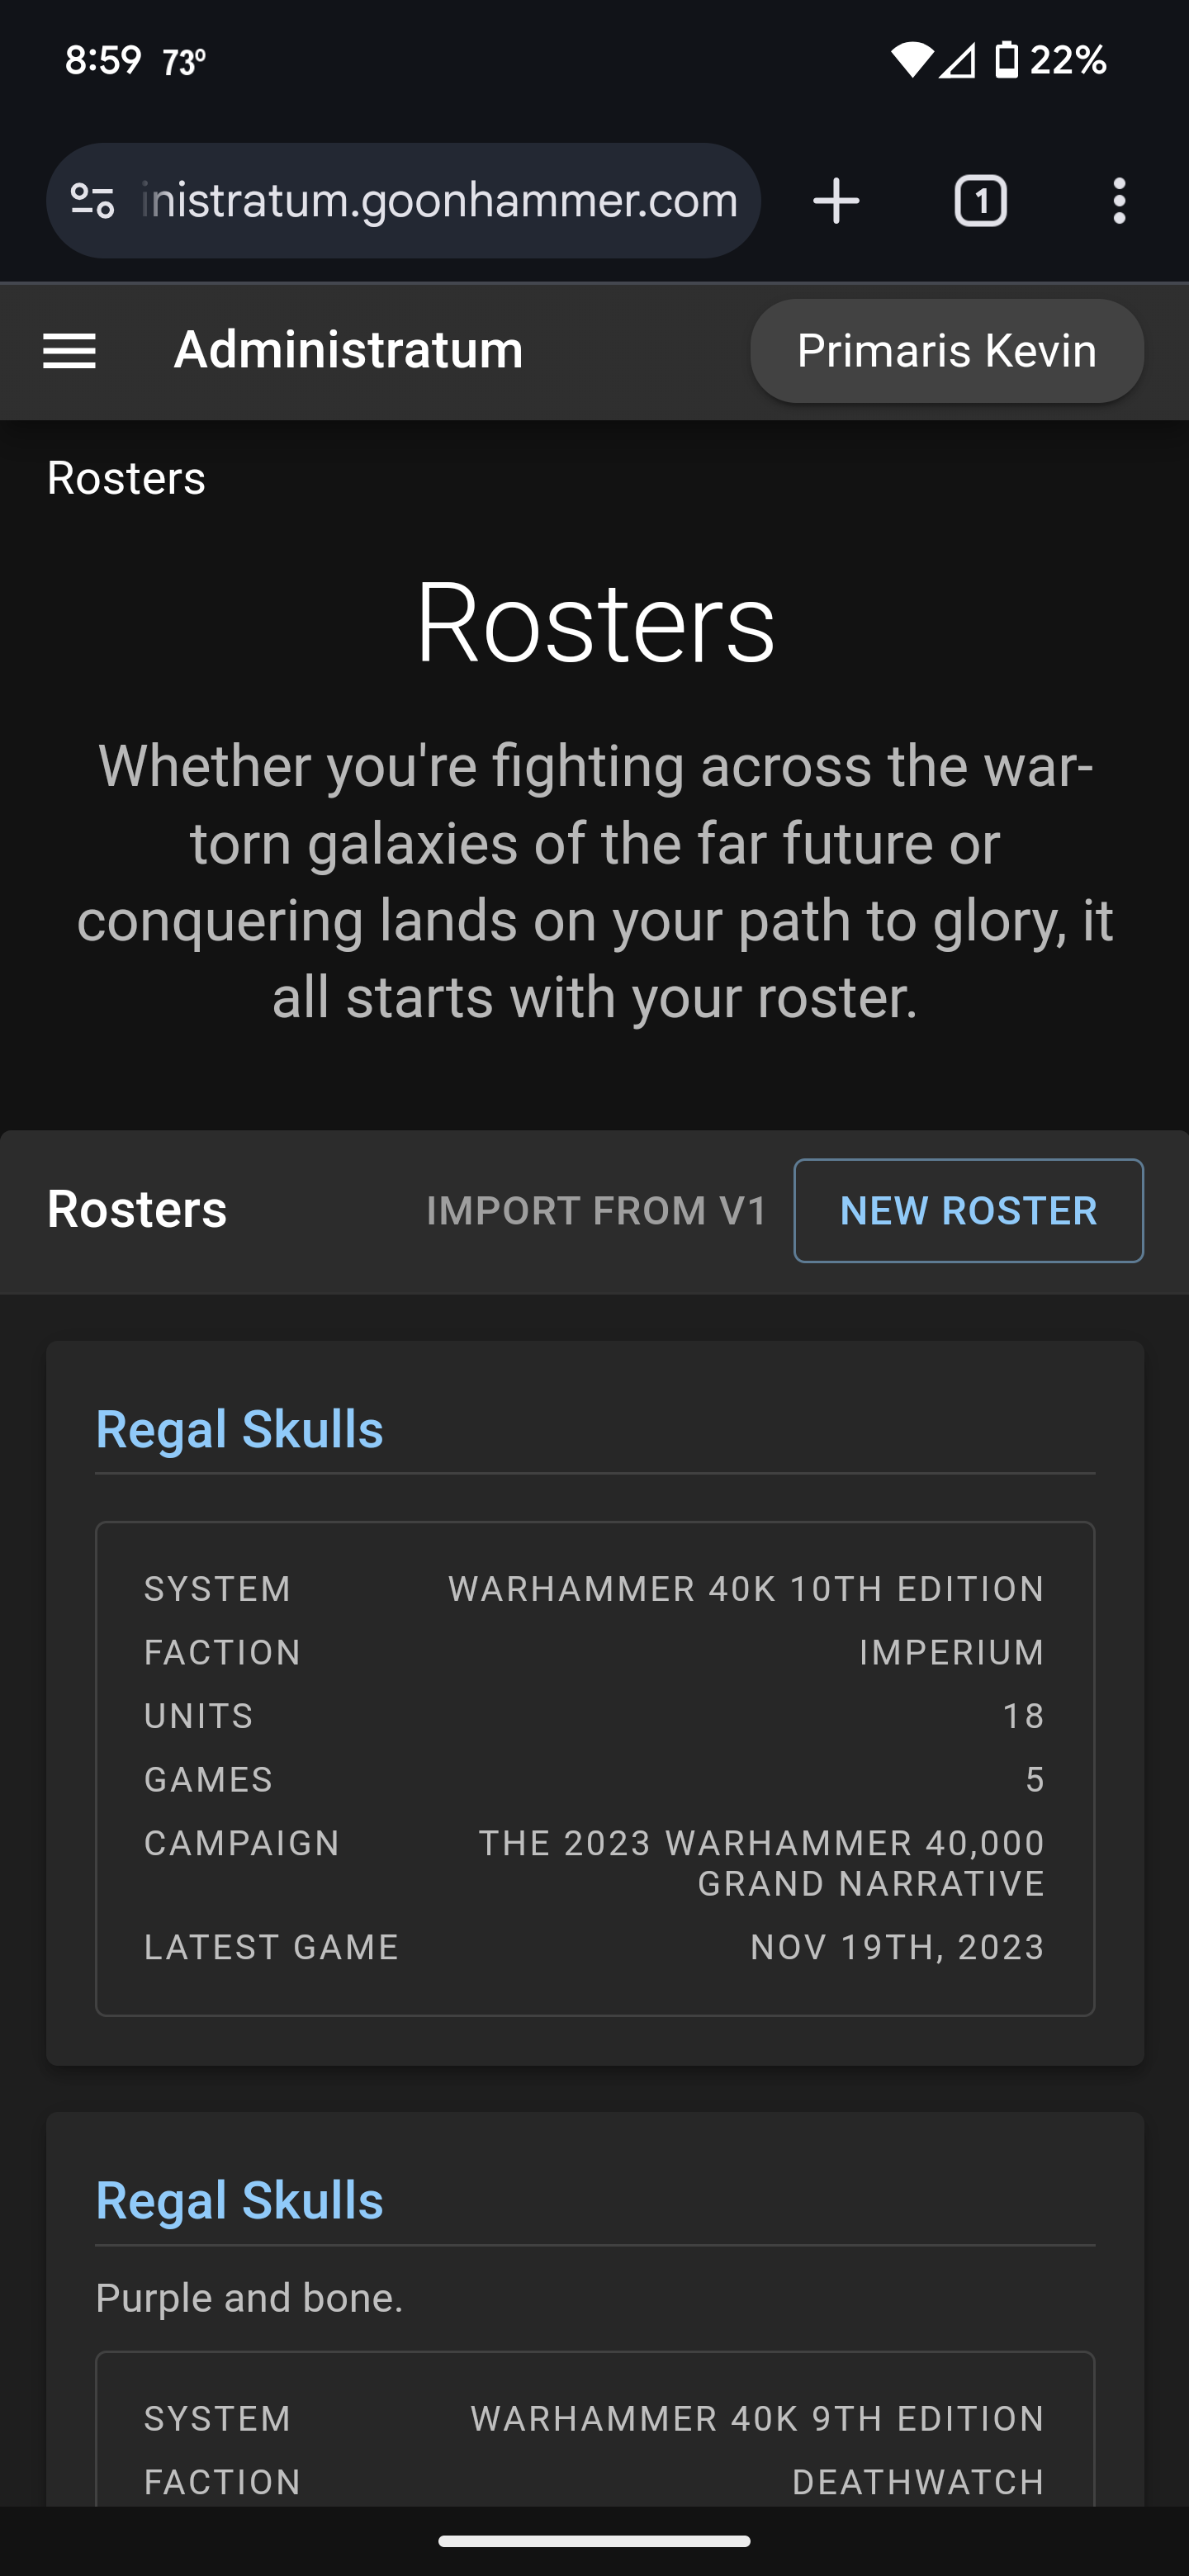
After logging in you will find yourself on the main page. Click on the Rosters link below the “Build Your Armies” section. From there click on the “New Roster” button. This will take you to the Order of Battle screen where you will fill out basic information of your roster. This will include the Name, Faction, and Description. The Edition, Requisition Points, and Supply Limit will default to the 10th Edition standard rules but you can edit that as well. Once the basic information has been settled you can click Submit which will take you to the Dashboard for your army.
 To add a unit, click on the Units tab and then click on New Unit. This button is used to add units from any source, including Battle Forge in Warhammer 40,000: The App and Battlescribe.
Importing from Battlescribe
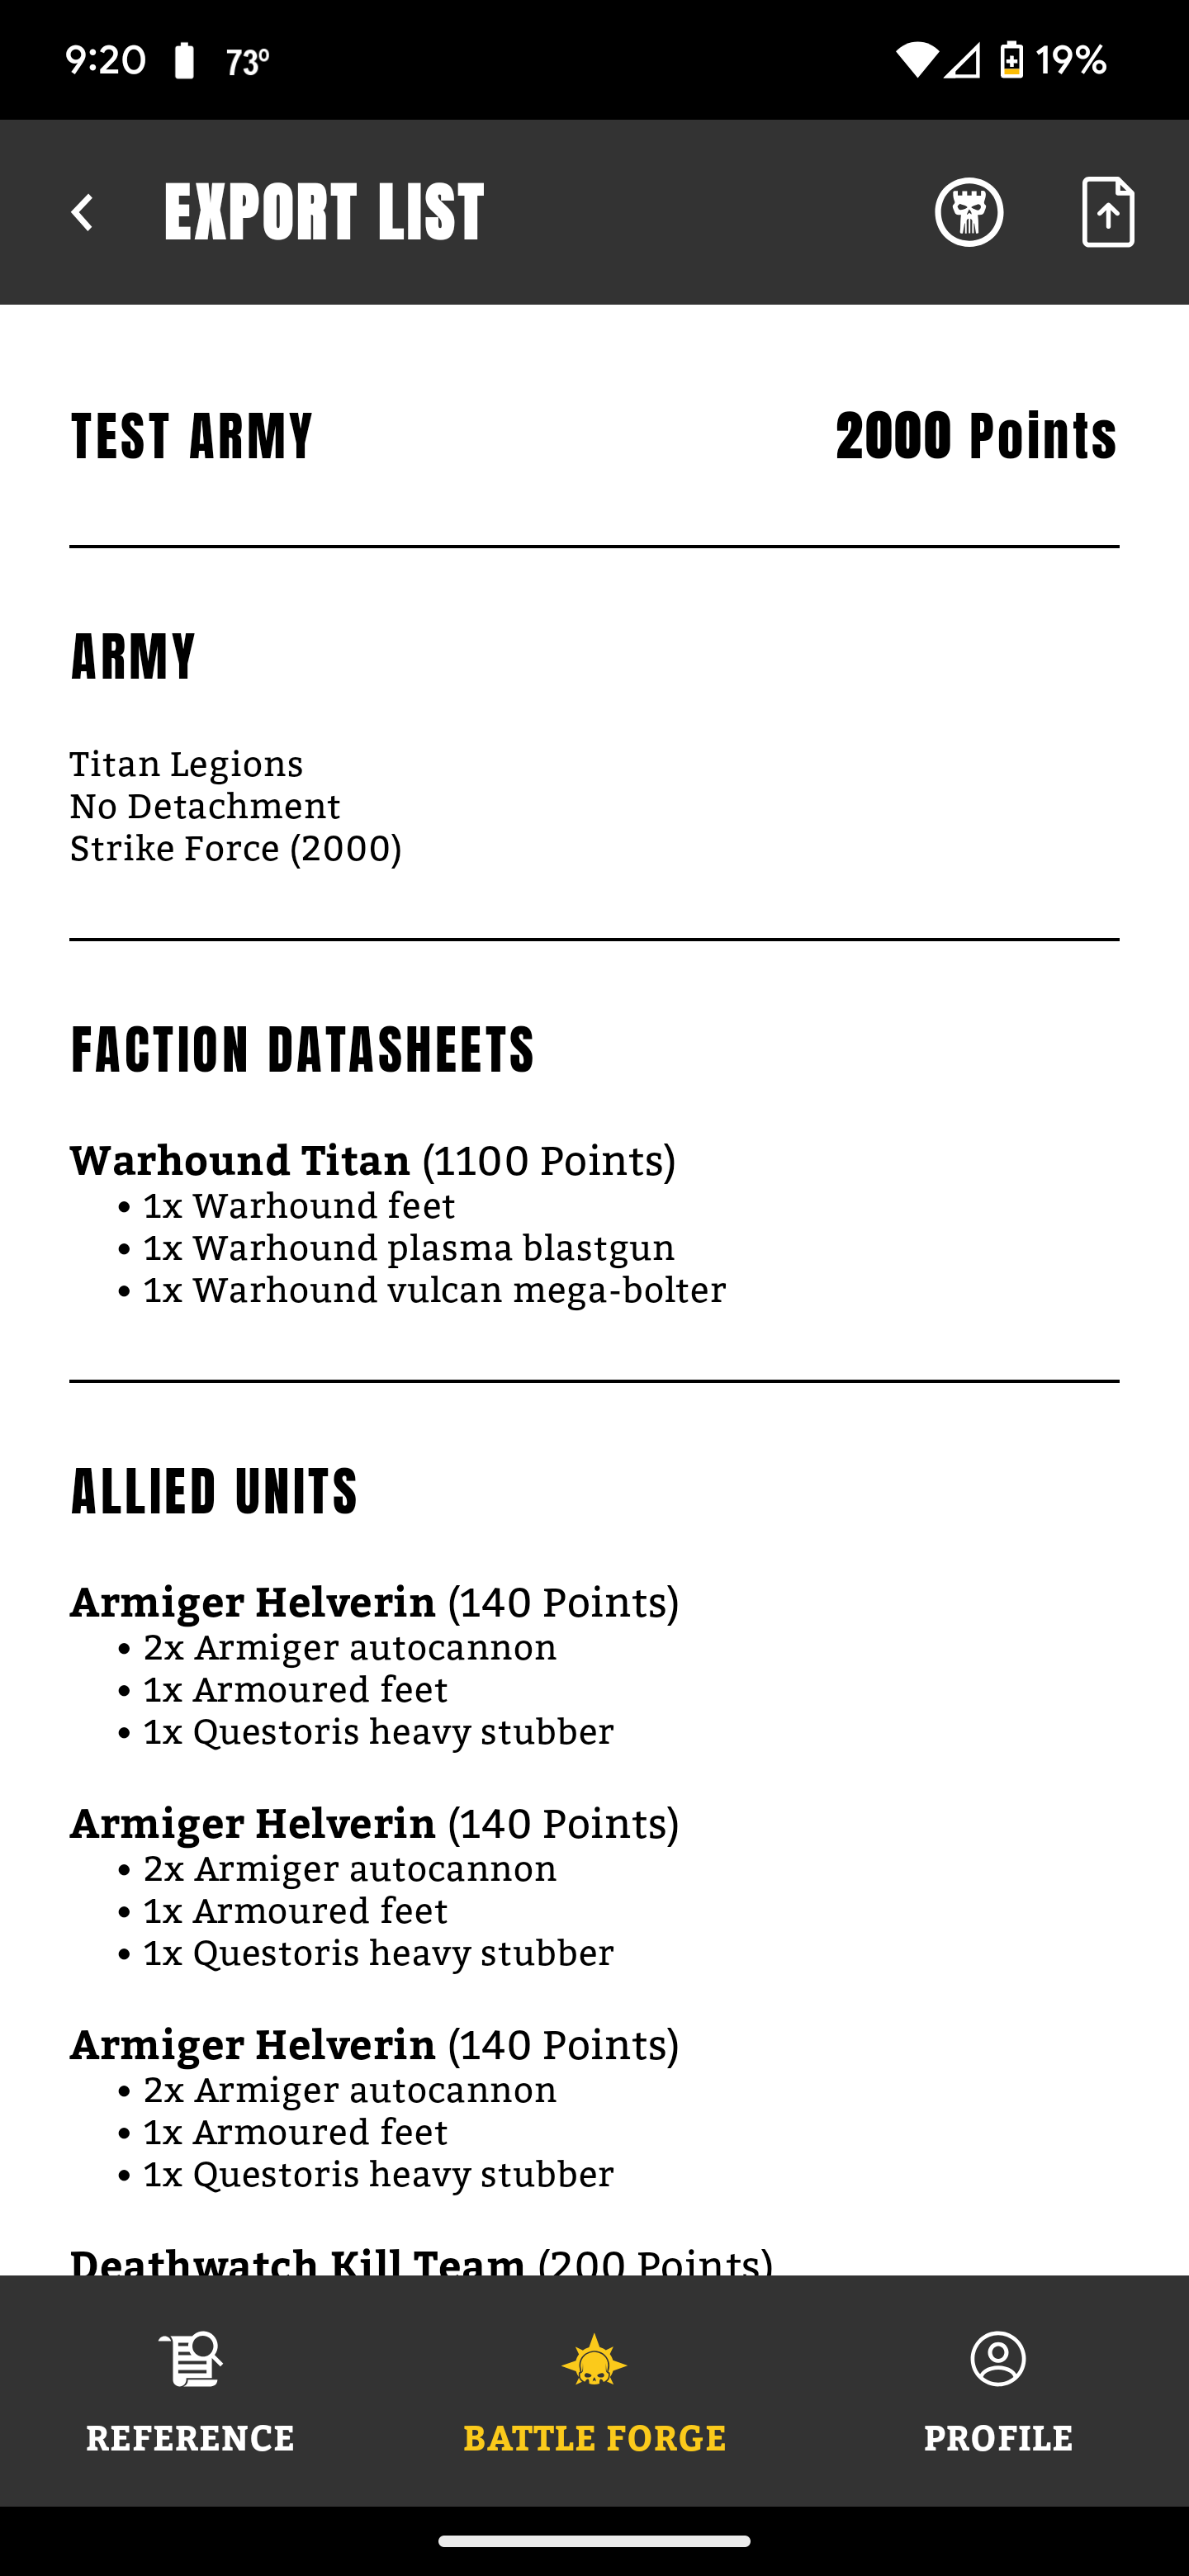
To import from Battlescribe, click on the “Import From Battlescribe” button. From there you will be asked to select the .rosz file to import. Of the three options this is the one most likely to cause problems as occasionally the .rosz file has issues.
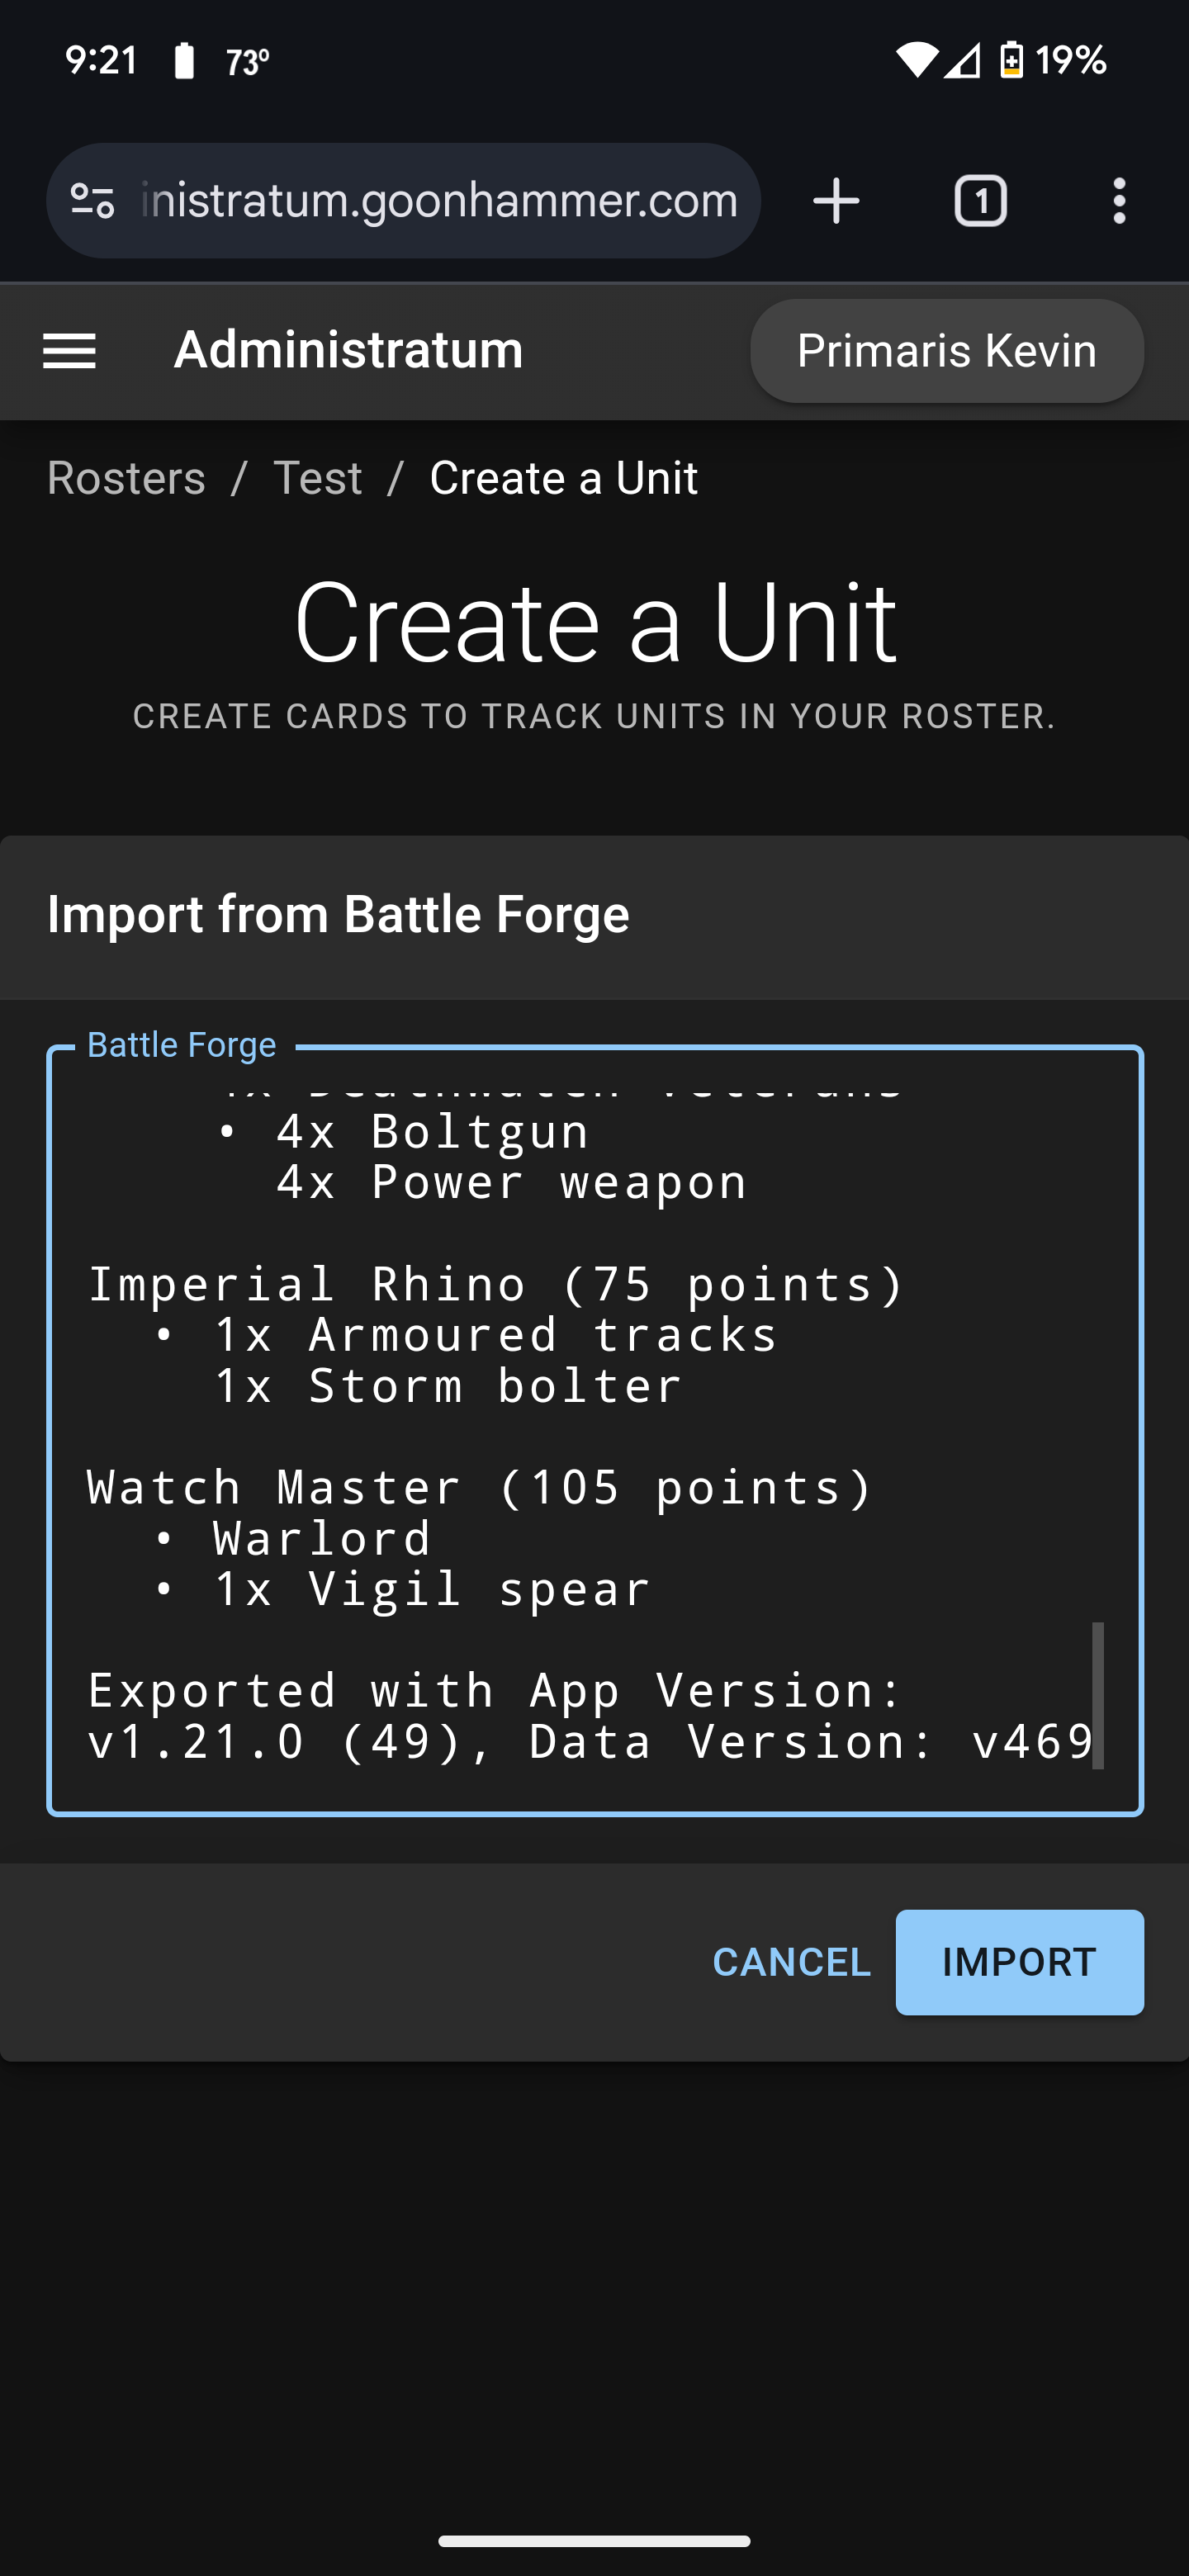
Importing from Battle Forge
Click here to expand this section.
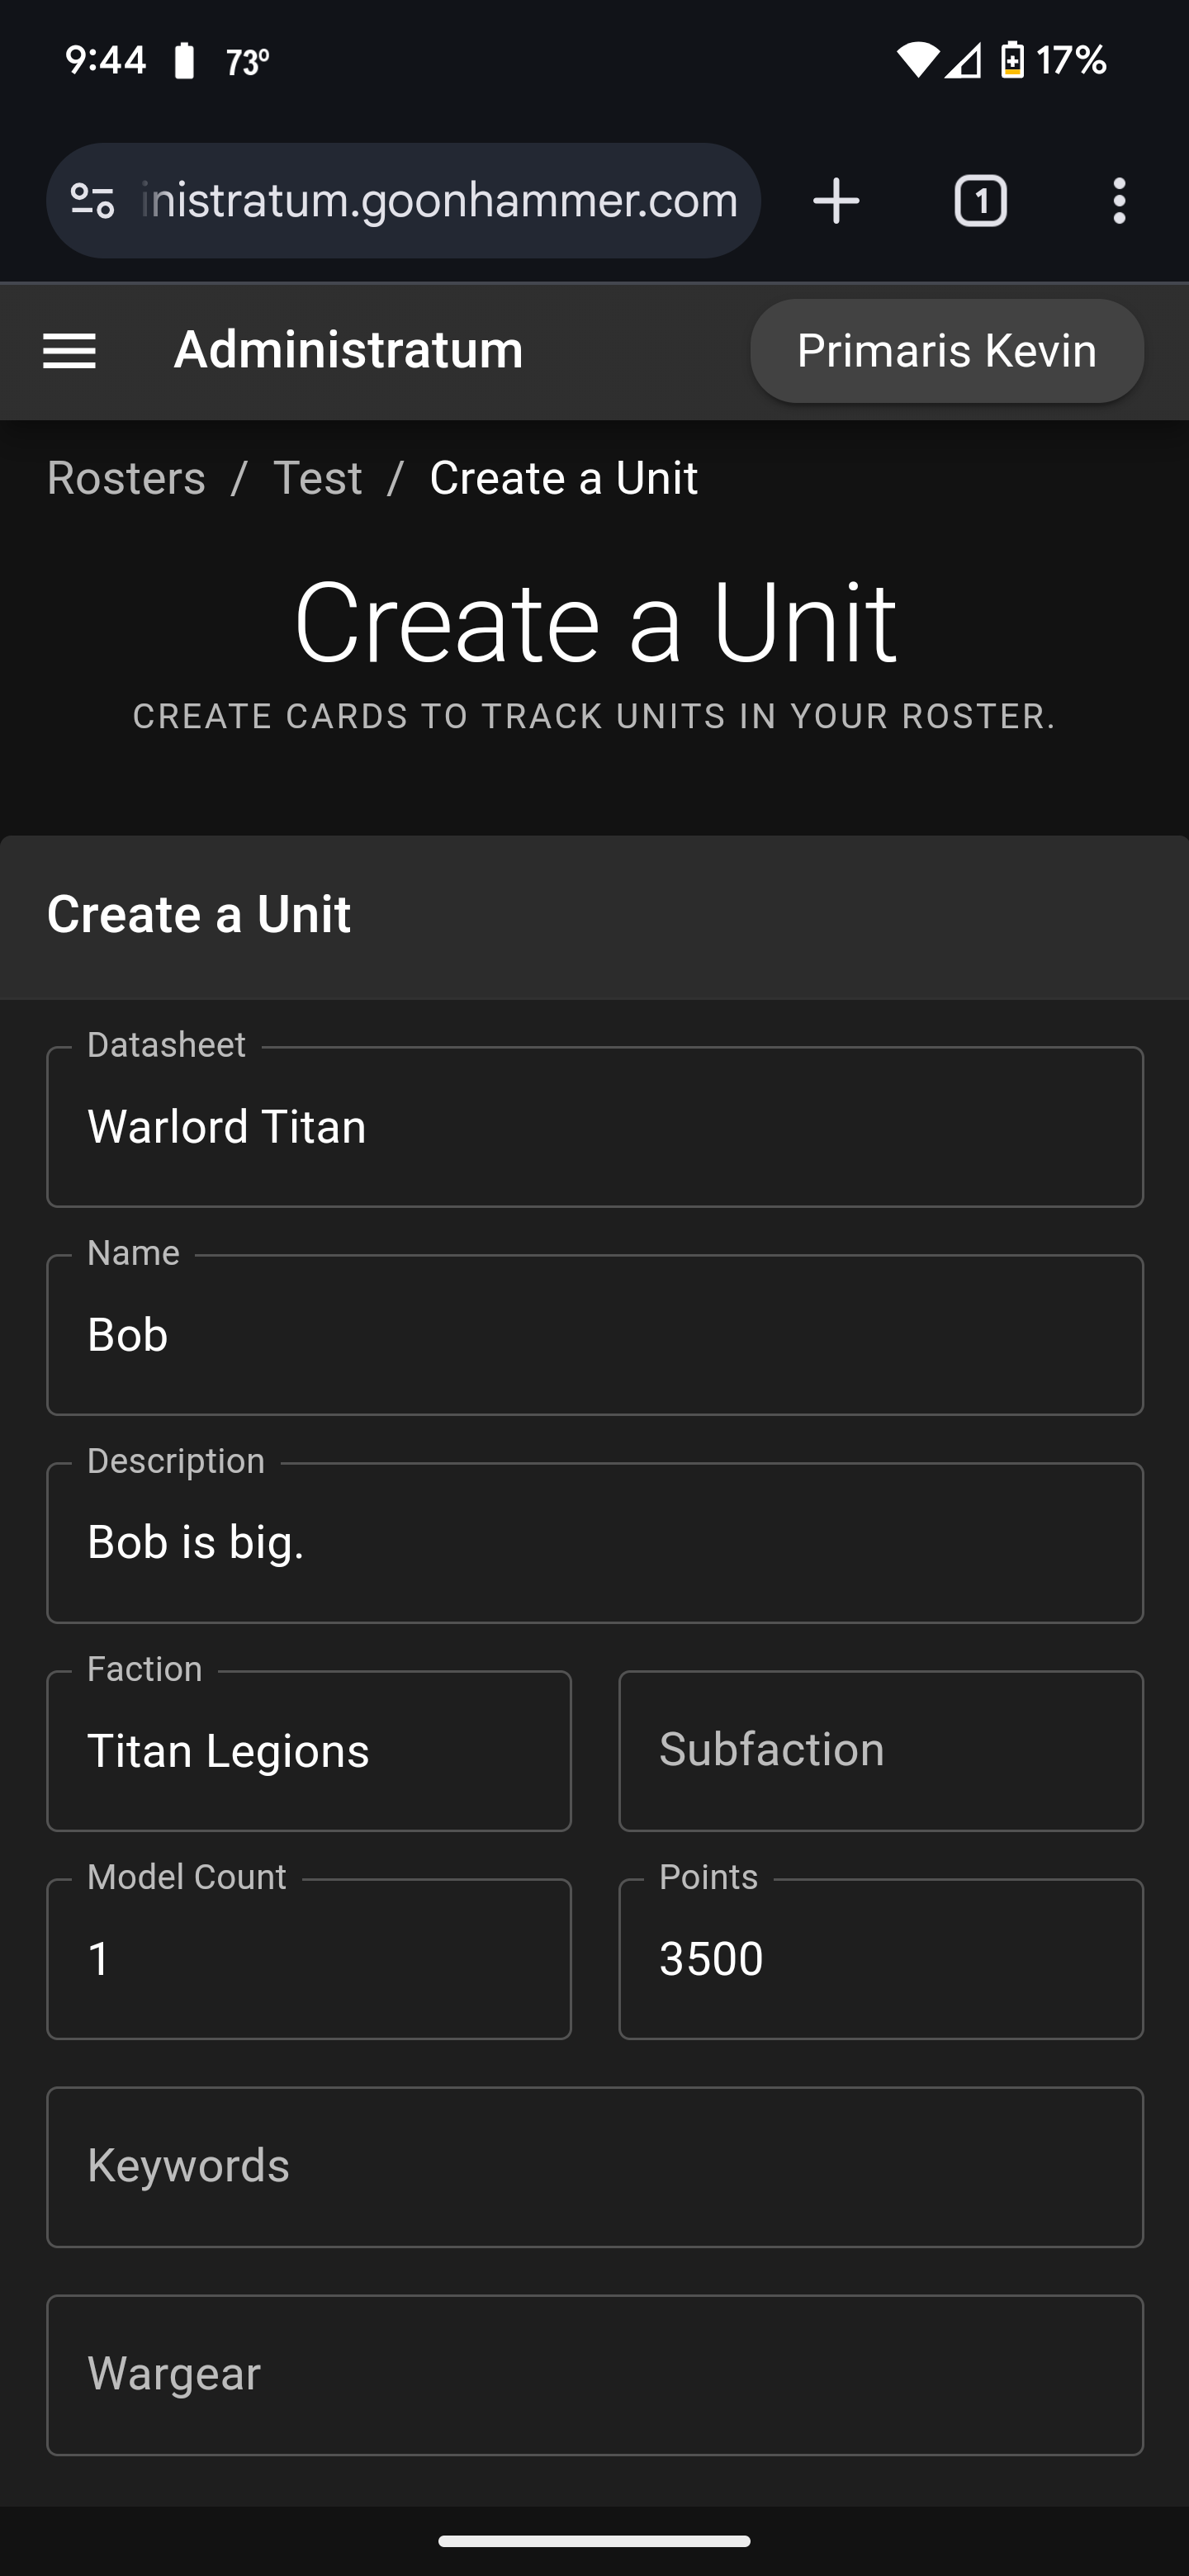
Create from Scratch
Click here to expand this section.
Editing Units
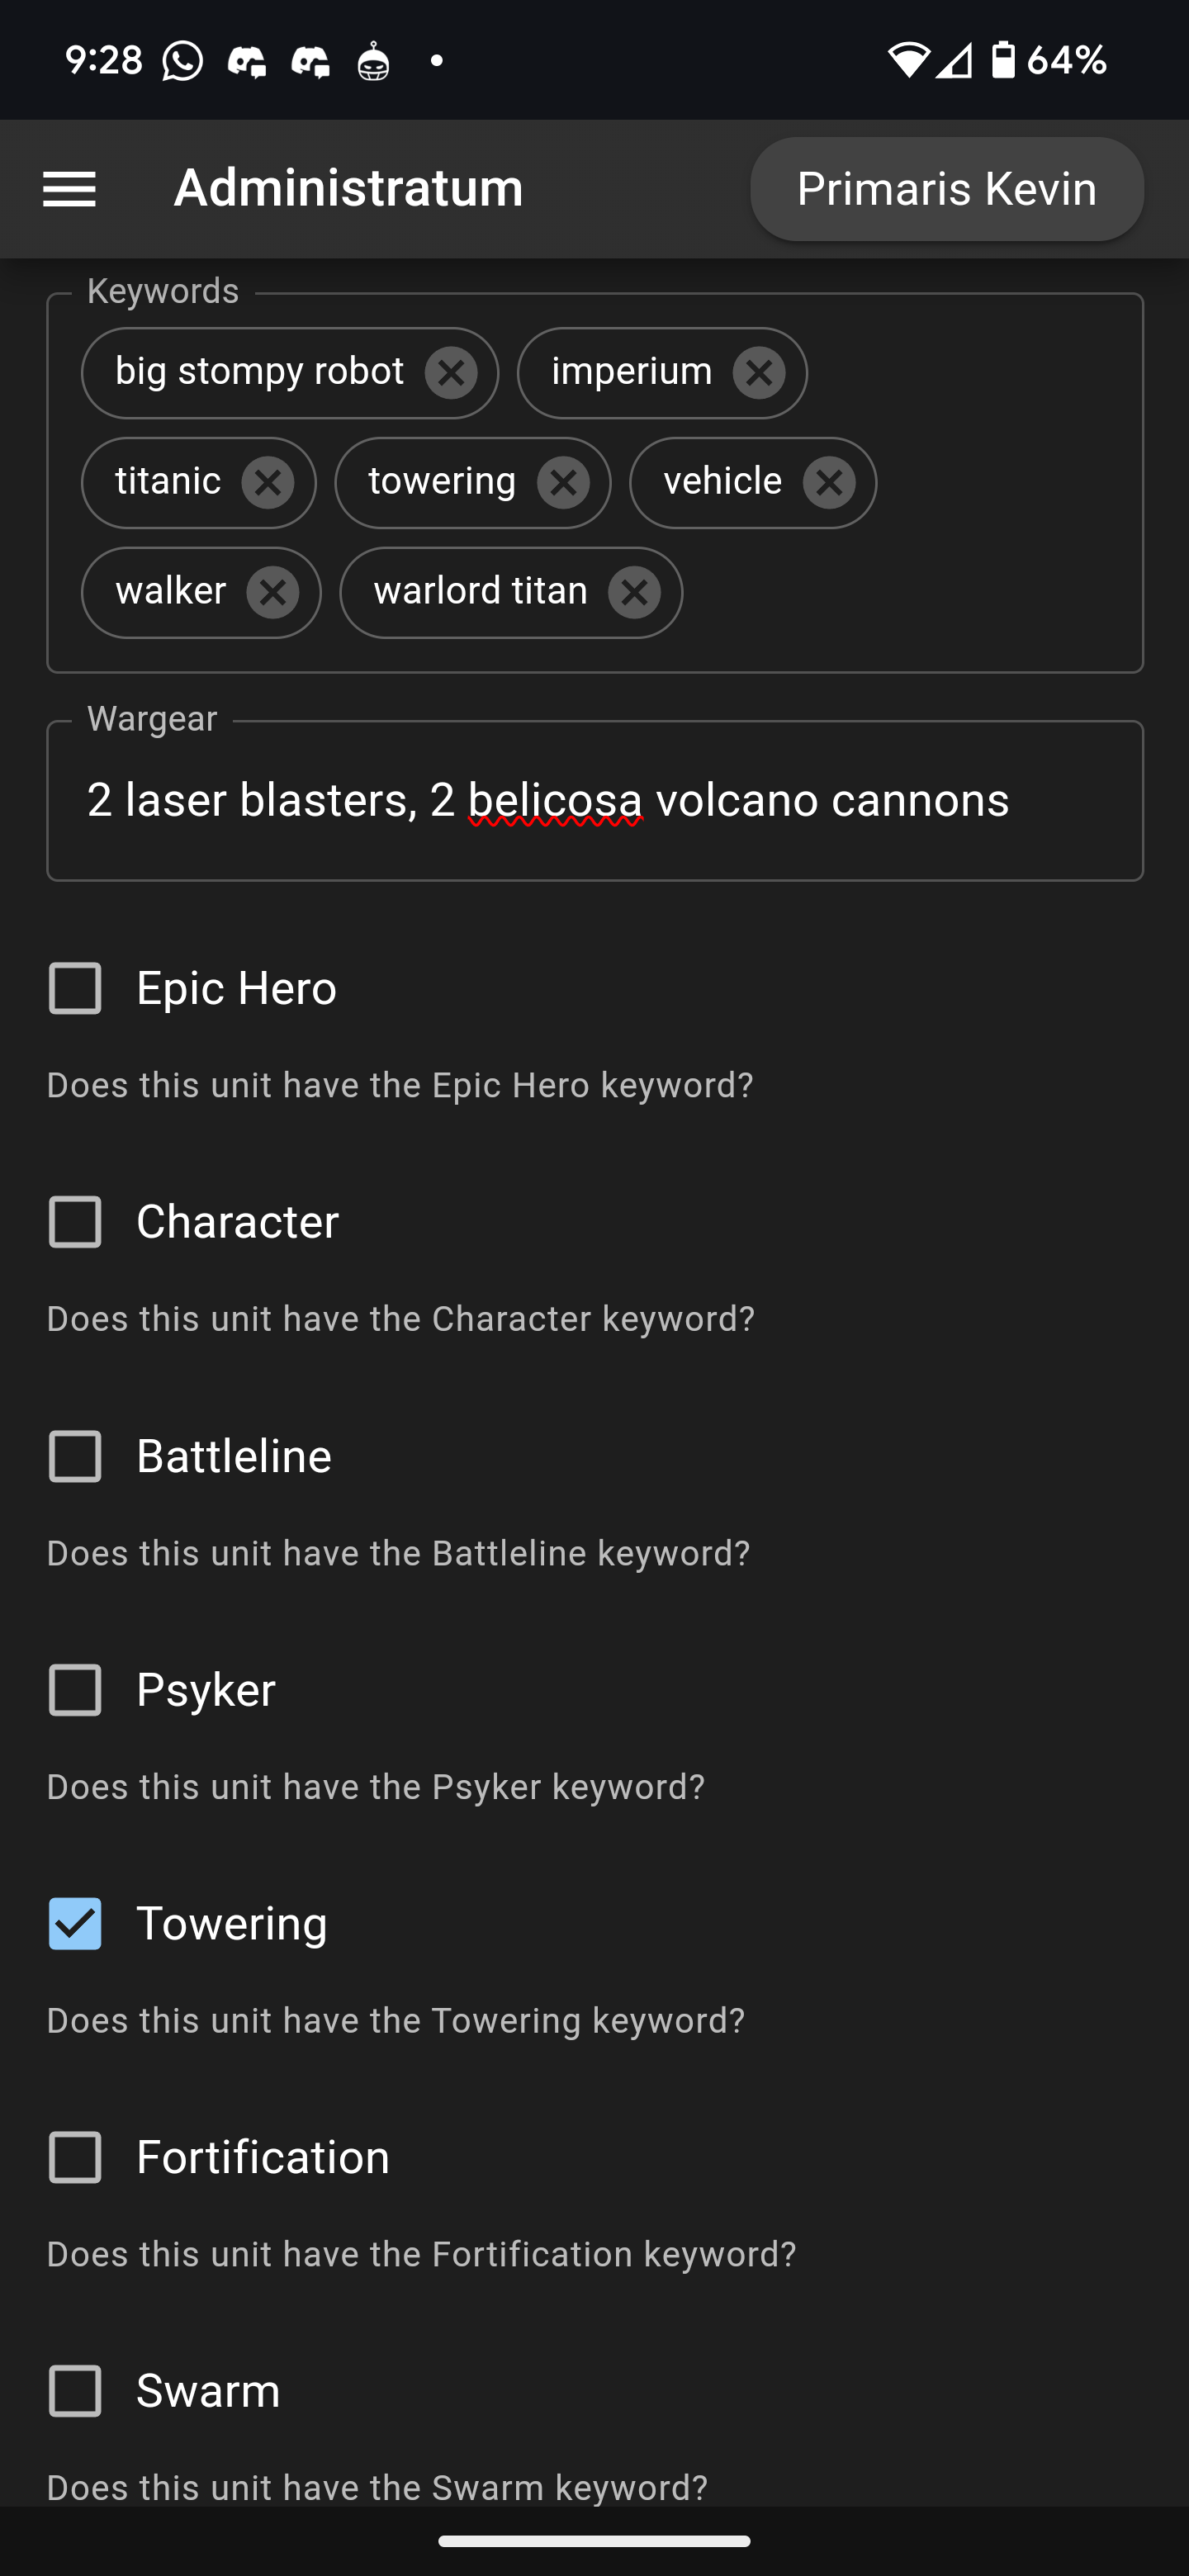
Once a unit has been created, you can access and edit it by going to the Units tab and then clicking or pressing on the row associated with the unit you want to edit. To edit the Wargear, click on the Wargear row. Edit the contents and then click Submit.

The other entries are editing by clicking on the Settings tab. There you have the option to edit Basic Settings to change the name and description, the Crusade Settings to edit everything else, or to delete the unit. The entries in the Crusade Settings option are similar to what you would see when you created a unit from scratch, along with an Advanced section for adjusting variables that are used by Administratum to automate and track unit progress. You shouldn’t need to edit these.
Deleting Units
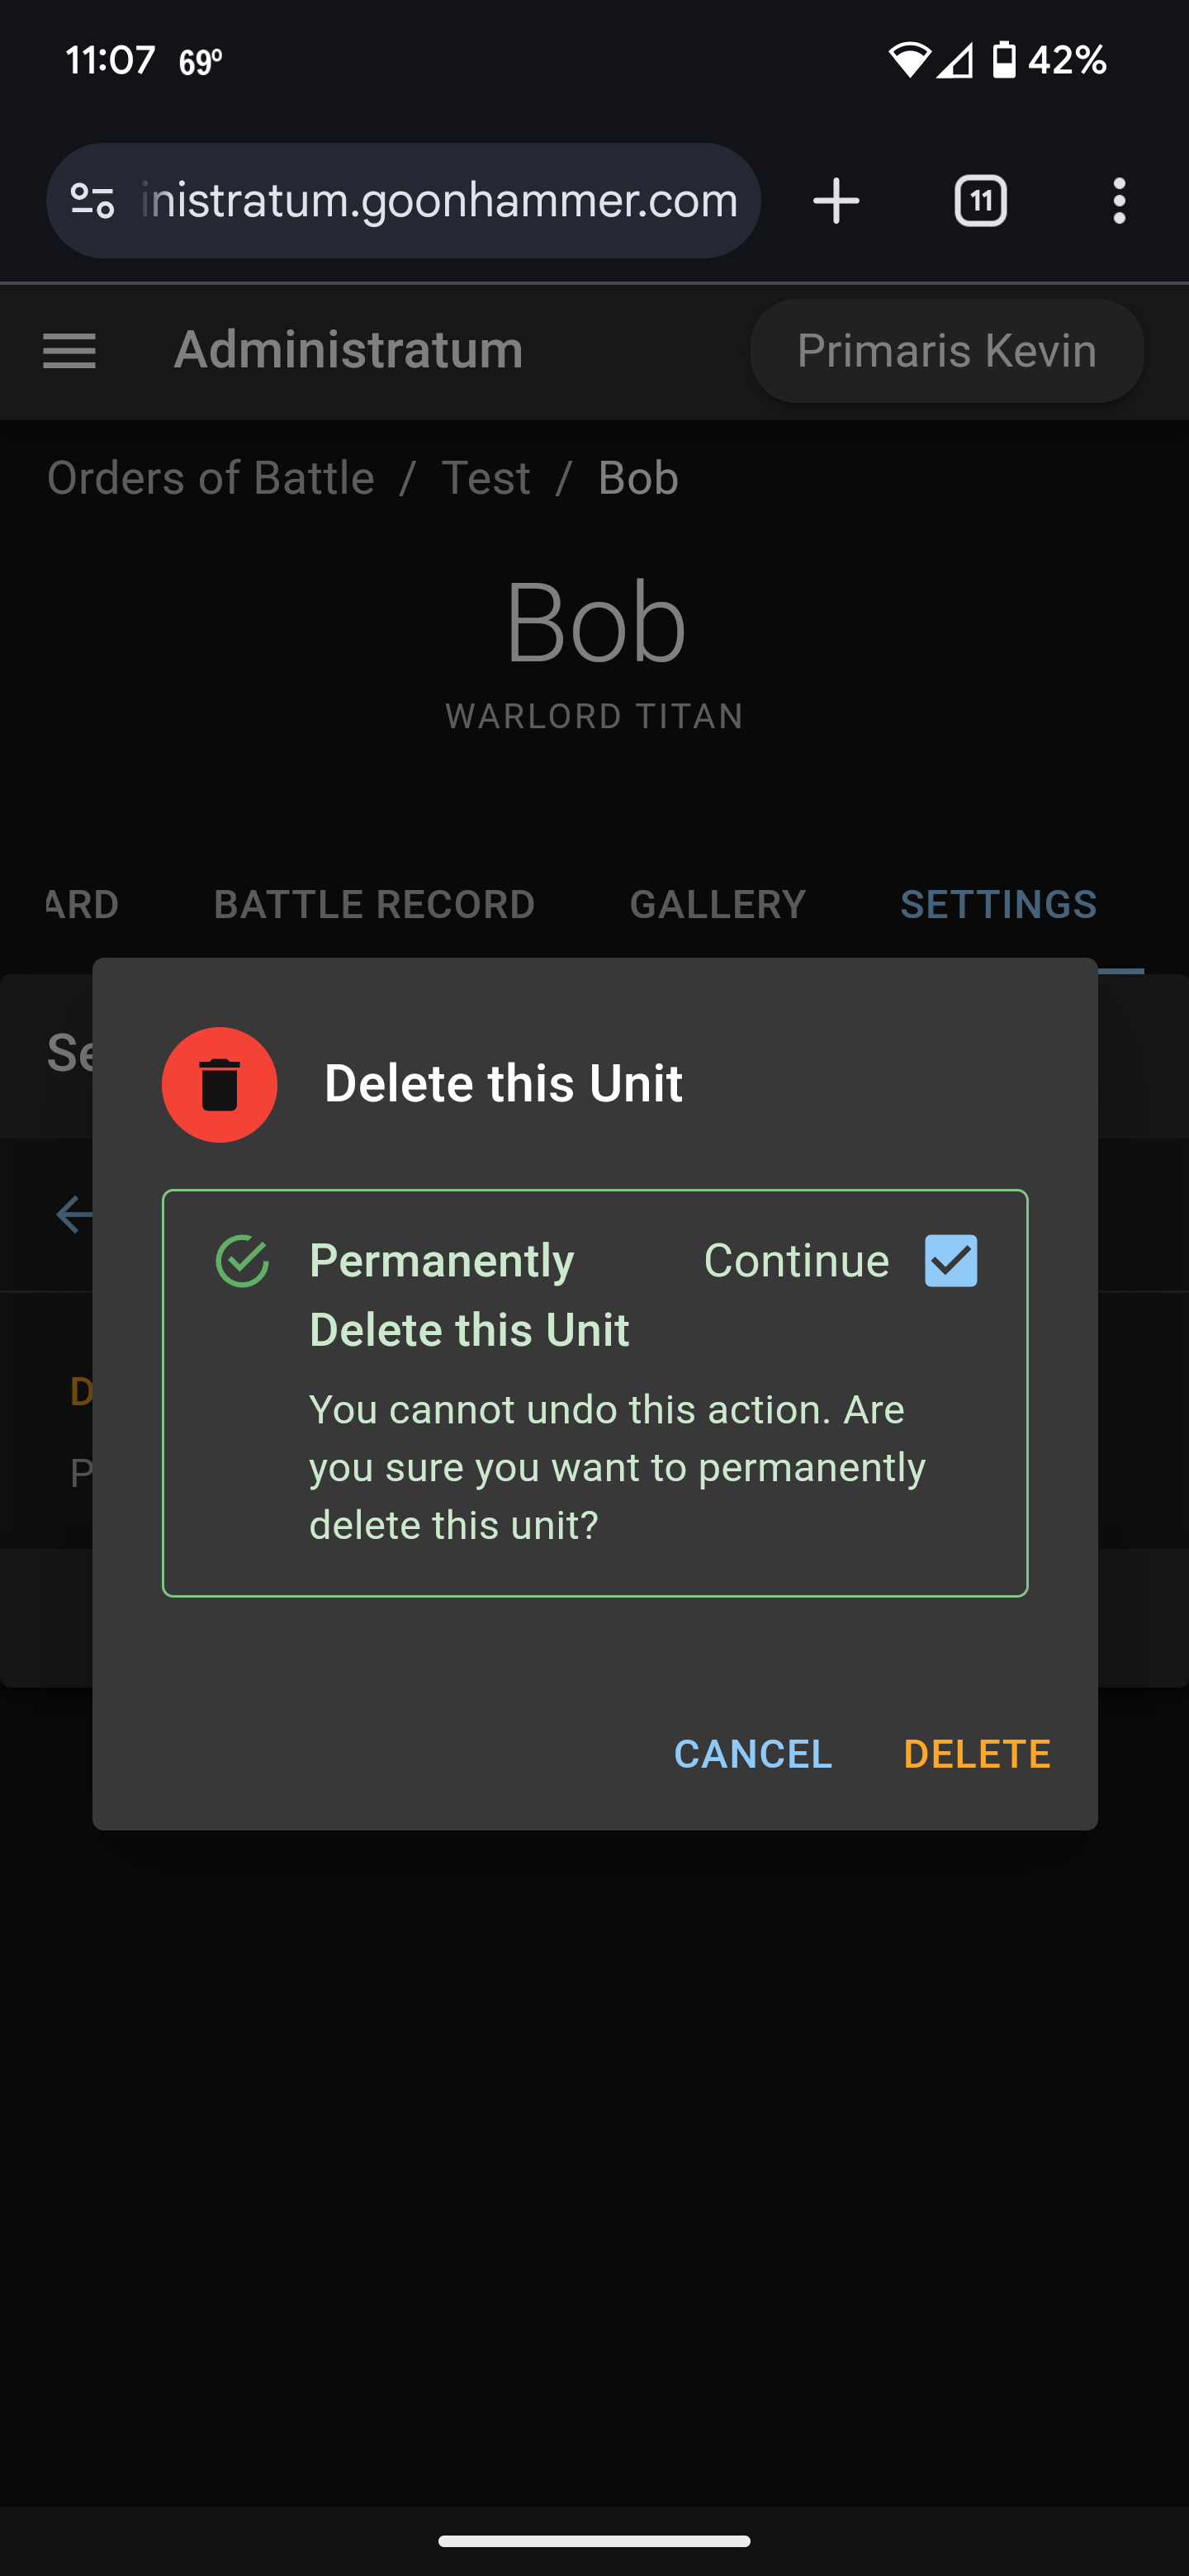
To delete a unit, select that unit’s entry from the roster and then scroll to the Settings tab on the far right.
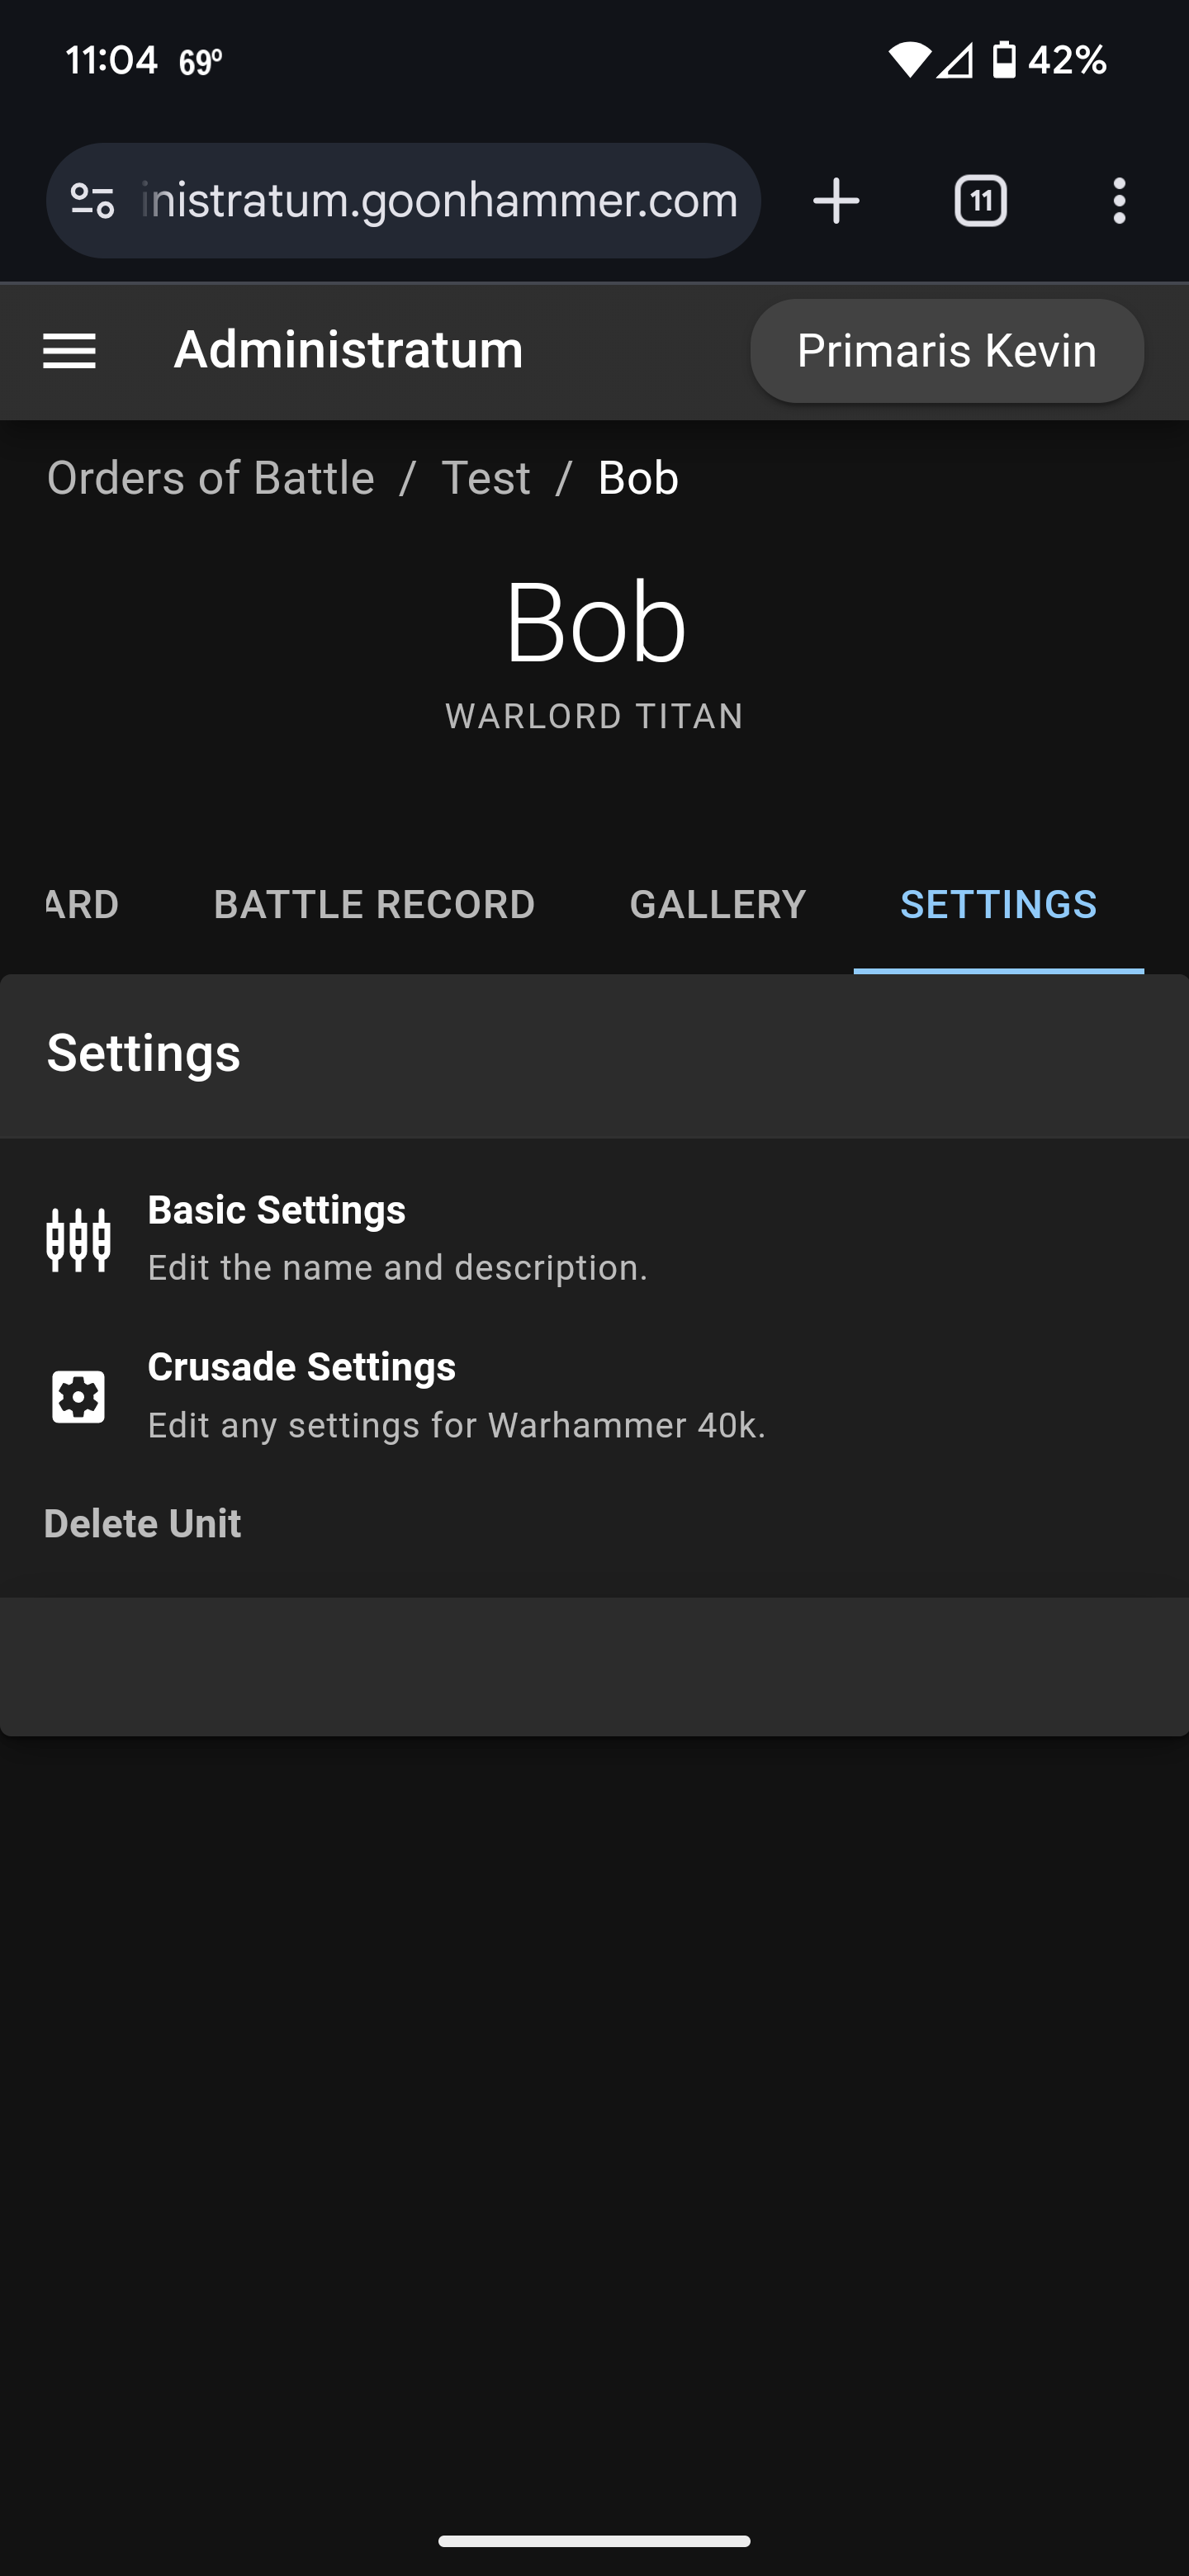 Beneath the entry for Crusade Settings is the Delete Unit option. Click on it, and then click on Delete This Unit, and then click on the Continue checkbox before finally selecting the Delete option.