So You Have Purchased A Gundam. What Now?
This is definitely being written assuming that this might be as early as your very first rodeo, or at least is one of the earlier entries in your rodeo training montage. We’ll get into some more detailed techniques later, probably when someone better at this comes around and dunks on me, but for now, let us assume that you are sitting there looking at your first Gundam. You’ve done the main activities: assembled all the parts, made it do karate kicks, perhaps named the robot and become its friend, and you are looking to improve on your work.
This is all entirely optional – Bandai isn’t exactly known for making kits that cry out for extra work – but if you find yourself looking at the box art and wondering why your robot looks more like a toy than the pictured death machine, read on. These aren’t the best, or only, ways of detailing your Gundam. They probably aren’t even the most common steps, just the ones I personally use.
Panel Lining Markers
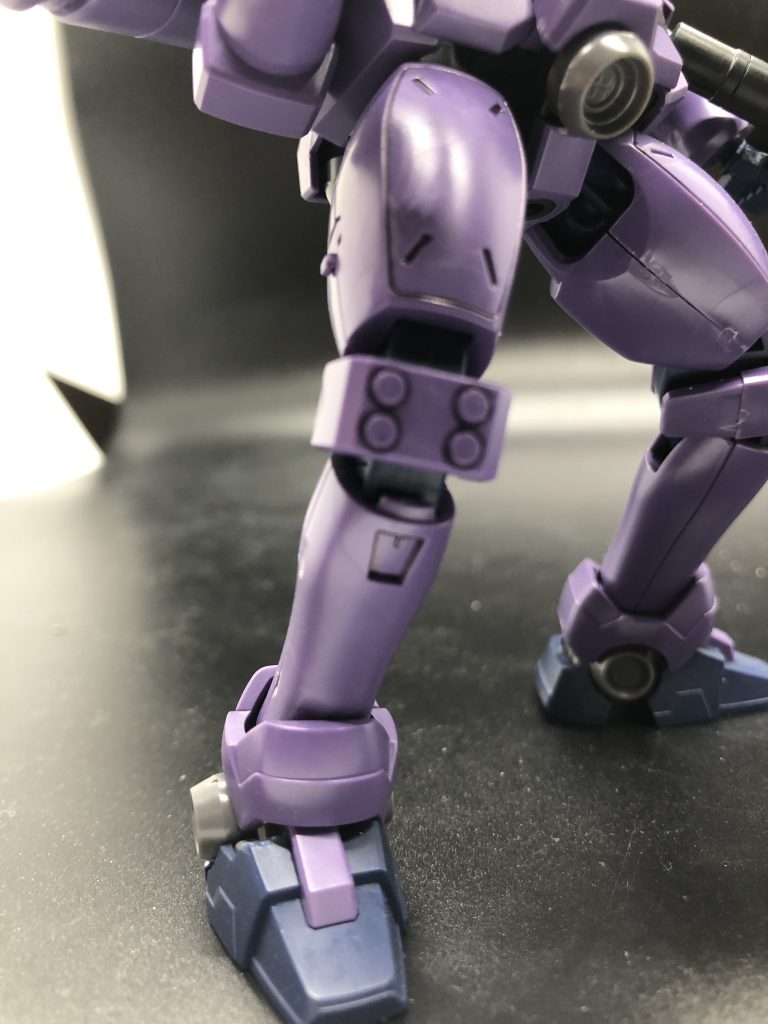
This is probably the first step, and one with which our Warhammer-heavy audience will be intimately familiar already. Shade your recesses. This is as easy as can be: you literally just draw directly on the damn thing. Stick the pen tip in the recess and wang it on around, then wipe it down with a paper towel or your hand if you went too hard. It’s insanely easy, and will improve the look of just about any kit. The return on time invested is outrageous.
I’ve been using the normal pen-style Gundam Markers, but I’ve also used Micron .2mm pens. The markers come in wide sets of colors, but here I use kind of the same system that I do for washes on warhammer miniatures, and pretty much only use black and brown. I had a gray one until I bent the tip on it, but now I use brown for yellow or red parts, and black on anything else. With the gray one functional, it was brown on yellow and red, black on white or light gray, and black on, again, everything else. I think if you’re just starting out, you can just get a black pen and be totally fine. It’s better than nothing.
I should note here that other, possibly better, options exist. Tamiya makes a panel liner that uses capillary action to flow down the recesses, and there are markers filled with the same stuff. Those can be easier, but they’re enamel-based, so cleaning up if you make a mistake (the marker can hop out of the recess if the panel lines are soft, which they tend to be on older kits), you’re using mineral spirits or rubbing alcohol. The other fun thing about the Tamiya stuff is that if you use it on bare kits (we’ll talk about top coats in a minute), it can eat through certain types of plastic. Hell yeah, but also: hell no.
Anything Matte Is Fine
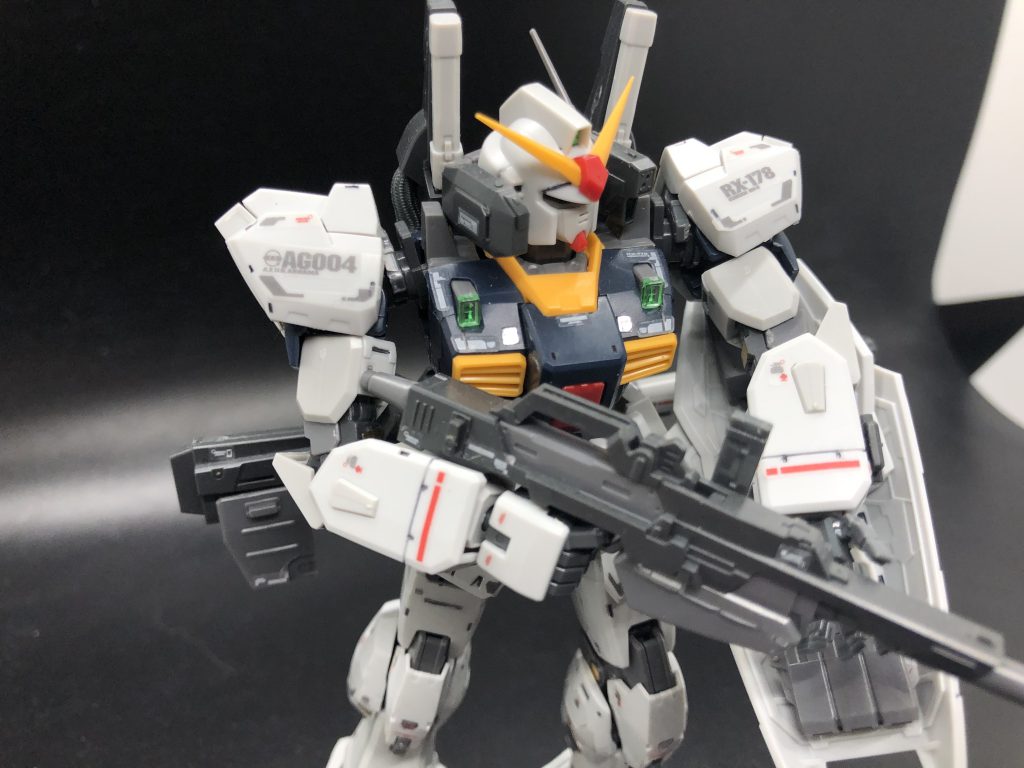
The other massive improvement that isn’t a lot of work is just matte varnishing the thing. Use whatever you want, either rattlecan or airbrush – Mr Hobby or Tamiya make great products, and I suspect Testor’s or Games Workshop are fine too, but I brush-on Vallejo, and have gotten fine results from the giant bottle of some random junk that appeared in my hobby space one day, that I honestly don’t know where I got it. I prefer the brush version because I don’t want to worry about masking off the joints or gunking them up with varnish, but if you want the smoothest possible finish that’s just the work you gotta be willing to do.
This is the easiest way to make the Gundam look like less of a toy, bar none. Bandai uses fairly high quality plastics, but they’re still obviously plastic, and a nice layer of matte varnish goes a long way. The only time I’d recommend not doing this – as opposed to not recommending it, which I’ll do in the case of “I don’t care at all” – is for any of the clear or metallic plated kits, or just one of the ones (the Sinanju comes to mind) that use a particularly glossy plastic on purpose, to look like a hot rod hauling ass across space. Most of the time, though, unless you have something specific planned, the matte coat is best.
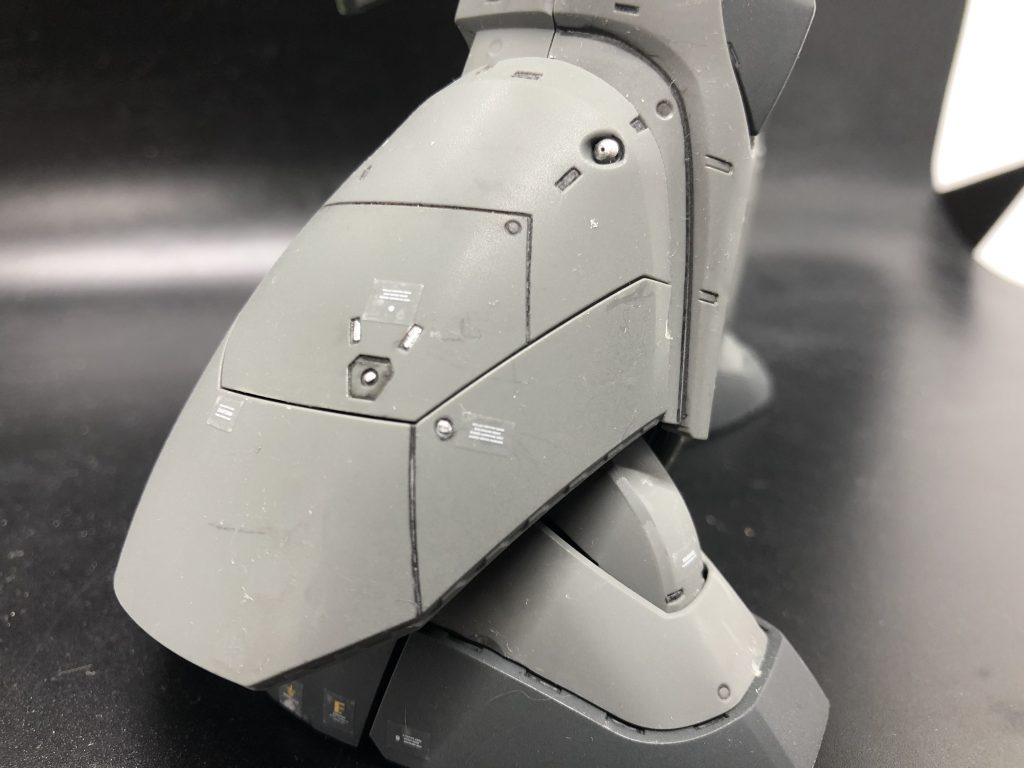
The other fun thing about a topcoat is that you can just paint right over the top of it. Raf mentioned this in a post about board games ages ago, but the varnish works as a sort of clear primer. If you’re planning to just paint a few details, and don’t want to be bothered color-matching parts across the entire model, this is a nice quick shortcut.
Stickers, Dry Transfers, and Waterslides
Which parts of this are useful to you will depend on what’s in the box, or if you bought aftermarket waterslides like some kind of sicko. Usually RGs and HGs will have stickers, MGs can come with dry transfers but will almost always also have stickers – though for Ver.Ka or P-Bandai kits you can expect waterslides.
Stickers are easy enough: peel off sheet, apply to robot. I usually pick them up on the end of a hobby knife to get some control, and then just try to get them in the right spot and smush them down into place. Do note on the instructions that sometimes – I’m thinking here of the metallic stickers on RG inner frames – these are applied mid-build, rather than at the end. They kind of suck compared to the other styles, but they are extremely easy.
For dry transfers, cut them out, then stick a little piece of tape to the corner, and run the blunt end of a paint brush or hobby knife around on it. Peel it back a bit, and if it’s not all on the model, rub it some more. These are more durable than waterslides, but not by much, so you’ll still very much want to varnish them.
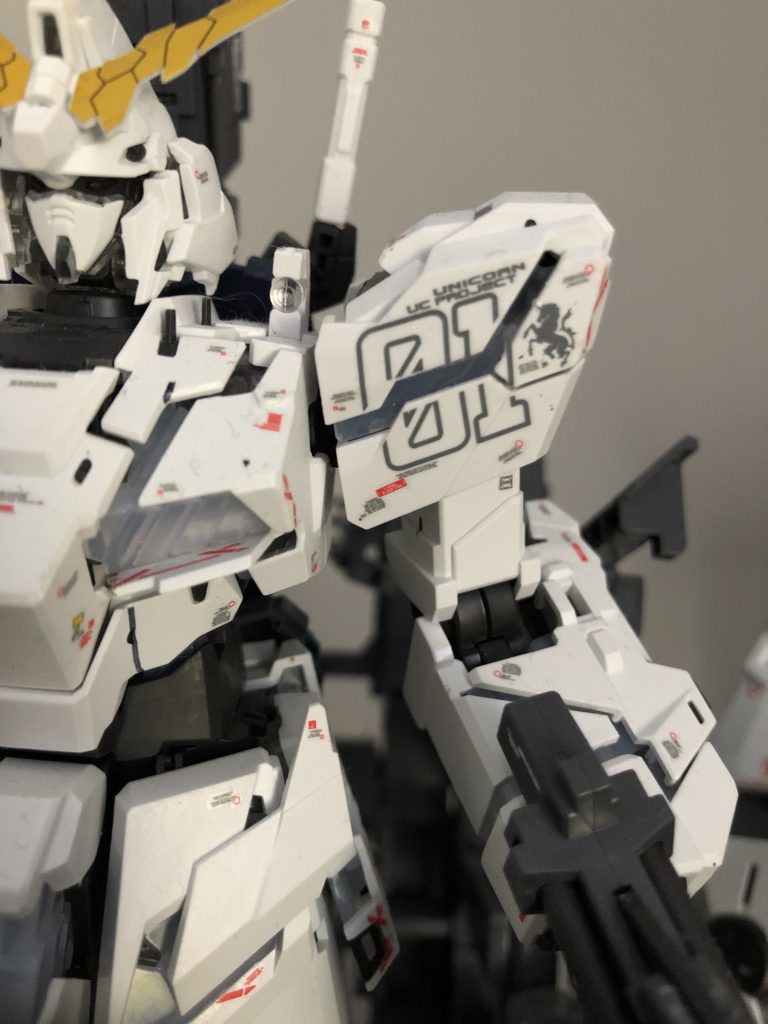
Waterslides, people will tell you to absolutely need to get micro-sol and micro-set, but: you don’t. They’re good products, and nice to have, for sure, but they aren’t necessary. The important thing is to use a good sharp blade (or scissors) to cut them out, then gloss varnish for protection and matte varnish for the final look. We already talked about this for Warhammer models, and all of that advice still applies.
In any case, I keep a pen handy to cross out the numbers on the instructions as I go. It helps to keep track of what I’ve already applied. Don’t worry if you have extras, that’s actually pretty normal, for Bandai to just fill up remaining space on the sheet with some bonus stickers. This is also useful when one of them inevitably tears or goes flying and gets lost forever. Neat!
Order of Operations
This is going to depend a little bit on your materials, but I’ll start by laying out the process I use on 90% of the kits I build, including where and when is a good time to give up and call it done. Since the instructions are usually based on assembling one subsection at a time – left leg, right leg, torso, backpack, etc – I like to complete one piece all the way, before moving on to the next one. So my usual workflow is something like this:
- Assemble the leg (assume it’s a leg here).
- Mess with it for a while, move it around, because it’s just so cool. Also because seeing how the parts move around may give you an idea of how to reach some of the more difficult spots.
- Panel line the armor with a pen-style marker. You want to do this first, because the stickers might cover some of the lines and make it a pain to do later, and because varnish will clog up the pen (this is how I killed my gray marker). Note that I did say armor here: I usually don’t bother doing anything on the mechanical frame parts – they aren’t usually visible, and/or are in such a dark gray that painting more black on it won’t show up. Not worth the effort.
- Apply any stickers or decals that came in the box. For a High Grade, there might not be any. Real Grades or a Ver.Ka, you are going to spend more time stickering than you are building. This is also where you’d gloss varnish any waterslides. Don’t wait on that, they are extremely fragile until varnished.
- Apply your mate varnish of choice, taking care to articulate the limb and make sure you get in all the bits that are only visible with the joints in certain positions.
- Move on to the next limb and start again.
Now the exceptions: If you’re using waterslide decals, you’ll absolutely need to matte the whole thing at the end. Alternatively, if you’re using a flow-style panel liner, gloss varnish the kit before you do that (this would put it between steps 2 and 3) to make it flow better, and then matte varnish it at the end.
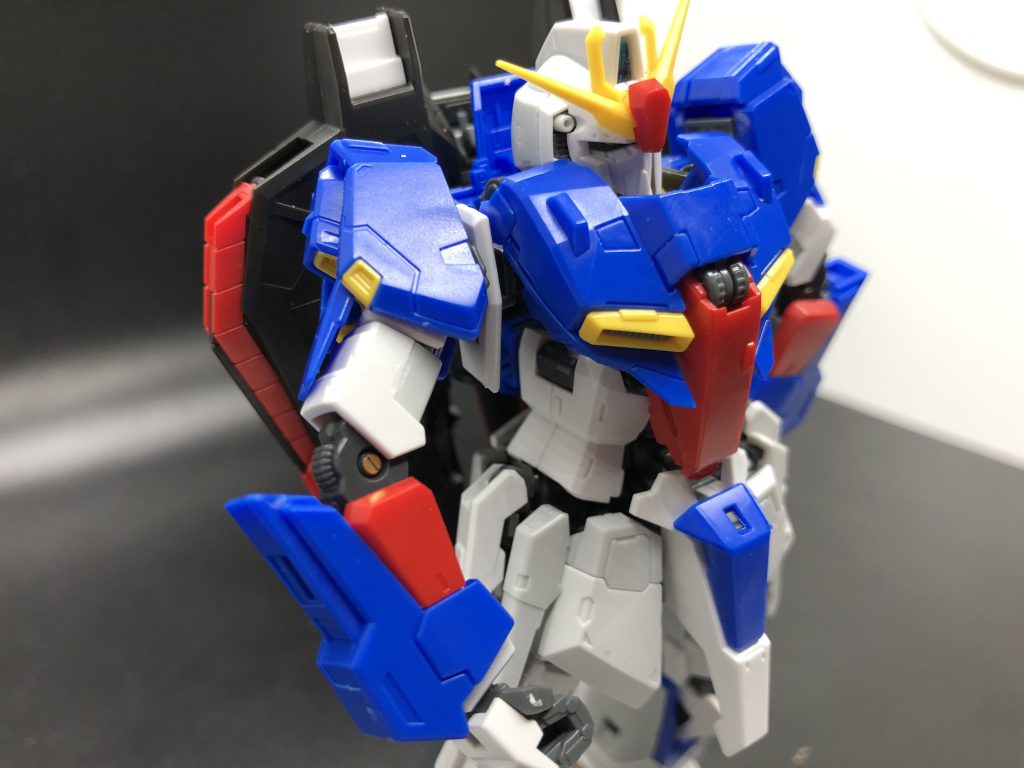
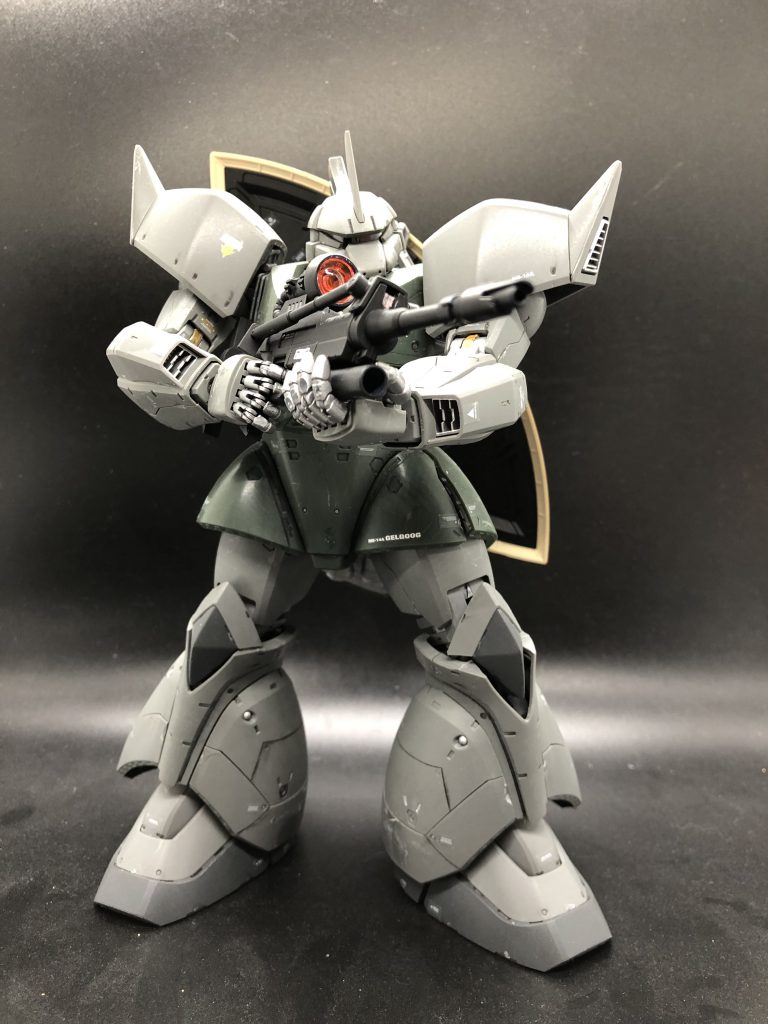
That’s it. There are more advanced techniques, such as “painting”, with which you may in fact already be familiar. For the entry-level Gundam hobbyist though, this should give you a firm grasp of the basics. Go out and build yourself a robot, why don’t you.
