
In this series of articles we take a deep dive into a specific detachment for a faction, covering the faction’s rules and upgrades and talking about how to build around that faction for competitive play. In this article, we’re covering the Dread Mob Detachment from Codex: Orks.
The Tenth Edition release of Codex: Orks gave the faction six Detachments to work with and while most of them focus on the more classic versions of Orks, from Boyz to Meganobz to Vehicles, the Dread Mob Detachment focuses all of its rules on Ork Walkers, Grot Vehicles, and the Meks who service them. Once again we’d like to thank “Warboss” Ben Jurek for providing some input on this article.
![]()
![]()
Detachment Overview
Do you love big, stompy robots? Do you love rolling the dice on unpredictable effects? Do you love mashing big, red buttons that cause all kinds of mayhem? Are you a big fan of Ork conversions but generally uninterested in playing the most competitive lists? Well then the Dread Mob might be the Detachment for you, chock full of rules to buff the stompiest vehicles in the 41st millennium. That said, if you want to play the Detachment more competitively, you’ll find there are some very nasty and very viable options that don’t really involve taking a bunch of Dreads…
Detachment Rule: Try Dat Button!
Each time a MEK, ORKS WALKER, or GROTS VEHICLE unit from your army is picked to shoot or fight, roll a D6. Until the end of the phase, weapons equipped by models in that unit have one of the corresponding abilities:
- 1-2: [SUSTAINED HITS 1]
- 3-4: [LETHAL HITS]
- 5-6: Each time an attack is made with this weapon, on a Critical Wound, improve the AP characteristic of the attack by 2.
Alternatively, you can pick one of the abilities above instead of rolling and if you do weapons equipped by models in that unit gains the [HAZARDOUS] ability as well. If a model has a weapon that has multiple instances of [HAZARDOUS], then they trigger on a roll of a 1 or a 2.
This is really solid. They’re all decent effects to get and the ability to combine them with multiple Stratagems for added effect. That’s where that double-Hazardous rule comes into play, since three of your Stratagems give the unit they buff the [HAZARDOUS] ability on its weapons. The good news is that on larger units like the Gorkanaut this matters a lot less, as stacking a bunch of effects will still only mean one 3+ roll to avoid 3 mortal wounds.
That said, note that this works on more than just Walker units – the most important thing here is that it works on MEK units. That means you can apply the big red button to any unit a MEK joins, and competitive lists make hay out of combining Meks with Lootas to create units that can both put out very nasty amounts of shooting with full re-rolls to hit. We’ll come back to that one. It’s also a powerful boost on Mek Gunz but you have to be a bit more careful about stacking HAZARDOUS effects with those, as it’s a lot easier to biff your roll after a volley and lose a gun or two.
Detachment Rule: GRETCHIN gain the BATTLELINE keyword
This is a seemingly small change but it’s a bigger deal in the Pariah Nexus missions, where BATTLELINE units stand to gain a bunch of benefits from mission rules that give bonuses to those units. Gretchin are great cheap objective holders and the ability to get extra CP from them helps make sure you have the tools you need for blasting enemy targets off the table.
Enhancements
This Detachment has some interesting Enhancements. All four of them go on MEK models, which makes sense as you don’t have any walker characters but it does mean that they aren’t really doing much for a walker-heavy strategy. That said, Meks are the backbone of the competitive army so that’s all fine anyways.
- Smoky Gubbinz (15 points) – MEK only. Models in the bearer’s unit have the STEALTH ability. This is a fantastic upgrade to a unit’s durability and is going to do its best work on a Big Mek paired with a unit of Mek Gunz, who can really use the extra boost.
- Supa-Glowy Fing (20 points) – MEK only. In your Command phase pick an enemy unit within 18” and visible to the bearer, then roll a D6; on a 1-2 that enemy unit has to take a Battle-shock test. On a 3-4 they take D3 mortal wounds, and on a 5-6 they get -1 to hit until the start of your next Command phase. This is just kind of OK but not predictable enough to be worth the cost, especially since most of the time mortal wounds are the most desirable outcome.
- Press It Fasta! (35 points) – MEK only. Each time your unit is picked to shoot, when you roll for the Try Dat Button! Ability, roll an extra D6 and you get both effects (duplicates do nothing for you). At 35 points this is a lot – it asks you to roll to begin with, which isn’t something you generally want to do, and then one third of the time it does nothing as you roll a double. You can skip this one.
- Gitfinder Gogglez (10 points) – MEK only. Ranged weapons in the bearer’s unit have the [IGNORES COVER] ability. This is really solid on your Big Mek with Shokk Attack gun but even more important for the unit of Lootas he’s attached to – their AP-1 Deffguns really need the boost from ignoring cover to help push damage through.
The standouts here are the Smoky Gubbinz and the Gitfinder Goggles, which at a total of 25 points are must-take options for your Big Meks. They’re both solid, reliable boosts while the other two are literally asking you to roll the dice on their effects.
Stratagems
Two of the Dread Mob Stratagems are only usable on WALKERS, and generally tend to benefit those and Grot units, with only one Stratagem which can be used on a MEK unit and one which only works on GRETCHIN. They’re a bit of a mixed bag but they have their uses and they all cost just 1 CP.
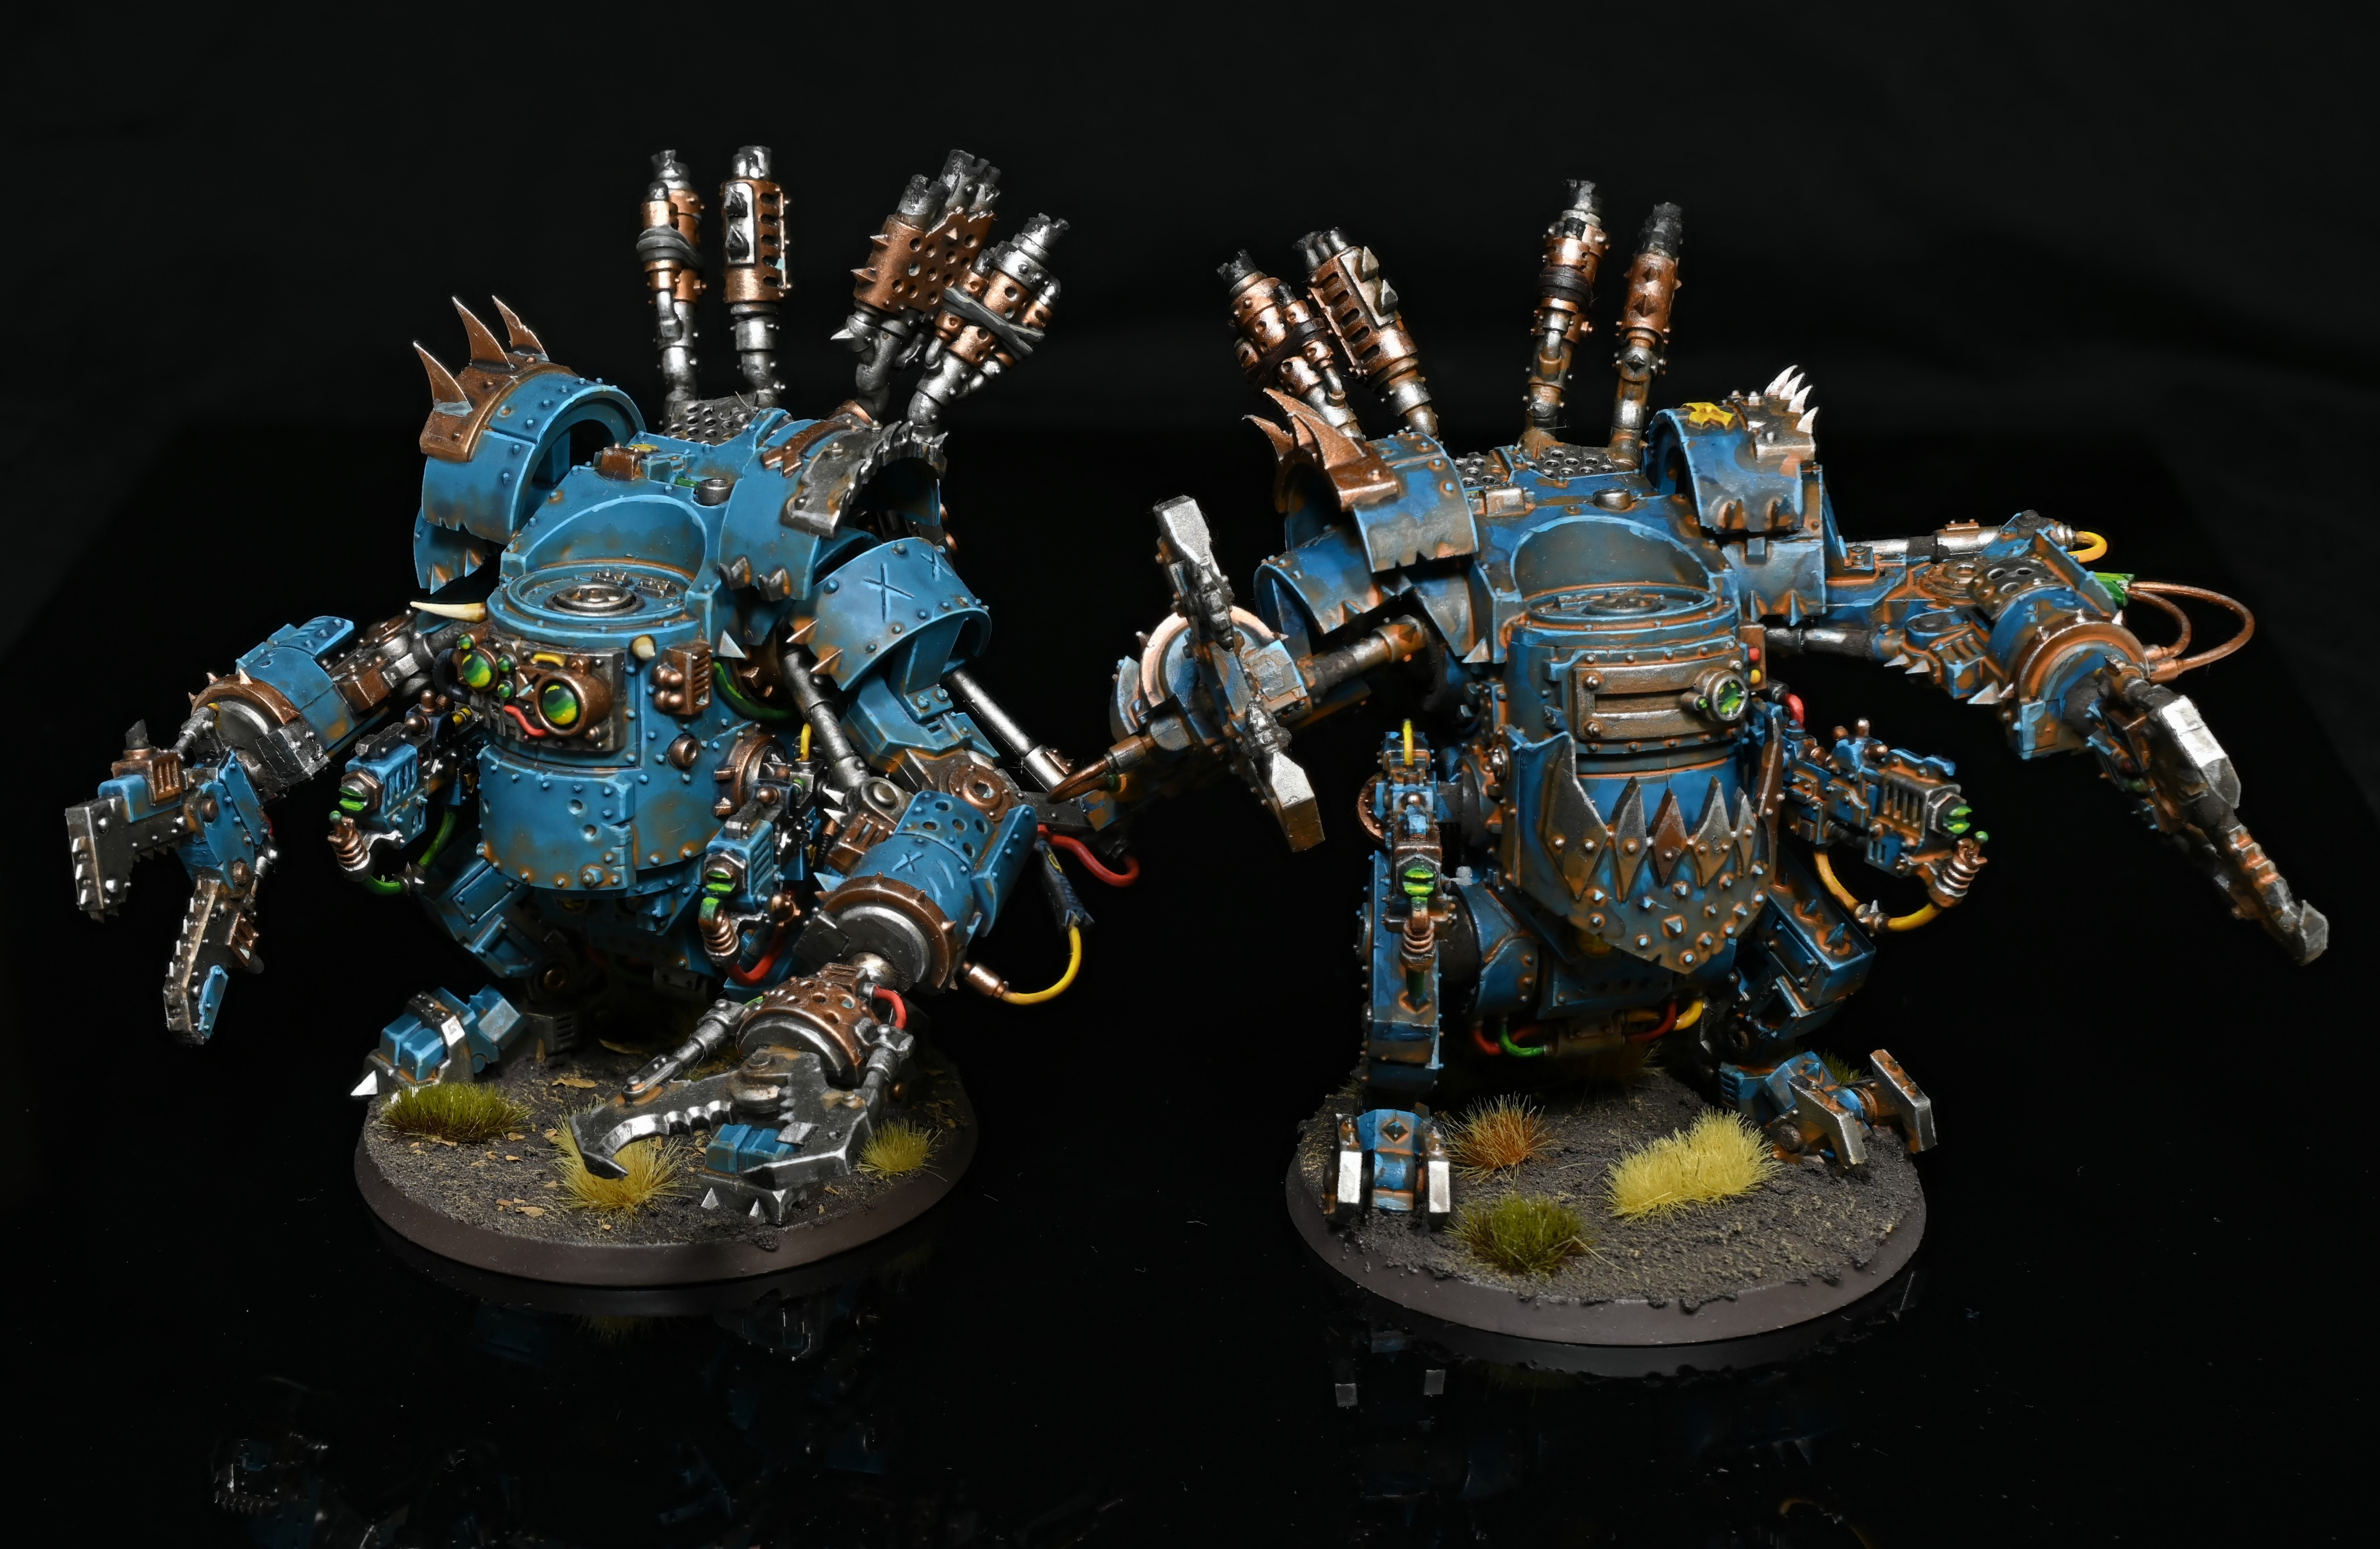
- Klankin’ Klaws (Battle Tactic, 1 CP) – Used in the Fight phase on an ORKS WALKER unit and when you use the Stratagem you can opt to Push it. Until the end of the phase add 2 to the Strength of that unit’s melee weapons and if you pushed it they get +1 Damage and have [HAZARDOUS] as well. The best place to use this is on the Gorkanaut, whose 15 sweep attacks make this a hilarious nightmare when they suddenly hit at S10 and 3 damage each (and hitting on 2+ with SUSTAINED HITS 1 when you hit the button for added effect). It’s also neat on Killa Kans, if you’re taking them.
- Superfuelled Boiler (Strategic Ploy, 1 CP) – Used in your Movement phase when you Advance with an ORKS WALKER unit. Until the end of the turn you can re-roll the Advance rolls made for your unit and ranged weapons in that unit gain the ASSAULT ability. This does the most work going into your Waaagh! turn though most of the time it’s indistinguishable from just using a Command Re-roll on your unit to re-roll the Advance roll. That said, none of the weapons on the Gorkanaut or Morkanaut have ASSAULT, so you can get some good extra value out of using this to re-roll the Advance roll for it if you need to get extra movement.
- Bigger Shells for Bigger Gitz (Battle Tactic, 1 CP) – Used in your Shooting phase on a MEK, WALKER, or GROTS VEHICLE unit from your army. Until the end of the phase you get +1 to Wound if you target a MONSTER or VEHICLE. You can choose to Push It franwhen you use this Stratagem and if you do you get +1 to your Damage characteristic and your attacks gain the HAZARDOUS ability. Another solid upgrade, and it’s worth noting that the damage buff isn’t contingent on shooting at a VEHICLE or MONSTER target so if you just need the damage buff against a heavier unit with your Lootas’ Deffguns, this is a solid option.
- Dakka! Dakka! Dakka! (Battle Tactic, 1 CP) – Used in your Shooting phase on a WALKER or GROTS VEHICLE to let them re-roll hit rolls of 1. When you use this Stratagem you can choose to Push it. If you do, then you can re-roll all hit rolls instead and until the end of the phase that unit’s weapons gain the HAZARDOUS ability. Getting full re-rolls to hit is great, especially when you combine it with Sustained Hits 1. You want this on a Mek Gunz unit ideally, where the plan is to push it for the full re-rolls. Unlike with Bigger Shells, this one is written in a way that suggests you do need to target a VEHICLE or MONSTER to get the Push it effect, and you have to use this Stratagem before you roll for the Mek Gunz’ profile, which
- Conniving Runts (Strategic Ploy, 1 CP) – Used in your opponent’s Movement phase, just after they end a Normal, Advance, or Fall Back move within 9” of one of your GRETCHIN units. Roll a D6; on a 4+ that enemy unit takes D3+1 mortal wounds. Your unit can then make a Normal move. The mortal wounds are a nice bonus, but the ability to reactive move a big unit of Gretchin – specifically with Zogrod Wortsnagga leading them for extra durability and speed – can be incredibly nasty, letting you set up some tar pit screens in teh worst spots for opponents to deal with.
- Extra Gubbinz (Battle Tactic, 1 CP) – Used in your opponent’s shooting phase, just after they pick targets. Pick a WALKER or GROTS VEHICLE from your army that isn’t TITANIC which was targeted by that unit, and until the end of the phase, subtract 1 from the damage characteristic of attacks allocated to your unit. Another solid way to protect your Mek Guns or, if you’re taking Dreads/Killa Kanz, you can use it on them to I guess.
Generally speaking, these stratagems are mostly going to be used to buff Mek Gunz, with the occasional use on a Gorkanaut or a unit of Lootas attached to a Big Mek. Let’s dig into those concepts in the next section.
Playing This Detachment
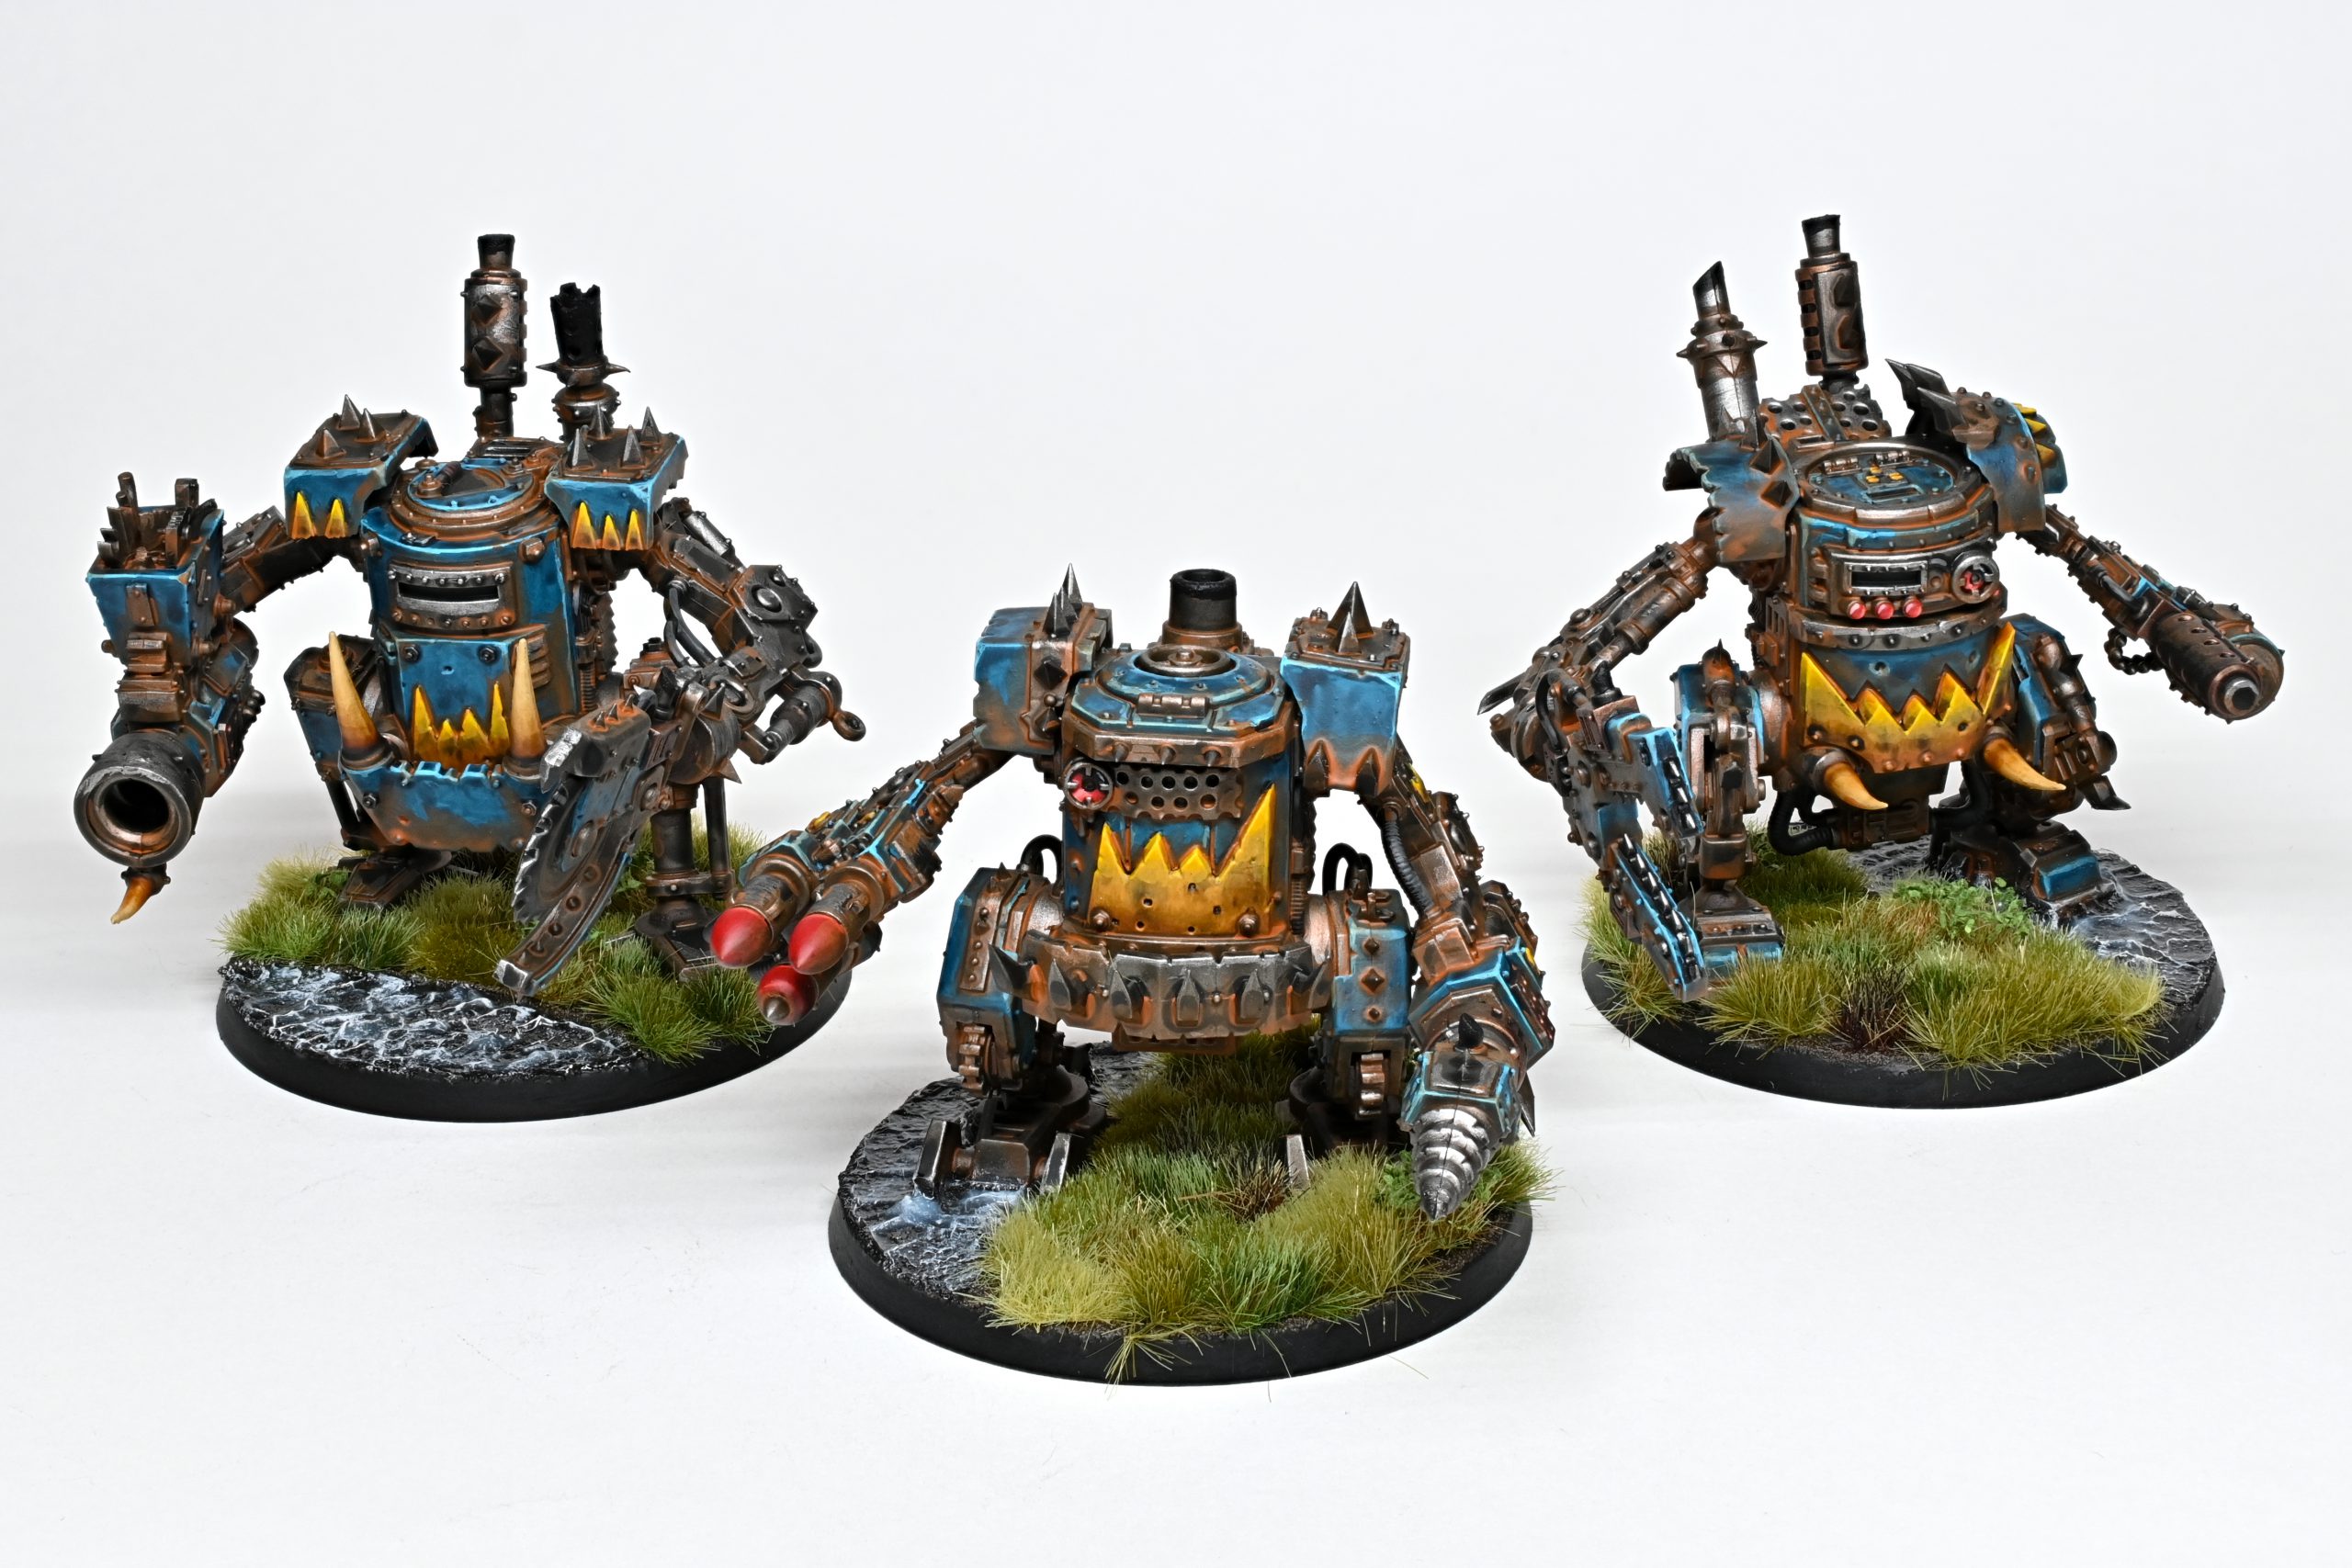
There are a lot of wild tricks and combos in this Detachment, and if you’re interested in playing it competitive you’re going to quickly notice that good lists don’t necessarily run on a bunch of clanking walkers tottering up the field. That’s not to say they can’t make it in – the Gorkanaut in particular is downright nasty with some of these Stratagems, and Killa Kans are plenty spicy when you can mash the button on them. They’re a much better option than Deff Dreads, acting as a kind of “bigger, more expensive Meganobz” unit, albeit with a worse save and an inability to move through walls. Ultimately that’s the challenge – it’s easier to screen a unit of Killer Kans out or prevent them from charging or getting all of their models into a fight by using walls they can’t traverse and with only 6” movement they’re pretty slow. That said a full unit of six will only set you back 250 points and they can do a ton of damage while being pretty resilient – and it’ll be just fine if you make the opponent come to you. The biggest problem with going heavy on Killa Kans is that in the Leviathan GT missions, each Kan would be worth 2 VP for Bring it Down, making you an absolute sitting duck for an opponent looking to score easy Secondary points. With the change to Pariah Nexus that risk drops way down, and killing an entire unit of 6 Killa Kans is only worth 6 VP, compared to the 12 it would have net you before.
When it comes to competitive play the core of the Dread mob list is Big Meks attached to mutually beneficial units. The most important of these is Lootas – Lootas natively have the ability to re-roll 1s to hit but this becomes the ability to re-roll all hits when targeting a unit within range of an objective. That’s a stellar ability to have when you’re fishing for Sustained Hits and the Big Mek really likes having that ability for his Shokk Attack gun.
For the Big Mek sans Shokk Attack Gun, the play is to attach him to a unit of Mek Gunz. Mek Gunz don’t have a lot of movement and their saves aren’t the best so hiding them can be costly – they often can’t get out of cover quickly or easily. WIth the Big Mek you can hide them safely behind a wall, then use the Big Mek’s Shokk-boosta ability to move them through the wall and into the open where they can take shots. That said, note that this is a very specific strategy – with only a 3” move Mek Gunz have to be placed very deliberately to move through a wall and the wall itself has to be less than half an inch thick, or you’ll need to Advance to clear the other side.
Gretchin can be a real boon to this list, particularly in the Pariah Nexus missions where having the BATTLELINE keyword can provide an extra boost. A unit of 20 bolstered by Zodgrod Wortsnagga can be a powerful tar pit for helping trap key units and you can use the Conniving Runts Stratagem to move them into position for a trap (or out of trouble) as needed.
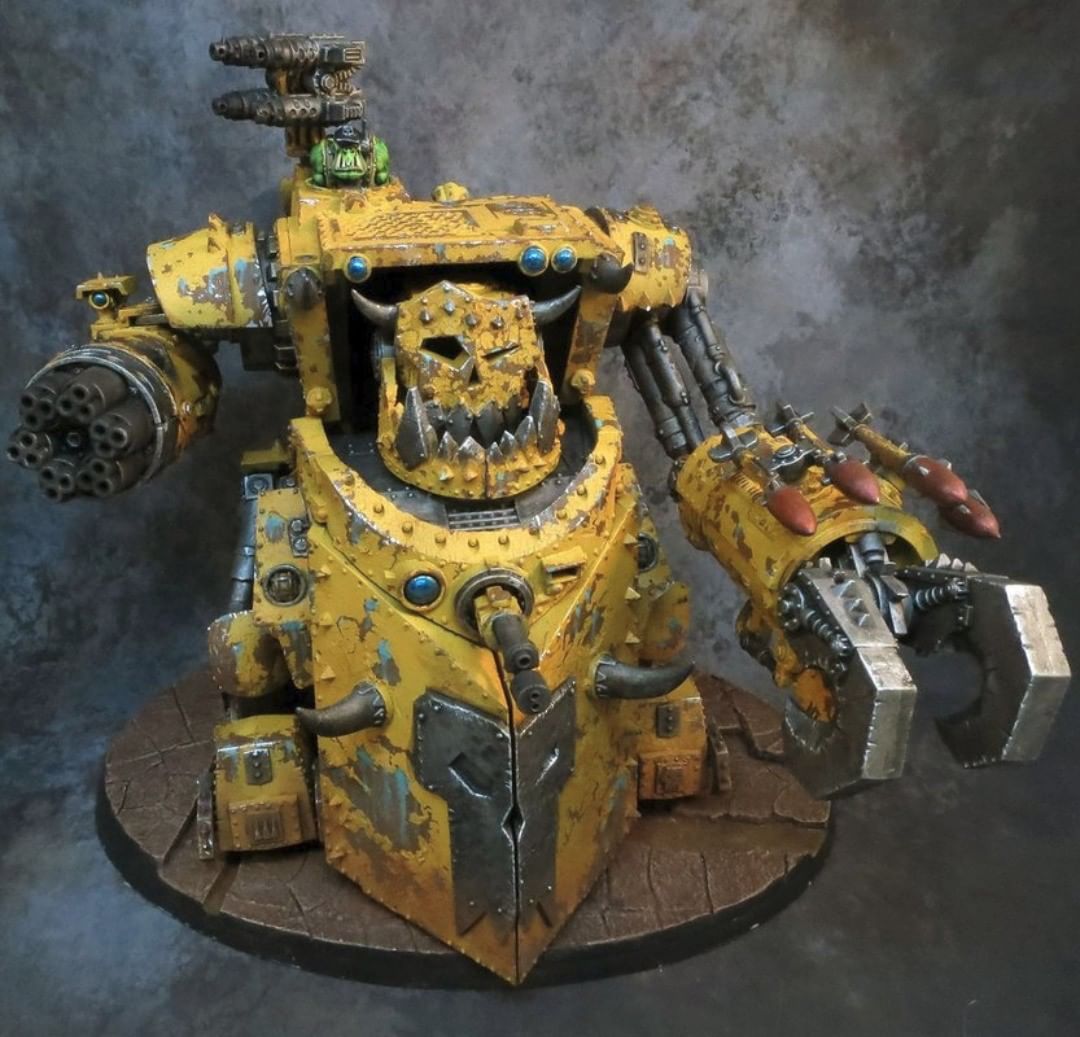
Finally if you are still committed to a big, stompy robot monster might I suggest the Gorkanaut? The cheaper option of the two Ork semi-Titans, the Gorkanaut boasts the better melee profile of the two while also being able to more or less shrug off a couple of bad hazardous rolls. During your Waaagh! Round the Gorkanaut can really go off, and giving one Sustained Hits 1 with the button and +1 damage with Klankin’ Klaws gives you an incredibly nasty melee attack (hitting on 2s!) which can wipe a unit of Terminator-sized threats without breaking a sweat. Just watch your buffs and make sure you aren’t overdoing it – you don’t always need to shoot the flamer and Mega-shoota if it means taking too many Hazardous rolls. Having a Mek or two around to heal them and give them +1 to hit can be a very solid play.
Martin Hultgren’s List – 1st Place, Viking Games – the Battle for Vanheim
Martin took this list to a 4-0-1 first place finish at the Battle for Vanheim event in Sweden, beating Space Marines (Gladius), Aeldari, Imperial Knights, and Chaos Space Marines (Soulforged Warpack) along the way.
dreads (1995 Points) Orks CHARACTERS Big Mek (95 Points) Big Mek with Shokk Attack Gun (85 Points) Big Mek with Shokk Attack Gun (75 Points) Big Mek with Shokk Attack Gun (75 Points) Warboss (65 Points) Zodgrod Wortsnagga (80 Points) BATTLELINE Boyz (170 Points) 19x Slugga Gretchin (80 Points) Gretchin (40 Points) Gretchin (40 Points) Gretchin (40 Points) DEDICATED TRANSPORTS Trukk (65 Points) Trukk (65 Points) OTHER DATASHEETS Battlewagon (160 Points) Gorkanaut (280 Points) Lootas (100 Points) Lootas (100 Points) Lootas (100 Points) Mek Gunz (150 Points) Stormboyz (65 Points) Stormboyz (65 Points)
Dread Mob
Strike Force (2000 Points)
All the hits we talked about are here – you’ve got a Big Mek with Mek Gunz who can move through walls – and with the Smoky Gubbinz Enhancement for extra defense to protect them, plus three Big Meks with Shokk Attack guns attached to Lootas (one with the Gitfinda to ignore cover). These are nasty shooting units which can re-roll hit rolls against targets on Objective Markers, allowing you to get the most out of both them and the Shokk Attack Gun.
Boyd Morrall’s List
Boyd took this list to a 4th place, 4-1 finish at the Risky Rollers Calling the Banners GT in June, losing in the final round to Canoptek Court Necrons. If you want an example of a Dread Mob list running Kans, this is it.
DREADMOB (1985 Points) Orks CHARACTERS Big Mek with Shokk Attack Gun (85 Points) Big Mek with Shokk Attack Gun (90 Points) Big Mek with Shokk Attack Gun (75 Points) Mek (45 Points) Mek (45 Points) Zodgrod Wortsnagga (80 Points) BATTLELINE Gretchin (40 Points) 10x Grot blasta 1x Slugga Gretchin (40 Points) 10x Grot blasta 1x Slugga Gretchin (80 Points) 20x Grot blasta 2x Slugga Gretchin (40 Points) 10x Grot blasta 1x Slugga OTHER DATASHEETS Gorkanaut (280 Points) Gorkanaut (280 Points) Killa Kans (250 Points) 6x Rokkit launcha Killa Kans (125 Points) 3x Rokkit launcha Lootas (100 Points) 2x Kustom mega-blasta 8x Deffgun Lootas (100 Points) 2x Kustom mega-blasta Lootas (100 Points) Stormboyz (65 Points) Stormboyz (65 Points)
Dread Mob
Strike Force (2000 Points)
Boyd’s list packs two units of Killa Kans – a full unit of 6, and a smaller unit of 3 – all armed with Rokkit Launchas. The list also sports a full complement of Lootas with Shokk Attack Guns and goes for it all with two Gorkanauts to smash opponents – that’s a big commit, but it puts a lot of pressure on opponents to be able to deal with both of those while Lootas and Killa Kans are bearing down on them. As we mentioned earlier, this is a list that gets much better in Pariah Nexus missions, as it no longer gives up 18 VP for Bring it Down for just the Killa Kans, making it easier for the list to compete on secondary objectives.
Final Thoughts
If you just want to run dreads and killa kanz, this is absolutely your detachment (though the War Horde isn’t too shabby, either). That said, if you’re more invested in building a good list regardless of units, this Detachment is still worth a look. There are multiple ways to run it, and if you’ve wanted to run a Gorkanaut, this makes them very playable. Dread Mob may not be the best Detachment Orks have access to, but it may be the most fun.
Have any questions or feedback? Drop us a note in the comments below or email us at contact@goonhammer.com. Want articles like this linked in your inbox every Monday morning? Sign up for our newsletter. And don’t forget that you can support us on Patreon for backer rewards like early video content, Administratum access, an ad-free experience on our website and more.
