
Over the years the Goonhammer crew have put together a vast and expansive library of painting guides. Appropriately titled “How to Paint Everything” we’ve got schemes and recipes for hundreds of models. They all, however, assume you know the difference between wet blending and glazing or what the hell “zenithal” means. Welcome to Hobby 102. This series will lay the groundwork to teach you the fundamentals and best practices to make your models shine.
The Hobby 102 series is sponsored by The Army Painter.
Transfers and decals fall in the center of a Venn diagram. On one side we have scale modelers; dedicated hobbyists who spend hundreds of hours agonizing over the correct unit markings and exact shade of olive drab for the 119th US Infantry Division in June 1944. On the other, we have sticker book enthusiasts, happily open-palm slamming glittery stickers of ponies and robots all over their Lisa Frank scrapbook. Transfers (here used interchangeably with “decals”) are opportunities to add personality, context, and visual flair to your models, and getting them to look good is easier than you think.
Basics
Transfers are one of the last steps whilst painting a model, usually the cherry on top unless the painter plans on weathering over them. Weathering is outside the remit of this article, but may come up again later. The basic process of applying a transfer is simple:
- Cut out the transfer
- Wet the transfer
- Place the transfer where you want it
- Wait for it to dry and call it a day
However, we are going to be adding a few steps to not only make your transfers look better, but also protect them.
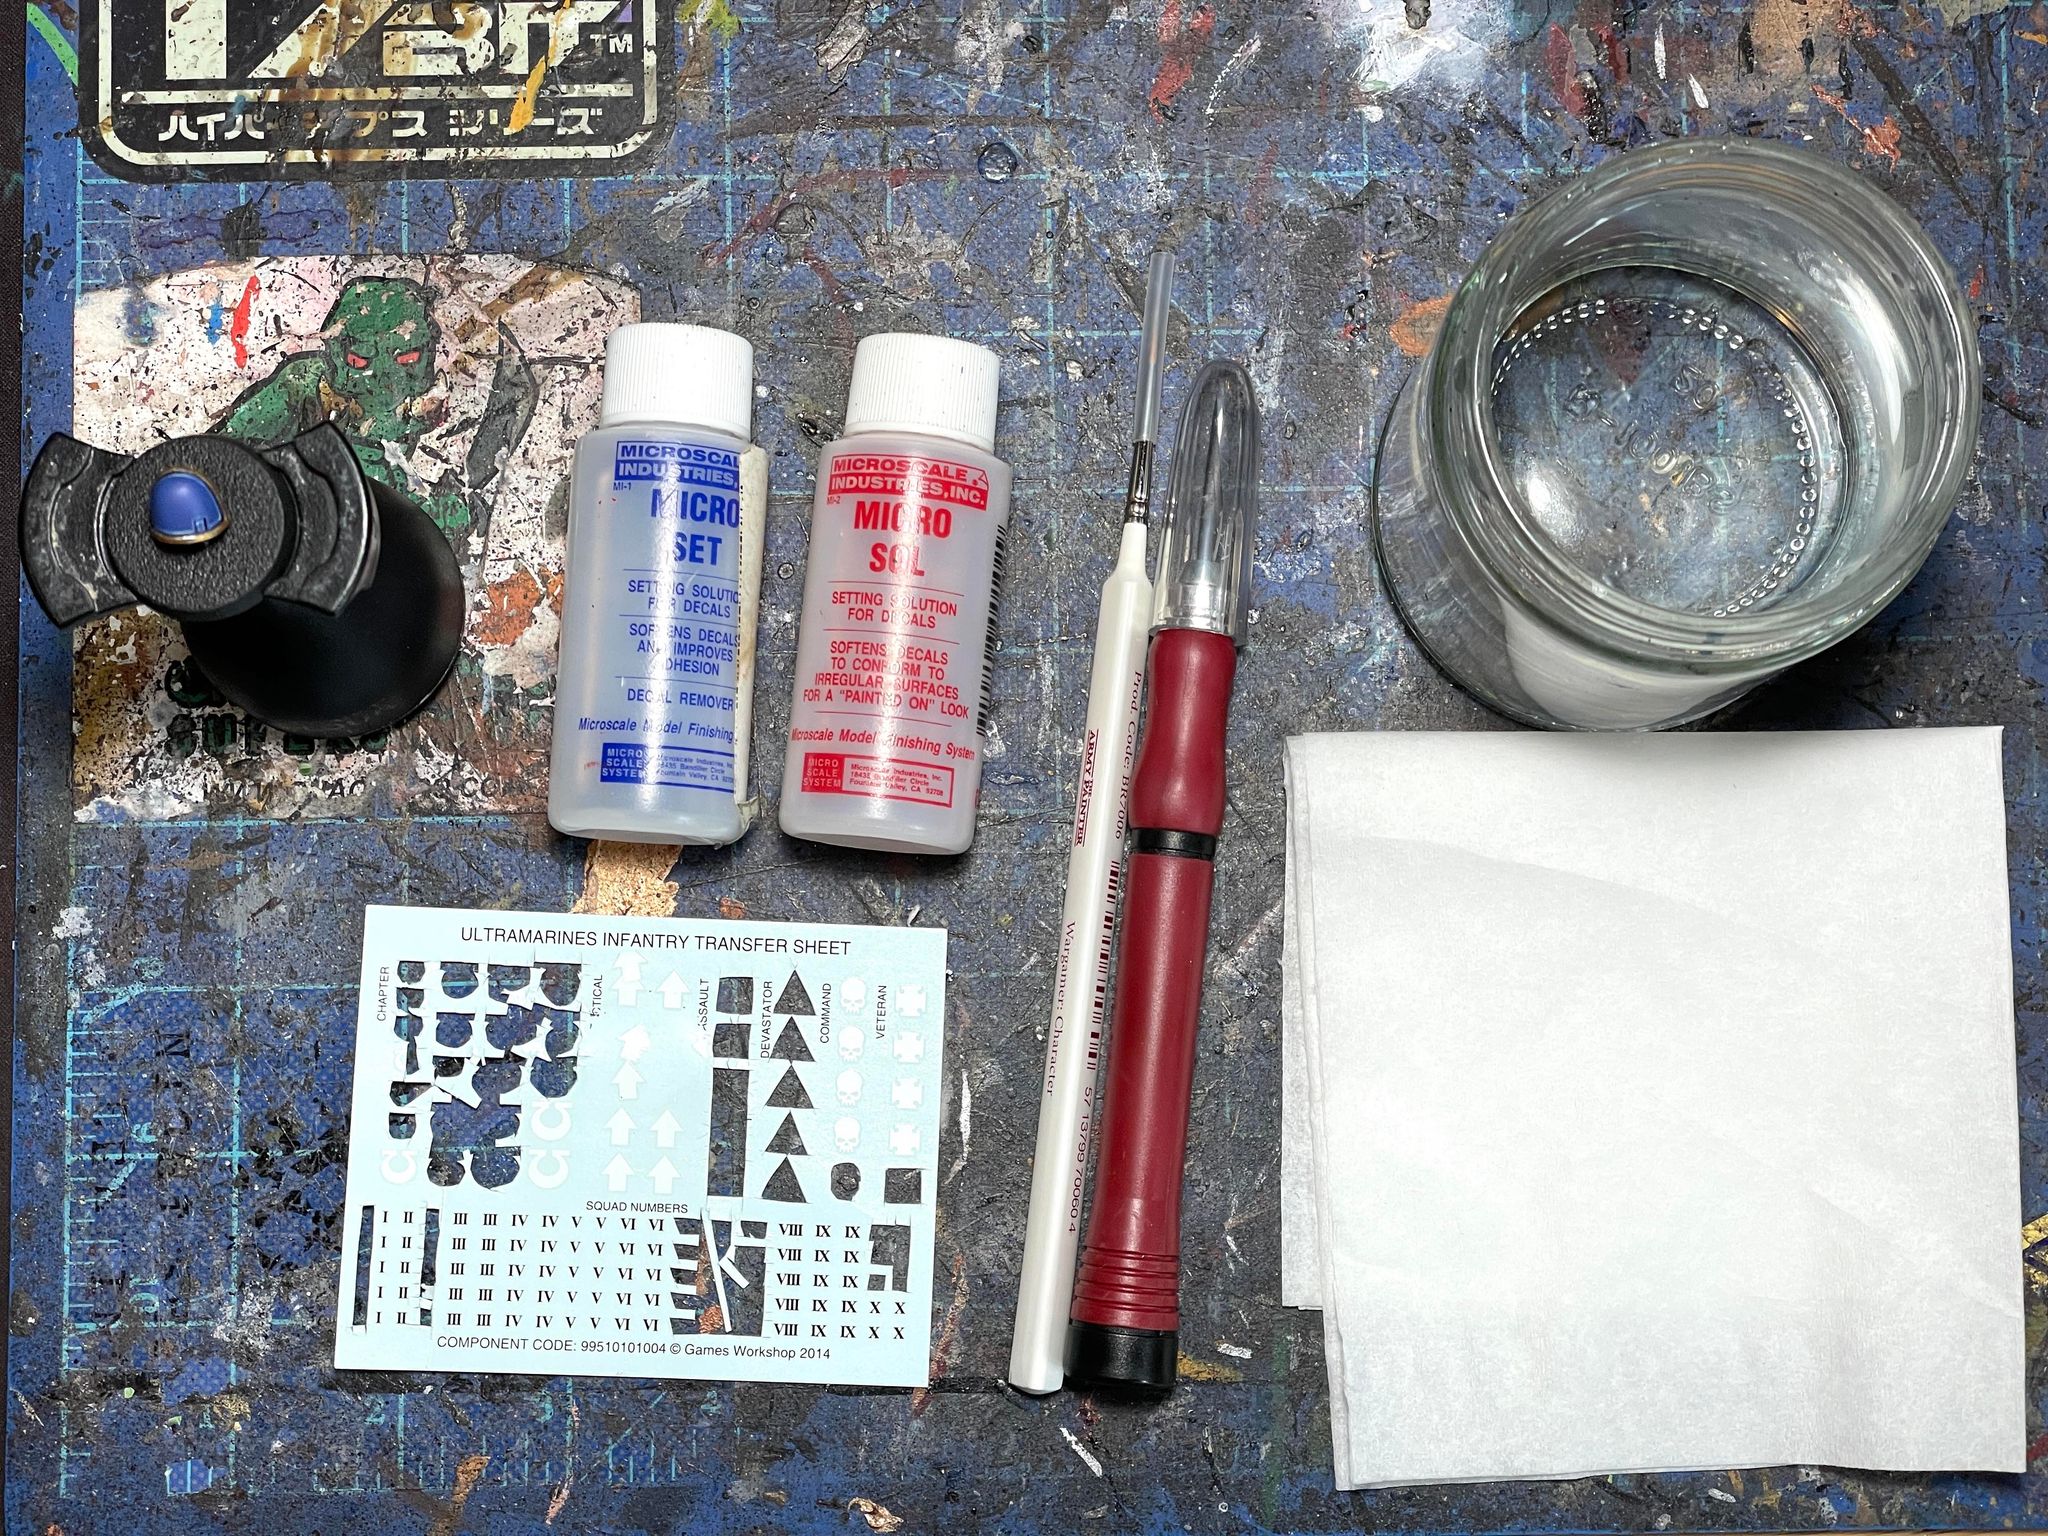
A Sharp Knife and Cutting Surface
The first tool you’ll need is a sharp knife with a fresh blade to cut out your transfers. A dull blade can catch on the paper, tearing or wrinkling the transfer, or skip and suddenly find its way into your thumb. A sharp blade will cut cleanly and evenly, and offer you more control. You’ll also want a surface like a self-healing mat, thick cardstock, or something similar to have under your transfer paper and keep your table from getting cut up. Once you’ve got your workspace ready, simply cut around the transfers you want to use on your model and set them aside. Apply firm, even pressure whilst cutting, only pushing enough to cut the paper. If you didn’t cut through the first time, you can always go back for a second pass. It’s better to cut twice than push too hard and snap a blade. You should leave a bit of space around the design itself, but be careful not to cut the actual transfer. I like to cut out all the transfers I’m using on a model at once, and place them next to it on my workspace. If I’m working on multiple models at once, I’ll group them accordingly.
Relief Cuts
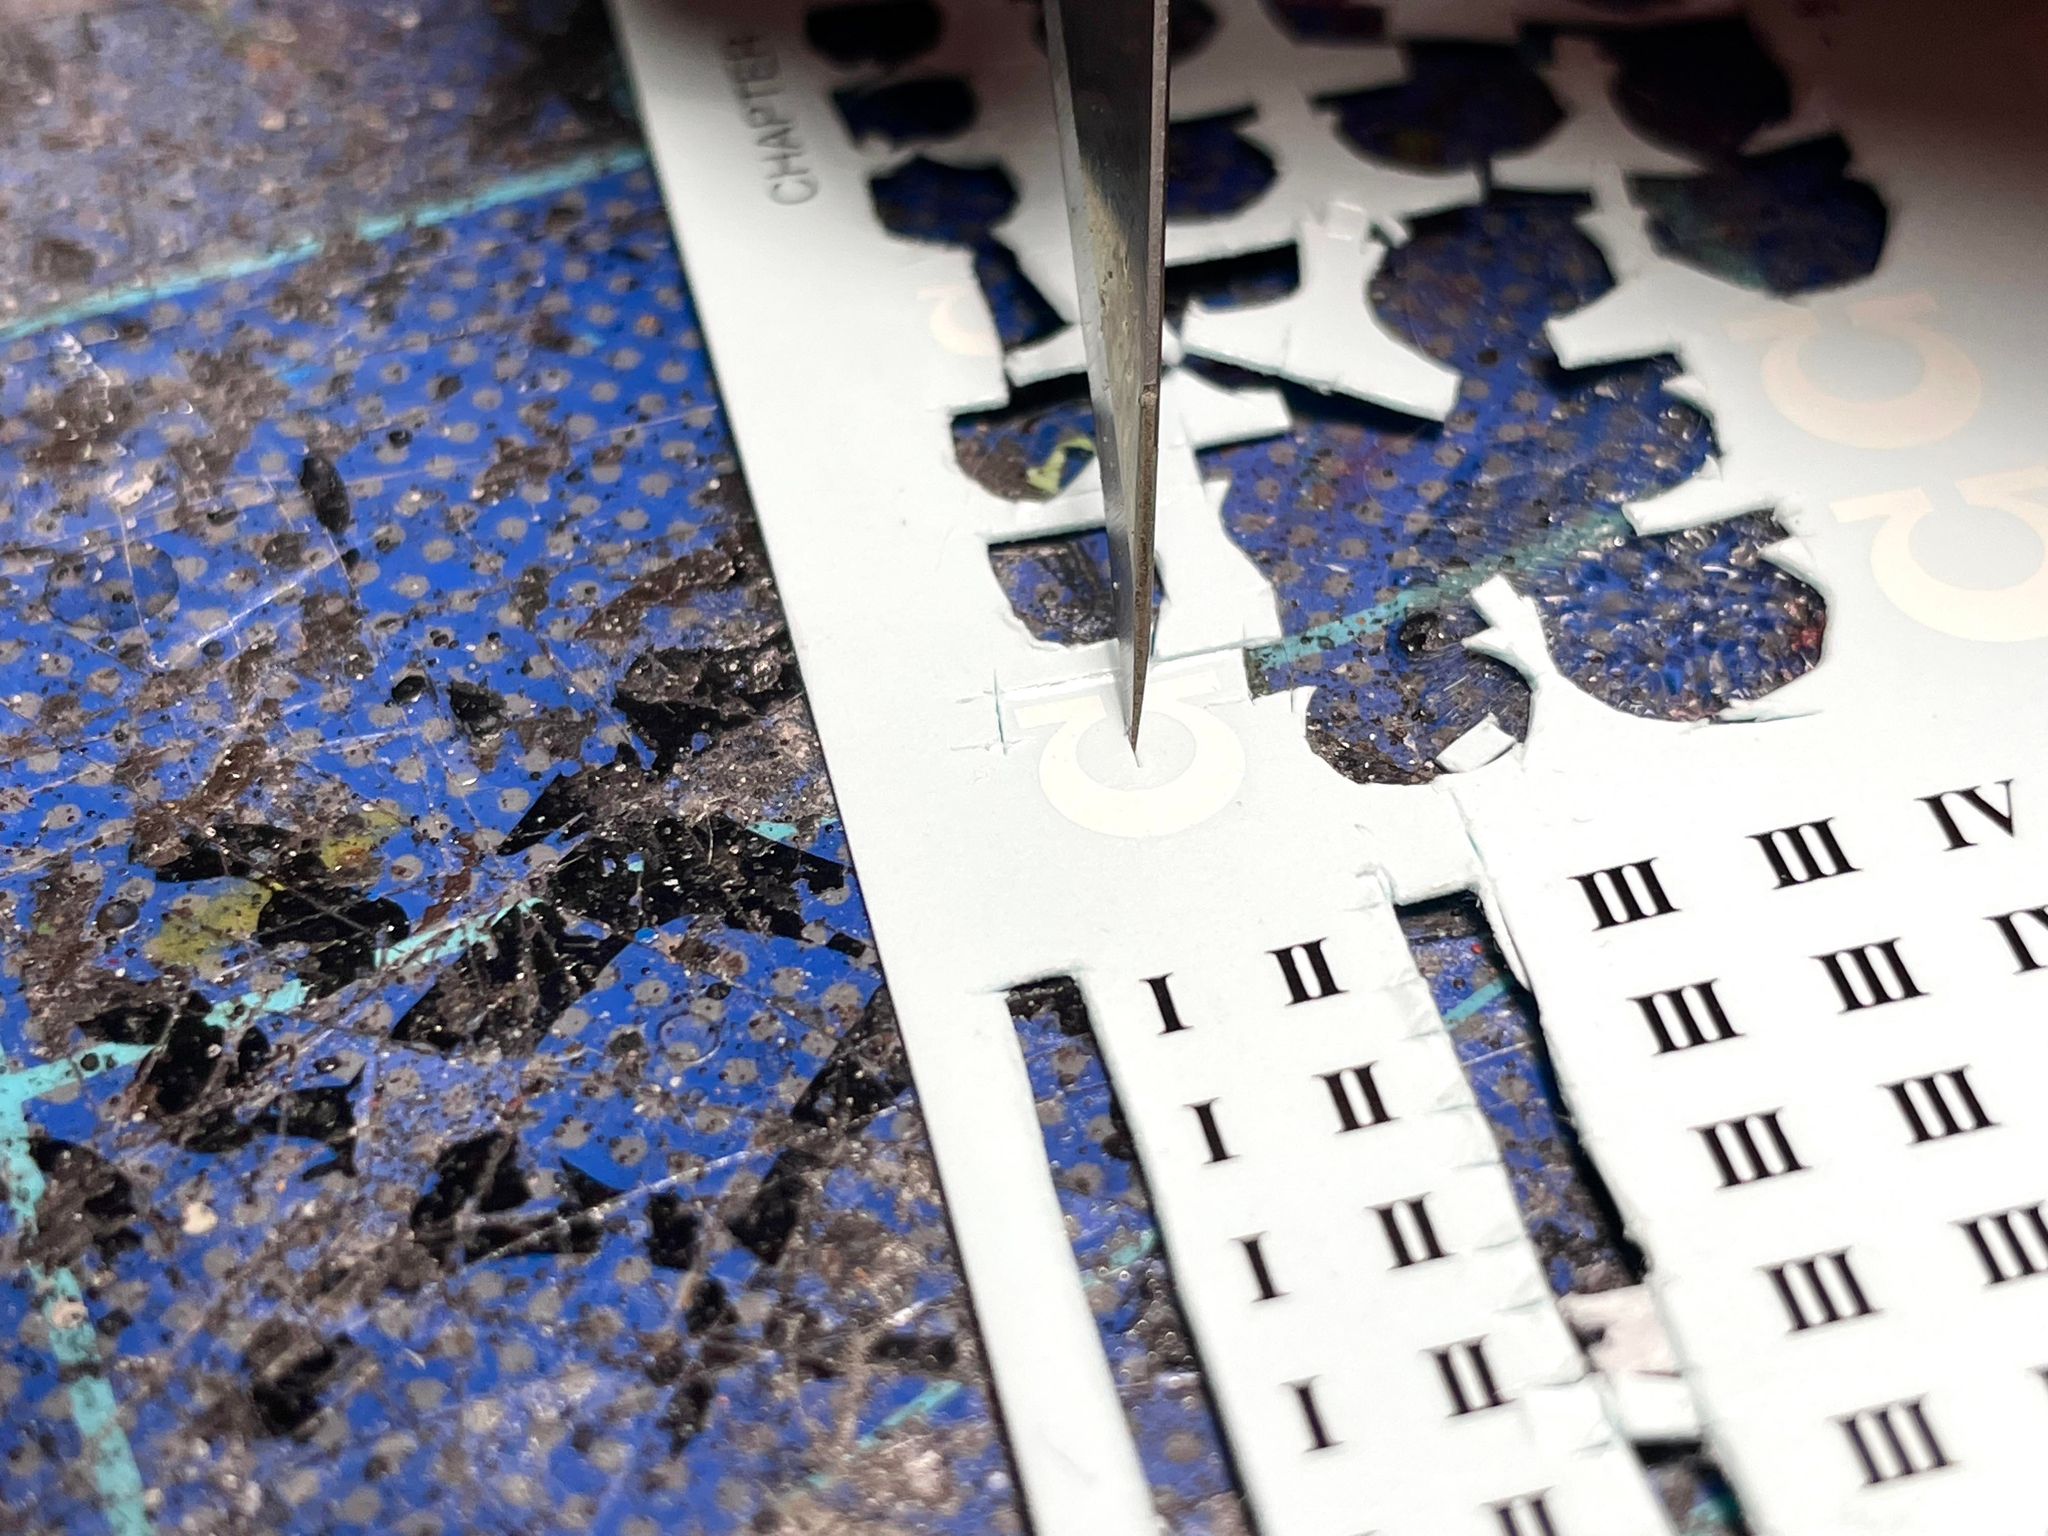
You may need to make relief cuts to better let a transfer conform to an irregular or curved surface. In these cases, make small cuts into the blank areas of the transfer, such as the space between the arms of the “U” on an Ultramarine icon, or into the inside corners of a star. These are not always necessary, but can prove helpful, especially with thicker transfer paper.
Clean Water, Tissue Paper, and a Clean Brush
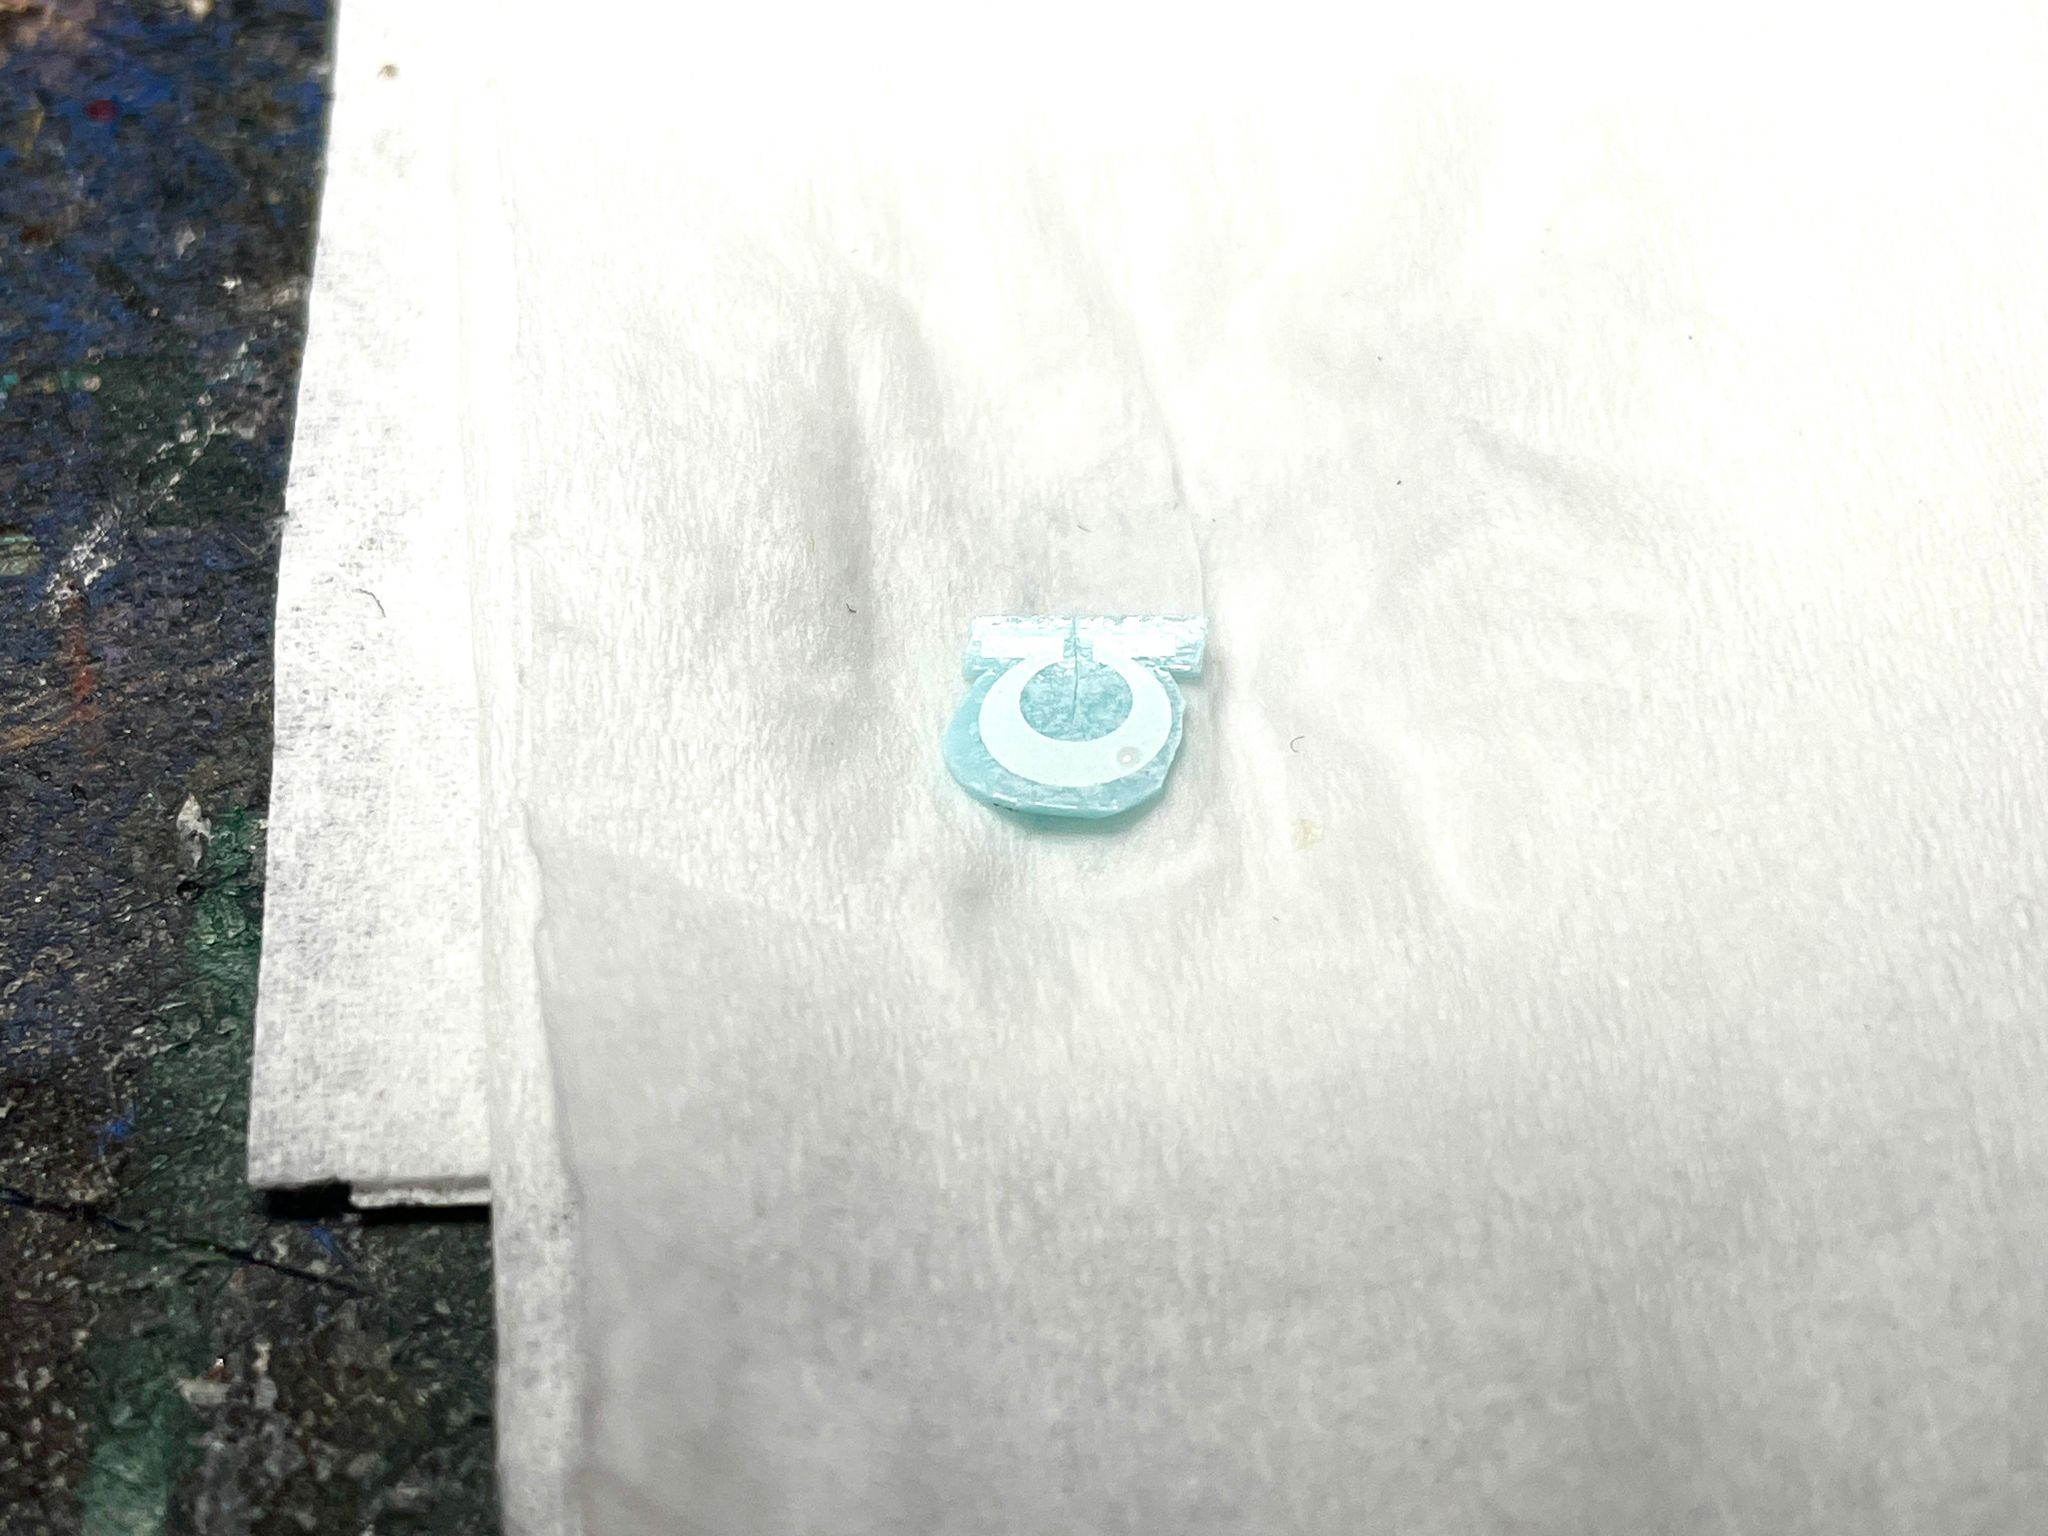
Transfers release from their paper with moisture, so you’re going to want some clean water to assist. Old paintwater (or other, less savory liquids) might stain the transfer or the area around where you’re applying it, so stick with fresh water from the tap. Dampen some tissue paper or towel with the water and place it on your desk. Now, put your transfers on that same wet paper, and let the water do its work. You can also use a clean brush to put more water on top of the transfers to help them separate, or skip the tissue entirely and let the transfers separate in a shallow dish of water (or a puddle on your desk if you’re a goblin). Different manufacturers and sheets may take different times to separate, so be patient. It shouldn’t take more than a minute for the transfer to lift off the paper. Now that your transfers are ready to work, it’s time to move on to the next step.
This is also the point where a painter may apply gloss varnish to the area they plan on applying the transfer to, in an effort for a smoother application surface. I do not generally find this to be necessary.
Micro-Set and Micro-Sol
These two products absolutely change the game when it comes to transfers, and I never apply a transfer without them. They’re also startlingly cost effective. I’ve been using the same 1oz bottle of Micro-Sol for an actual factual decade, and I’m maybe halfway through it. The bottles are numbered in the order you should use them, with Micro-Set being first and Micro-Sol being second. These two products do two things, which are appropriately part of their names: Set and Solvent.
Micro-Set
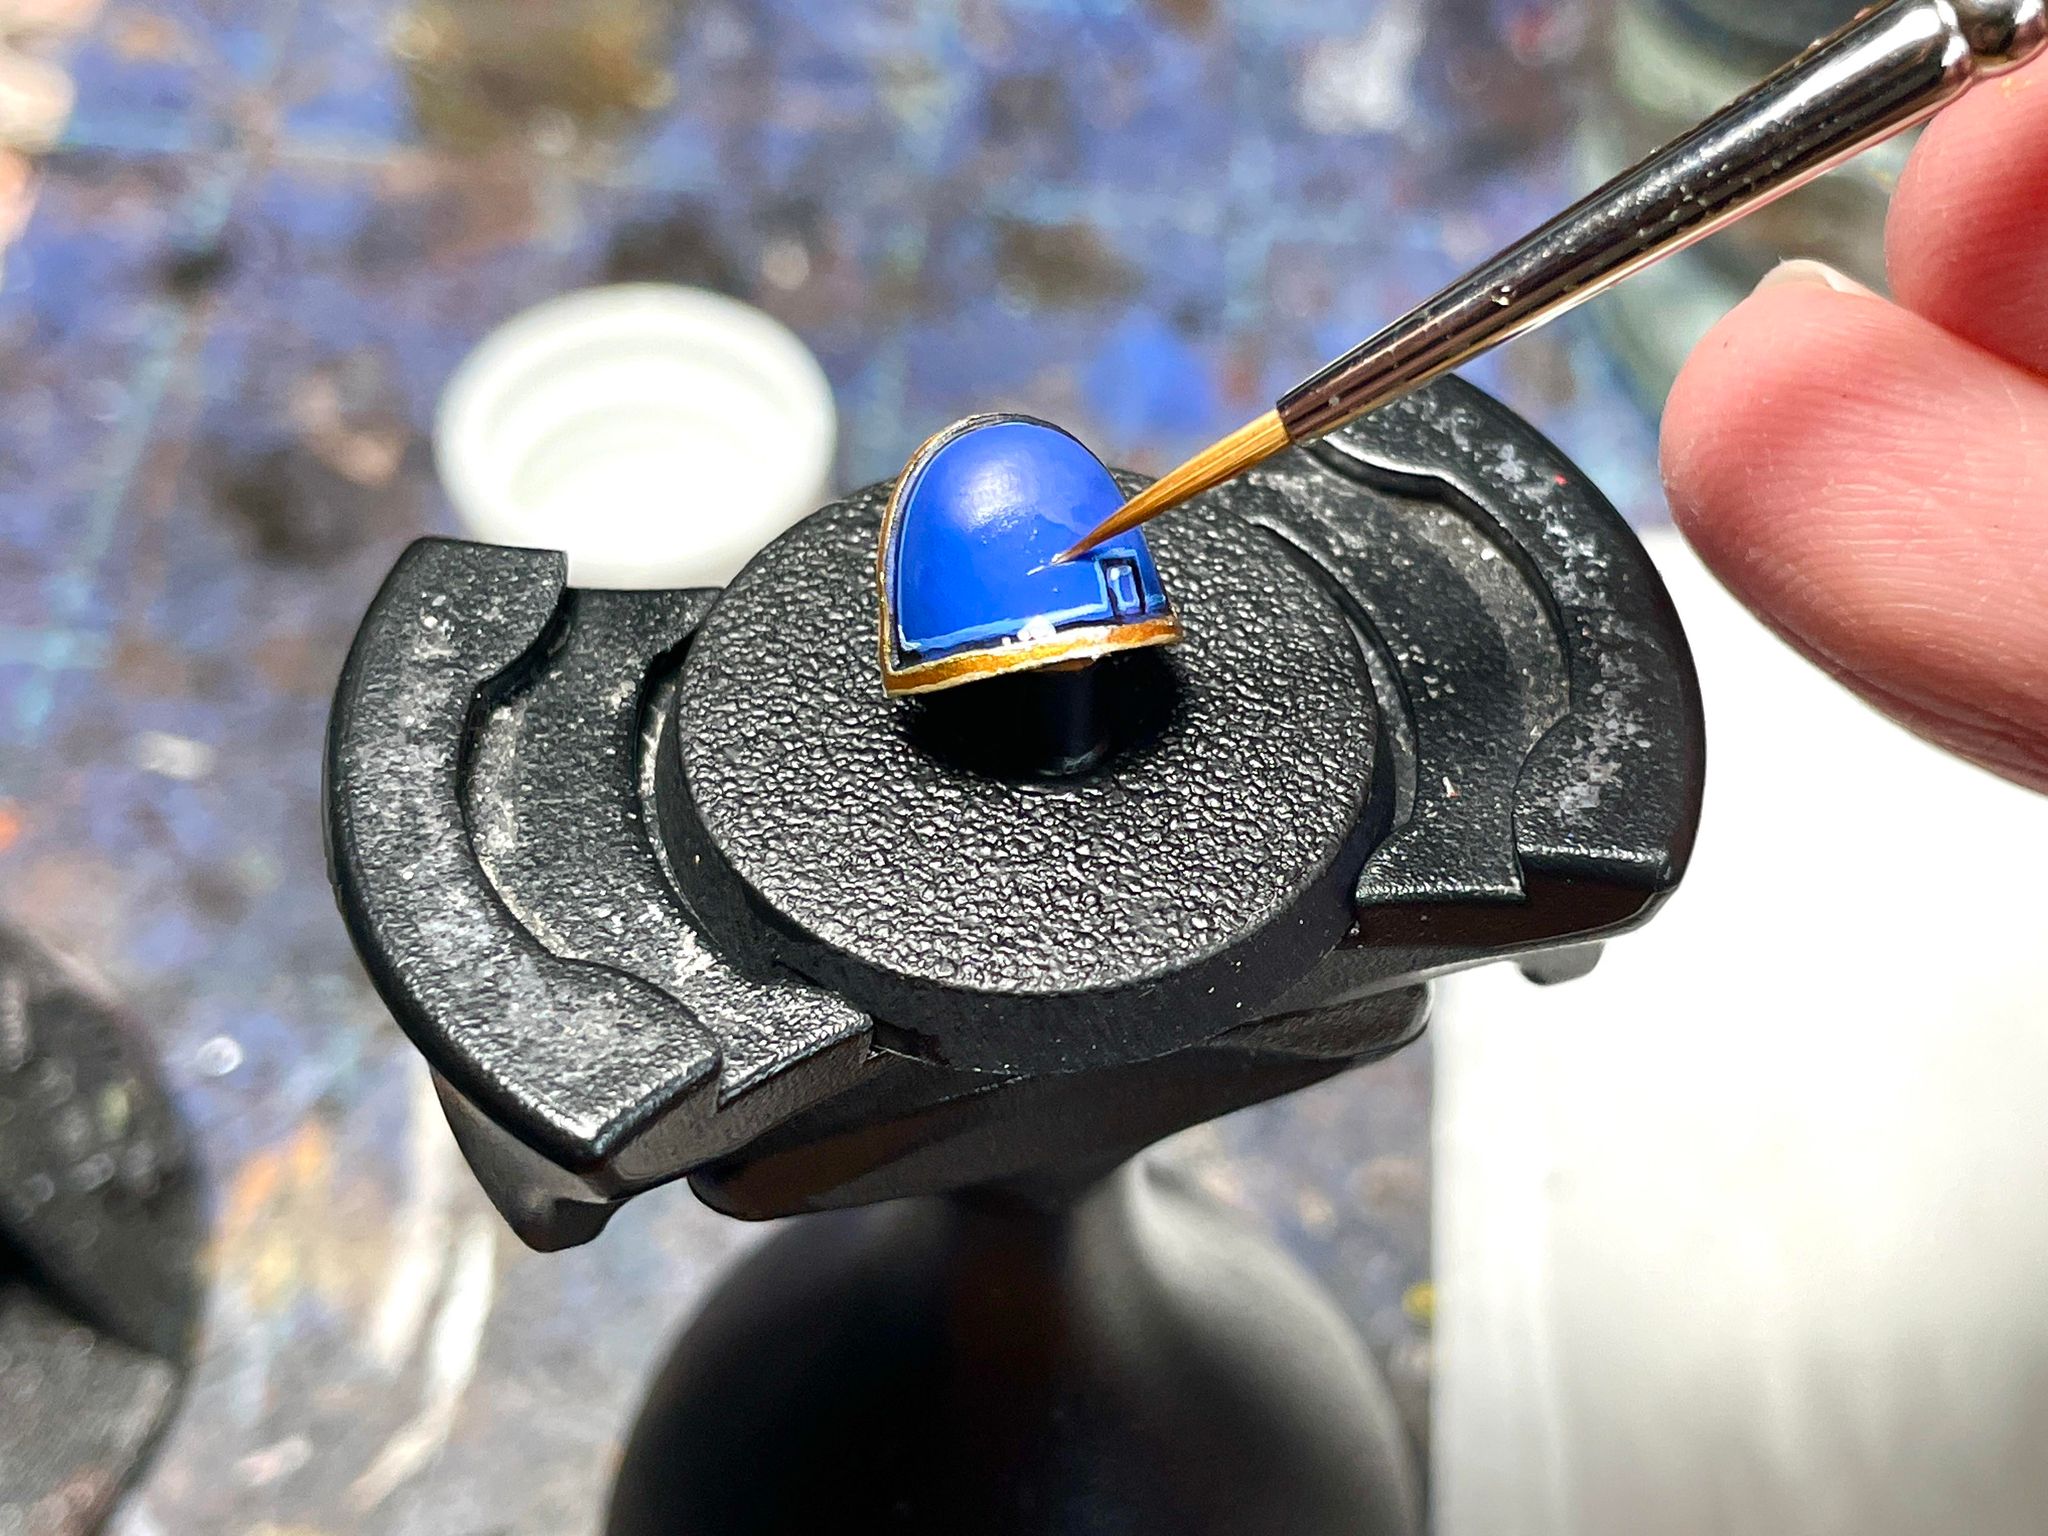
This product helps the decal set, softening it and conforming it to the surface you’re applying it to. This is great for the curves of tank turrets, the pauldrons of Space Marines, or the panels on armored vehicles. First, wet the surface where you want the transfer with Micro-Set, applying it with a clean brush.
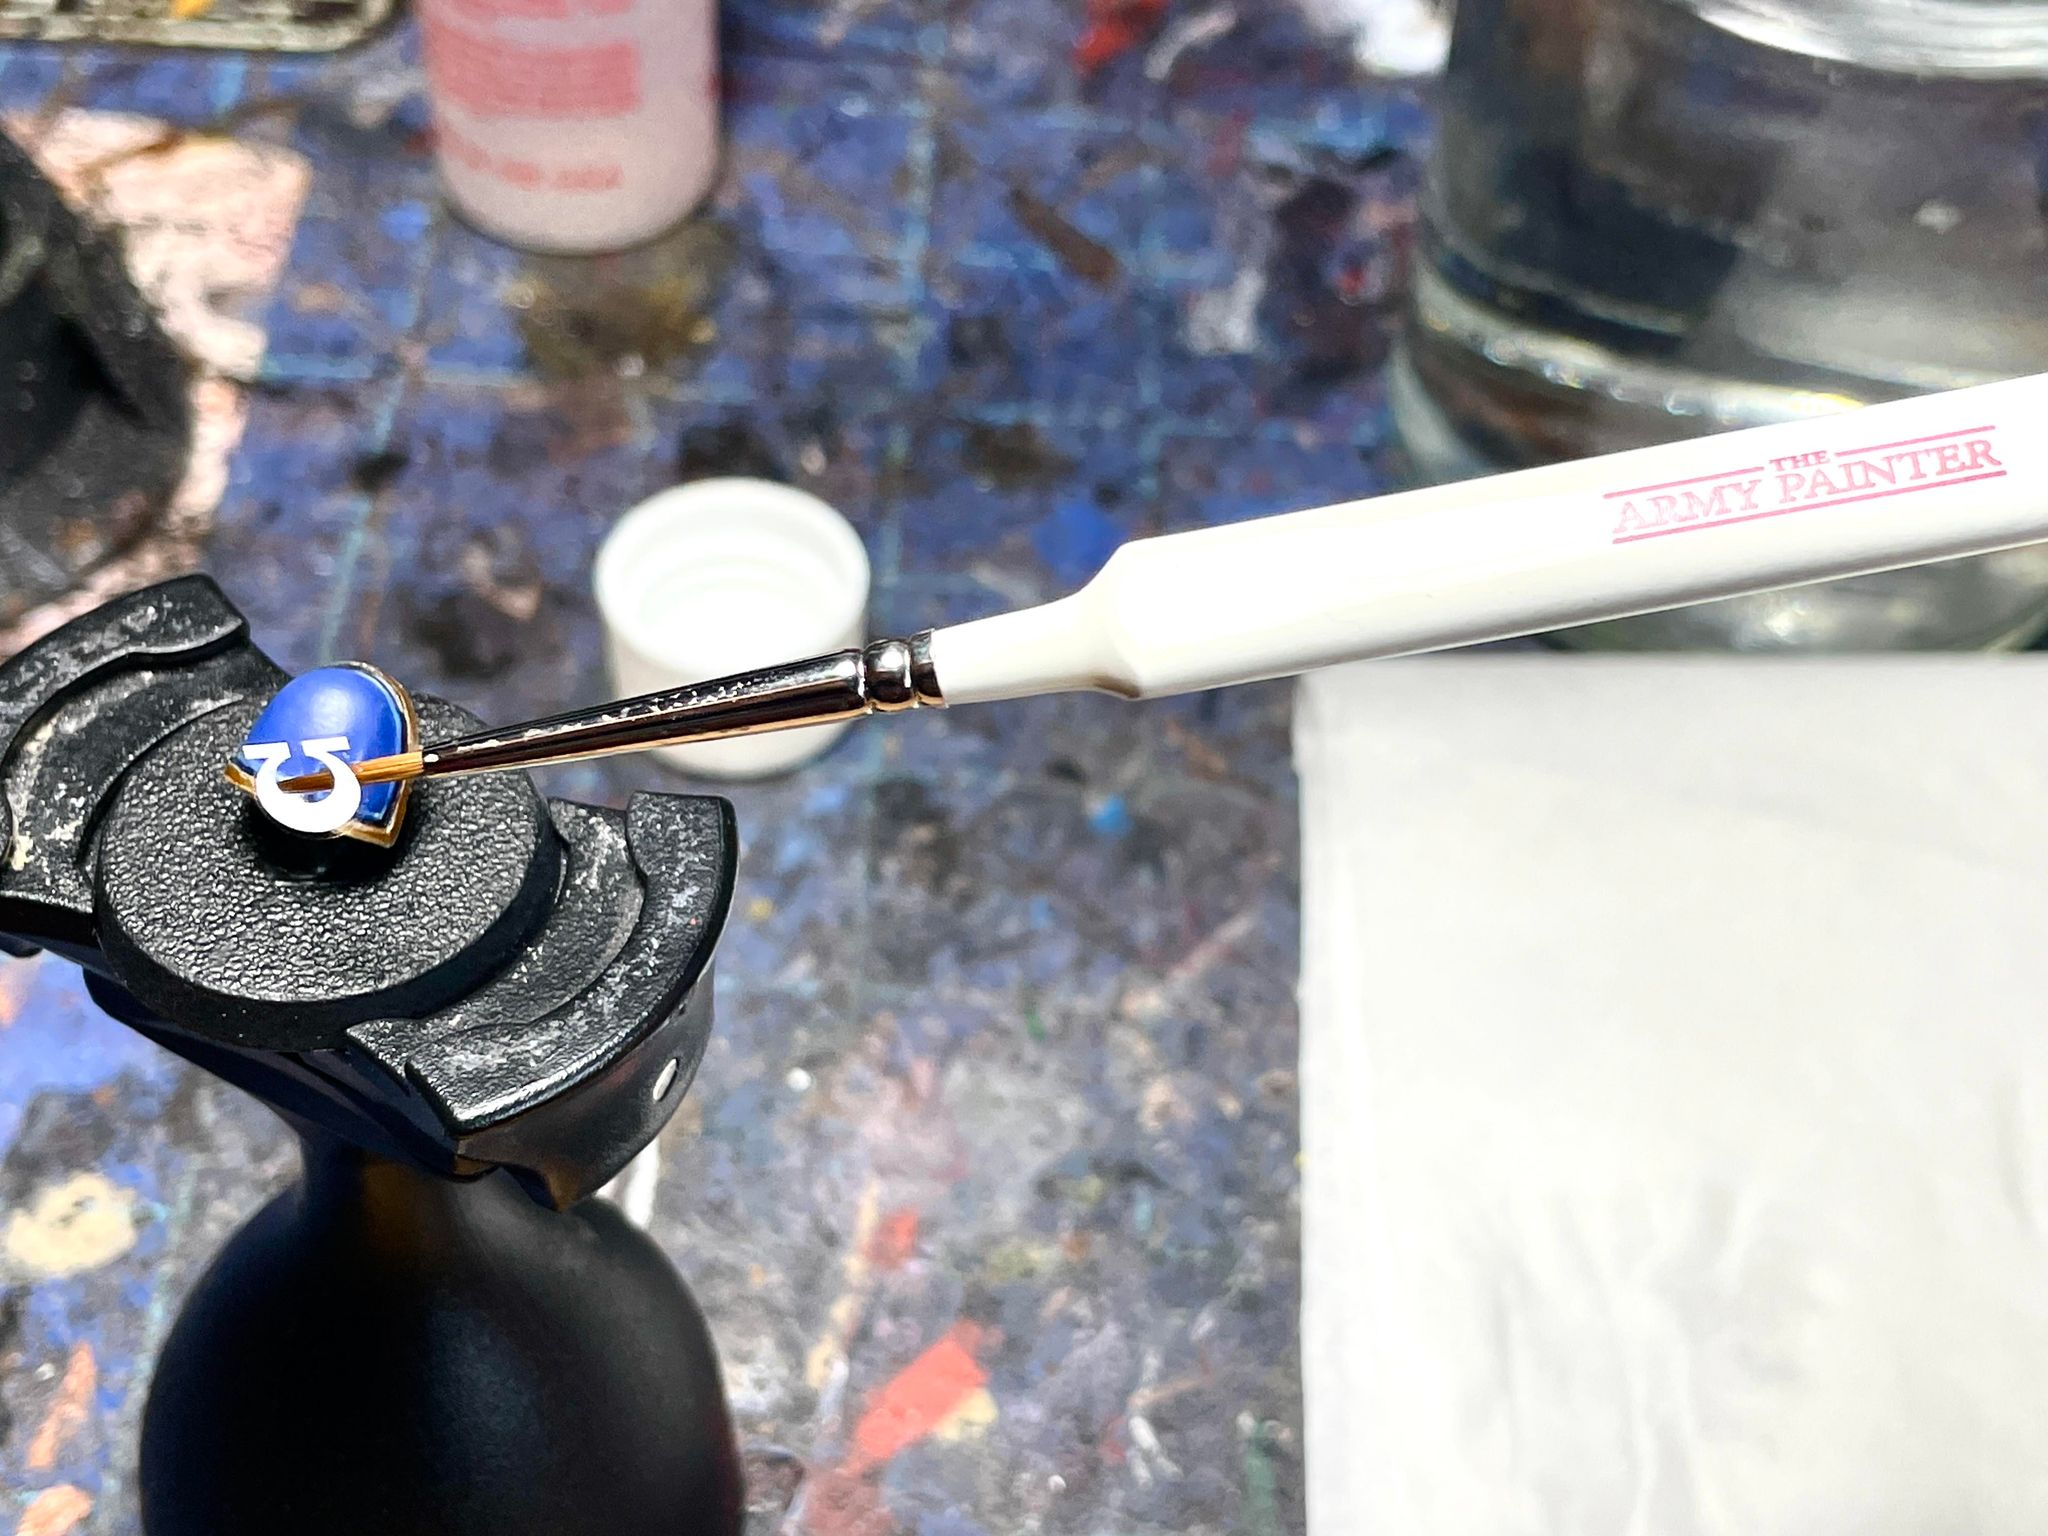
Next, pick up the transfer using that same brush, and place it on that area. Some people use tweezers, but I like the control of a brush. You’ll have plenty of time to adjust and work with the transfer, as transfers don’t really “stick” until they’ve dried out for about half an hour. You can then dab off any excess liquid with a dry tissue or paper towel.
Once that first layer of Micro-Set is dry, there may be wrinkles, air bubbles, or other irregularities in your transfer. Apply another layer, wait, and repeat the process until it looks smooth and even. The transfer may slide around, but you can nudge it back into place so long as it’s still wet.
Micro-Sol

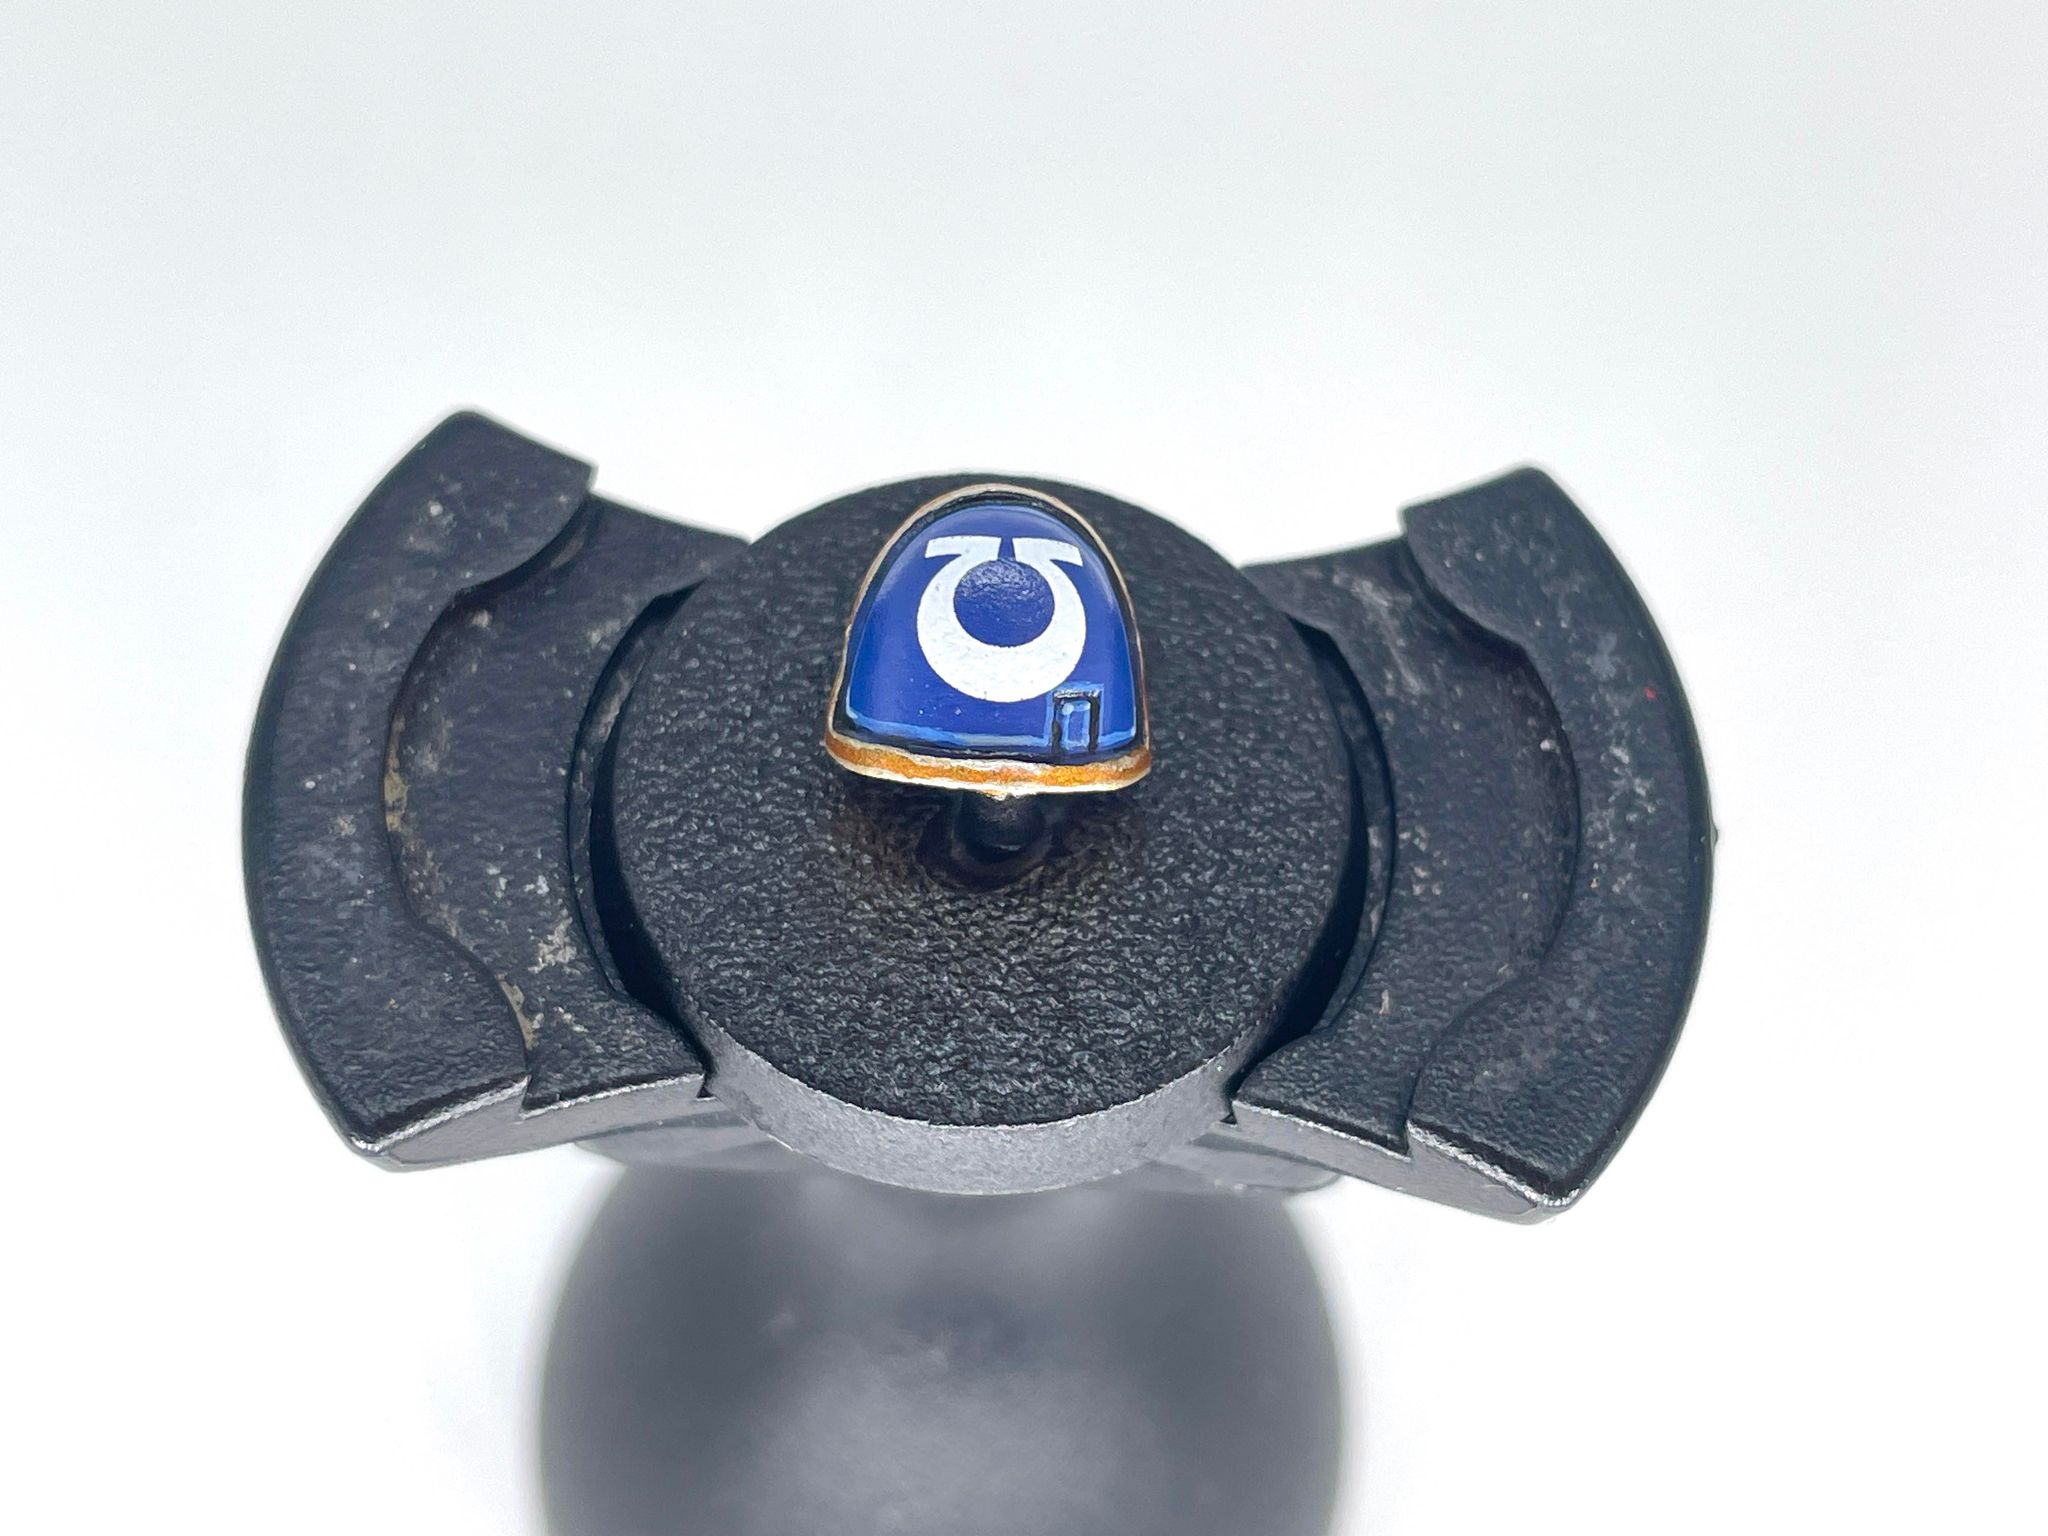
You may have noticed a translucent outline around your transfer, as there is still some thin plastic film around the design. Micro-Sol is a solvent that will dissolve that film and give your transfers a “painted on” look. Using a clean brush, apply this to your transfers once they’re dry. Don’t worry if the transfer wrinkles a little bit when you paint this stuff on – it’ll flatten itself out. It might take a few coats, but you’ll gradually see the film disappear. This will also help the transfer fully adhere to the surface, and conform to any irregularities therein.
Varnish
Whether you are planning on weathering over your transfers or simply calling it a wrap on your model, varnishing is a necessary next step. Fortunately, we already have you covered in a previous Hobby 101 article. Transfers are delicate, especially once they’ve been hit with Micro-Set and Micro-Sol, so you’ll want to protect them. If you don’t varnish them, they may rub off, damaging the design. While this may be part of an intentional weathering process for some, this may not be the case for you. Some painters may also use a brush-on varnish selectively over the transfers, but I find the difference in finish against the rest of the model to be jarring. For this reason, I generally use a spray matte varnish on my entire model when I’m done.
Pitfalls
There are, of course, a few potential problems we may run into with transfers. They’re delicate, finnicky, and have a bit of a learning curve. With this guide and some practice, you’ll be able to solve most problems you run into.
Air Bubbles
Sometimes you’ll get an air bubble that not even Micro-Set and Micro-Sol can fix. Your first option should be to try flattening the transfer and pushing the air out while it’s still wet, using your paintbrush to move the bubble towards the edges until the air escapes. If that’s not working, you can always get a pin and poke the air bubble, then smooth out the area while it’s still wet. If there’s a visible pinhole after drying, you can either try and color match the transfer and paint over the gap, or if you’re weathering your model, artfully weather over the damage.
Wrinkles

Much like air bubbles, these should sort themselves out during the Micro-Set/Sol process, but they can still occur. If the transfer is wet, simply try and smooth them out, pushing the air out the sides and flattening the design from the inside out. If the transfer is dry, you might still be able to convince it to soften with more Micro-Sol. If, for whatever reason, none of these work, it might be time to scrape the transfer off with a knife and start over. This may involve repainting the area where the transfer was sitting, as it may get roughed up and Micro-Set/Sol affects the finish of the paint.
Rips and Tears
This is something that will invariably happen to you. At some point, you’ll have handled a transfer too much and it’ll rip. This happens a lot with older transfers that have become brittle with age, but can happen anywhere. You can try and carefully maneuver the torn pieces so they go back together, maybe weathering over the area or filling in the gaps like with the aforementioned air bubbles. In other cases, it might be time to pull the ripcord, wipe away the damaged transfer, and just get a new replacement off the sheet. This can be painful in the case of hard to find or expensive transfers (looking at you, Horus Heresy banners) but sometimes you just need to know when to start over.
Wrapping Up
We hope you’ve learned a bit about transfers here. Personally, transfers were something I found intimidating for years, and only when a friend showed me how to use Micro-Set did I start to understand how to use them. A decade later, and it’s rare that I paint a model without them. If you’re still feeling uneasy about applying transfers, try this process out on some spare Space Marine shoulder pads, leftover shields, or other bits from your bits box. The wordcount of this article may suggest otherwise, but transfers are easier to use than you might think!
This Hobby 102 series is part of the larger Hobby 101 series, which includes tutorials and recommendations for new hobbyists. Click the link for more Hobby 101 content. If you have any questions or feedback, or just want some advice, drop us a note in the comments below or email us at contact@goonhammer.com.
