
Thanks to Games Workshop for sending us these rules and the Skaventide box set for review. Over the coming weeks, we will be having experts provide insight into how they are building and running lists with each faction in Age of Sigmar. For this overview, we’re looking at what stands out for each faction, how much has changed, and how we might approach some key challenges on the tabletop.
Edited 7/1/24 to correct some rules misinterpretations.
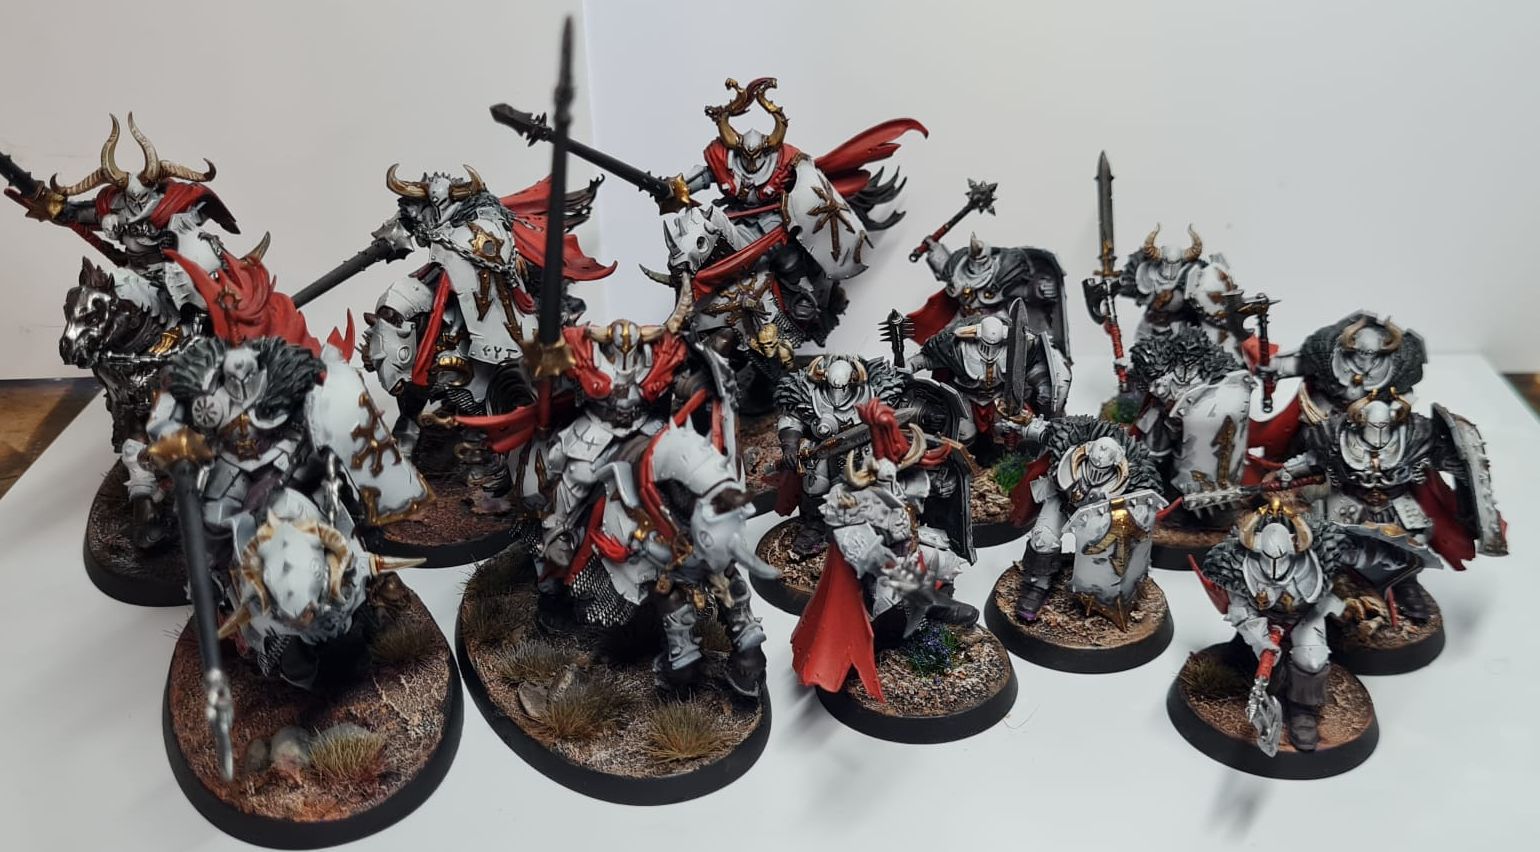
From the Eightpoints march legions of platemailed murderers, entire tribes of bloodthirsty barbarians, and hordes of monsters – and at their head? Mortal champions ascended to daemonhood as they walk the Path to Glory. The Slaves to Darkness are the classic Warriors of Chaos marching through the Mortal Realms, equal parts Frank Frazetta, Conan the Barbarian, and airbrushed wizard van.
Slaves to Darkness are in many ways the dark mirror to the Stormcast Eternals. With a core of tough, elite infantry and powerful heroes and monsters, it’s easy to see the parallels. Where they differ is in variety. Slaves to Darkness don’t just have a dozen variations of Platemail Guy with Melee Weapon, but also packs of monsters, loads of cavalry, and cheap disposable troops in the form of Darkoath Marauders. This army wants to have a lot of characters in it to really make the most of their faction rules, and fortunately most are worthy of their lordly titles.
Army Rules
Battle Traits
There are only two Battle Traits here, but each contains their own selection of effects that will impact how your army plays. These affect every Battle Formation available, and will undoubtedly have an impact on your games.
Eye of the Gods
The Dark Gods are no longer just gazing upon your heroes, but every one of your units. Now, at the end of any turn, you can select each unit of yours that destroyed an enemy unit and roll on the Eye of the Gods table. If you don’t like the result you can re-roll it, but if you roll a 1 on that re-roll, that’s D3 mortal damage to your unit. Non-hero monsters and beasts cannot be affected by this table, and you’ll notice it doesn’t have quite as much volatility as it used to. I miss the rare ascension to daemonhood or devolution into a Chaos Spawn, but as part of the flattening out of this “indexhammer”-style reset I get why it’s not here. Importantly, each of these effects can be stacked multiple times on a single unit, and they can have as many effects going as they want. In other words, your 10-brick of Chosen might be carrying around a whole bag of party favors, courtesy of the Dark Gods. I recommend making some markers for these, as you’ll want to keep track of what your units have accumulated.
- Snubbed by the Gods: You pissed in Khorne’s eye and he blinked. No effect.
- Mutative Regrowth: Heal 3 damage on the target; never a bad thing.
- Unnatural Grace: +1 to hit rolls for the rest of the battle. I don’t need to tell you how good this is.
- Lurid Aura: Gain a 6+ ward save, or a 5+ ward save if you already had one.
- Slaughterer’s Might: Add 1 to the Rend characteristic of that unit’s melee weapons. Even your humble Darkoath yabbos will be a bit more frightening with this effect.
- Champion of Chaos: Pick any other effect.
Marks of Chaos
As ever, we have a mark for each Chaos god, as well as one for the undecided undivided amongst you. If you replace or recycle any given unit with a mark, they carry it onto the replacement unit. Some units have a mark already baked into their Warscroll, while most we get to mark ourselves.
- Undivided: Add 1 to wound rolls against hero and monster units. This is… fine? It’s not a bad thing to have and you don’t have to pay for it, it’s just situational.
- Khorne: Gain an extra attack when the unit charges. Your units will be charging, ideally quite often.
- Tzeentch: Gain a 4+ ward save against mortal damage from spells and Manifestations. This is not very good. Most spells are far more dangerous in the ways they augment units, not in the damage they put out.
- Nurgle: Subtract 1 from wound rolls for combat attacks against this unit. Slaves to Darkness can already be a tanky faction, and this makes them all the tankier. This is a genuinely great mark.
- Slaanesh: Add 1 to run and charge rolls. A bit of extra reliability is never a bad thing.
Battle Formations
Slaves to Darkness already were more of a loose confederation of tribes and warbands than anything so organized as a Stormhost, so the change from named subfactions to generic Battle Traits is a small one. Still, of the four we have to choose from, there’s plenty of room for a flavorful and thematic horde of your favorite spiky weirdos. Unfortunately, there’s some stinkers in here, but with one reliable choice and two situational ones, you should find your way.
Legion of Chaos
The archetypical Chaos force, this rewards you for having multiple varieties of hero in your army. So long as a Warriors of Chaos hero and a Darkoath or Daemon hero are on the table, add 2 to the control scores of friendly Slaves to Darkness units outside of your territory. This is an aggressive faction, so getting that big boost to control in the parts of the table you already want to be in is pretty great.
Godswrath Warband
This turns the map into a mortal damage minefield. Once per turn, at the end of your turn, pick any objective contested by friendly units, and place a defiled token next to it. Roll a D3 for every enemy unit also contesting it, and on a 2+, do that much mortal damage. Doing 2-3 mortal damage to a unit as Tzeentch’s pinky finger comes is cute, but as the tokens remain for the entire game, that mortal damage will add up. By game’s end you’ll have up to 5 of these little mortal damage bombs going off each turn. Get on some midfield objectives early to maximize the damage here.
Despoilers
This one’s for your Daemon Prince’s personal hype squad. After a Daemon Prince fights, pick a friendly non-hero beast or monster unit and they can fight immediately afterwards. If you’re going for a monster mash list, this could be pretty gnarly, but most of the better monsters in the army are also heroes who can’t benefit from this.
Darkoath Horde
This is the old Rally the Tribes ability given a new coat of paint. Once per turn, if you roll a 3+, you can bring back one of your destroyed Darkoath units at half strength. It requires a Darkoath hero to be alive, and doesn’t work on unique units. The interesting thing is that they come back wholly within 6″ of any battlefield edge and only have to be 3″ away from any enemy units, so even if it’s just a small mob of Marauders coming back, they can threaten a backfield objective or come back somewhere for an easy charge.
Heroic Traits
A mix of buffs for your hero and the folks around them, one definitely comes out ahead of the rest. You might be noticing a theme on that last bit.
Favoured of the Pantheon
Roll on the Eye of the Gods table when you deploy this hero. It’s a nice way to get a random buff early on, but might not be the best use of your one Heroic Trait.
Deathmonger
Once per game, this hero can choose to fight a second time. When they do that second round of attacks, they have Strike-Last. If you need something dead and think you can weather the clapback, two rounds of combat should do it.
Radiance of Dark Glory
In any hero phase, roll a die for each damaged friendly unit wholly within 12″. On a 3+, heal 1 damage, or 3 if they’re a monster. Support abilities like this aren’t too common with Slaves to Darkness, and healing is always welcome. Note that it’s just healing, not bringing back lost models like the Rally command, so it’s going to get more mileage in an army of the plate mail and horned helmet variety than a Darkoath horde. In a monster mash Despoilers list, it’s a no-brainer.
Artefacts of Power
There’s a trio of artefacts to choose from, with one fantastic choice, one situational choice, and one that’s decidedly not great. Which is which? You decide!
Infernal Puppet
Once per battle, you get to point at an enemy wizard within 24″ and make their day a little worse. Each time they cast a spell, they take D3 mortal damage, and if this kills the wizard, it cancels the spell. Doing D3 wounds once per game isn’t amazing, but the ability to potentially cancel a spell sounds handy. The challenge is finding a wizard damaged enough that a single point of damage could potentially kill them, and if your opponent is making any effort to protect their spellcasters, that won’t happen.
The Conqueror’s Crown
Any enemy infantry units in combat with your hero subtract 5 from their control score. Nothing says “this objective is mine” like the Conqueror’s Crown, and it has the added benefit of being an always-on passive ability. This is the most obvious choice for a combat hero, and it’s going to be hard to compete with.
Realmwarper’s Twist-Rune
This basically sets a piece of terrain on fire. A terrain piece within 12″ of your hero gains the Obscuring ability, and you roll a die for any models – yours and your opponent’s – within 1″. On a 5+, their unit takes 1 mortal damage. This is a weird artefact that feels like it could either shut down shooting from a key unit, do a bomb of mortal damage, or do absolutely nothing. If you know your store has some huge pieces of terrain that you could target with this, maybe it could be funny.
Spell Lore
All three of these spells have genuine use cases, from support spells to surprisingly effective damage dealers.
Spite-Tongue Curse
Returning from the previous edition, this is a simple damage dealing spell with a funny twist. Casting on a 5+, it does a flat 3 mortal damage to an enemy unit within 12″, and it’s Unlimited so you can just keep hucking magic missiles out there. However, if it fails to cast or gets unbound, your wizard takes D3 mortal damage. The Dark Gods giveth, and the Dark Gods taketh away.
Binding Damnation
A simple but effective debuff, this spell hands out the Strike-Last effect to an enemy unit within 12″. It casts on a 7+ so it’s not the easiest to hit, but will come in handy.
Daemonic Speed
Also casting on a 7+, this spell gives an extra die to charge rolls for a friendly unit within 12″, to a maximum of 3d6. Increasing the threat range of your slower units on foot is great, and means your cavalry can easily get turn 1 charges.
Manifestations
All of these manifest on a casting roll of 7+.
Darkfire Daemonrift
This is a floating flamethrower, empowered by every spell cast within 12″ of it. They can gain up to 6 attacks for their Darkfire Torrent from this, which does some reasonably reliable chip damage. It’s far less effective in melee, but can still shoot in combat to take advantage of its passive ability. It sets up wholly within 12″ of the caster, but more than 9″ from enemy units. It’s alright, but isn’t doing much your choppy units can’t.
Eightfold Doom-Sigil
If 2 or more units were destroyed in a turn, all friendly Slaves to Darkness units wholly within 12″ of this thing get an extra attack. Note that these are friendly or enemy units, so even if your chaff Darkoath units get mulched their sacrifice won’t be for nothing. Unfortunately it’s in a turn, not a battle round, so empowering your units might be a bit tricky, involving some careful attack sequencing to get the most out of it. Unlike the other Manifestations of Malevolence, this can drop anywhere wholly within 12″ of the caster, no need to worry about enemy unit placement.
Realmscourge Rupture
This has to be set up wholly within 12″ of the caster, and also outside of 9″ of any enemy units. However, it can then scoot itself up 9″ and charge, where it puts out a hugely variable number of attacks. You really want it charging – Roll a D6 for each model in the unit you charge, and on a 6, they take a point of mortal damage. If any models die from this, that unit gets a -1 to hit debuff for the rest of the turn. This is the spell I’m drawn to the most here, as the damage output and debuff are handy and easy to set up.
Faction Terrain
Nexus Chaotica
This piece of impassable cover is built around a resource called power points. In your hero phase you gain D6 points, to a max of 12. Spend 3 to give a friendly wizard within 3″ a +1 bonus to casting rolls. If you save up a bit, you can spend 9 to pick an objective or terrain feature within 24″ and turn it into a mortal damage bomb. Roll a D3 for every enemy unit within 3″ of your target, and on a 2+ they take that much mortal damage. It might take a couple turns to set this up, but it can absolutely soften up an objective or turn a big piece of cover into a massive deathtrap. Combo this with Realmwarper’s Twist-Rune if you want to see what a natural disaster looks like in the Mortal Realms.
Warscroll Spotlights
We don’t have time to go into every unit in the faction, but we’ll pick a few interesting or useful units you might want to take in your army.
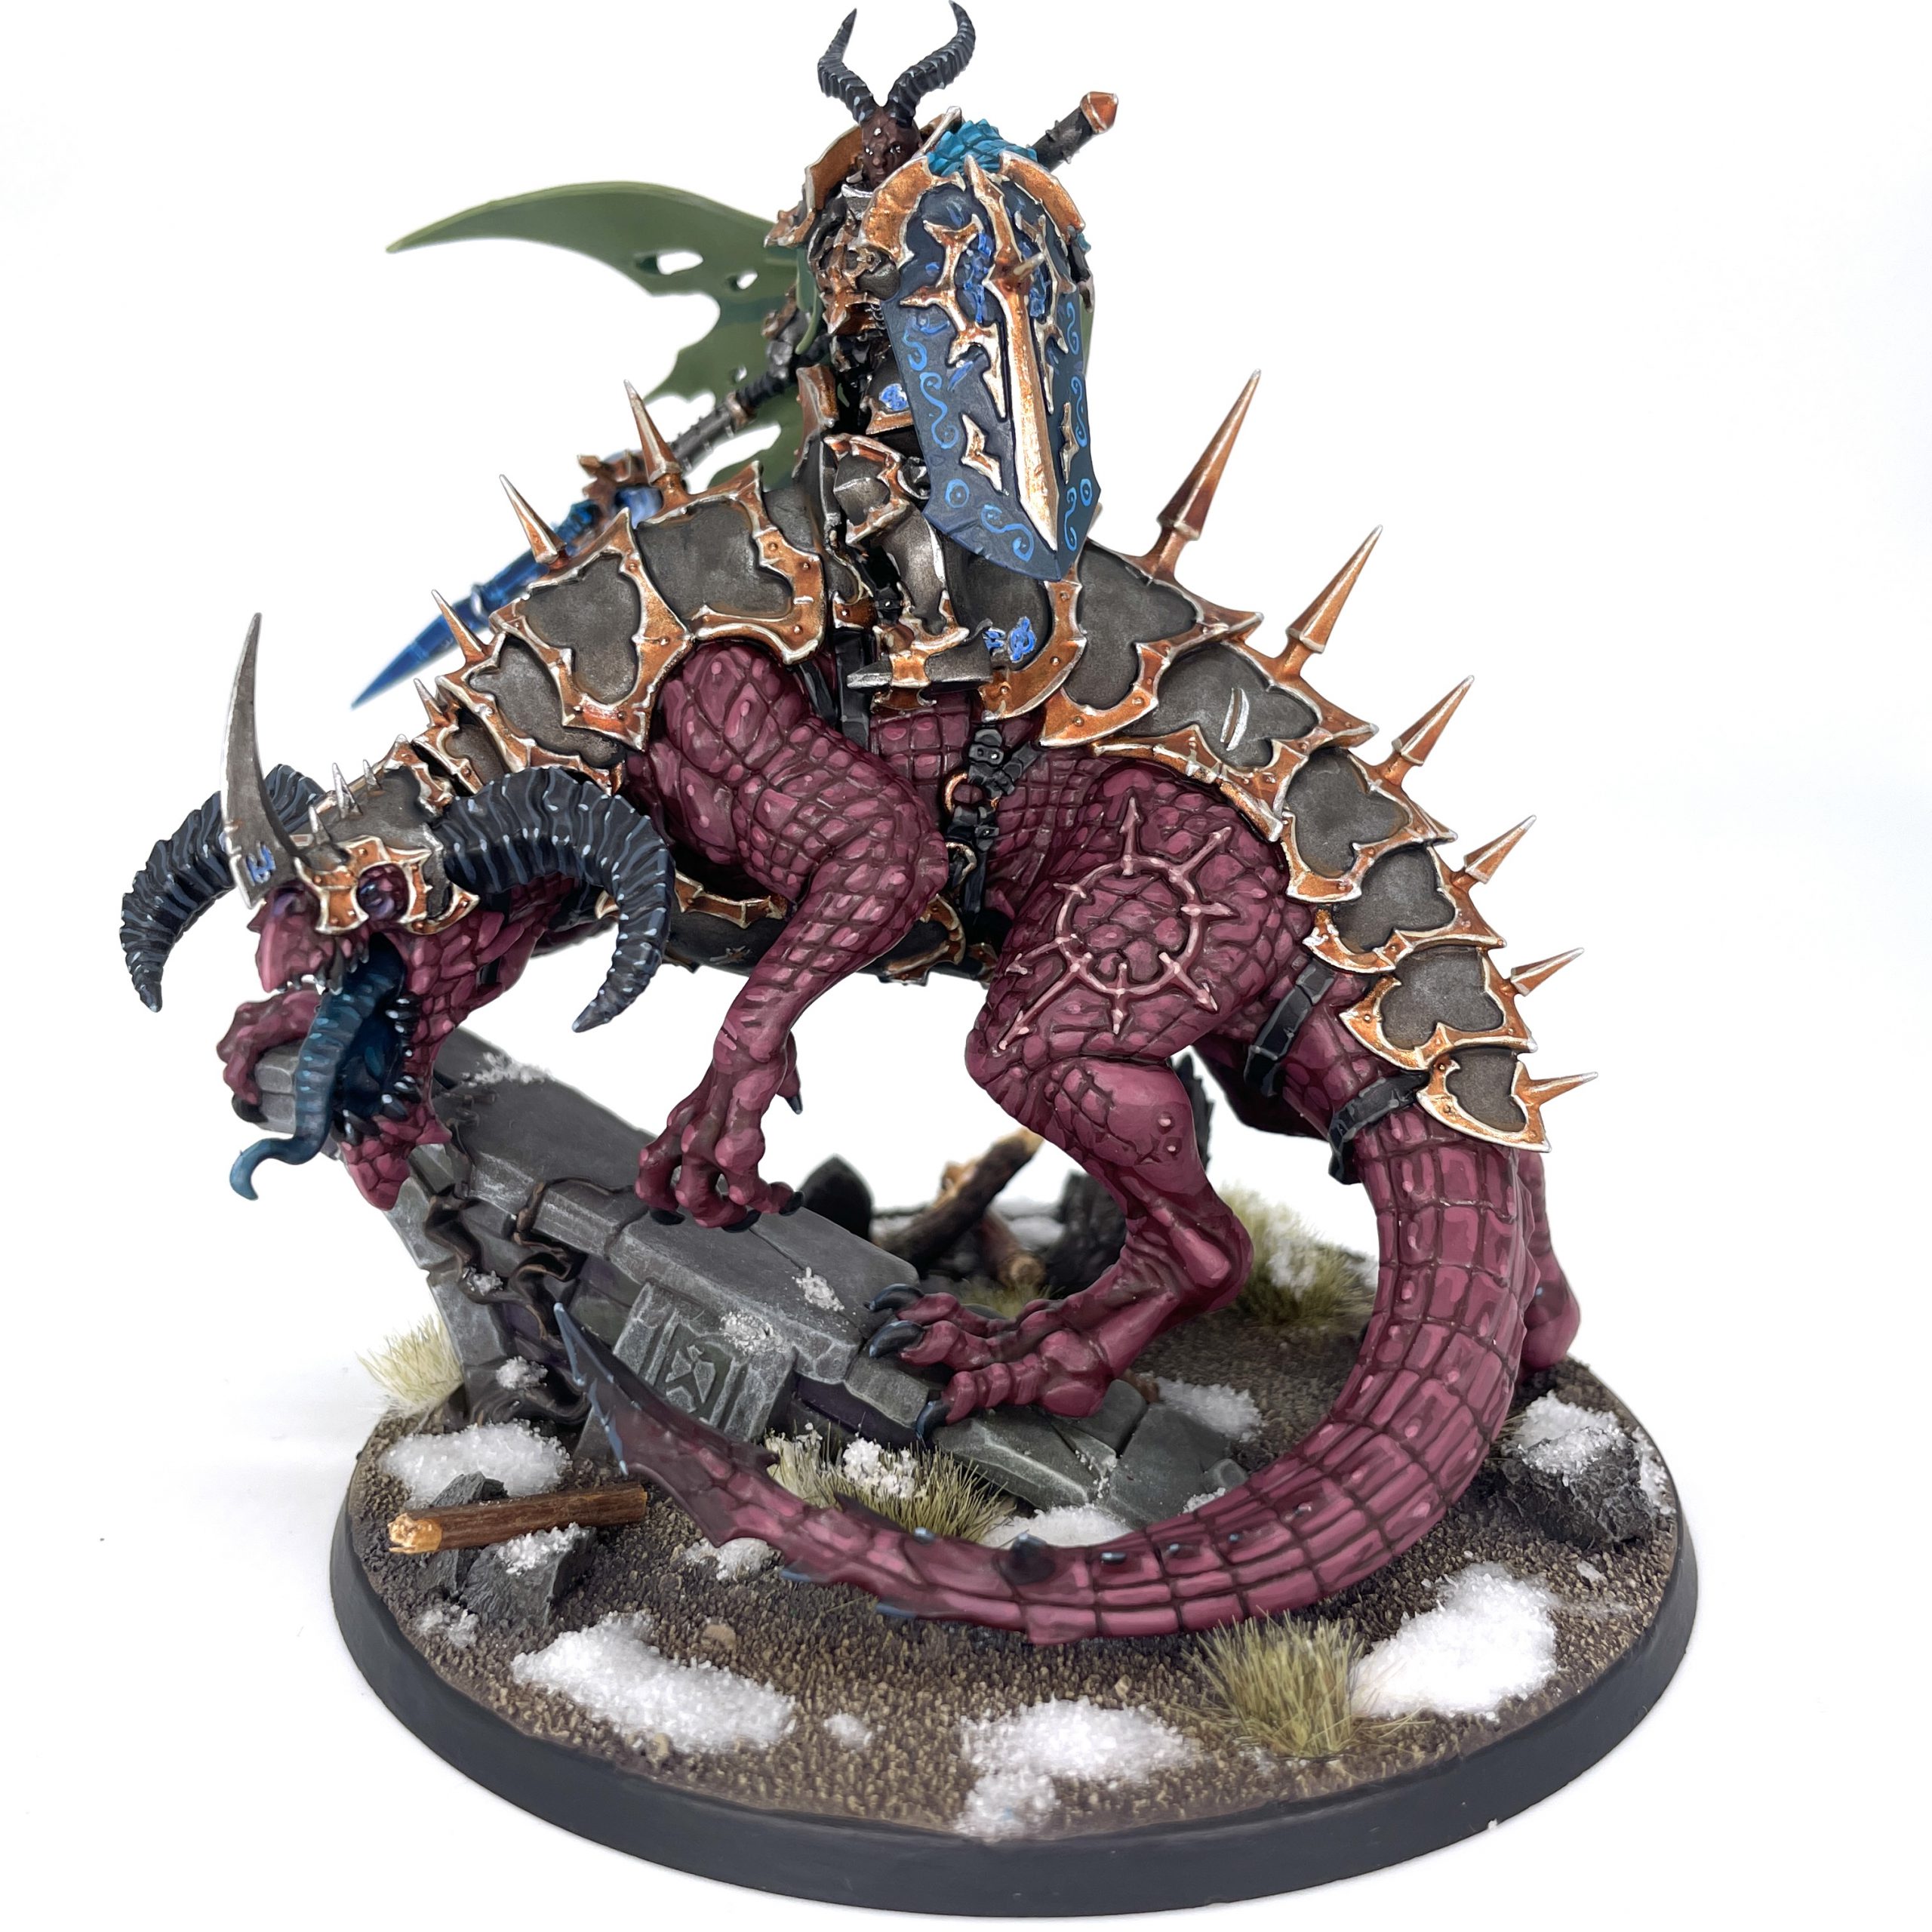
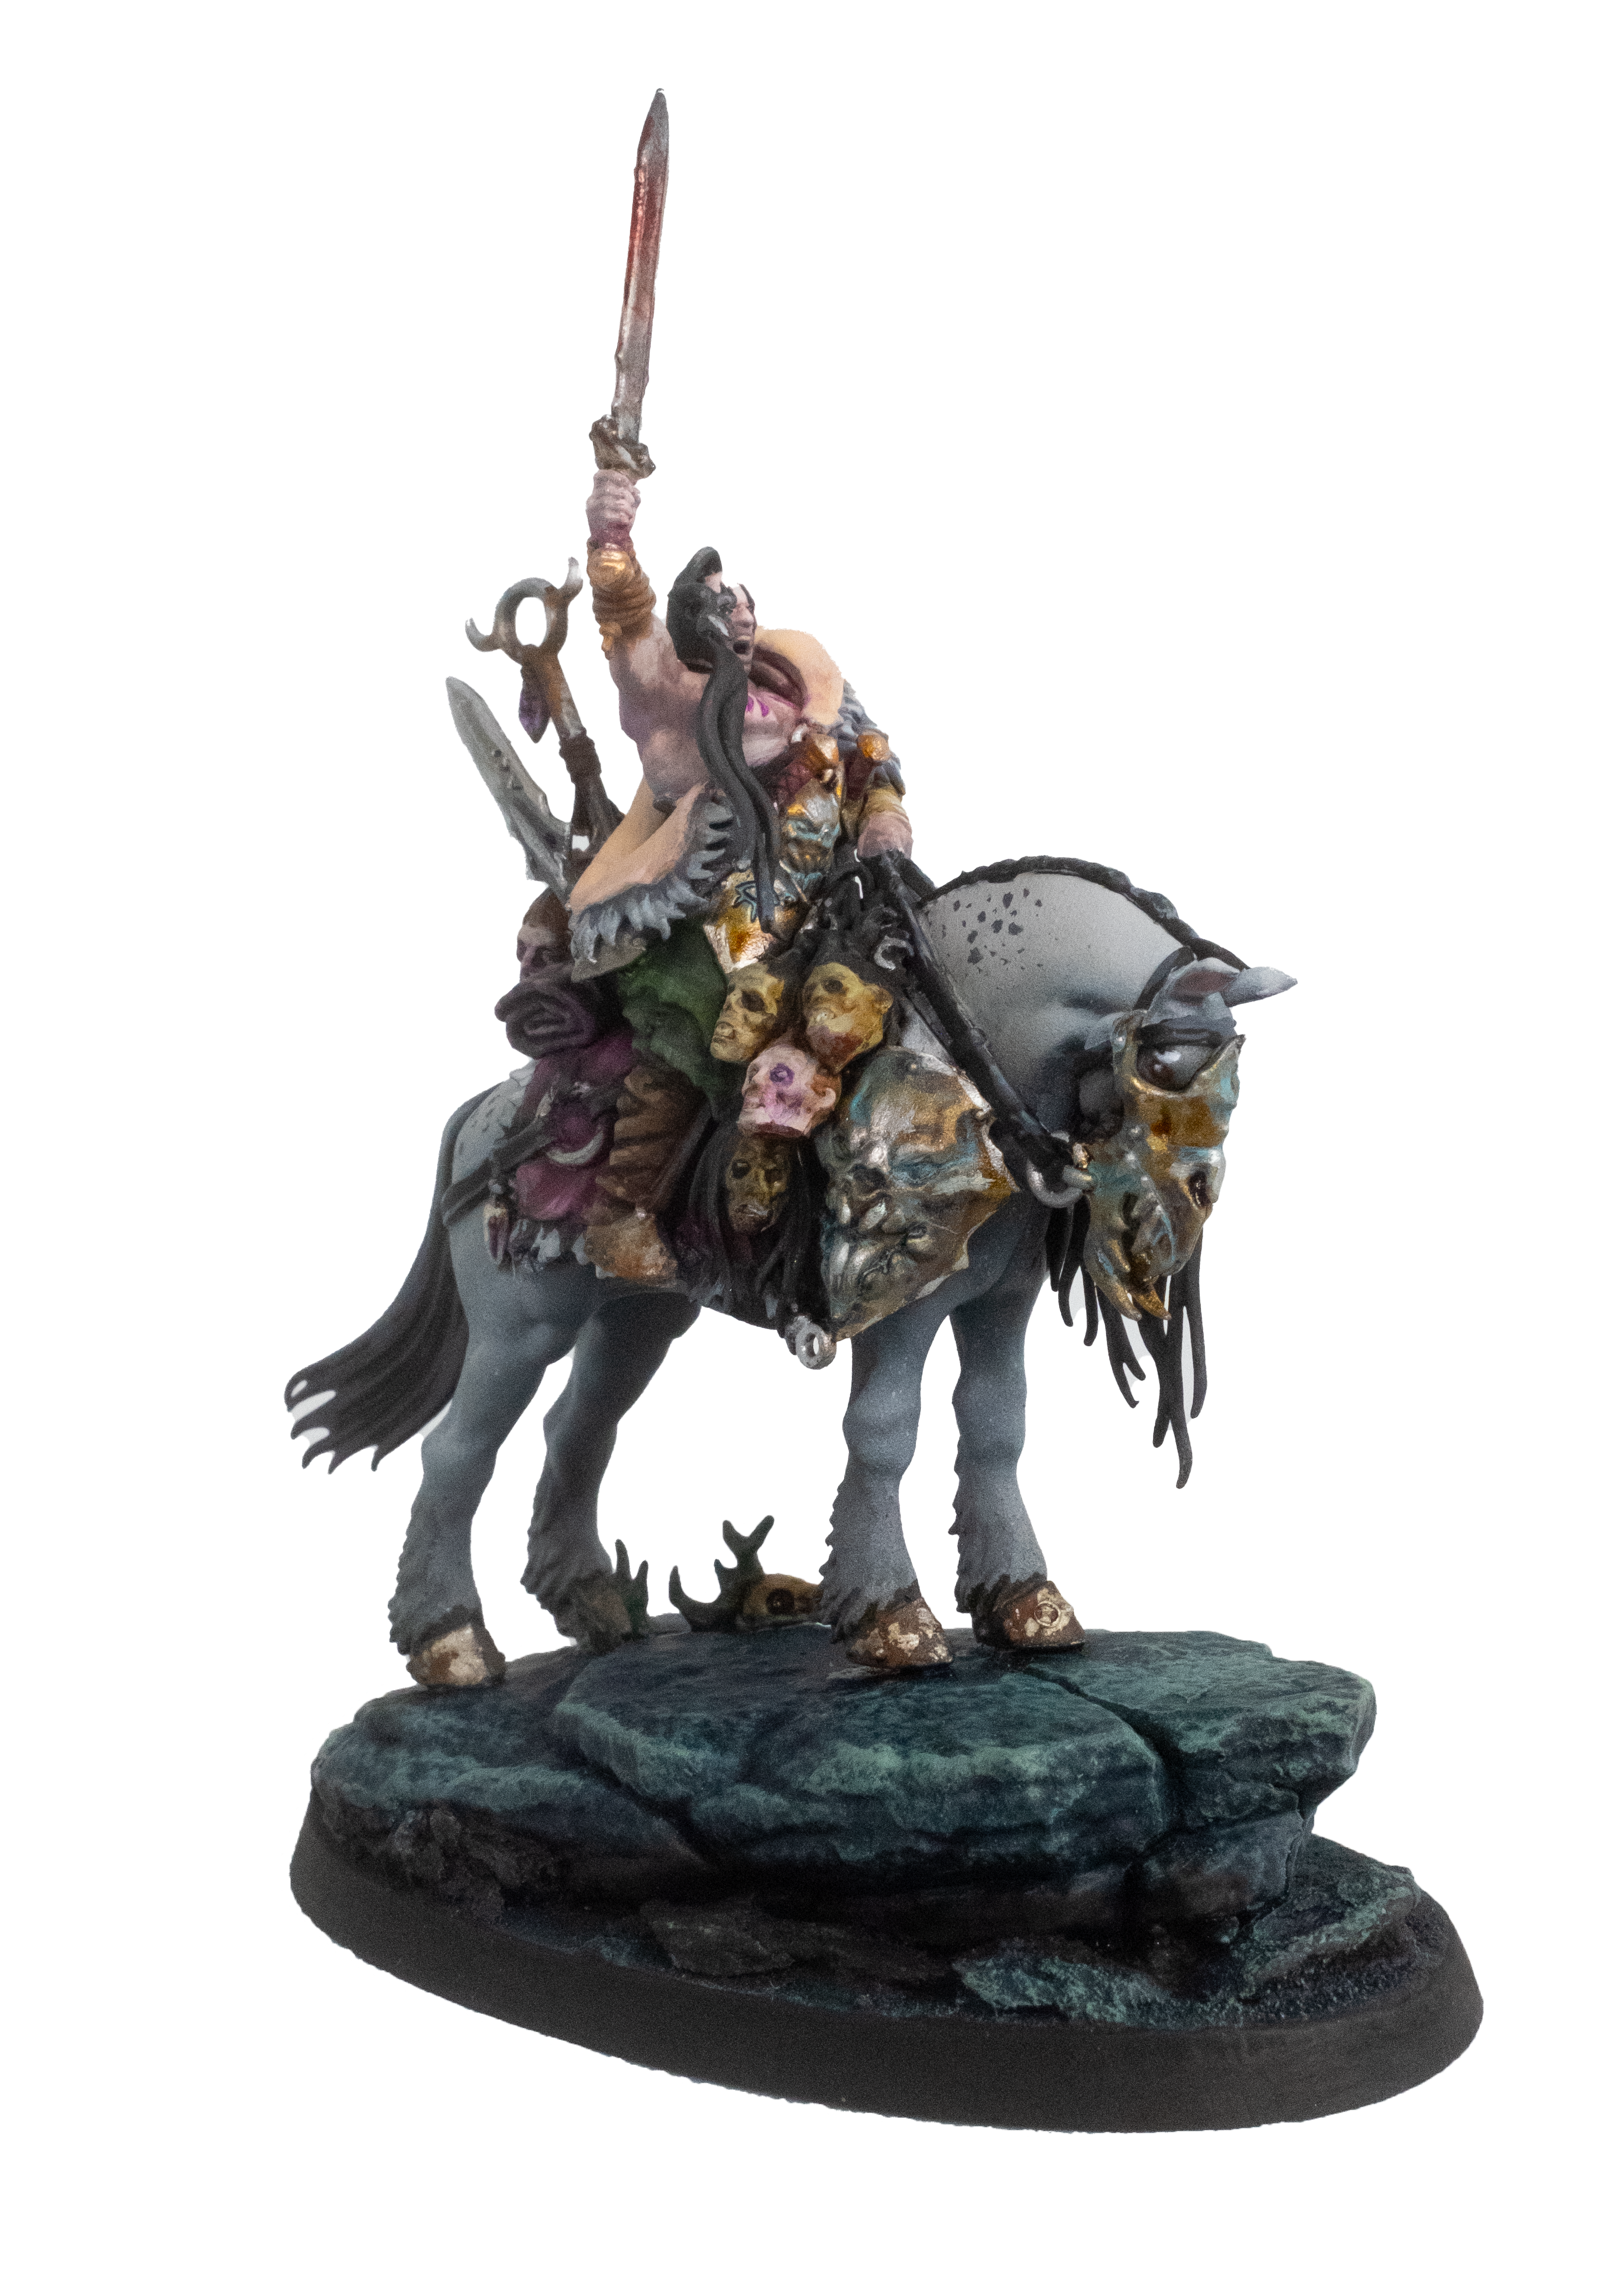
Abraxia, Spear of the Everchosen
Abraxia has a statblock befitting her gorgeous model, with a ton of high quality attacks that only get meaner on the charge or against a hero unit. She’s also quite hard to kill, and anytime she does take a point of damage, her Thanatorg can bleed on the attacking unit for some extra mortal damage. Her wildly variable spear, Gorbolga the Accurs’d, can do anything from causing a mortal damage to her to making her spear a damage 3 (or 4 on the charge!) weapon that does mortal wounds on crits. On a 3+ she can debuff the attacks characteristic of an enemy hero in combat with her by 1, and if a friendly Varanguard unit within 12″ of her uses their Relentless Killers ability, their second round of attacks no longer has the Strike-Last effect. She’s huge, durable, dangerous, even more dangerous against heroes and monsters, and makes one of the nastiest units in the army even nastier. What’s not to love?
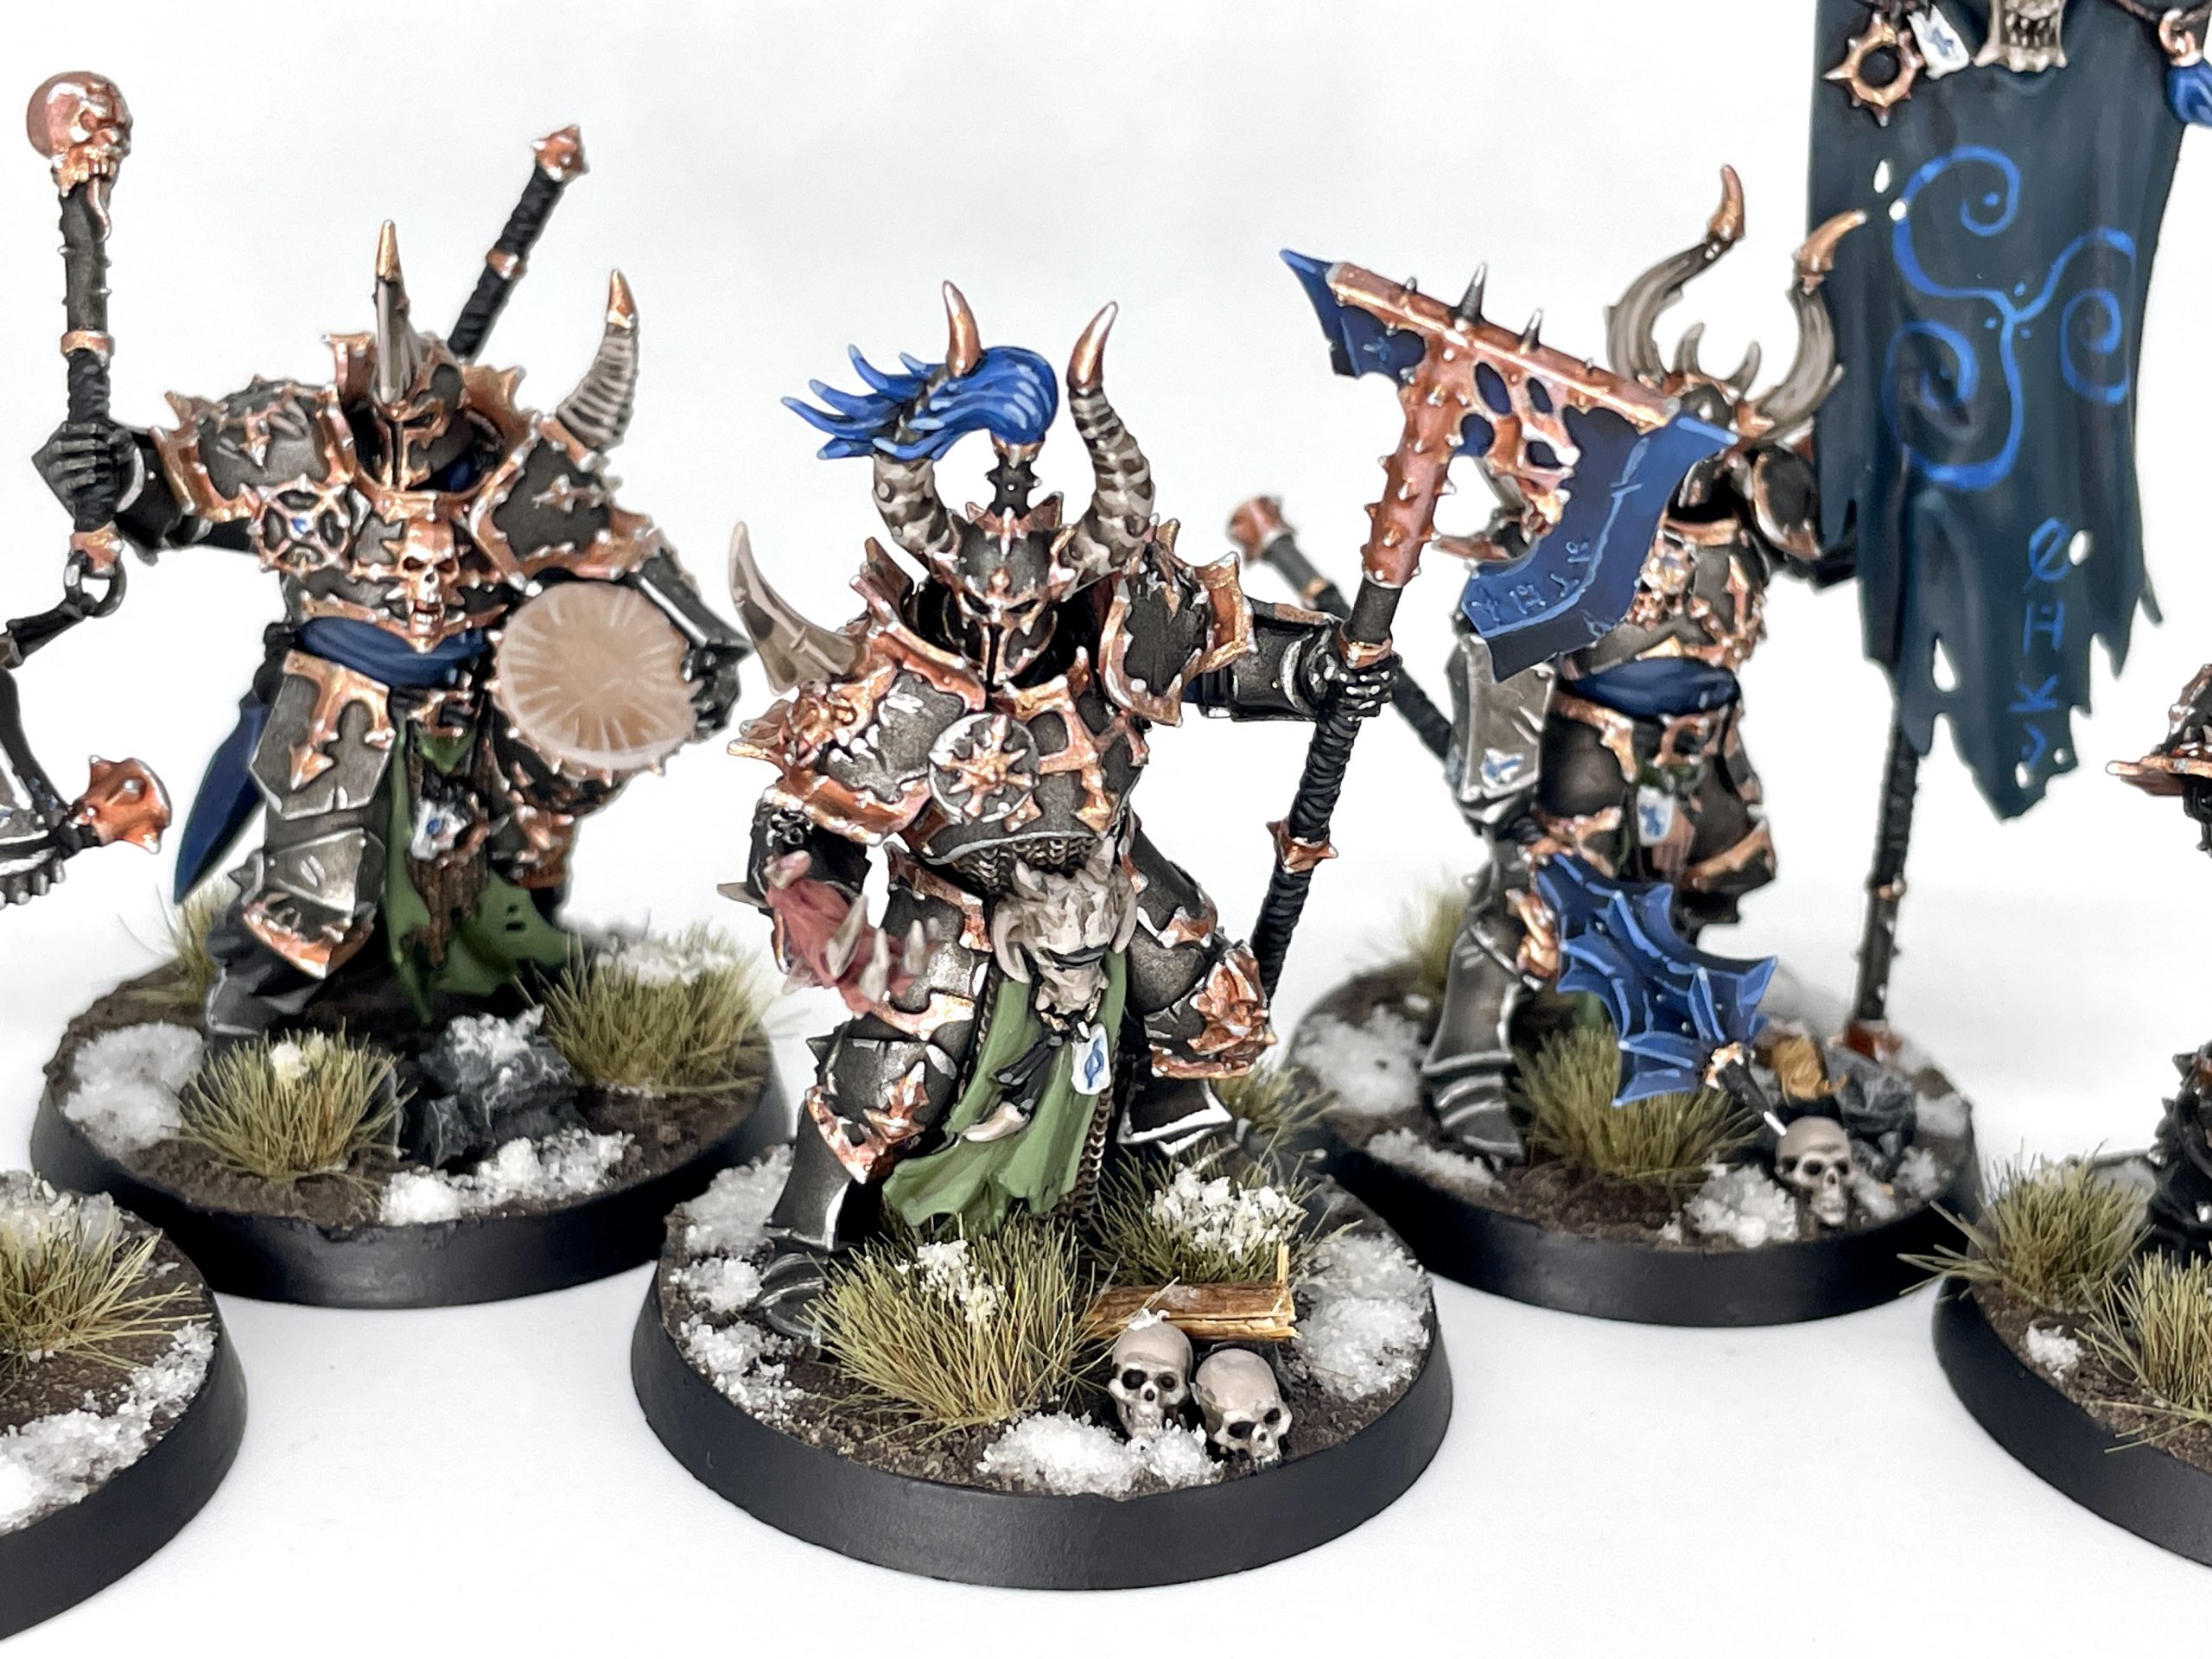
Chaos Chosen
Chosen have changed very little since their previous iteration, and that’s a good thing. They’re still tough troops with 3 wounds a piece, a good number of high quality attacks that cause mortal damage on crits, and once per game they can fight twice – albeit with Strike-Last on the second swing. Rev these suckers up with a Daemonic Speed spell and hurl them into your opponent’s army like the wrecking ballers they are. Take Mark of Khorne for even more brutality, or ensure that they do not die with the Mark of Nurgle.
Varanguard
What if Chosen were on dinosaur horses from hell? They unfortunately don’t have any command models, but somehow hit even harder than Chosen, potentially doing 3 mortal damage per crit on the charge. Mind you that the bonus to damage on the charge still applies during their once per battle ability to fight twice, Relentless Killers, so make the most of it. Ride them up alongside Abraxia, and enjoy playing Battletome: Bowling Ball. Also note for anybody who had these in previous editions: all their weapons are the same now, so don’t worry about building them with one weapon option or the other.
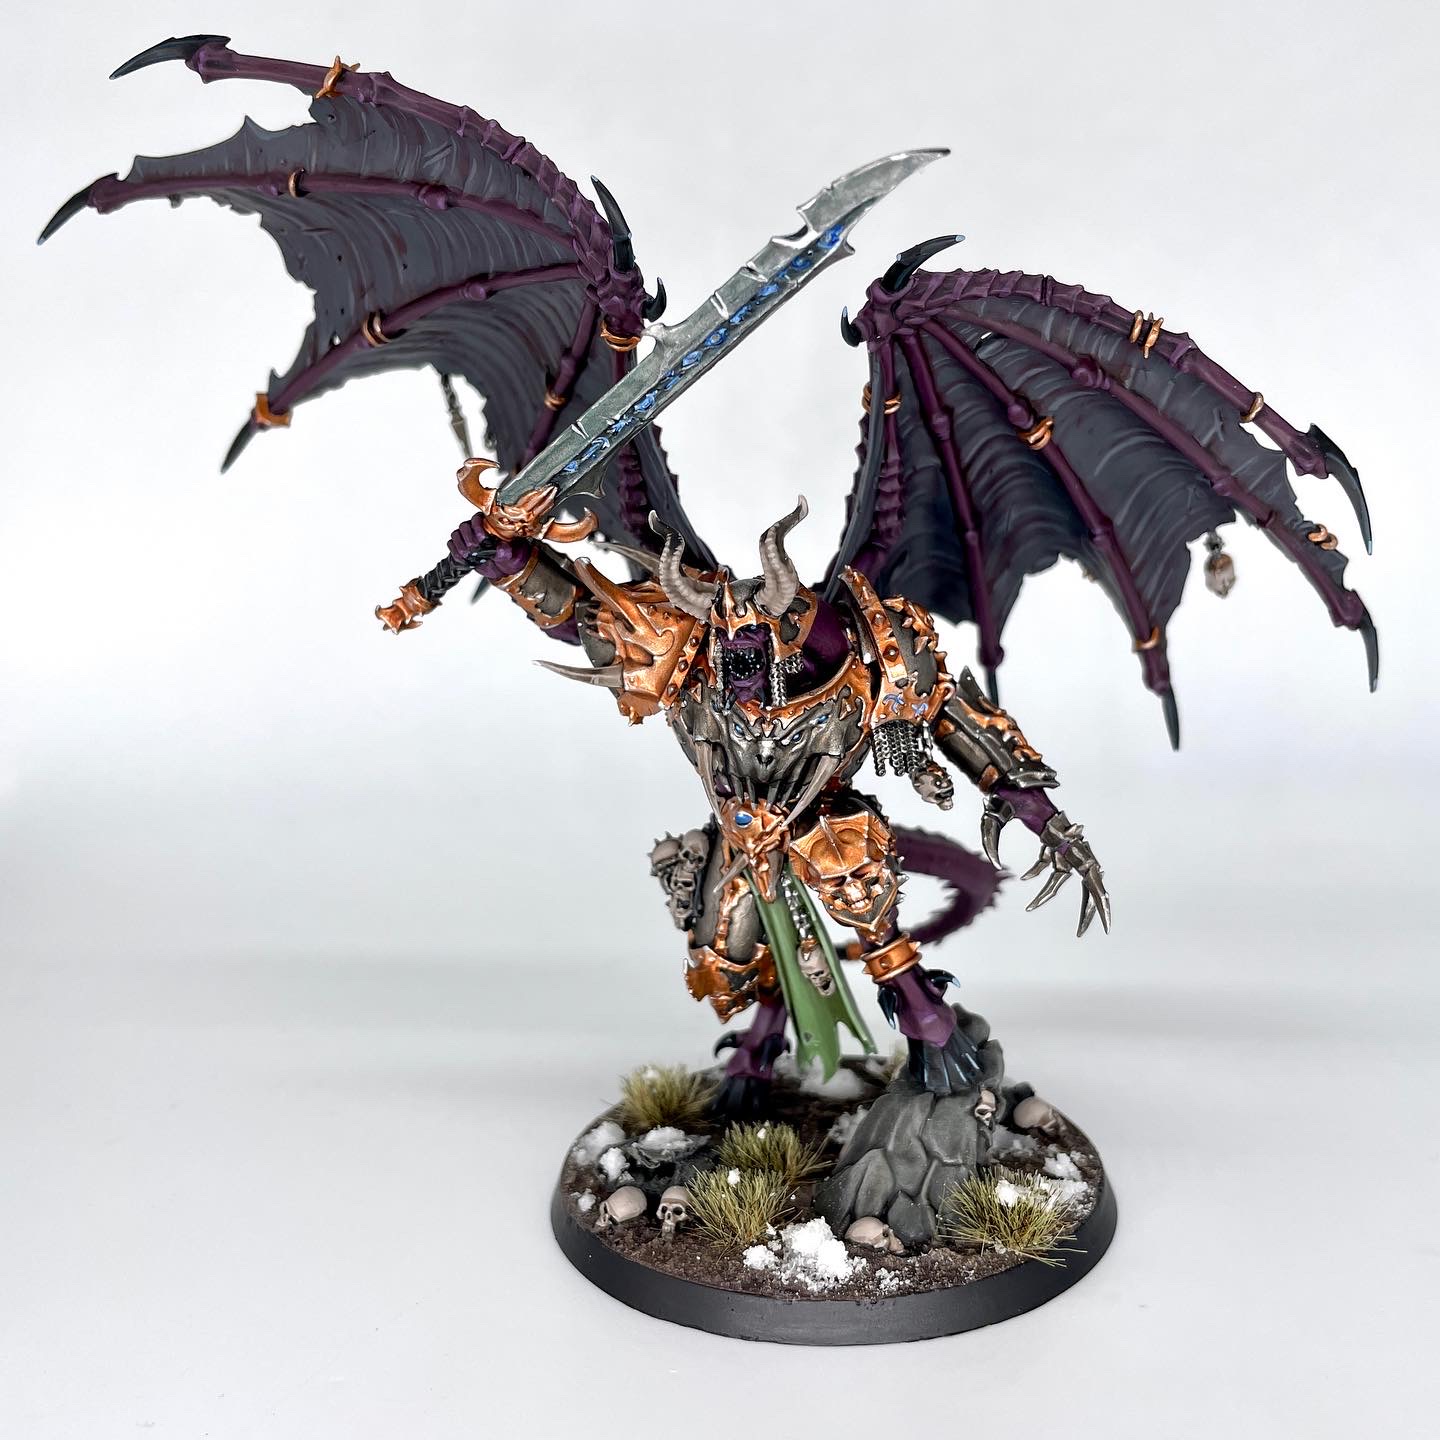
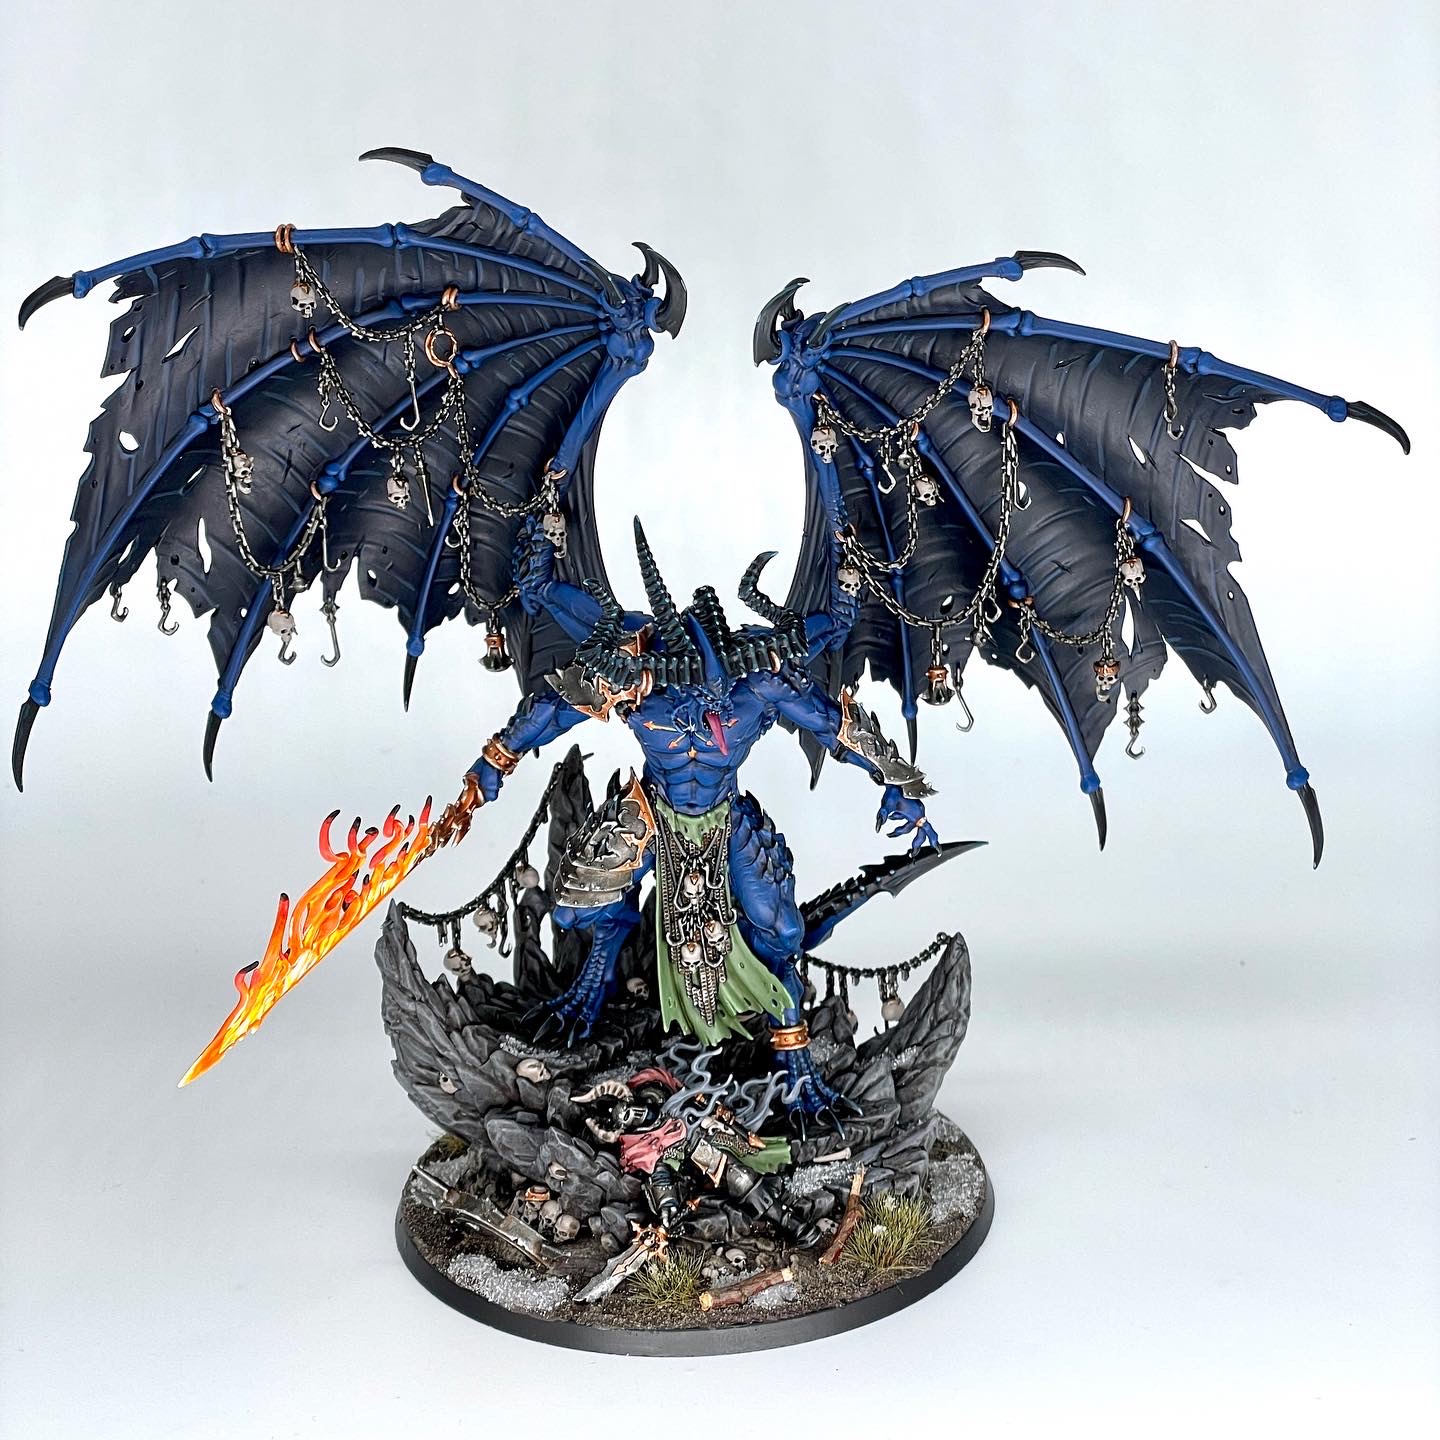
Be’lakor the Dark Master
The big man got a glow up in the damage department, suddenly becoming a far more credible threat in combat. On top of that, he’s got an entire bag of tricks to buff and debuff units as he sees fit. As ever, he’s got an unmodifiable 4+ save and now a 6+ ward save on top of that, so he shouldn’t be too squishy. Once per turn he gets to pick himself and 2 friendly Slaves to Darkness units within combat range of him, and each unit gains the Strike-First effect on a 4+. It’s a bit swingy, but if he’s brawling up front with your main push, suddenly getting a bunch of Strike-First attacks will be huge. He also maintains his fairly rude The Dark Master ability, where once per game, in the enemy hero phase, he can pick a unit he can see on the battlefield. Until your turn, every time they try to use an ability, you can cancel it on a 3+. This will happen after your opponent’s hero phase abilities, so they’ll still get any sort spells or prayers off, but this can hobble a key unit for a turn, or shut them down completely. Speaking of spells, he’s a Wizard (2) and has a great Warscroll spell: Enfeeble Foe. Casting on a 6+ and targeting a unit with 18″, subtract 1 from that unit’s hit rolls and deactivate their ability to score critical hits. Those rolls of 6+ will still hit mind you, but any auto-wound, mortal damage, or other effects get turned off. This is a great defensive ability, and it can be paired with Binding Damnation to shut down a unit.
Chaos Warshrine
The only Priest in the army, this big war machine is also the one that keys off Marks of Chaos the most. On a chanting roll of 4+, you can choose a friendly unit wholly within 12″ that shares a Mark with this unit. On an 8+, choose 2 units instead of just 1.
- Undivided: Roll 3 additional dice when using the Rally command. That’s pretty good!
- Khorne: Add 1 to hit rolls for that unit’s attacks. This means your extra attacks on the charge will be more accurate than ever.
- Tzeentch: Gain a 5+ ward save. The Mark of Tzeentch is kind of butt, so you likely won’t take this, and the Warshrine already hands out a 6+ ward save to units wholly within 12″, making this somewhat redundant.
- Nurgle: Add 1 to wound rolls for your unit. Now they’re just as killy as they are durable.
- Slaanesh: Add an extra d6 to the number of dice rolled for charges. Rev em up and let em fly! Pair this up with a Daemonic Speed and get 2-3 units up in your opponent’s grill real quick.
The Path to Glory
Slaves to Darkness are a faction that really loves its combos, but most units are good enough on their own that they can still hang. There’s loads of viable builds here, from barbarian hordes to highly elite cavalry armies, with plenty of room between. As ever, Tzeentch doesn’t really have a great place in this army, and comes up short when compared to the other Marks. There are also some fairly obvious winners and losers when it comes to the various Battle Traits and Enhancements, but they’re fortunately all being applied to some solid Warscrolls. Much like the Stormcast Eternals, this army has the resiliency to make up for a beginner’s mistakes, but a more experienced general can absolutely combo this army to victory.
Have any questions or feedback? Drop us a note in the comments below or email us at contact@goonhammer.com. Want articles like this linked in your inbox every Monday morning? Sign up for our newsletter. And don’t forget that you can support us on Patreon for backer rewards like early video content, Administratum access, an ad-free experience on our website and more.
