
Hey everyone! I got to take my dinosaurs out for a walk at another Conquest: Last Argument of Kings event and would like to share another event writeup. This took place at Wargames Workshop in Milton Keynes, UK, an awesome venue with lots of breakout rooms, a great supply of nerdy things and most importantly a bar and kitchen!
This was a 1500 point event with 18 players over three rounds. Slightly smaller than other events, but they’ve been popular in growing the community with more approachable game sizes. I once again took my W’adrhun, having made some changes inspired by one of the Adepticon lists running two Apexes! My list was as follows:
The W’adrhŭn
== (Warlord) Matriarch Queen [135]: War, Beads of Death, Stoic
* Braves (8) [310]: Standard Bearer
* Apex Predator (1) [190]:
== Predator [165]: Famine, Mantle of the Devoted, Voice of Conquest, Ceaseless Hunt, Marksmanship
* Hunters (4) [210]: Flint Knapper
* Blooded (3) [150]: Tracker
* Apex Predator (1) [190]:
* Blooded (3) [150]: Tracker
A lot of orcs backed up with a pair of big dinosaurs! The rough plan was to try and pressure the early game with the monstrous Hunters and Predator, using three activations from Conquest to take out early threats. The Big Block of Braves is in the running for the most durable unit W’adrhun have, a great anvil to hold up some of the nasty monsters floating around. The pair of Blooded and the Apexes are there to flank and support the Braves, to score or to otherwise go after other problems with a little support.
Game 1 vs Nords
I drew against my local Vanguard Ram for round 1 with his beautiful Nord army. Two glass cannons is always a tricky match, and playing Head to Head there’s aways the risk of overcommitting to the central zone and letting a fast opponent get onto your back zone for late game scoring. His list was as follows:
Nords
== Shaman [85]: Prize Silver
* Raiders (6) [225]: Captain
* Sea Jotnar (1) [240]:
== Vargyr Lord [145]: Reyngeir, the God Spear, Overkill
* Fenr Beastpack (4) [180]:
== Blooded [145]: Crow, Coils of the Serpent, The Hunt’s Instinct
* Bow-Chosen (5) [330]:
* Ugr (3) [150]:
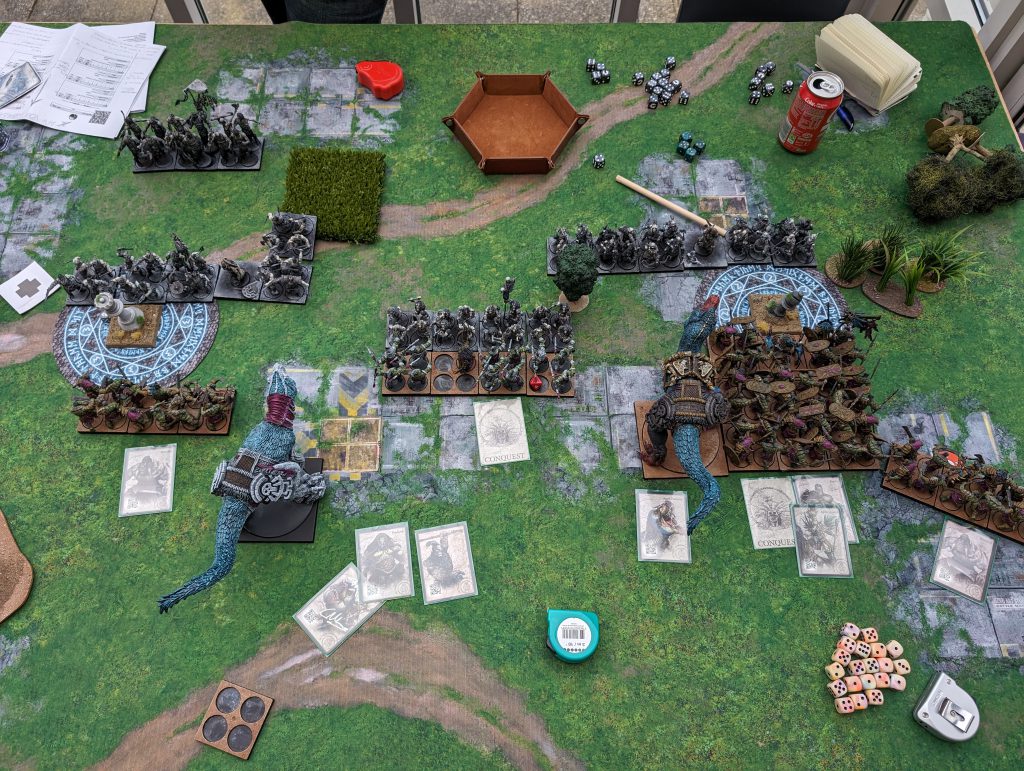
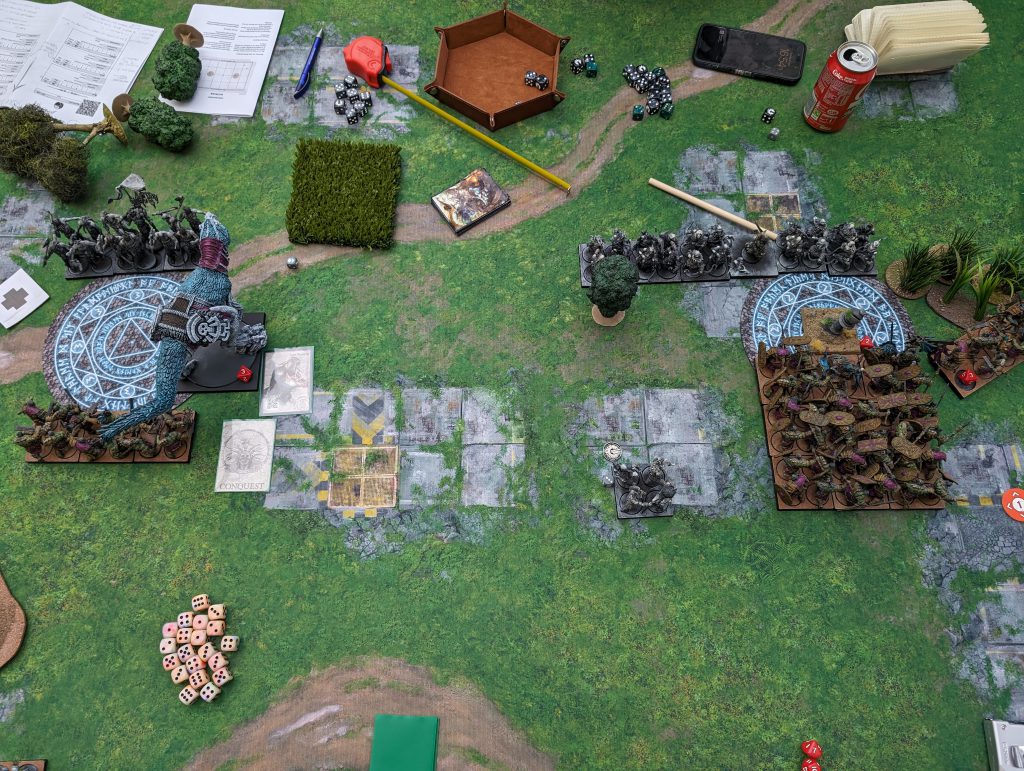
In the early game we both deployed our ranged deathstars centrally, Bow Chosen against Hunters. Unfortunately for the Nords the Loose Formation rule gave the Hunters the edge who started whittling away the Bow Chosen whilst being healed by the Matriarch Queen. The Braves rushed up the right flank to try and position more stands in the neutral zone than could be reasonably contested against. I won the race in Turn 3 and started scoring the neutral zone each turn, though in threat range of the Raiders and Jotnar.
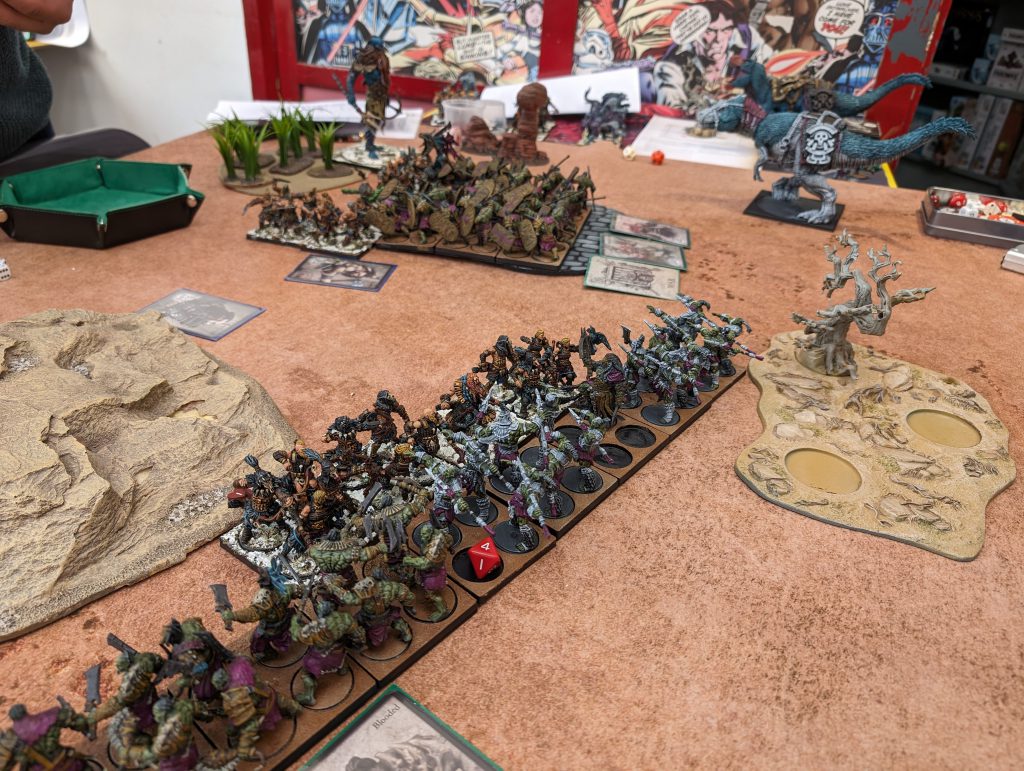
I managed to Charge into the Raiders in such a way that the Jotnar couldn’t charge through the corner of his own Raiders, so I elected not to Clash in order to avoid creating the charge lane. Similarly I positioned an Apex ready to counter should he March/Charge the Jotnar into the Braves’ flank, creating a stand off where I was scoring points. The Bow Chosen charged into the Hunters to tie them down, but a good Clash from the Hunters managed to clear them away before more damage could be done.
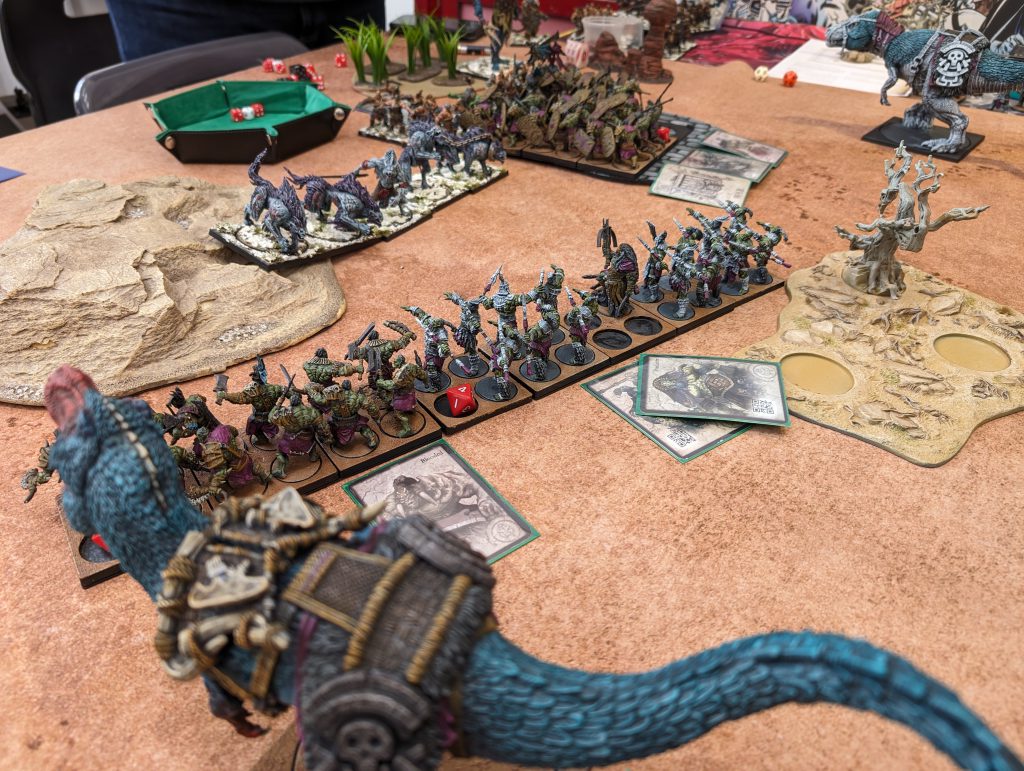
The Fenrir rushed in on Turn 4 to the Hunters, managing to gain Supremacy and easily wipe them out with their Charge. This did allow my second Apex and a unit of Blooded to counter charge, wiping out the unit in return. The Jotnar decided to commit into the Braves, but the combination of Blessed from chanting War, artefacts allowing auto-successes on both a Defence and Resolve check and the Matriarch making the unit immune to Terrifying mitigated any meaningful damage. The Apex charged the Jotnar in the flank, but left it alive on 3 Wounds and letting it gloriously execute the Apex in return. It was too little too late however as the Braves wiped out the Jotnar and Raiders, leaving W’adrhun to score the remainder of the scenario points leading to a 59-6 Victory for W’adrhun!
![]()
![]()
This game saw my units achieve more or less everything that they wanted. The Hunters set early board pressure, the Braves hunkered down on an objective and the Apexes ganged up on opportunity units to help finish them off without getting bogged down in single combat. Ram was a great sportsman throughout and kudos to him for keeping good spirits throughout. Onto the next game!
Game 2 vs Sorcerer Kings
My second game was against Chris, who normally plays Old Dominion but had managed to assemble a Sorcerer Kings list for the event! Very exciting to test against the latest faction and see some incredible model kits on the table. His list was as follows:
Sorcerer Kings
== Maharajah [175]: Shu’laat, Court of Air, Elemental Feedback
* Rajakur (5) [200]:
* Efreet Flamecasters (4) [210]:
== Raj [190]: Eye of the Blazing Tempest, Lord of Conflict, Bound to the Elements
* Efreet Sword Dancers (6) [320]:
== Sorcerer [130]: Dancing Scimitar, Court of Fire
* Ghols (3) [110]: Born of Flame
* Rajakur (4) [160]:
Some chats about how Rituals worked and the role of the units helped get an idea of what the list was trying to do: support that giant block of Swords Dancers with triple activations into whatever he wanted and demolish it! Backed up by some potent spellcasting from the three characters in the list.
The scenario was Forlorn Hope, rewarding lots of scoring elements across the number of zones in play. I started by pushing my Hunters up centrally to attack the closest Objective, with him using a spell on his Light Gols to score a zone on Turn 2. I committed my Braves up the right side against his Sword Genie block, hoping to pin them back as the biggest threat to my forces.

Whilst this was going on he March/Charged his Gols into my Hunters, killing a stand with Aura of Death. I Clashed to leave the Regiment with a single stand on a Wound remaining, but concerned that I would get charged by the Sword Dancers I elected to Withdraw to put some distance. I took another 5 wounds however from the Clean Withdrawal, now having significantly hurt my premium ranged unit!
We tied on Scenario again, Chris using Intrusive Thoughts (the ritual, not in real life!) to remove scoring from my unit and letting him keep the scenario lead. The issue however was when the Sword Dancers got a triple action and charged the Braves. Between Defence 4, Blessed and my free passes I only lost a couple of stands to the big play, and because his unit was so wide I had enough space to push both the Blooded into a flank and the Apex into the front on a counter attack. The combination of these, along with the Braves, allowed me to take out the Regiment in one round and the hardest hitting unit in the list.
The Flamecasters and Rajukar put up a valiant effort, but over a few more turns my Apex and Braves cleared the Right flank. The Flamecasters did kill a unit of Blooded to stop me scoring three zones, but I had forgotten to bring my Apex on Turn 4 so on Turn 5 she came in to sieze the objective back again. In the end, the Sorcerer Kings were tabled (after an outstanding effort from the Flamecasters tobring down an Apex) leaving a 47 – 13 Victory for W’adrhun!
Similar to game 1, the list behaved the way I wanted it to and tied up the big threat with Braves with the dinosaurs ran rampant. There is some pretty awesome tricks and plays to the Sorcerer Kings, and with Chris being very open that he had little experience with them so far I think they’ll be one to watch going forward as more of the faction comes out. Onto the last game!
Game 3 vs Nords
My final game was another Nords matchup, this time against Nigel. His lovely monochrome style Nords had some similarities to the first list, but with a couple of key changes that really affected the dynamic of the game. His list was as follows:
Nords
== Blooded [170]: Crow, Figurehead of the Naglfar, The Horn of Hjoldgar, Long Lineage
* Bow-Chosen (5) [330]:
* Trolls (3) [185]: Standard Bearer
== (Warlord) Jarl [100]: Dragon, Prize Silver
* Sea Jotnar (1) [240]:
* Ulfhednar (4) [265]: Standard Bearer
* Raiders (5) [210]: Standard Bearer, Shield Biter
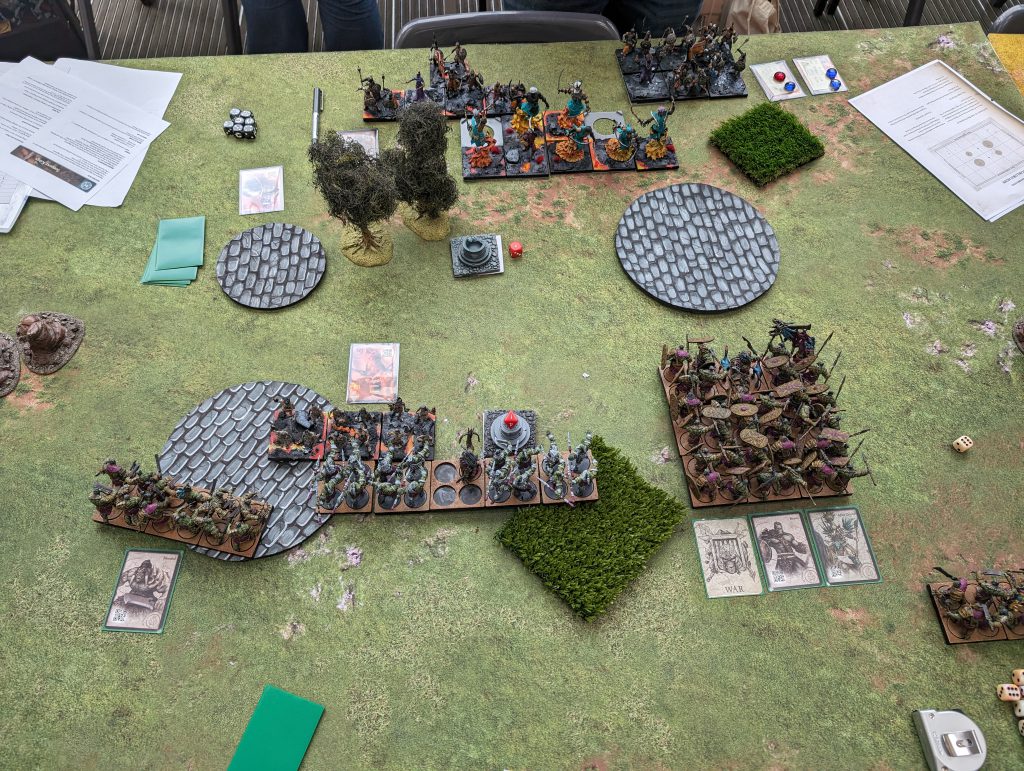
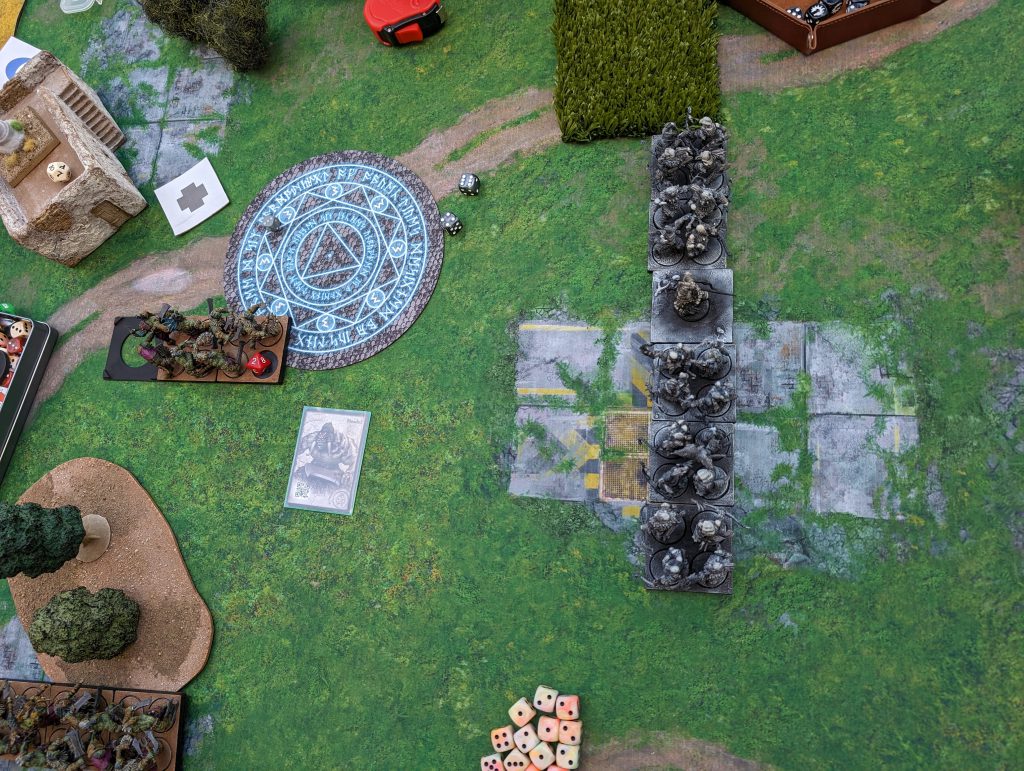
The final game was on Bulwark, with two zones and three objectives to fight over. The opening round was much the same as the first, with Bow Chosen facing off against my Hunters in the centre. Nigel had not taken the Shaman Warlord for Vanguard to move them up further, but had taken the Jarl to allow them to score with the Blooded. He’d also doubled up on Artefacts to give them the nasty Rainment of XXX, forcing me to reroll Volley attacks into the unit. This gave us two units that were dangerous at range, but not to eachother which created this strange position where the units almost ignored each other at first!

His Raiders and Jarl pushed my zone aggressively, and I mirrored with the Braves. Turn 3 had two major shifts for the game however which would massively define the rest of the game. Firstly, I had an option with my Braves to Charge/Clash his objective, or to March/Charge and tie up his Bow Chosen. I was worried about falling behind in Scenario so I elected to go for the objective, but also committed my Block for three Rounds into killing the unit. Secondly, after my Hunters had Volley/Charge/Clashed to kill the centre objective his Ulfenwer behind the Bow Chosen failed a Bloodthirst forcing them to attempt to charge my Hunters through his own unit. It ended up being a 4+ charge which he succeeded, suddenly driving the Ulfenwer into the heard of my lines and tying up my Hunters. Had he failed, it would have Broken both the Bow Chosen and Ulfenwer. High risk, higher reward!
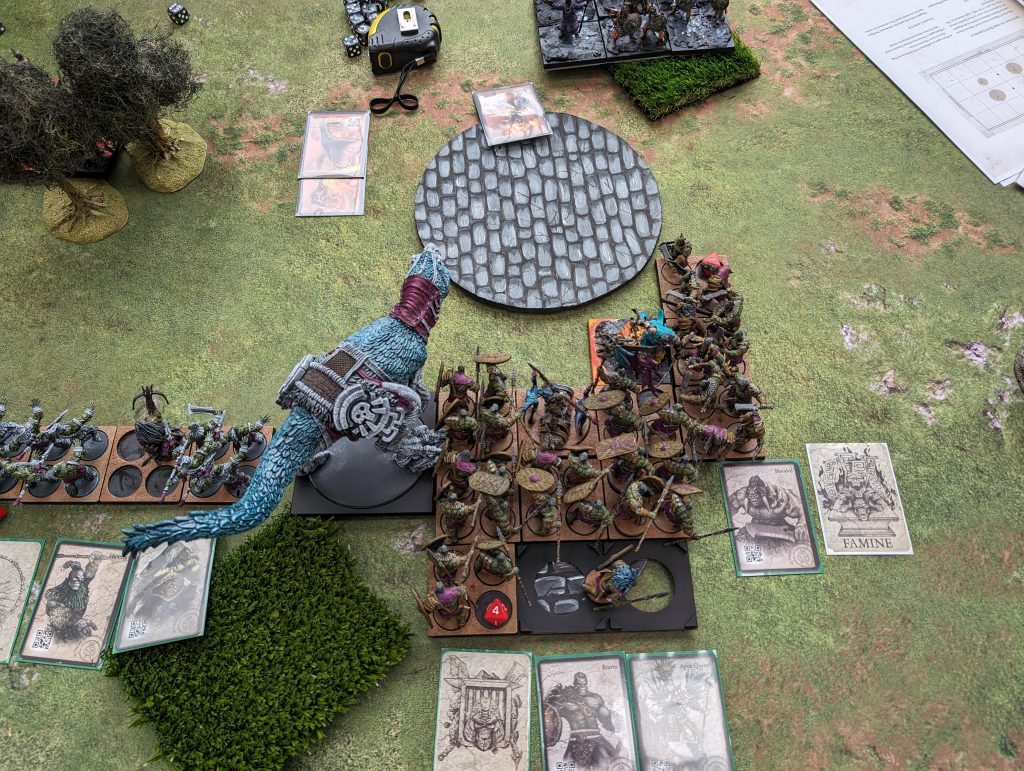
His Ulfenwer then obliterated my Hunters in a single Clash and then charged into the flank of my Apex who was aiming to charge his Bow Chosen and tie them up. I charged my other Apex into his Raiders but with a poor Clash roll I was a single wound short of breaking the unit and reducing the return attacks by 5 too. An excellent return clash from the Jarl and three Raiders destroyed my objective and took 12 Wounds off my Apex too, whilst the Bow Chosen capably shot down my other Apex in a single volley.
I was absolutely on the back foot now, having lost both my hunters, my Apex and near guaranteed to lose my second Apex in the next turn. Moreover, my Braves still had another round of combat with his objective to deal with before they could start scoring and push into the Bow Chosen. His Sea Jotnar entered on the right flank, handily killing the intervening Blooded and hitting the Braves hard in the side.
The Braves, to their credit, did fight extremely well over the following turns. They killed the objective and managed to reform into the Jotnar, bringing it down to only two Wounds remaining but were charged in the rear by the Bow Chosen and wiped out. On the right flank my Blooded were charged by the Trolls, but missed all but two of their 15 C3 attacks which left just enough stands alive after resolve to let me punch back and finish them off over two rounds.
Come Turn 8 we were tied on points with only two stands of my Blooded, his Bow Chosen and his Sea Jotnar remaining. We did the maths and some measurements, with him needed to shoot down my remaining Blooded with a single Volley on the final turn of the game to stop me scoring and secure the win. We rolled it out and sure enough, the Blooded went down leading to a 13-15 Victory to the Nords!
This was one of my best recent examples of how you shouldn’t give up on a game. By Turn 5 I had made some major mistakes which Nigel had capitalised on very well, and I felt the end result was decided. But in the end it came down to the very last action of Turn 10 to determine a winner, which is the marker of a fantastic game.
Conclusion
Overall I came 3rd place of 18 with the most VPs of the 2-1 bracket, a result I’m very proud of given the strong players and lists in the event. Our TO Hywel had the Para Bellum tournament pack which allowed everyone to come away from a s pecial art card (ironically mine was an Apex!) for the podium I received a rare miniature too. The event was a pleasure to play at and great fun to meet more people in the rapidly growing community.

I liked a lot of aspects of my lists, though this is far from the final form. I’ve got loads of ideas how to build this up to 2000pts ready for the summer season of events. Thanks for reading, and look forward to the next write up!
Have any questions or feedback? Drop us a note in the comments below or email us at contact@goonhammer.com.
